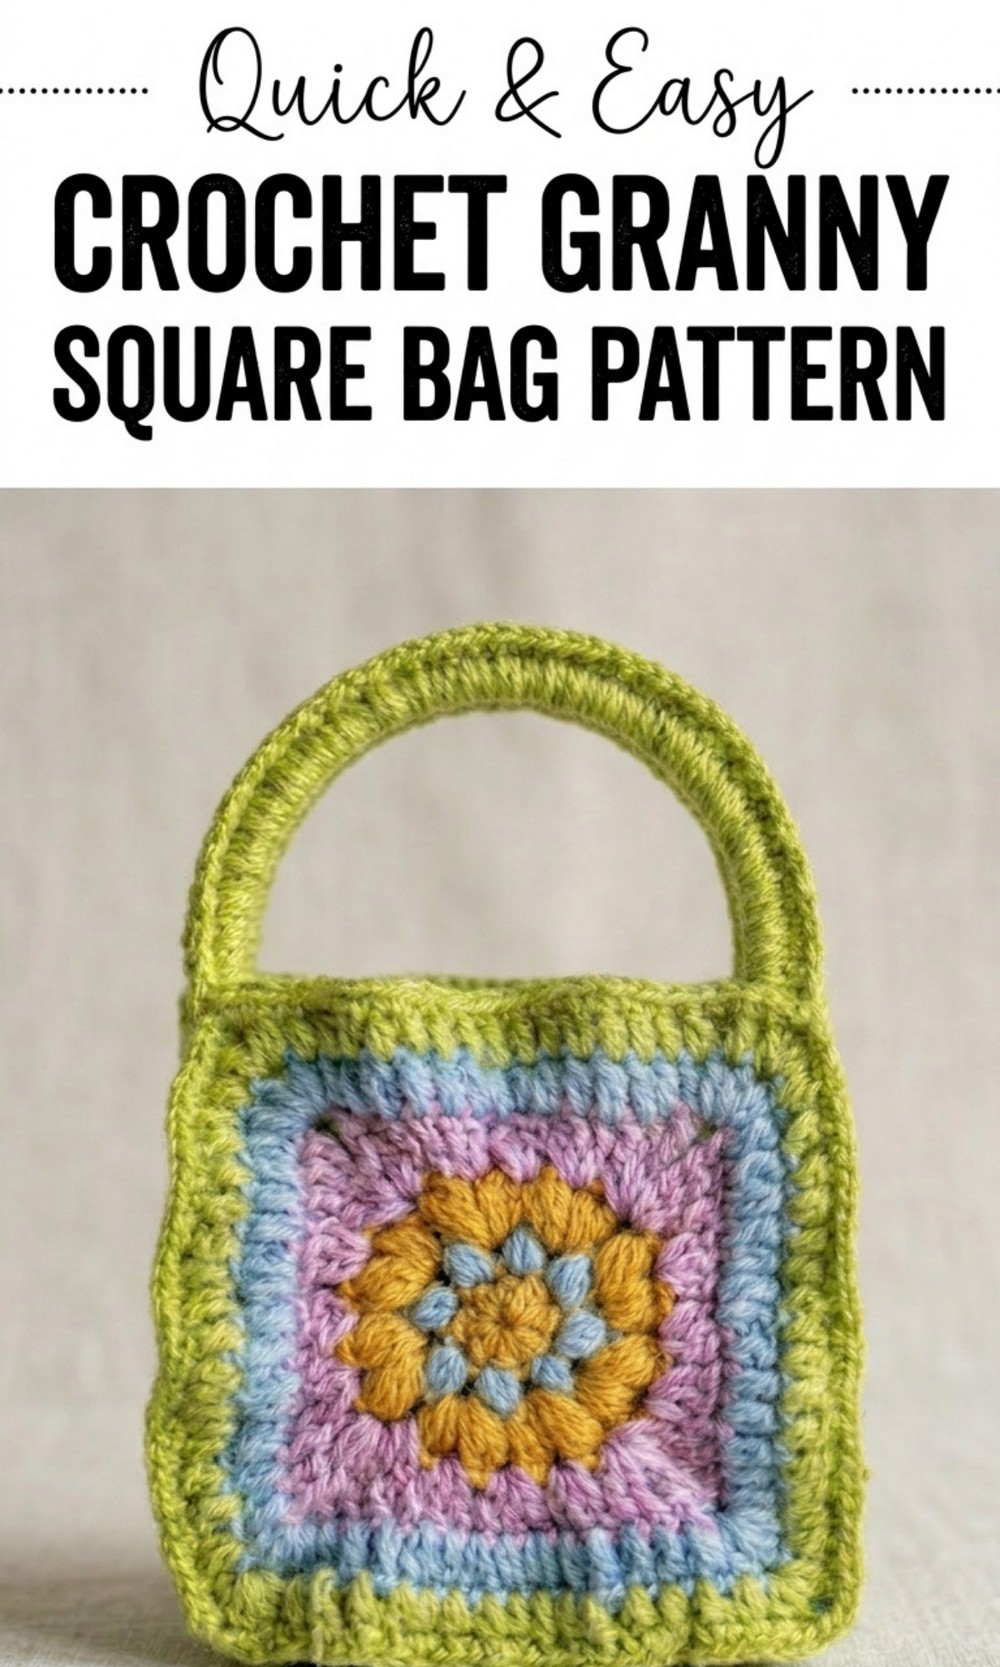
Hold your essentials in a vibrant, stylish crochet granny square bag made with colorful pattern with this lightweight bag is perfect for daily use or special outings.
A handmade crochet bag is a wonderful way to carry your essentials while adding a touch of charm to your day. Made with colorful squares stitched together, this bag is both beautiful and practical. Each square can be created in different colors and patterns, making the design unique and full of personality. The patchwork look of the bag is eye-catching and adds a creative flair that stands out wherever you go.
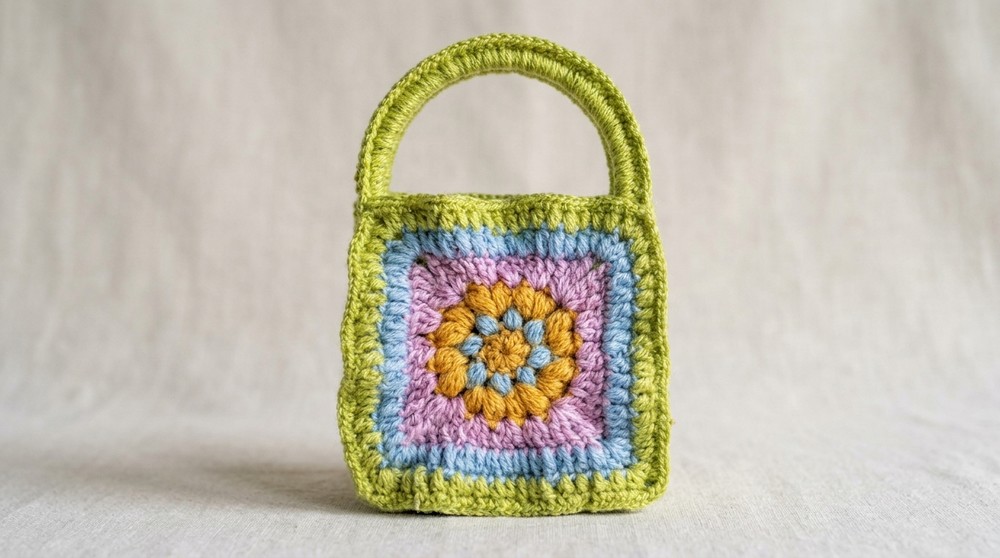
Stylish Granny Square Crochet Bag Pattern for Women
Lightweight and sturdy, it is perfect for carrying books, groceries, or personal items for school, shopping, or casual outings. The best part is how easily it can be customized, allowing you to choose colors and designs that match your style. This bag isn’t just a useful accessory, it’s a piece of art and a fun project for anyone who loves crocheting.
Crochet Granny Square Bag Pattern
Materials Needed
- Yarn: Use yarn in multiple colors (e.g., blue, yellow, and any color of choice for the final rows). Ensure the yarn is suitable for puff stitches and the rest of the pattern.
- Hook: Choose the recommended hook size for the yarn (usually 3.5mm to 5mm).
- Bag Handles: Two bag handles (wooden, metal, or any material you prefer).
- Scissors: To cut the yarn.
- Tapestry Needle: For sewing in ends and assembly.
Special Techniques
- Magic Ring: Used to start the square motif.
- Puff Stitch: A beginner-friendly textured stitch used to create the “flower” effect in the squares. (Explained below.)
- Slip Stitch: To close rows and join pieces.
- Half Double Crochet (HDC): Used to work across the bag handles.
- Single Crochet (SC): Used to join squares and for edge reinforcement.
Pattern Instructions
1: Make the Square Motif
- Start with a Magic Ring
- Create a magic ring to begin the square.
- Round 1 (Base Round): Make 8 Double Crochets (DC)
- Make 8 DC into the magic ring.
- Close the ring tightly and secure it with a slip stitch.
- You can fasten off or change colors directly here.
- Round 2 (Puff Stitches)
- Create 1 puff stitch into each of the 8 DC from the previous round.
- How to make a puff stitch:
- Yarn over, insert your hook into one stitch, pull up a loop.
- Repeat this 5 times, so there are 5 loops on your hook.
- Yarn over and pull through all 5 loops.
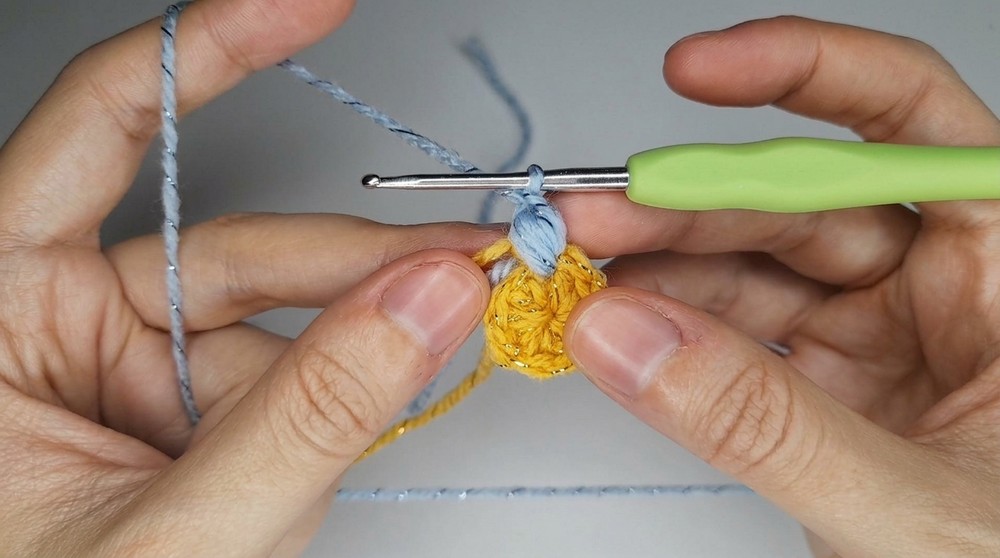
- Chain 1 to secure the puff stitch.
- Repeat this for the next 7 DC.
- Close the round with a slip stitch and fasten off (or change colors if desired).
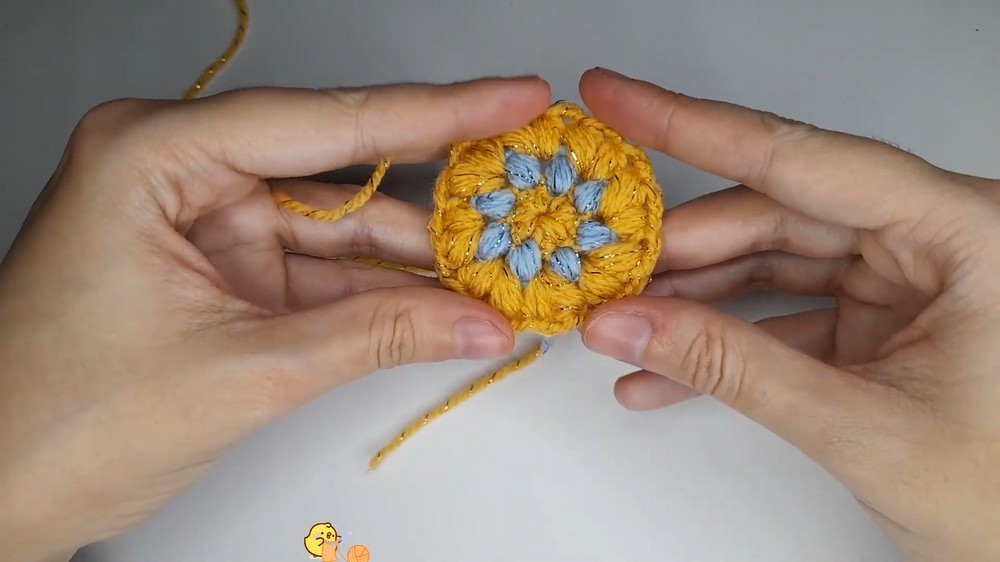
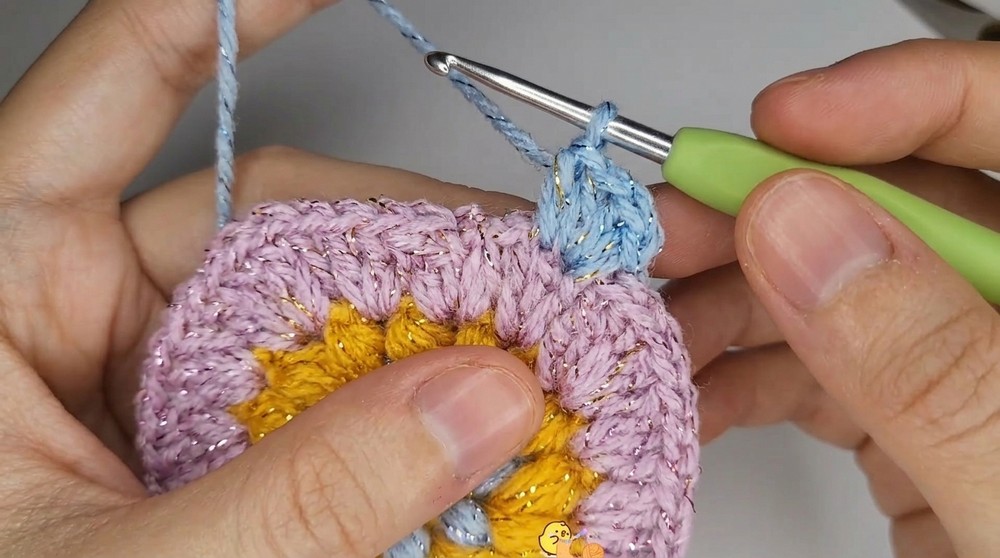
- Round 3 (Petals with Yellow Puff Stitches)
- Insert the hook between two puff stitches from the previous round.
- Create 2 yellow puff stitches, separated by one chain, between each blue puff stitch (referred to as petals).
- Continue this pattern around the circle and close with a slip stitch.
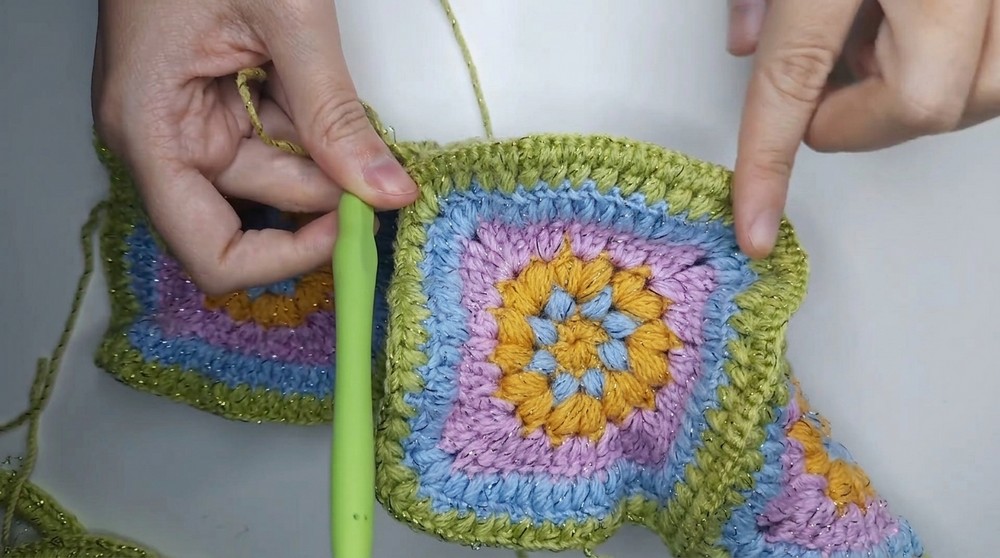
- Round 4 (Transform into Square)
- Transform the circle into a square by working the following:
- Corner Formation:
- Insert the hook between two yellow petals.
- Make 3 treble crochets (TR), chain 1, and another 3 TR into the same space.
- This forms one corner of the square.
- Side Stretches:
- Make 3 double crochets (DC) between the next two petals.
- Continue repeating the corner and side stretches all around the circle.
- Finish with a slip stitch and fasten off.
- Corner Formation:
- Transform the circle into a square by working the following:
- Add Additional Rows for Size (Optional)
- To increase the square’s size:
- Work 1 puff stitch in every stitch across the row.
- For corner spaces, make 1 puff stitch, chain 1, and another puff stitch.
- Add rows until your square matches or exceeds the size of your bag handle.
- To increase the square’s size:
2: Block and Prepare Your Squares
- Make 5 squares following the above steps.
- Block the squares to align their shape and size. This helps ensure they assemble neatly.
3: Join the Squares
- Determine the Right & Wrong Sides
- Identify the “right” side (the visible side) and “wrong” side (hidden side) of each square.
- Place wrong sides facing each other while joining.
- Join the Squares
- Use single crochet (SC) to join the squares along one side.
- Repeat on the opposite side to form a large rectangle.
- Assemble into a Cube
- Add and join the fourth square by single crocheting along the three open sides, creating a cube-like structure.
- Repeat this step on the other side of the bag to complete the cube.
- Reinforce Edges
- Add a round of single crochet around the edges of the bag for stability.
- Add a round of single crochet around the edges of the bag for stability.
4: Attach Bag Handles
- Attach Yarn to the Handle
- Secure the yarn to one side of the bag handle.
- Work Half Double Crochets (HDC)
- Crochet HDC stitches across the entire length of the handle, ensuring it is securely attached to the bag.
- Insert the handle into the bag’s inner side, ensuring the first and last stitches join the bag and the handle together.
- Repeat for the Second Handle
- Attach the second handle to the opposite side of the bag using the same technique.
Finishing Up
- Secure All Ends
- Use a tapestry needle to weave in and secure all loose ends neatly.
- Block for Shape
- If necessary, block the entire bag to give it the proper shape and form.

- If necessary, block the entire bag to give it the proper shape and form.
Final Words and Maintenance Tips
- Blocking: Blocking the squares before assembly ensures better alignment and a professional look.
- Color Variations: Experiment with different color combinations to add personality to your bag.
- Care Instructions: Wash the bag carefully in cold water if necessary and lay it flat to dry to maintain its shape.
- Custom Sizes: You can add more squares to make a larger bag or adjust the row count to make smaller squares.