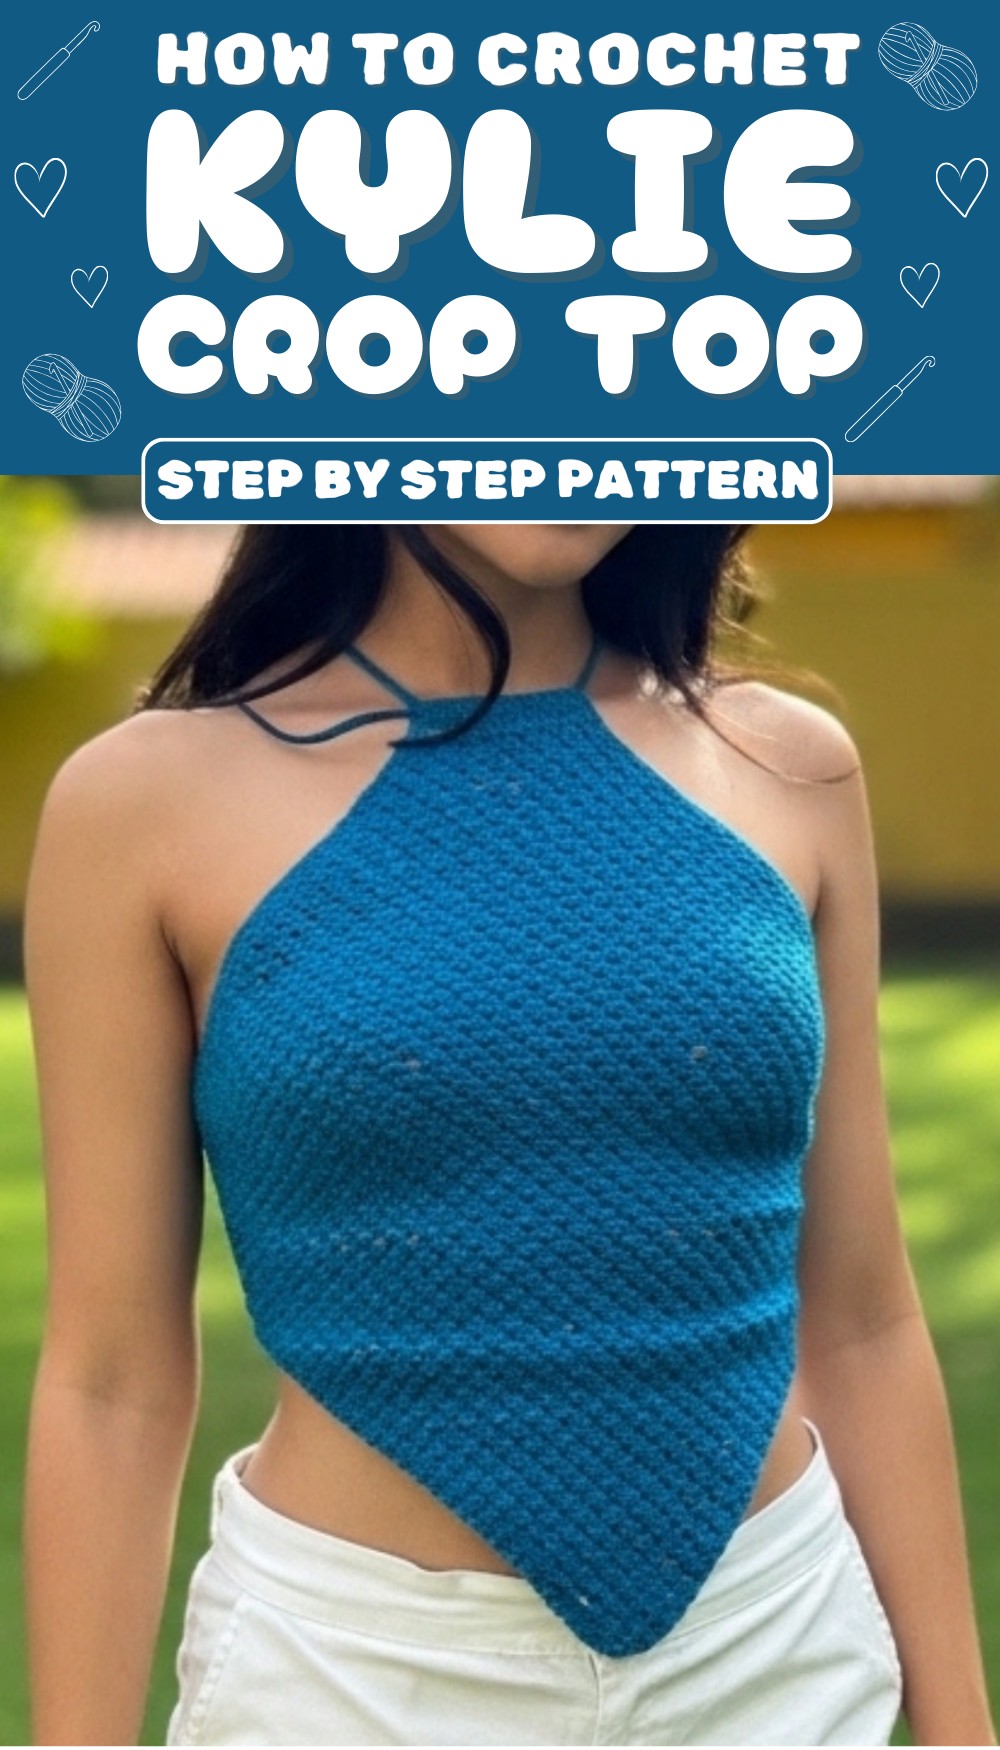
Stitch your way to a fabulous Kylie crop top that’s perfect for sunny days, offering a chic touch to your outfit with effortless style and vibrant charm.
Get ready to make heads turn with a trendy and stylish design that’s perfect for any occasion! The crochet Kylie crop top pattern is simple yet stunning, offering a clean and modern look that flatters every body type. Featuring delicate stitching and a sleek silhouette, this crop top is perfect for pairing with skirts, jeans, shorts, or even layering for cooler days.
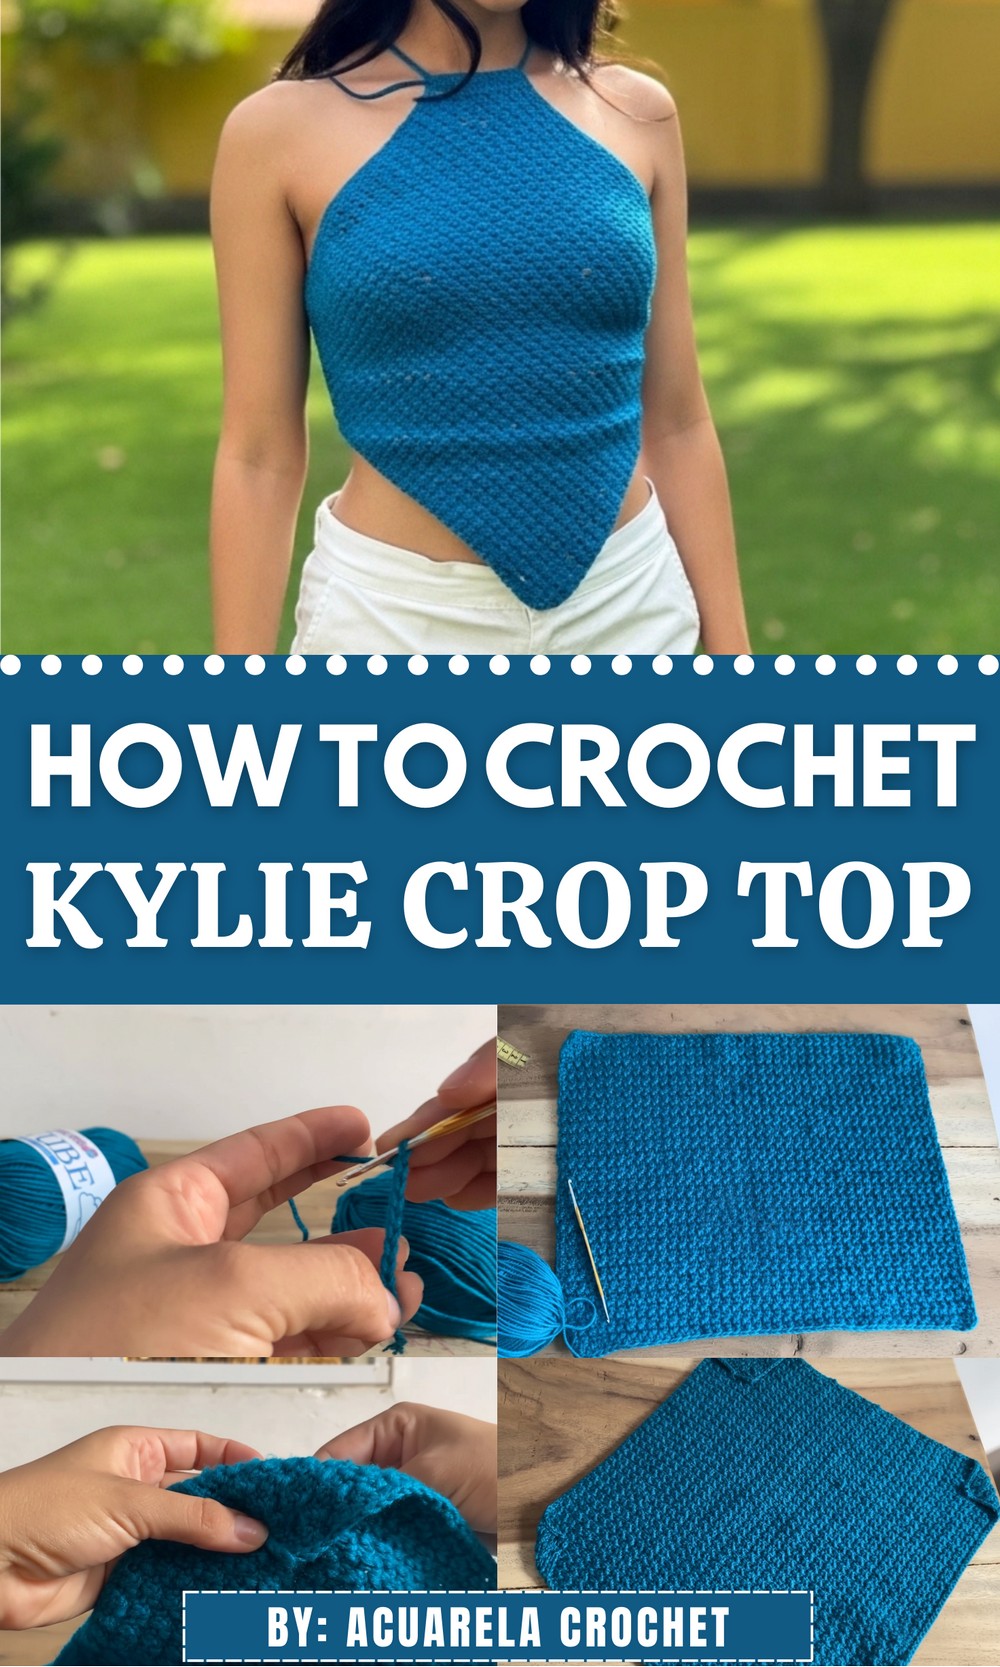
Quick Crochet Kylie Crop Top for a Stunning Look
Its lightweight and breathable design makes it ideal for summer and spring outings, giving you both comfort and elegance. The pattern combines ease and chicness, making it suitable for beginners and advanced crocheters who want to create something timeless. Its neat finish and customizable length allow for endless creativity, so you can make it truly yours. Whether you’re looking to boost your handmade clothing collection or make a gift for someone special, the crop top promises beauty, simplicity, and fun in every stitch!
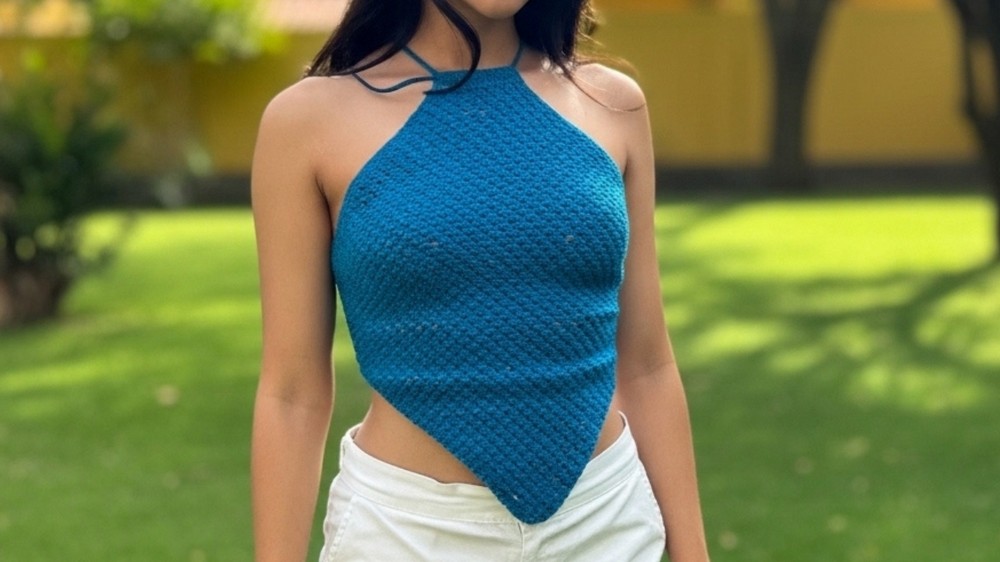
Kylie Jenner-Inspired Scarf-Shaped Crochet Crop Top Pattern
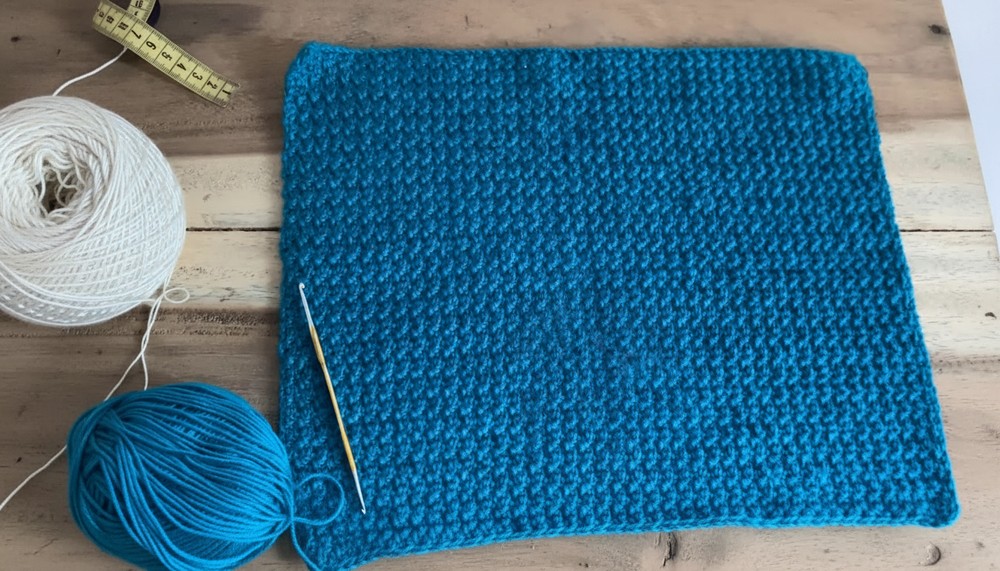
Materials Needed
- Yarn/Wool: 100 grams of 1.5mm thread or wool (in any color you desire).
- Crochet Hook: Size 3 (1mm crochet hook recommended for thread type).
- Measuring Tape: To customize size and fit.
- Scissors: To cut yarn.
- Wool Needle: For sewing and finishing.
Step-by-Step Pattern
1. Create the Initial Chain
- Start by chaining 35 to 40 centimeters worth of chains.
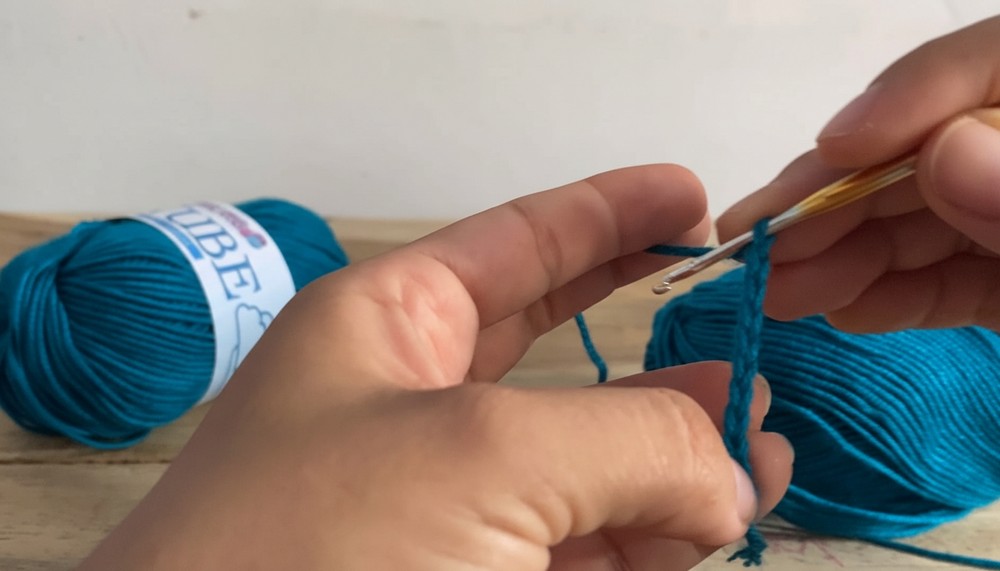
- Ensure the chain length matches your chest measurement by wrapping it around your chest and shoulders, letting it extend to the center of your back.
- TIP: The chain must be an odd number for the pattern to work correctly.
- Once your chain is the correct length, secure it by adding 1 turning chain.
2. Build the Alternating Stitch Pattern
- Begin the first row:
- Skip the first space and make 1 single crochet (SC) in the next chain.
- In the following chain, make 1 double crochet (DC).
- Alternate between SC (single crochet) and DC (double crochet) across the length of your chain.
- End the row with 1 SC.
- Turn your work and create 3 chains (equivalent to 1 DC) to move up to the next row.
- For the second row and beyond:
- Work the pattern oppositely:
- Where there is a DC from the previous row, place a SC.
- Likewise, where there is a SC, place a DC.
- Continue alternating SC and DC to maintain the “lacy” pattern.
- Work the pattern oppositely:
- Repeat this process row by row until your work forms a square, approximately 35×35 cm.
- Optionally, adjust the size of the square to your desired length.
- Optionally, adjust the size of the square to your desired length.
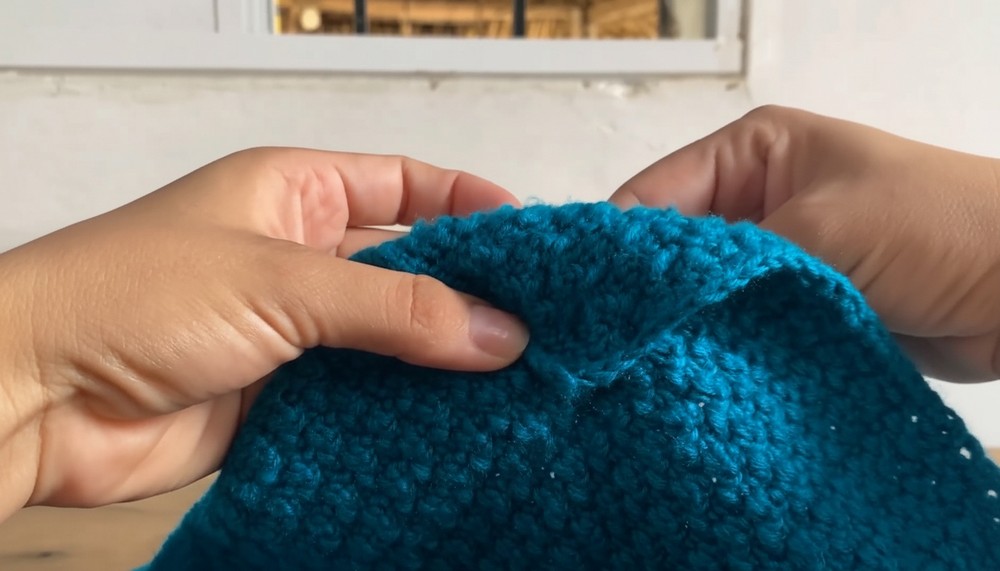
3. Add the Edging
- With the square complete, turn your work and begin adding a neat border:
- Create 1 single crochet in each stitch along one side of the square.
- Place single crochets in all four sides of the square, ensuring clean and even stitches. Finish at the starting point.
- This border adds structure and refinement to the scarf-shaped top.
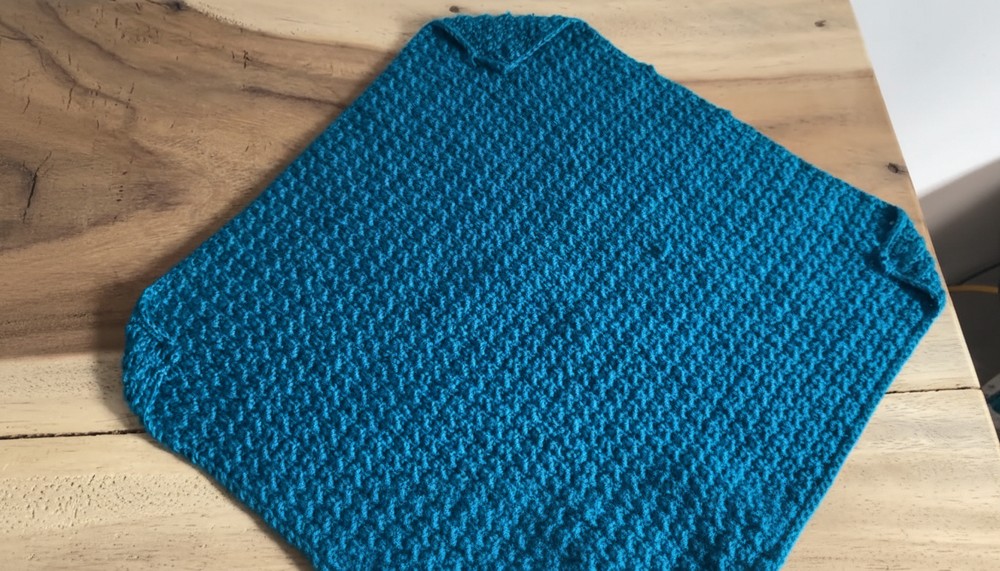
4. Create the Folded Pockets
- Lay your square flat and position it inside-out (wrong side facing up).
- Fold the sides of the square inward at an angle to form a rhombus shape.
- The folded sections will act as “pockets” to hold the cord.
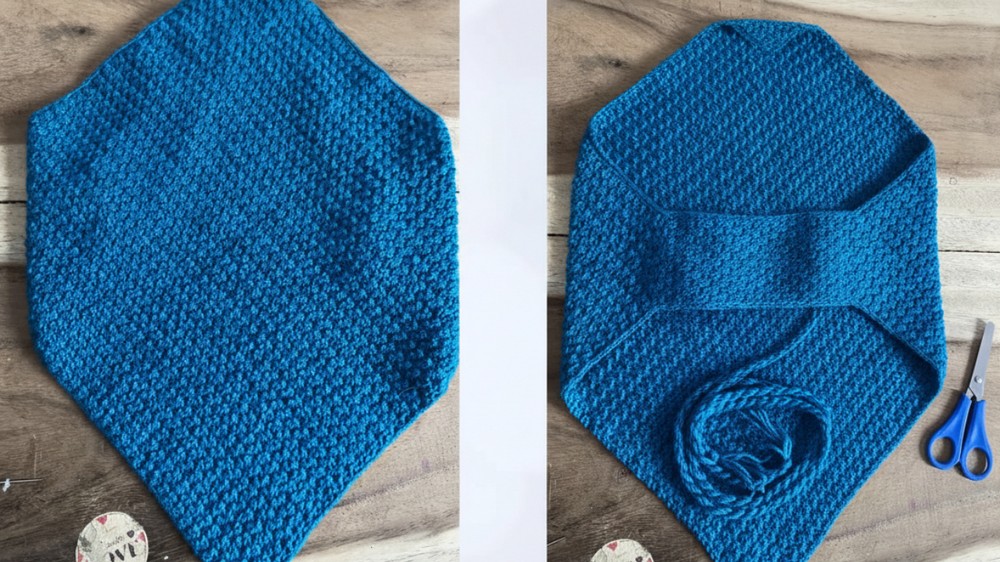
- Adjust the size of the folds as follows:
- Sides closest to the top (scarf point) should be slightly smaller.
- The central fold should remain larger to create the main body.
- The folded sections will act as “pockets” to hold the cord.
- Using a wool needle, secure the folds with stitches to create the pockets. Ensure the seam is firm but discreet.
5. Add the Cord
- Make the cord:
- Cut 4 strands of yarn, each approximately 150 cm long.
- Braid or twist the strands together to create a strong, decorative rope.
- Each side of the top will require one cord.
- Insert the cord:
- Insert the cords through the “pockets” created by the folded sections.
- Secure them by tying knots or pulling the ends carefully through the openings.
- Insert the cords through the “pockets” created by the folded sections.
Final Assembly
- To complete the scarf-shaped top, weave and adjust the drawstring cords for a secure fit.
- Double-check tightness and comfort before wearing.
Special Features
- Unique Alternating Stitch Design: Alternating single and double crochets give the fabric a slightly lacy, textured appearance.
- Elastic and Stretchy Fit: The pattern allows the top to fit snugly and comfortably.
- Convertible Pockets for Drawstrings: The rhombus shape and pockets make it easy to add and customize drawstrings for tying at the back.
Tutor’s Suggestions
- Use lightweight yarn for a summer-friendly design.
- When measuring for the chain length, ensure the chain is slightly stretched because the fabric may expand with use.
- Customize the top by using multi-colored threads or adding beads to the cords for a bohemian touch.
Uses
- Festival Wear: Pair it with high-waisted shorts or skirts for a chic festival look.
- Beachside Glam: Layer it over a bikini for a sleek and stylish beach outfit.
- Casual Summer Top: Wear it with pants or jeans for a relaxed, yet trendy outfit.
Tip
For an even finish: Steam block the final piece to smooth out any uneven tension and set the shape.
Conclusion
Congratulations on finishing your Scarf-Shaped Crochet Crop Top! With its sleek design, fashionable drawstring, and unique rhombus fold, this top is not only trendy but also highly customizable.