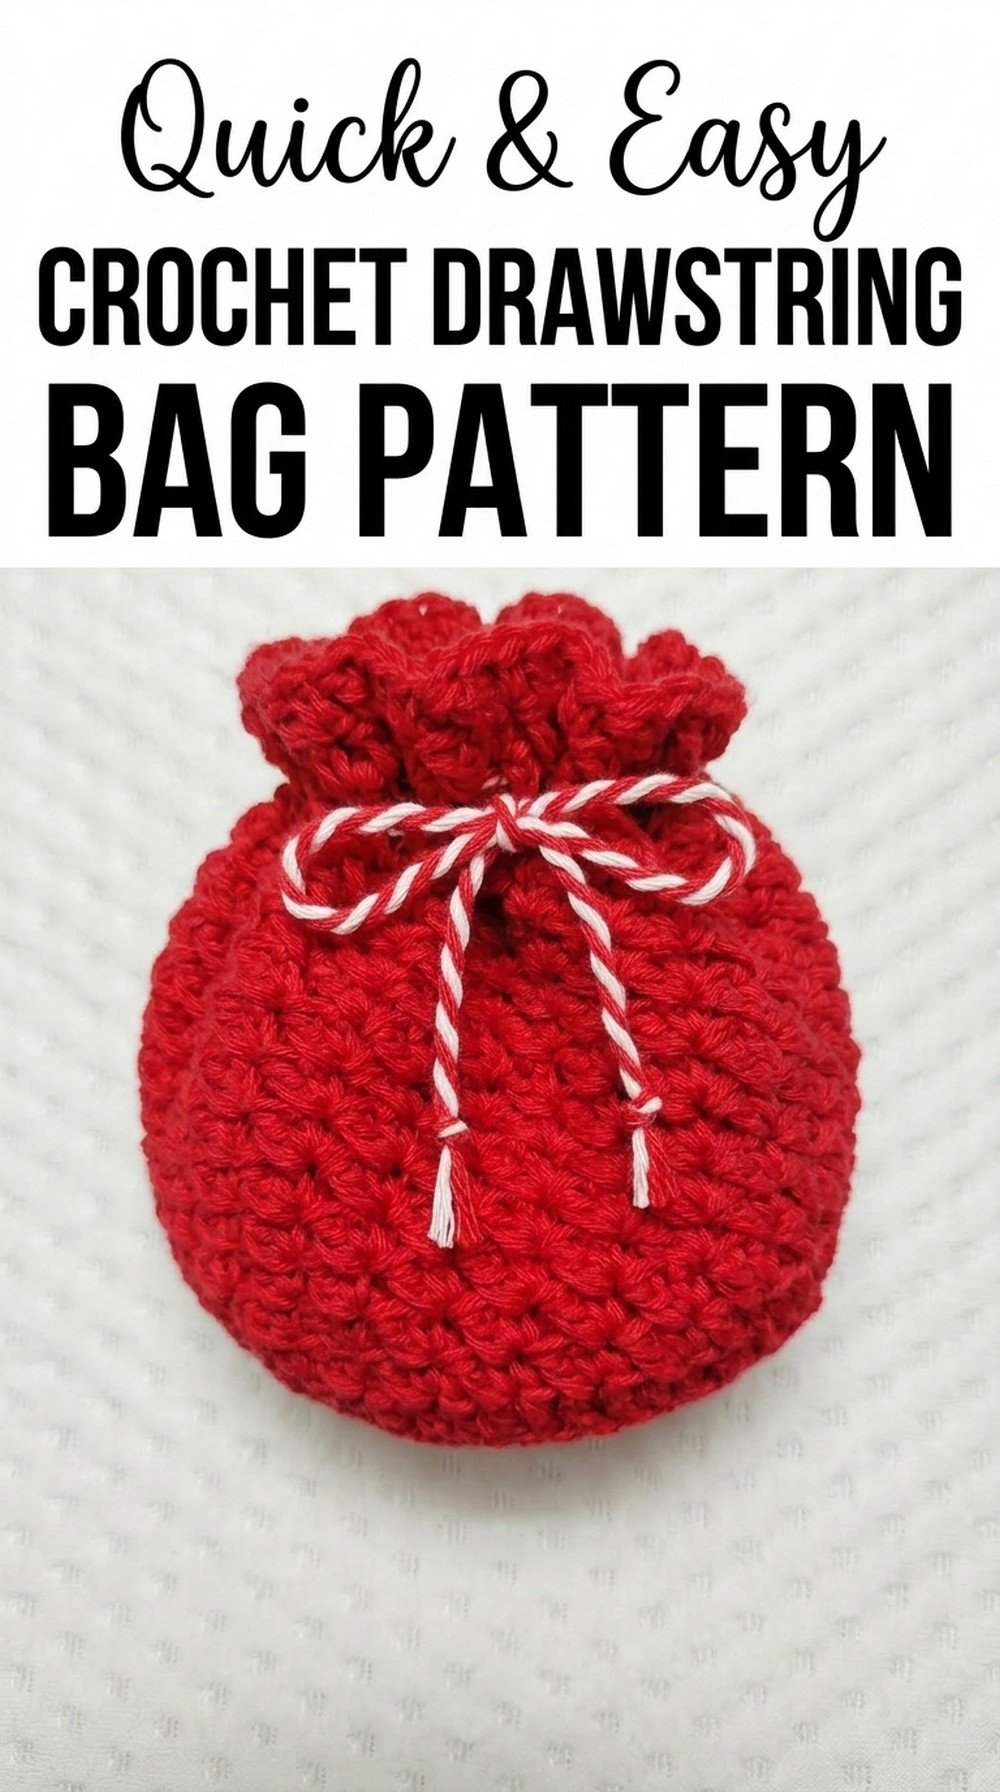
Snatch attention with this Free Crochet Drawstring Bag Pattern that’s for making a cute, handy pouch to carry small items in style every day.
A simple cord at the top of a pouch can turn an ordinary item into something both practical and appealing. The Free Crochet Drawstring Bag Pattern explains how to make a soft handmade pouch that tightens neatly with a gentle pull of the string. This pouch has a smooth crochet surface that gives it a cozy and tidy look. Its round form and flexible yarn make it light, comfortable, and easy to carry anywhere.
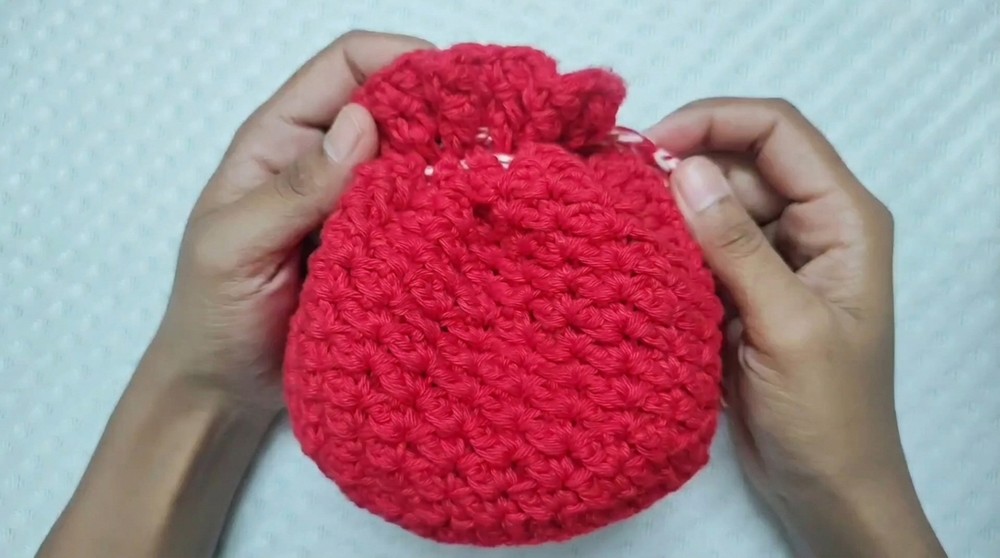
Quick Free Crochet Drawstring Bag Pattern for Easy Projects
The drawstring keeps small belongings secure while also adding a stylish detail to the design. It works well for holding coins, small accessories, craft tools, or tiny presents. The pattern usually uses clear and easy stitches, allowing beginners to follow each step without difficulty. Yarn shades can be changed to match different moods or occasions.
Crochet Drawstring Bag Pattern
Skill Level
Intermediate – Basic understanding of working in rounds and special stitch combinations.
Finished Size
- Height: Approximately 6 inches
- Width: Approximately 4.5 inches
Note: Size depends on yarn, hook size, and personal tension.
Materials Needed
- Yarn:
- Cotton yarn in two colors (red for the main body and white for details).
- Approximately 120 yards of yarn total. Adjust for bags of different sizes.
- Crochet Hook:
- 3.5 mm crochet hook (or size needed to achieve desired tension).
- Tools:
- Tapestry needle for weaving in ends and attaching drawstrings.
- Stitch markers (recommended) to keep track of the first stitch in each round.
- Scissors for cutting thread.
- Optional: Beads or tassels to add as embellishments to the drawstrings.
Key Abbreviations
- ch – Chain
- dc – Double Crochet
- hdc – Half Double Crochet
- sc – Single Crochet
- sl st – Slip Stitch
- st(s) – Stitch(es)
- inc – Increase (2 stitches in 1 stitch)
- sk – Skip
Special Notes
- Customizable Size:
- Wider base: Add more rounds for the oval base.
- Taller bag: Add more repeat pattern rows in the body of the bag.
- Tension Tip: Work with medium tension to ensure a sturdy and firm bag.
- Drawstring Consideration: Length of the drawstrings will vary depending on size; test before finalizing.
Pattern Instructions
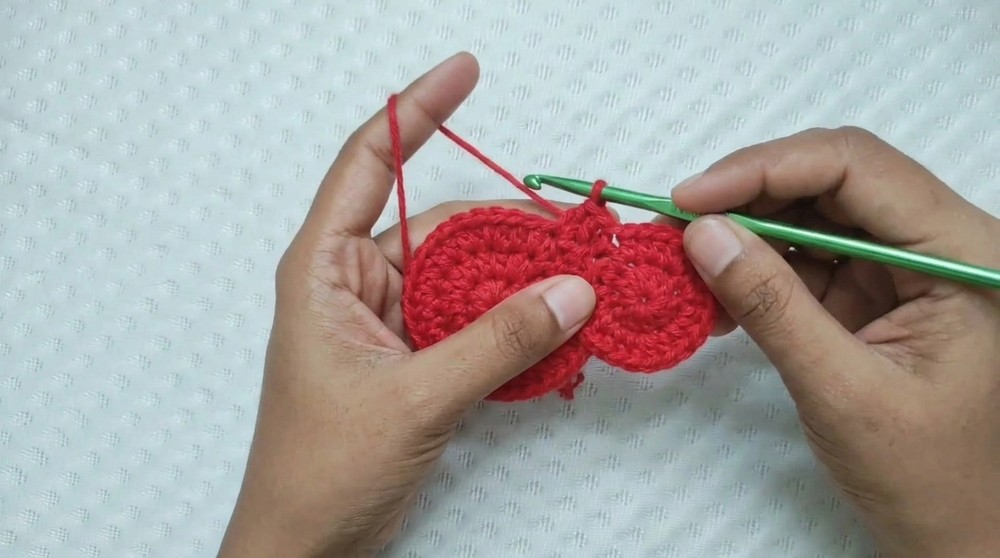
Step 1: Bag Base (Oval Bottom)
- Create a Magic Circle:
- Wrap yarn around your finger and create a loop. Insert the hook, yarn over, and pull through to secure the loop.
- Ch 2 (this does NOT count as a stitch).
- Round 1: Half Double Crochets (hdc)
- Work 10 hdc into the Magic Circle.
- Pull the circle tightly to close.
- Join with a sl st to the top of the first hdc.
- Total stitches: 10 hdc.
- Round 2: Increases
- Ch 2 (does NOT count as a stitch).
- Work 2 hdc in each stitch around.
- Use a stitch marker to mark the first stitch.
- Join with a sl st to the first hdc.
- Total stitches: 20 hdc.
- Total stitches: 20 hdc.
- Round 3: Alternating Increases
- Ch 2.
- Work 1 hdc in the first stitch, 2 hdc in the next stitch (repeat pattern: 1, 2 across).
- Join with a sl st to the first hdc.
- Total stitches: 30 hdc.
- Total stitches: 30 hdc.
- Round 4:
- Ch 2.
- Work 1 hdc in each of the first 2 stitches, 2 hdc in the next stitch (repeat pattern: 1, 1, 2 across).
- Join with a sl st to the first hdc.
- Total stitches: 40 hdc.
- Round 5:
- Repeat the increasing pattern for the next rounds if you want a larger base, or stop here for the default size.
- Ensure you evenly distribute increases throughout the round.
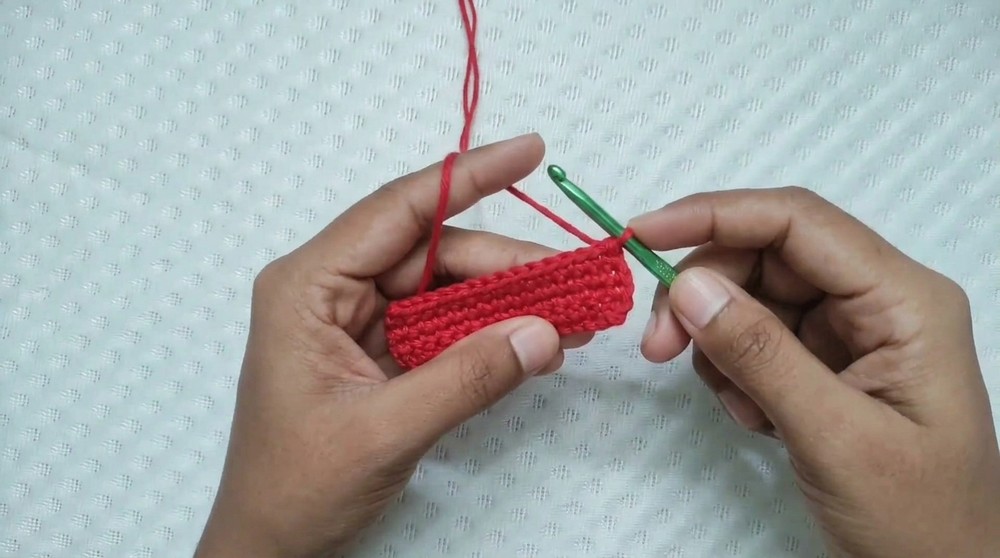
Step 2: Transition to Bag Sides
- Round 6:
- Work all stitches in BACK LOOP ONLY (BLO).
- Ch 2, 1 hdc in each stitch around.
- Join with a sl st to the first hdc.
- Total stitches: 60 hdc.
- This round creates a defined base edge.
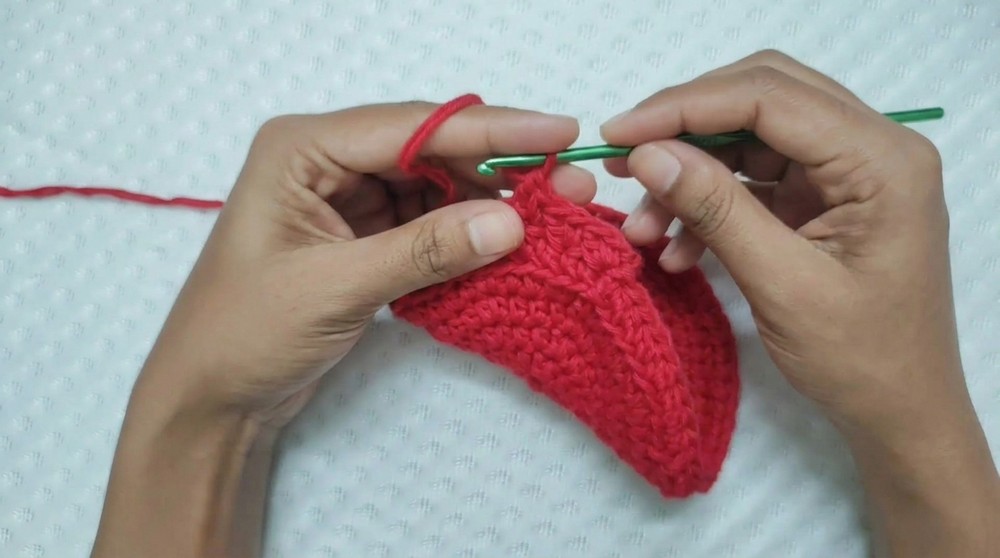
Step 3: Bag Body
- Pattern Rounds (7–18):
- Alternate single crochet and double crochet stitches across the round:
- 1 sc in first st, 1 dc in next st, sk 1 st, 1 sc in the next st, 1 dc in the next st, sk 1 st.
- Continue this pattern for all rounds.
- At the end of each round, join with a sl st to the first st.
- Ensure consistent tension for a polished texture.
- Alternate single crochet and double crochet stitches across the round:
Note: You can adjust the bag height by increasing or decreasing the number of rounds.
Step 4: Drawstring Round
- Round 19 (Preparing Drawstring Gaps):
- Ch 3 (counts as dc).
- Sk next st, ch 1, 1 dc in next st.
- Repeat this pattern (sk 1 st, ch 1, dc in next st) to complete the round.
- Join with a sl st to the third chain of the starting chain 3.
Step 5: Border
- Switch to Contrasting Yarn (Optional):
- Ch 1, work 1 sc in each stitch & chain space around.
- Join with a sl st to the first sc.
Step 6: Drawstrings
Creating the Drawstrings:
- Take two colors of yarn (or just one, if preferred).
- Make a slip knot, leaving 40–50 inches of tail for finishing.
- Ch 70 (or a custom length depending on bag size).
- Cut the yarn, pull through, and tighten.

Inserting the Drawstrings:
- Insert the drawstrings into the gaps created in Round 19:
- For the first string, insert through every other gap starting at one point and emerging on the opposite side.
- For the second string, start from the opposite side of the first drawstring and insert it in reverse (ensures closure when strings are pulled).
- Join both ends of each drawstring in simple knots. Trim the excess thread if necessary.
Conclusion
Congratulations! You’ve successfully completed your crochet potli bag. This beginner-friendly, elegant bag is a great beginner project that’s functional, versatile, and perfect for customizing to your unique style.
Tips for Success
- Color Play: Experiment with different color combinations or variegated yarn to create unique designs.
- Larger Size: Increase the base to expand the overall bag size.
- Accessories: Add tassels or beads to the drawstrings for that extra flair.
Pattern Corrections
Ensure the slip stitch joins are made in the first stitch of each round (not the turning chains). If you find uneven rounds, double-check stitch counts after every round to make adjustments promptly.