Reveal the beauty of Crochet Granny Square and infuse your projects with charm, texture, and endless versatility for a creative and timeless touch.
Imagine turning a simple crochet square into a statement piece that feels both classic and modern. A free crochet granny square pattern allows you to create everything from cozy blankets and cushions to stylish wearables like cardigans or bags, all using just a hook and your favorite yarn.
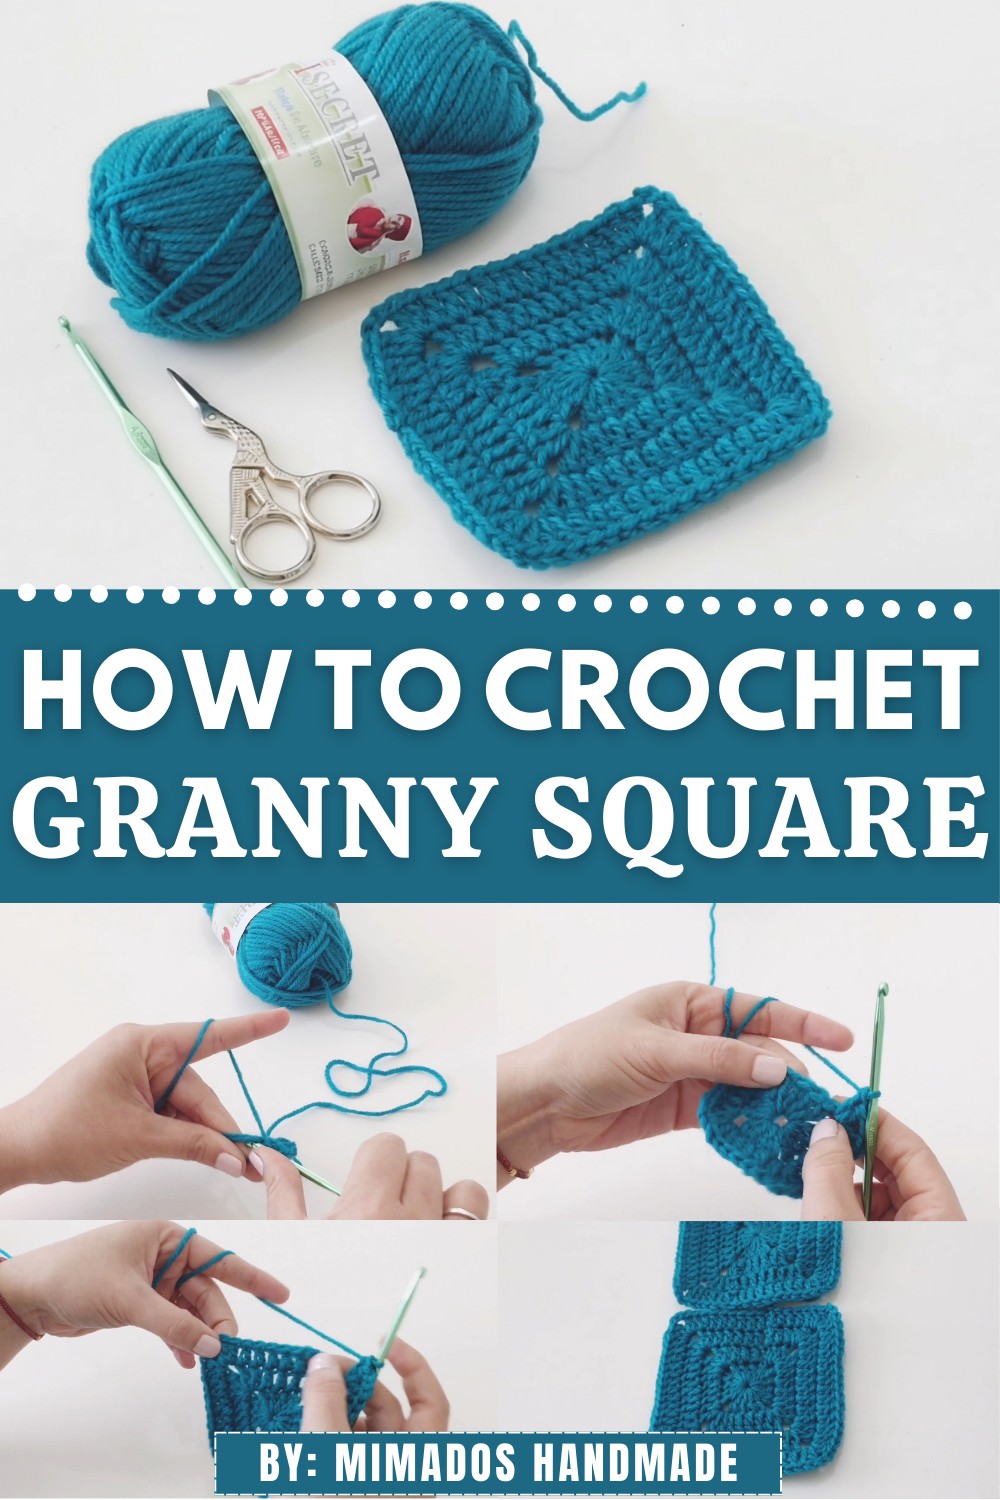
Magical Crochet Granny Square Pattern that You’ll Enjoy
The versatility of a granny square makes it perfect for beginners exploring stitches or experienced crocheters experimenting with new designs. It’s a brilliant way to reduce yarn waste by using up scraps in creative combinations. Whether you’re going for bold colors or soft pastels, granny squares offer endless customization and practical use. One square at a time, you’ll crochet something not just handmade, but truly timeless and uniquely you.
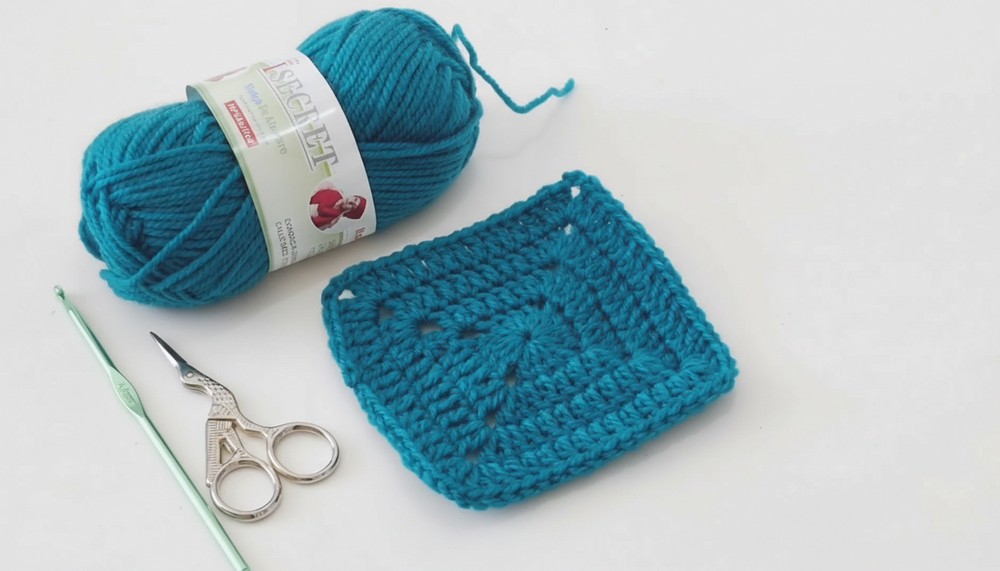
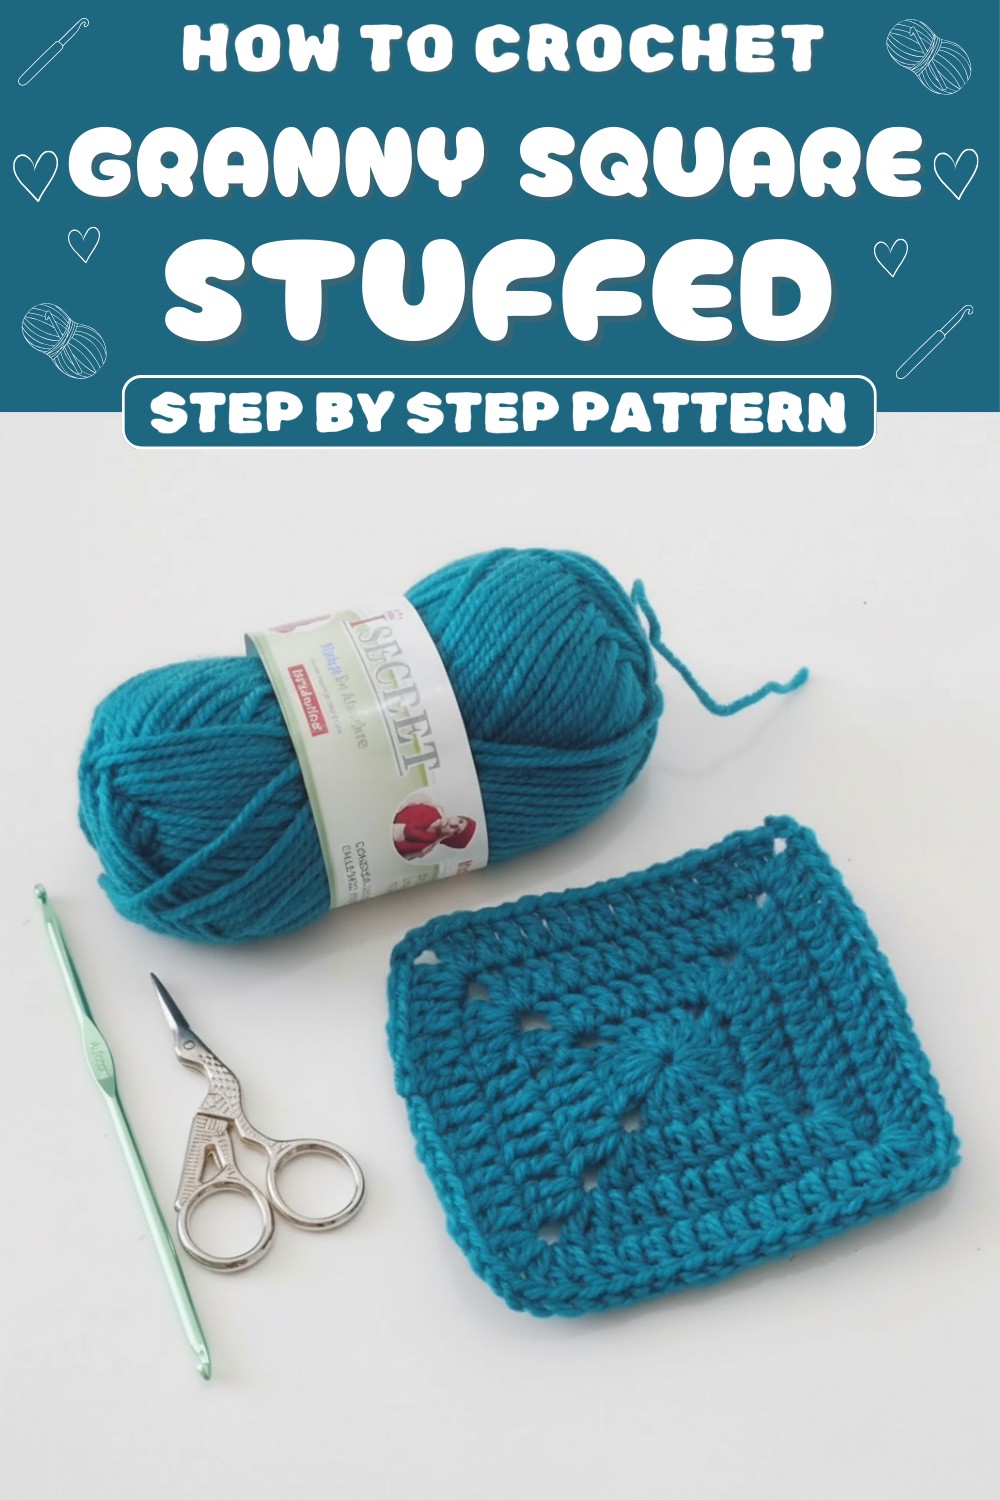
Materials
- Yarn:
- Any medium-weight (size 4) yarn in one solid color or multiple colors for variation.
- Yarn label recommendation: “Crochet hooks: 3.5mm – 4mm”.
- Crochet Hook:
- 4mm (US size G/6).
- Scissors: Needed to cut the yarn after each round or when finishing the project.
Skill Level
Beginner-Intermediate
This pattern involves working with basic crochet stitches like double crochet, chains, slip stitches, and working corners. It’s accessible for beginners with basic crochet knowledge.
Key Abbreviations (US Terminology)
- Ch: Chain
- Dc: Double crochet
- Sl st: Slip stitch
- St: Stitch
- Yo: Yarn over
Special Notes
- Corners: At every corner, you’ll form the shape of the square by working two groups of double crochets, separated by two chains.
- Counting Stitches: To keep your square symmetrical, count your stitches on each side of the square for every round.
- Customizing Size and Colors: You can easily adjust the square’s size by adding more rounds or using different yarn weights. Changing colors per round can create a visually striking effect.
Pattern Instructions
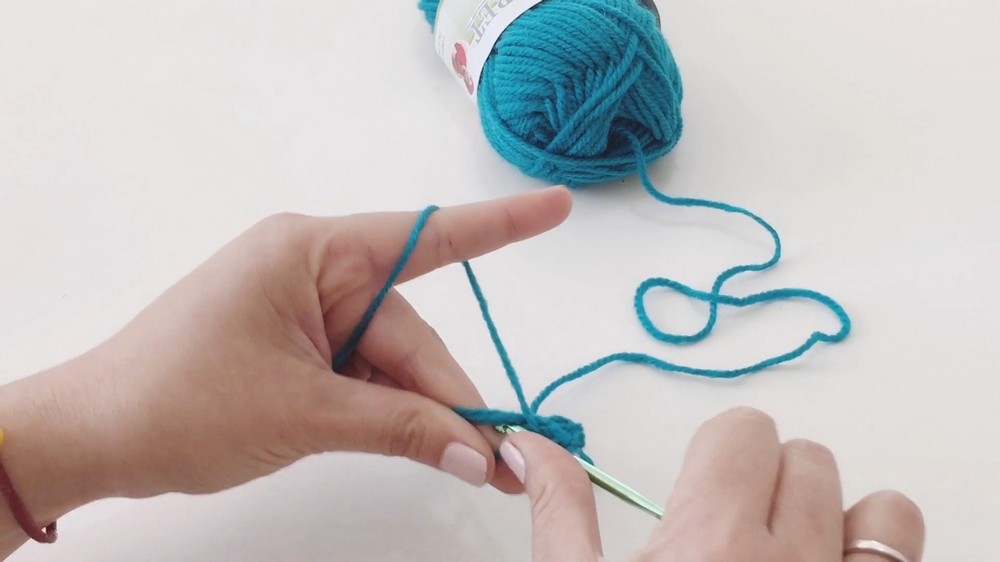
Foundation Round: Set up the Magic Ring
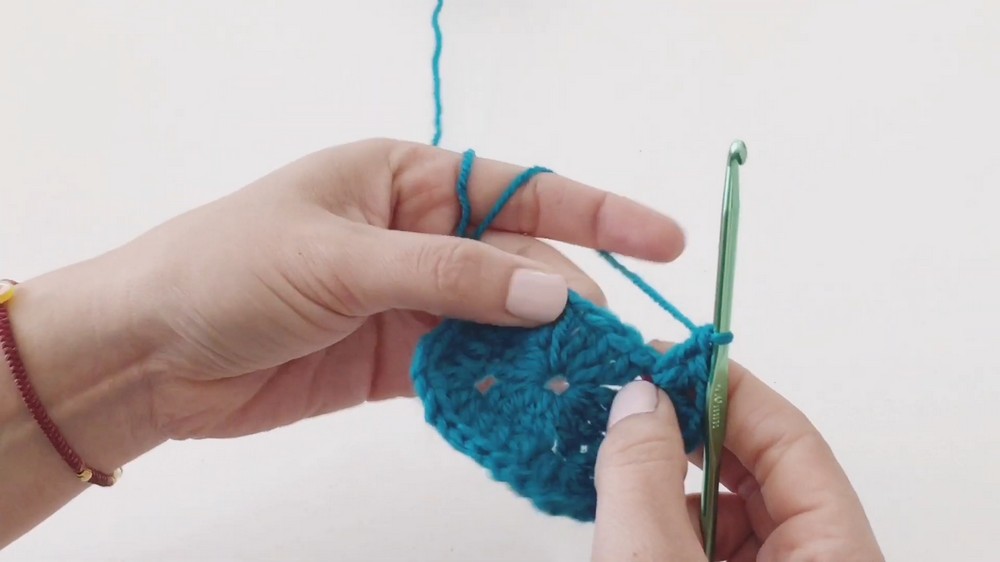
- Make a magic ring: Wrap yarn around your two fingers to form a ring. Insert the crochet hook into the ring, pull a loop through it, and secure with a chain.
- Ch 3 (counts as the first Dc).
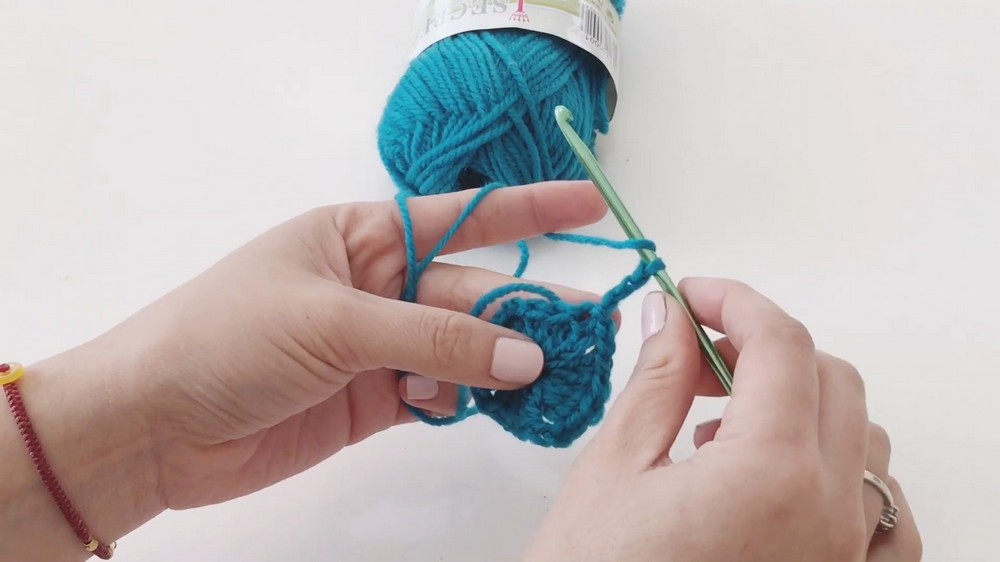
Round 1
- Work 3 Dc into the magic ring after the initial Ch 3. You now have a total of 4 Dc including the first chain.
- Ch 2 to form the first corner.
- Work another 4 Dc into the ring.
- Repeat Ch 2, 4 Dc, Ch 2, 4 Dc. You should now have 4 groups of 4 Dc, with Ch 2 separating each group.
- Close the round: Pull the end of the yarn tail to tighten the magic ring, and join to the top of the starting Ch 3 with a Sl st.
- Fasten off the round by pulling the yarn tail and securing the last stitch tightly.
Round 2
- Ch 3 (counts as the first Dc), then work 1 Dc into each Dc on the side of the square (4 Dc total on each side).
- When reaching a corner space (created by Ch 2 in the previous round):
- Work 2 Dc, Ch 2, 2 Dc in the same Ch 2 corner space.
- Work 2 Dc, Ch 2, 2 Dc in the same Ch 2 corner space.
- Repeat: 1 Dc in each Dc stitch along the next side. At every corner, execute the same corner stitch sequence (2 Dc, Ch 2, 2 Dc).
- Continue all the way around the square. When reaching the final corner,
- Work a final group of 2 Dc, Ch 2, and complete the corner by joining with a Sl st into the top of the initial Ch 3.
Round 3 (and Beyond)
- Begin by Ch 3 (counts as the first Dc), 1 Dc into each Dc from the previous round.
- At each corner space, replicate the previous corner technique: 2 Dc, Ch 2, 2 Dc.
- For the sides, work 1 Dc into each Dc from the previous round. Be sure to increase the stitch count on the sides as the square grows (by 4 stitches per side in each new round).
- Close the round with a Sl st in the top of the initial Ch 3.

Final Steps
- When your square reaches the desired size (e.g., 4–6 rounds or more for larger pieces), you can end your work. To do this, join the yarn at the start of the round with a Sl st, cut your yarn, and fasten off securely.
- Weave in all yarn ends with a yarn needle for a smooth finish.
Customization Ideas
- Color Variations: Change colors at the beginning of each round for a striped or rainbow effect. Use 2–4 complementing colors for a modern look or contrasting hues for bold, playful squares.
- Size Adjustments: To create a smaller square (e.g., coasters), use fewer rounds. For a larger piece (e.g., a blanket), repeat the pattern for as many rounds as needed.
- Stitch Borders: Add a single-crochet or picot border for a polished edge. This stabilizes the square and enhances its appearance.
Tips for Success
- Pay Attention to Corners: Always work 2 Dc, Ch 2, 2 Dc into each corner space to maintain the square shape.
- Tight Magic Ring: Ensure a tight, secure closure for the magic ring at the center to avoid gaps or uneven tension.
- Count Your Stitches: For even growth, count stitches after completing each round. Each side of the square should increase by 4 Dc per round.
- Blocking: To make the square perfectly flat and even, consider blocking the piece once it’s complete.
Pattern Variations
Color Design
- Gradient Style: Use yarn cakes or gradient yarn for a smooth color transition in the large square.
- Checkerboard Effect: Use contrasting yarn for each round to create a bold visual.
Size Adjustments
- Small Coaster: Complete only 3 rounds for a compact square.
- Table Runner: Make wide squares and join them together using slip stitching or whip stitching.
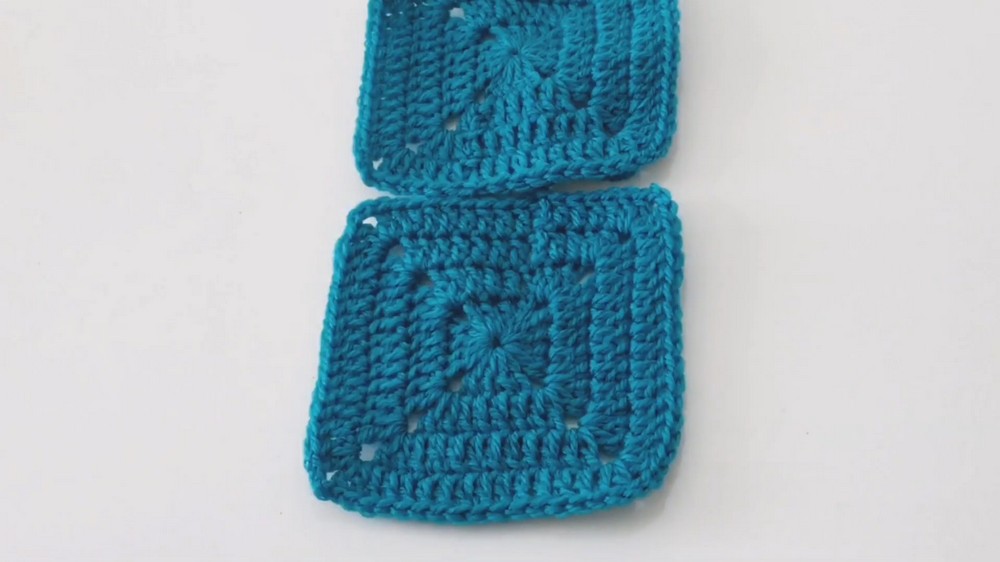
Conclusion
This large chubby Crochet Granny Square is a wonderful and simple project, perfect for creating standout items like blankets, cushions, or bags. With each round, the square grows symmetrically thanks to its clever corner increases. Whether you prefer a single-color project for simplicity or plan to play with vibrant colors, this pattern offers endless creative possibilities.