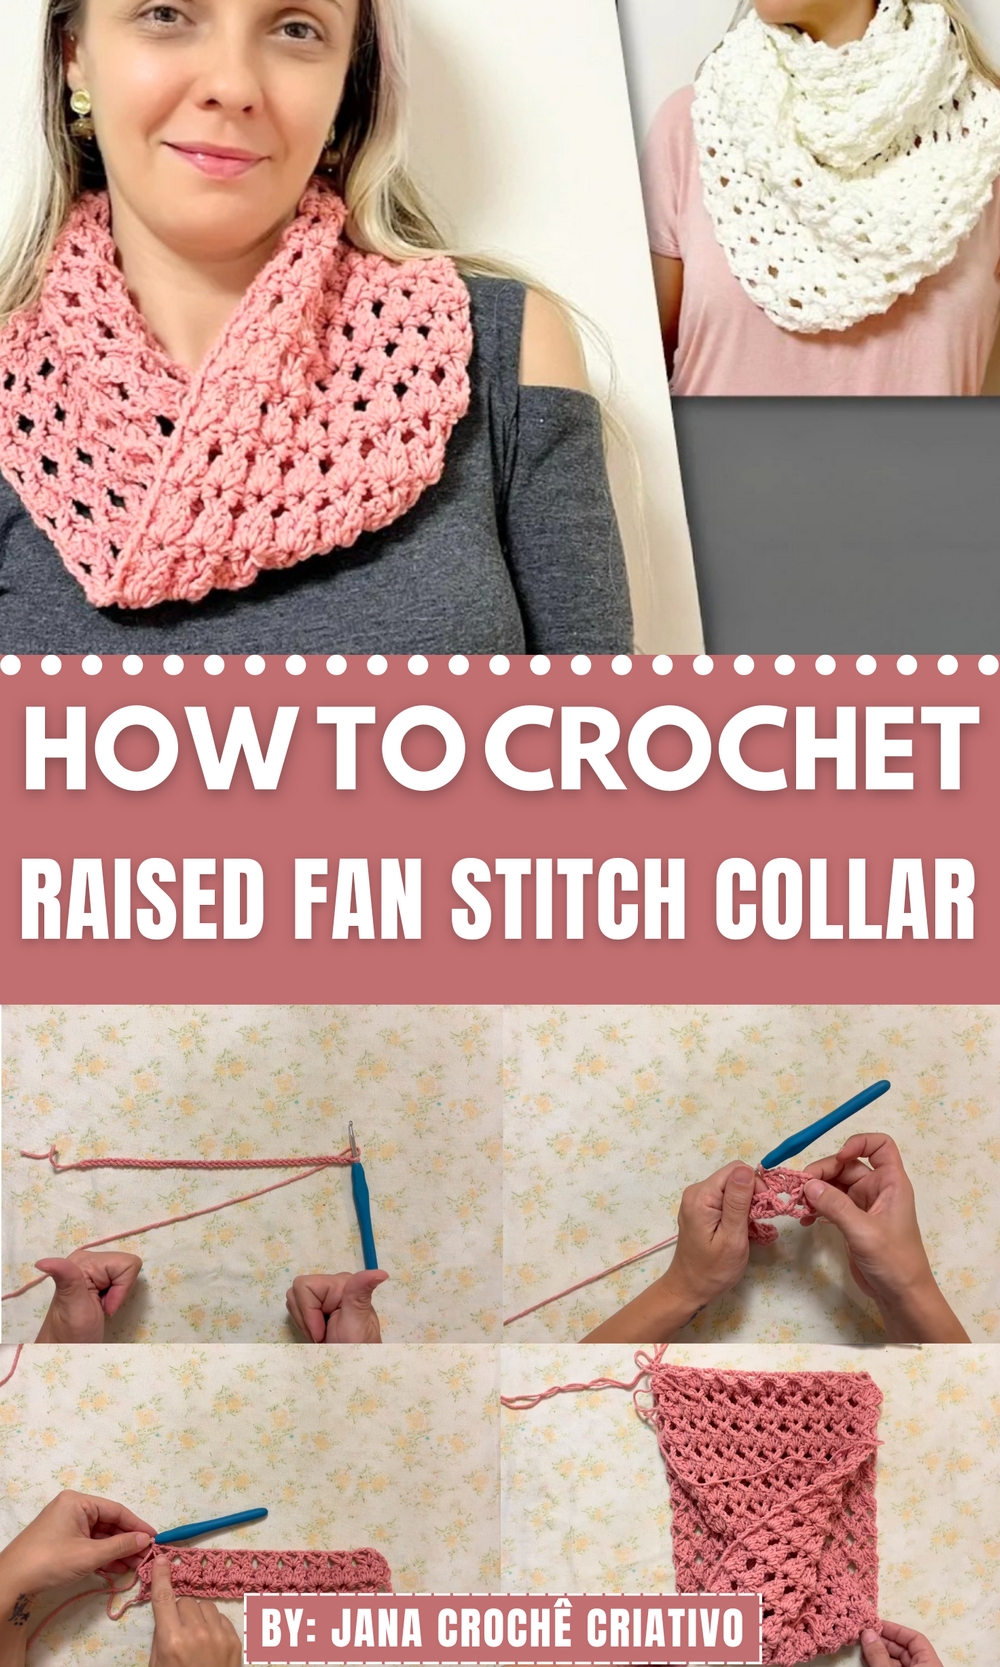
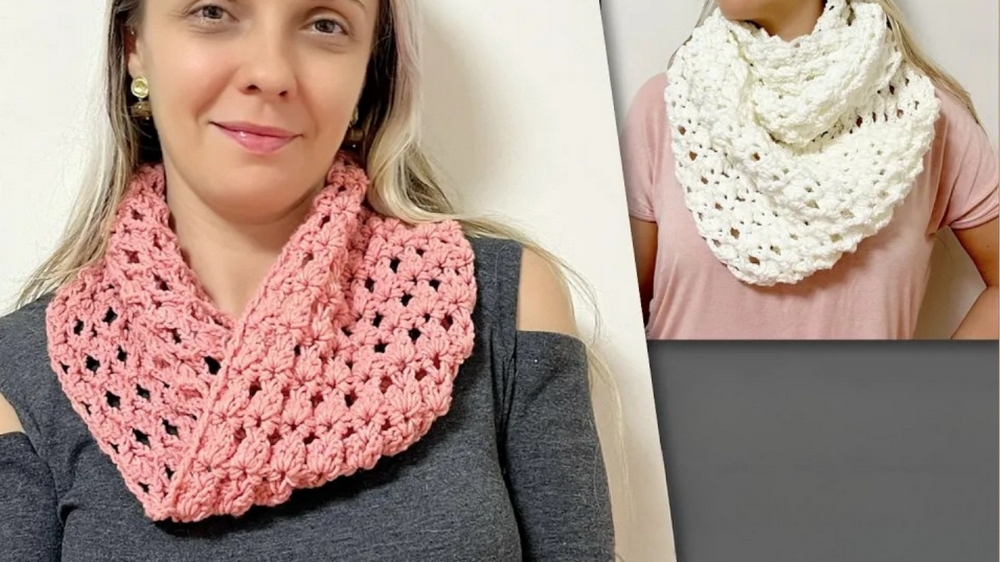
Enrich your style effortlessly using the Free Crochet Raised Fan Stitch Collar Pattern that adds texture and elegant charm to everyday or special outfits.
On cool afternoons, a delicate touch around the neckline can shift your entire outfit’s mood. Whether you’re dressing up a plain blouse or giving fresh life to a favorite sweater, the raised fan stitch collar brings structure and style in equal measure. This timeless stitch adds both texture and grace, standing out with its beautifully arched ridges and soft scallops. The use of lightweight yarn keeps the collar airy, while its raised effect draws just the right amount of attention.
Simple Grace Crochet Raised Fan Stitch Collar Pattern with Lasting Style
You’ll find this piece especially useful for layering, it’s removable, making it easy to pair with a variety of looks from casual to formal. Ideal for gifting or enhancing your personal wardrobe, the Free Crochet Raised Fan Stitch Collar Pattern offers a practical yet charming result that suits all seasons. The soft drape and adjustable fit mean comfort never has to be compromised.
Its distinct stitchwork gives it a signature appeal that sets it apart from typical neckwear. Whether you’re updating an outfit or making a fashion statement, this elegant collar lends a refined edge without overwhelming your overall look. Add it to your lineup for that perfect balance of classic detail and effortless versatility.
Materials Needed
- Yarn: Yarn with a tex of 500 (Jana used a burnt pink color).
- Crochet Hook: 4 mm crochet hook.
- Scissors: To trim the ends of your yarn.
- Tapestry Needle: Optional, for sewing closures or weaving in loose ends.
Features of the Collar
1. Design:
- The collar features V-stitches and fans, with raised double crochet stitches that create a textured and crumpled effect.
- It has a twisted design for a chic and elegant finish.
2. Adjustability:
- Ideal for creating single-loop or double-loop collars.
- Yarn flexibility is possible—adjust the base chain count to fit different textures or thicknesses of yarn.
3. Efficiency:
- The design is economical on yarn and quick to make—perfect for beginners or those making items for donation.
Step-by-Step Instructions
Step 1: Start with the Base Chain
- Create a foundation chain of 43 chains. Ensure the chains are loose (not too tight).
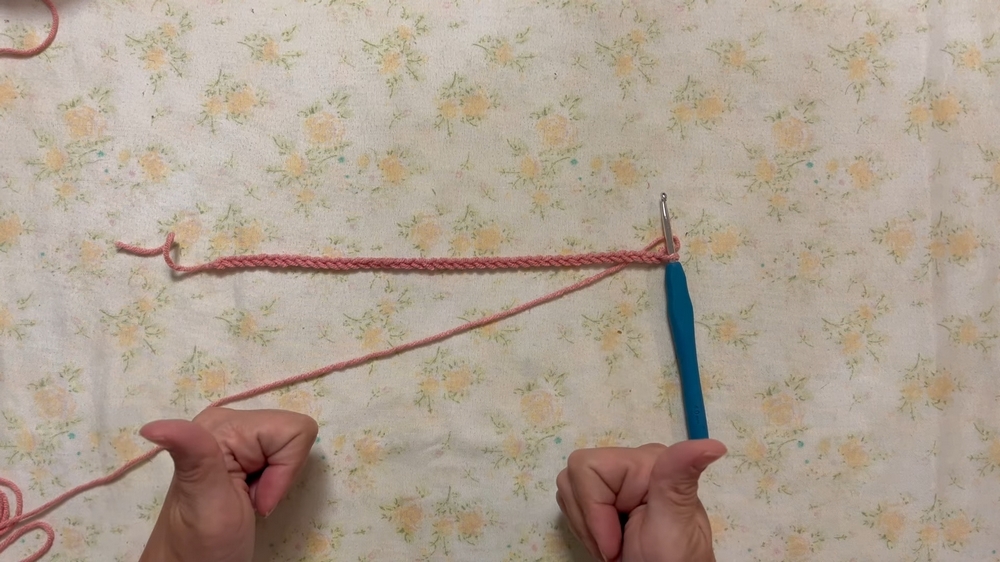
- Adjust the chain count based on yarn thickness:
- Increase or decrease chains in multiples of 4.
- Aim for the chain length to measure 20-25 cm.
Step 2: First Row (V-Stitches)
- Skip 6 chains from the hook and place a V-stitch in the 7th chain.
- A V-stitch consists of: [1 Double Crochet, 2 Chains, 1 Double Crochet].
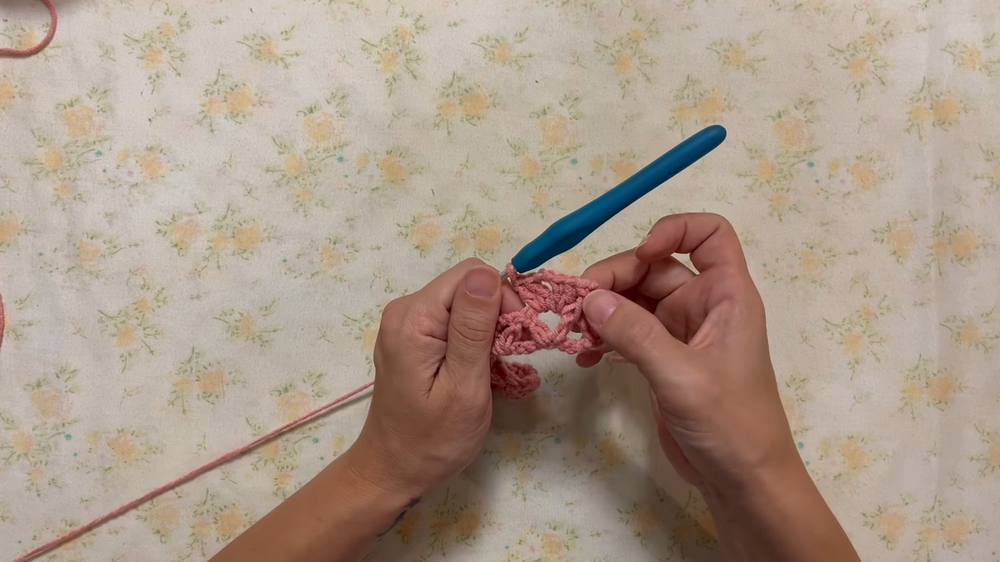
- A V-stitch consists of: [1 Double Crochet, 2 Chains, 1 Double Crochet].
- Skip the next 3 chains and repeat the V-stitch into the 4th chain.
- Continue until the end. At the final chain, add a double crochet for the border.
Step 3: Second Row (Fans and Raised Double Crochets)
- Turn the work, start with 3 chains for the first double crochet.
- Create a raised double crochet on the first double crochet of every V-stitch.
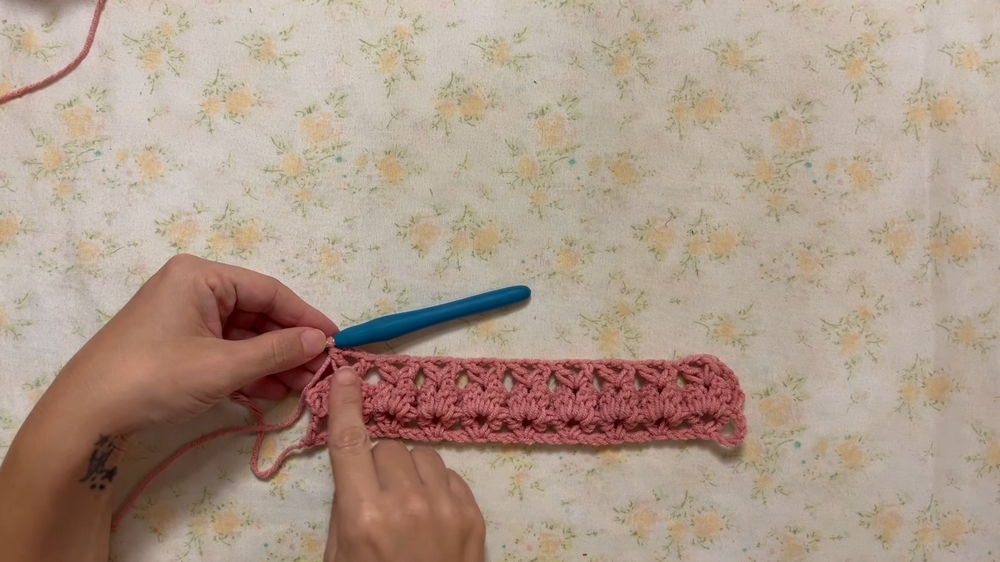
- Inside each V-stitch, crochet:
- [2 Double Crochets, 2 Chains, 2 Double Crochets] (forms a fan).
- End the row with another raised double crochet.
Step 4: Third Row (Repeat the V-Stitches)
- Alternate between a row of V-stitches and a row of Fans with Raised Double Crochets.
- Repeat until you achieve the desired collar length:
- Single Loop Collar: Approximately 65 cm long.
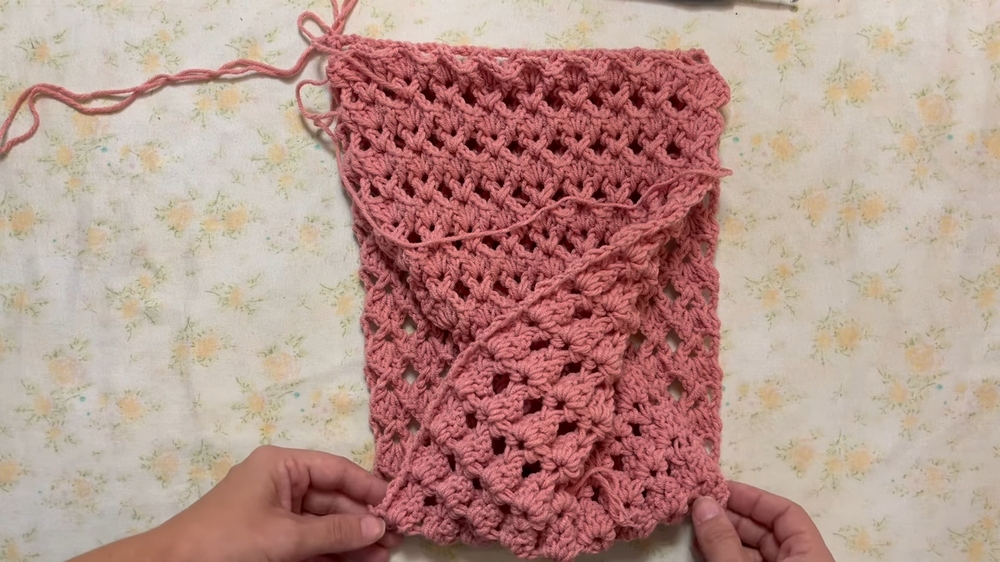
- Double Loop Collar: Make the collar longer to allow for two wraps.
- Single Loop Collar: Approximately 65 cm long.
Tutor’s Suggestions and Uses
- Ease of Use:
- Jana emphasizes the simplicity of this design, making it suitable for beginners transitioning to intermediate projects.
- Versatility:
- The collar can be styled as a single loop or a double loop for added warmth.
- Perfect for donating, as it is economical and functional.
- Adjustability:
- If your chains measure less or more than 20-25 cm with your yarn, adjust by adding/removing multiples of 4 chains.
- Efficiency:
- It requires less yarn than a full scarf, making it perfect for quick handmade gifts or charity projects.
Closure and Finishing
- Give a Twisted Closure:
- At the end of your desired length, fold the collar in half and twist one side once before sewing the ends together. This twist creates a unique and elegant look.
- Secure by stitching the corresponding V-stitches and Fan centers together.
- Final Details:
- Weave in all loose yarn ends with a tapestry needle to ensure a neat finish.
Level of Difficulty
- Intermediate: While beginners can attempt this pattern, it requires familiarity with basic stitches (chains, double crochets, slip stitches) and the ability to create raised stitches. Accurate counting is essential for symmetry.
Conclusion
The crochet collar is a perfect blend of style, warmth, and practicality. Creator design ensures that even with little time or material, you can create something beautiful and useful. Whether for personal use, gifting, or charity, this quick project provides a sense of accomplishment and joy.
Tip
If making the collar to donate, opt for a single loop design. It’s faster to make and uses less yarn, allowing you to create more items for those in need.

