Hook a colorful and handy crochet bottle holder with this pattern that is easy to carry, fun to make, and adds a unique touch of style to your everyday adventures.
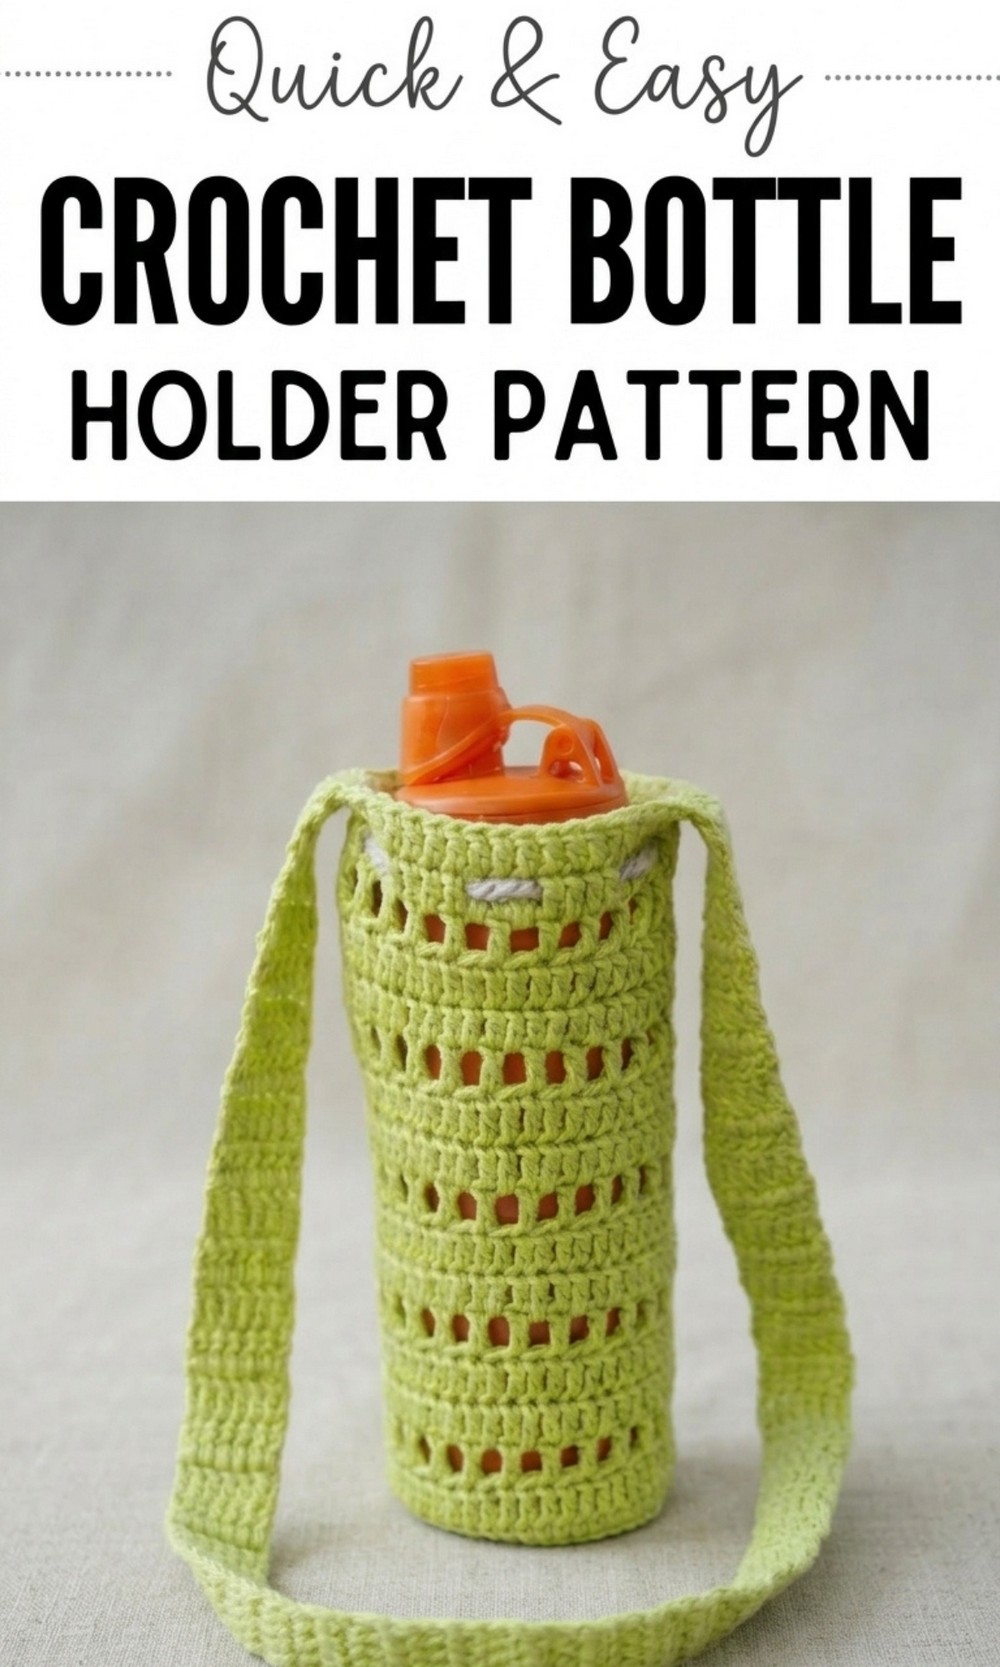
Quick Free Crochet Bottle Holder Pattern to Simplify Your Travels
Bottles are a part of our daily life—whether it’s for school, work, or outdoor adventures—and what if you could carry yours in style while adding a personal touch. This free crochet bottle holder pattern is the ultimate fun and practical project that anyone can enjoy.
It’s lightweight, strong, and fits bottles of different sizes perfectly, keeping them safe and easy to carry with its handy strap. Not only is it super useful, but its colorful, handmade design makes it unique and eye catching. 
Imagine showing off your own custom bottle holder wherever you go—how cool is that? It’s beginner friendly, easy to create, and makes a thoughtful gift for loved ones. Whether you’re hydrating on the go or sprucing up your accessories, this crochet bottle holder will quickly become your favorite item.
Crochet Bottle Holder Pattern
Materials Required
- Cotton Yarn: Approximately 50 grams (cotton is used for durability and better texture compared to acrylic). Select yarn weight that matches the bottle size you want to make the bag for.
- Crochet Hook: Size 3.F (adjust according to your yarn size if necessary).
- Scissors
- Stitch Markers (optional, for marking positions during the attachment of the strap).
- Darning Needle (optional, for weaving in ends).
Special Techniques
- Magic Ring: Used to start the base.
- Double Crochet (DC): The primary stitch used throughout the project.
- Slip Stitch (SL ST): Used to close rounds.
- Chain Stitch (CH): Used for transitions and mesh designs.
- Increasing: Adding extra stitches in the same space to expand the base.
Pattern Instructions
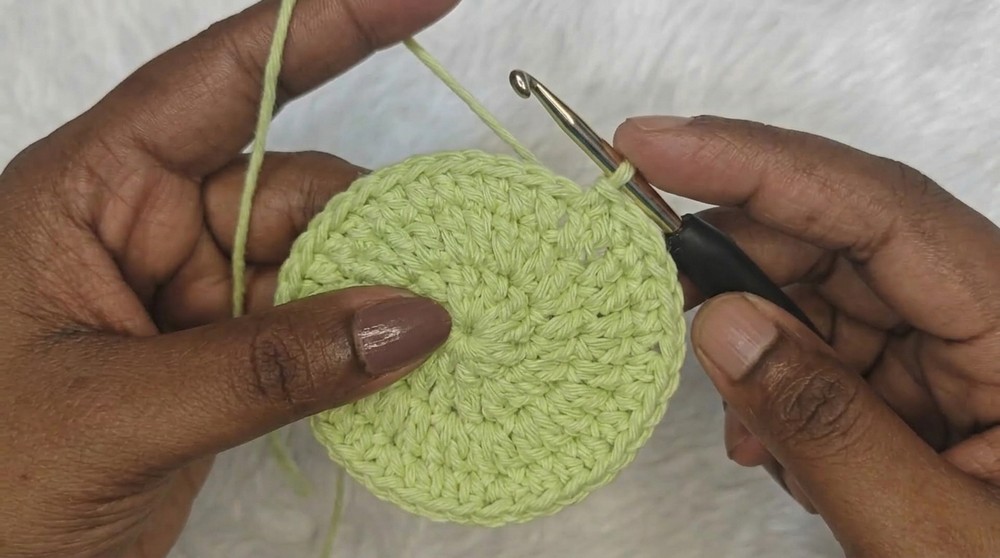
1. Base Construction
- Magic Ring Formation:
- Create a magic ring.
- Chain 2 (CH 2) to prepare for double crochets.
- Round 1:
- Work 12 double crochets (DC) into the magic ring.
- Slip stitch into the first DC to close the round.
- Pull the magic ring tightly to close the center hole.
- Round 2 (Increase Round):
- Chain 2 (CH 2).
- Work 2 DC into each stitch around. (Total: 24 DC).
- Slip stitch to close.
- Round 3 (Increase Round):
- Chain 2 (CH 2).
- Work 1 DC into the first stitch, then 2 DC into the next stitch. Repeat this pattern. (Total: 36 DC after the increase).
- Slip stitch to close.
- Round 4 (Increase Round):
- Chain 2 (CH 2).
- Work 1 DC into the first 2 stitches, then 2 DC into the next stitch. Repeat. (Total: 48 DC).
- Slip stitch to close.
- Check Measurements:
- Place the bottle base over the crocheted base.
- If the base fits appropriately, stop increasing. If required, work additional increase rounds following the same logic (e.g., 1 DC into the first 3 stitches, then 2 DC into the next stitch).
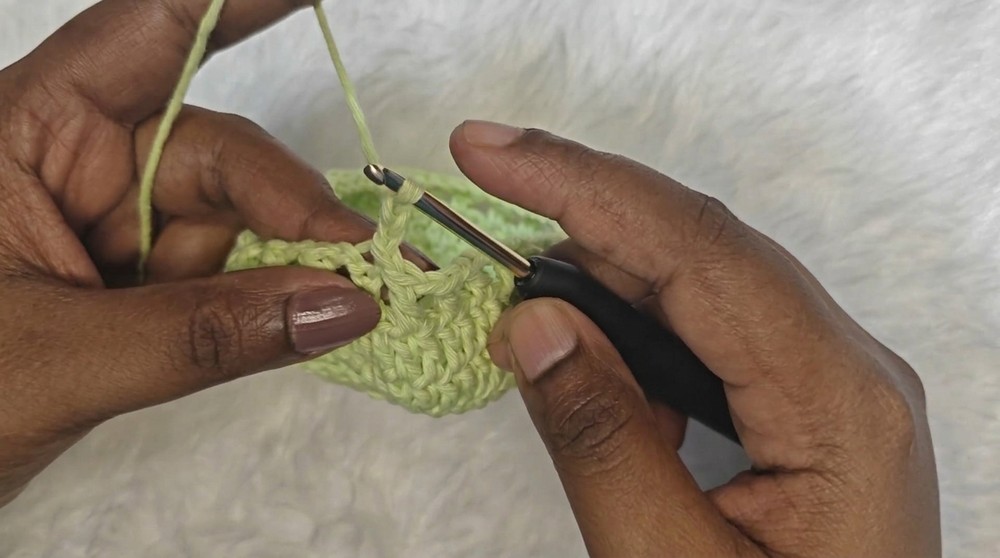
2. Height Construction
- Round 5 and Beyond:
- Chain 2 (CH 2).
- Work 1 DC into every stitch around the base without increasing.
- Slip stitch to close.
- Repeat this step for multiple rounds.
- Continue until the height accommodates your bottle fully.
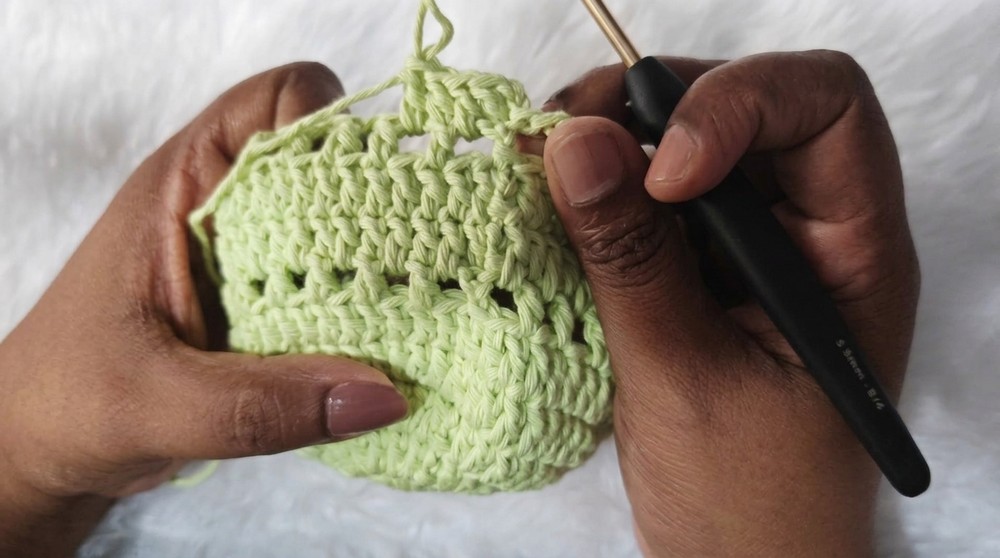
- Mesh Pattern Round (Optional for Decoration):
- Chain 4 (CH 4).
- Skip 2 stitches, then 1 DC into the next stitch.
- Repeat: Chain 1 (CH 1), skip 1 stitch, 1 DC into the next stitch.
- Close the round with a slip stitch into the third chain of the starting chain.
- Rebuilding Solid Rows:
- After mesh rows, return to solid rows:
- Chain 2 (CH 2).
- Work 1 DC into every stitch space and gap created in mesh rows.
- After mesh rows, return to solid rows:
3. Strap Construction
- Starting the Strap:
- Chain 2 (CH 2).
- Work 6 DC in the center area of the last row (calculate evenly to place the strap symmetrically).
- Creating Strap Length:
- Chain 2 (CH 2) and turn.
- Work 6 DC.
- Repeat this row until the desired strap length is achieved, ensuring it suits your convenience for carrying.

- Attaching the Strap:
- Use the opposite side of the bag for attachment.
- Ensure symmetry by dividing the rows equally.
- Use stitch markers or a needle to attach the strap securely with slip stitches or sewing.
4. Finishing
- Securing Ends:
- Weave in all loose ends using the darning needle or hook through nearby stitches.
- Tighten any loose stitches (e.g., magic ring tail or slip stitch areas).
- Final Inspection:
- Check symmetry, strap placement, and ensure the bottle fits snugly inside the bag.

- Check symmetry, strap placement, and ensure the bottle fits snugly inside the bag.
Care Tips
- Washing: Use mild handwashing techniques for cotton yarn to maintain its shape; avoid machine drying.
- Measurements: Always check measurements after each increase round for accurate fit.
- Durability: Reinforce the strap stitches to ensure they hold weight over time.
Final Words
This crochet bottle bag pattern is not just functional but also adds a touch of handmade creativity to your daily essentials. Whether you’re traveling or gifting, the bag pays homage to both utility and beauty. Modify the pattern as needed by adjusting colors, strap styles, or decorative techniques like mesh rows.