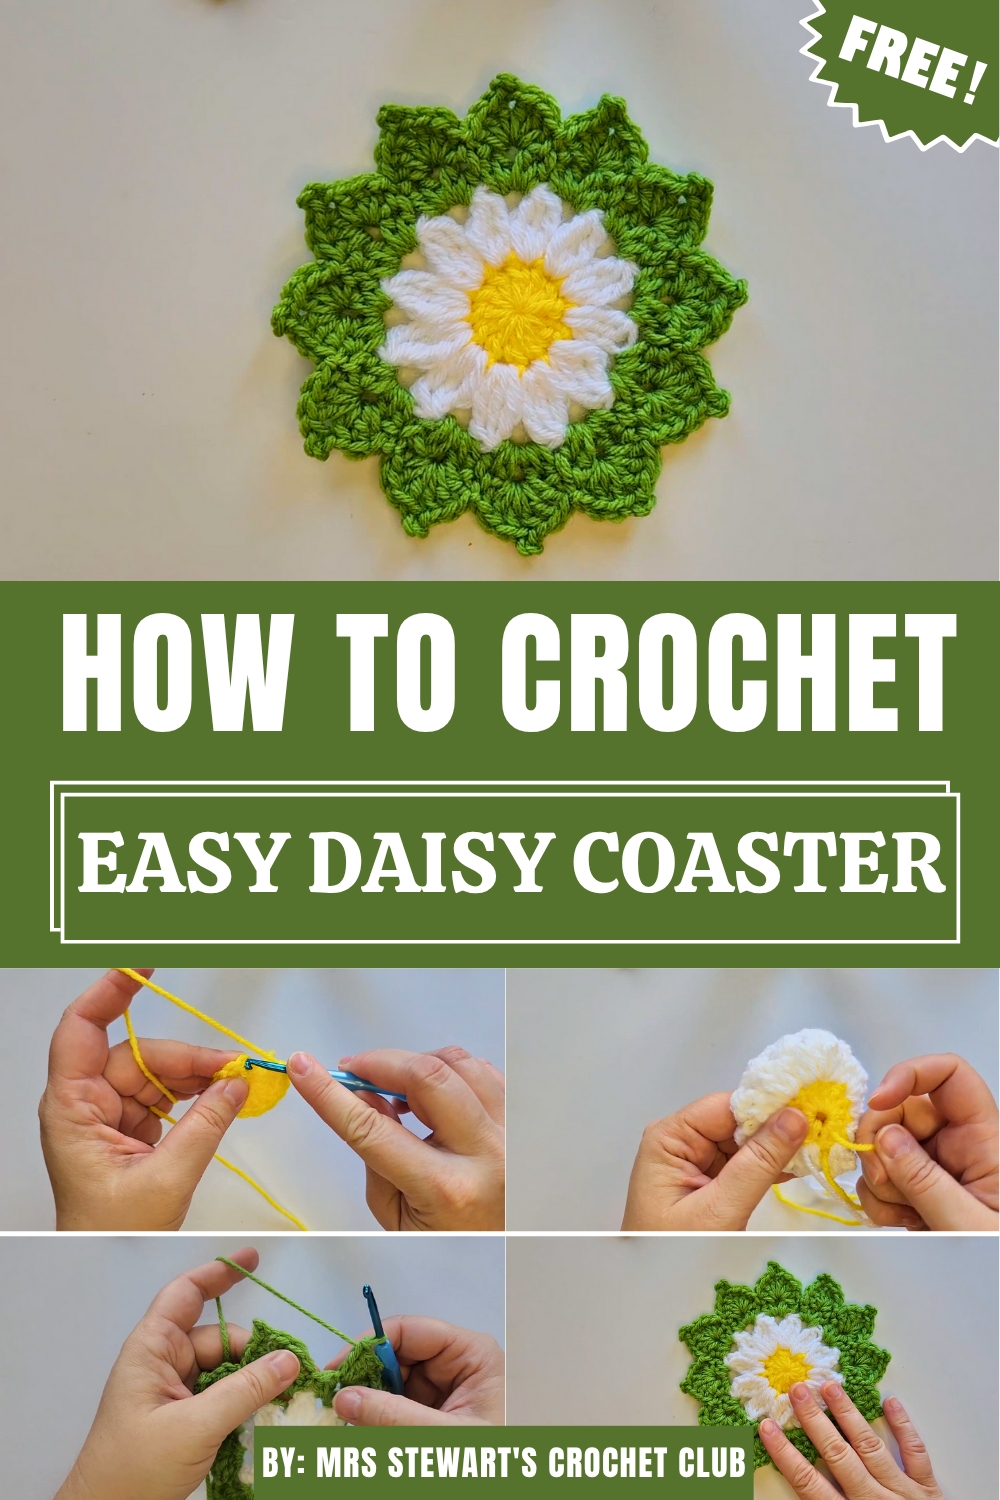
Bring charm to your home with this free crochet Daisy Coaster Pattern, combining simplicity and elegance, ideal for beginners and thoughtful gifts.
Brighten up your home decor with a beautiful and functional crochet creation that brings a touch of nature indoors. A daisy coaster design is not only visually appealing but also incredibly versatile. These charming coasters can protect your tables from drink spills while adding a cheerful and playful floral accent to any space.
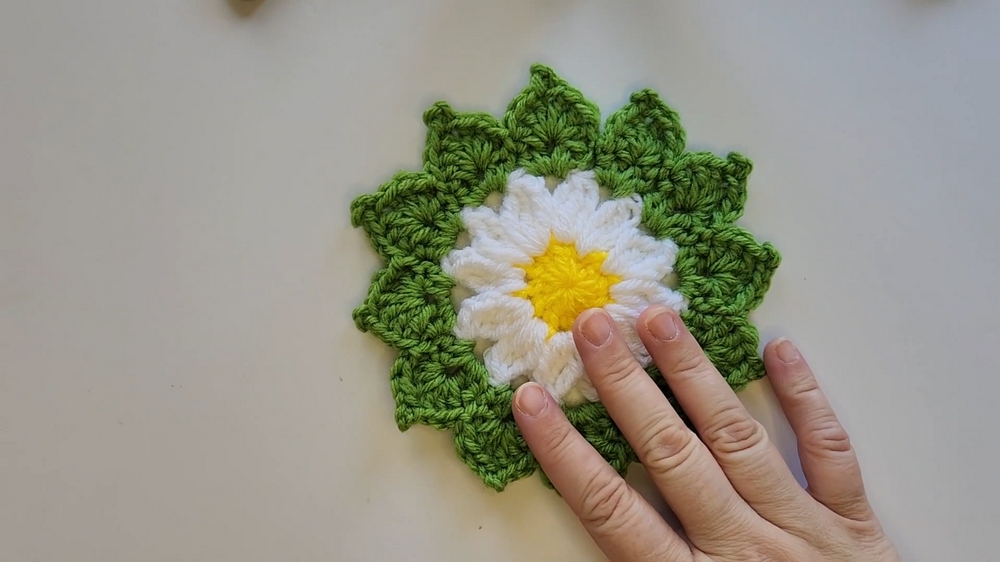
Charming Crochet Daisy Coaster Pattern You’ll Adore
Perfect for spring and summer themes, these handmade pieces are ideal for gifting, showcasing your crochet skills, or simply adding a personalized touch to your surroundings.
One of the best things about this project is its adaptability. You can customize colors, yarn textures, and sizes to match your style or fit seasonal themes. Not only does this pattern stimulate creativity, but it also provides a relaxing and fulfilling experience for crocheters who enjoy making things with their own hands.
How to Crochet a Beautiful Daisy Coaster Step-by-Step
Materials Needed
- Yarn: Three colors (Yellow, White, and Green recommended to create the daisy design).
- Yellow – For the center of the flower.
- White – For the petals.
- Green – For the outer decorative border.
- Crochet Hook: Use a 4mm crochet hook, though the size can be adjusted based on the yarn or your preference.
- Darning Needle: To weave in loose ends for a cleaner finish.
- Scissors: For cutting the yarn after each section.
Uses of the Daisy Coaster
- Protects surfaces from hot or cold drinks.
- Adds a vibrant and decorative touch to coffee tables, tea sets, or dining tables.
- Can be gifted as part of a hand-made gift set for occasions like Mother’s Day, birthdays, or housewarmings.
Special Features of the Daisy Coaster
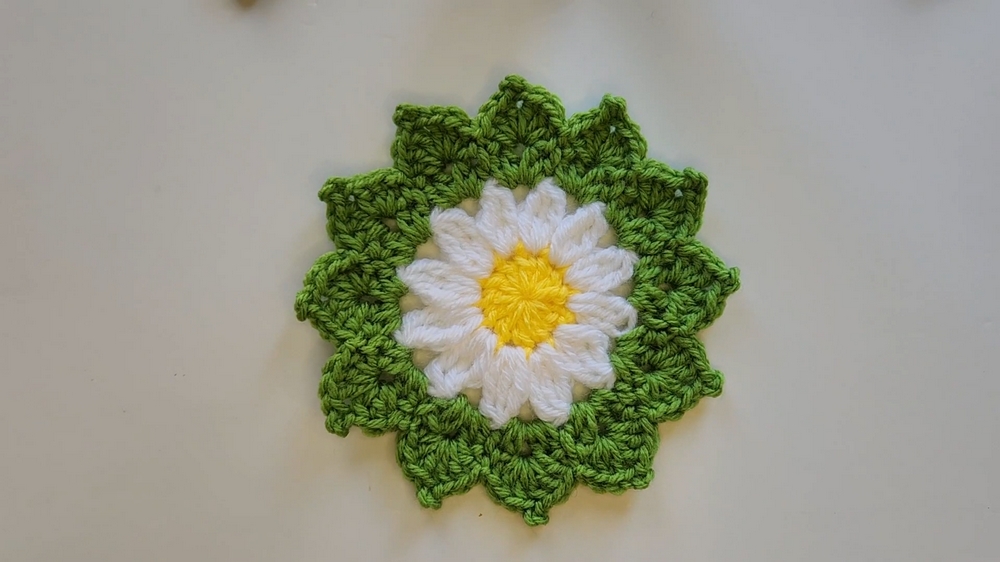
- The design resembles a pretty daisy flower, making it both functional and visually appealing.
- Uses simple crochet techniques, including a magic ring, double crochet, treble crochet clusters, and half-double crochet.
- The outer green border adds a unique “leaf-like” detail with pointed edges, thanks to the picot stitch.
Step-by-Step Crochet Instructions
1. Start with the Yellow Center (Round 1)
- Technique: Begin with a magic ring, hold the tail of the yarn, and create an “X” on your fingers.
- Slip the hook under the first loop, over the second loop, and twist it to start your chain.
- Chain 1 and make 12 double crochets (DC) into the magic ring. Ensure your loop stays tight.
- Close the round by connecting to the first stitch using a slip stitch.

- Fasten off your yarn and secure it with a knot.
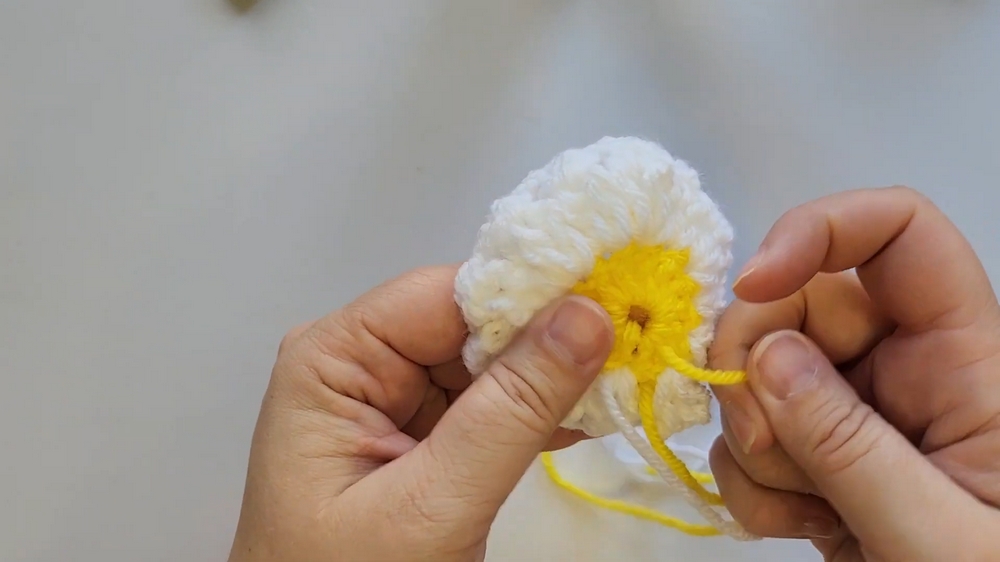
2. Create the White Petals (Round 2)
- Attach the white yarn to any stitch from the previous round.
- Chain 2 (this counts as the first treble crochet).
- Work 2 treble crochets together into the same stitch to form a treble crochet cluster.
- Yarn over twice, insert the hook into the stitch, pull up a loop, and pull through two loops at a time until all three stitches are joined into one.
- Chain 2, then repeat the pattern around, forming 12 petals in total.
- At the end of the round, connect to the first stitch and fasten off your yarn.
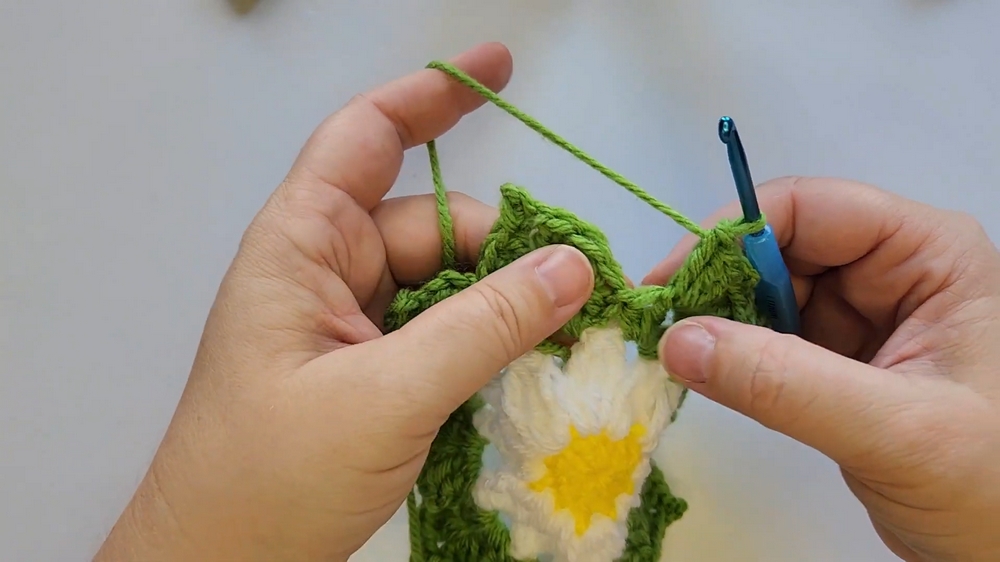
3. Add the Green Border (Round 3)
- Attach your green yarn to any chain-two space from the petals round.
- In each chain-two space, crochet:
- 2 half-double crochets (HDC),
- Chain 1,
- 2 more half-double crochets.
- Skip to the next chain-two space and repeat this pattern.
- Continue until you complete the circle and connect the last stitch to the starting point.
4. Complete the Leafy Outer Edge (Round 4)
- In the chain-one spaces from the green border:
- Crochet 3 double crochets (DC).
- Create a picot stitch by chaining three and slipping the hook into the first chain.
- Crochet 3 more double crochets in the same space.
- Skip one stitch and slip into the next to anchor the leaf.
- Continue this pattern around the entire piece.
- Close the final stitch, fasten off, and weave in any remaining yarn tails.
Level of Difficulty
- Beginner-friendly: This tutorial is well-suited for crocheters with basic skills. While it uses some advanced stitches (like clusters and picots), they are explained step-by-step.
- The project can take 30 minutes to 1 hour to complete, depending on your skill level and speed.
Tutor’s Suggestions
- Use a 4mm hook, but feel free to adjust the size if using different yarn weights.
- Keep your tension consistent for a more polished result.
- The tutor emphasizes knotting and weaving ends securely to avoid unraveling.
- Blocking is optional but can help flatten and shape the coaster if needed. Wet the piece lightly and pin it in place on a soft board to dry.
Conclusion
This daisy coaster project is a quick, rewarding, and creative way to add charm to your home or create a personalized handmade gift for someone special. The combination of cheerful colors and a simple design makes this project adorable and customizable. Whether you’re making a single coaster or a complete set, this project is guaranteed to impress.
Extra Tip
If you’re gifting these coasters, consider packaging them in a cute bundle tied with a ribbon or pairing them with a thrifted teacup for a complete tea-time-themed gift set. You can also experiment with seasonal colors or different yarn textures for variation!