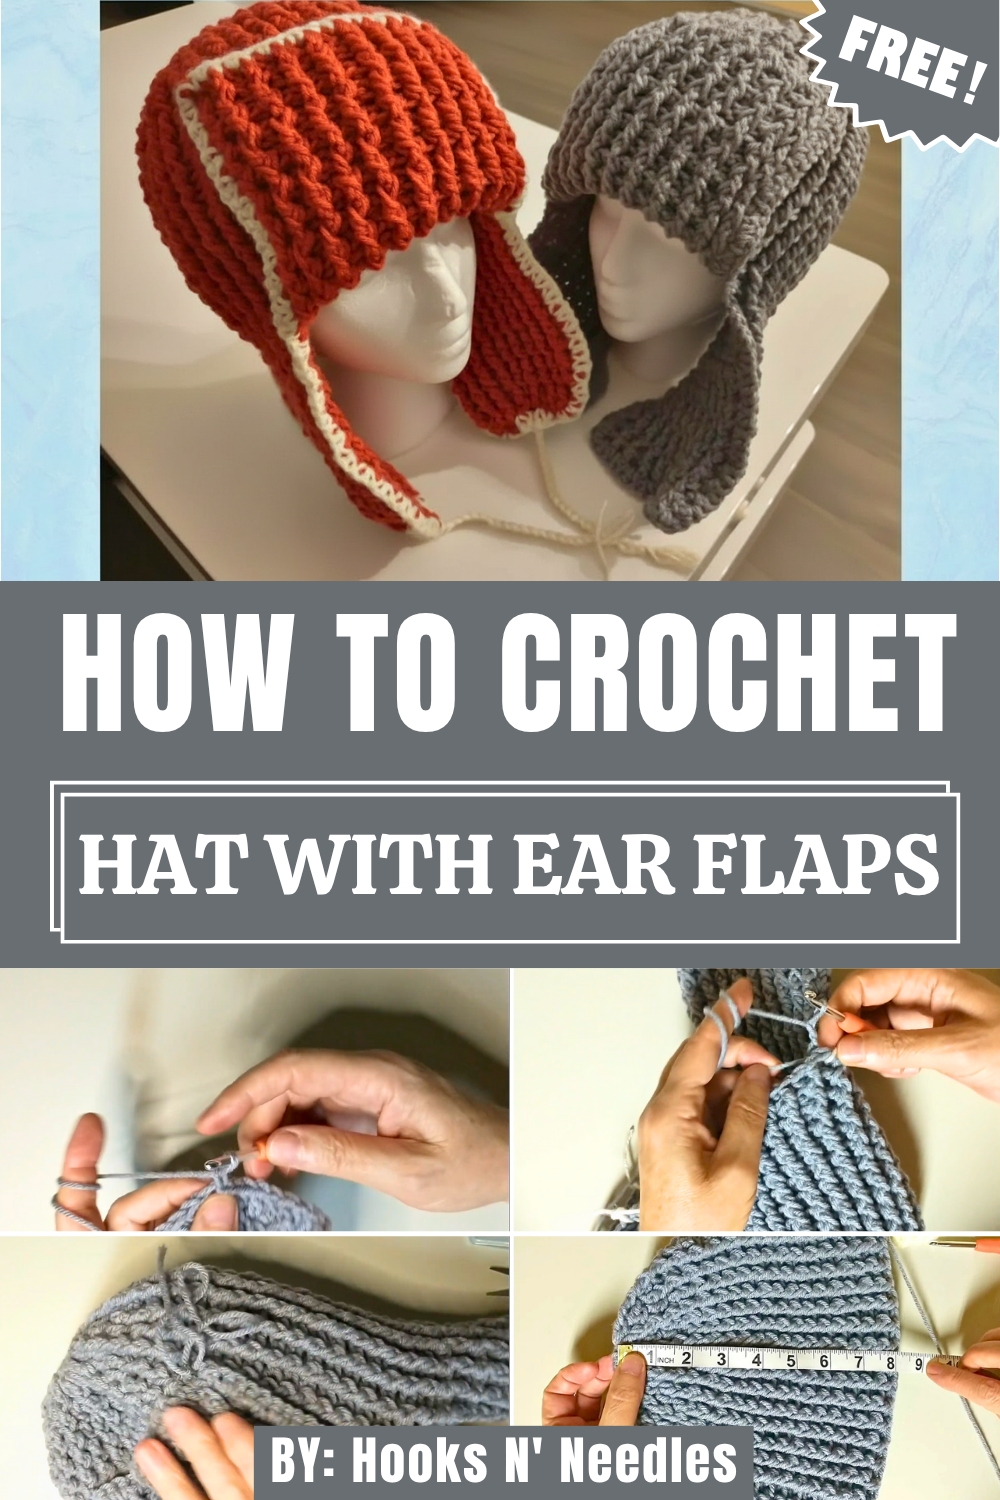
Keep cozy in style with the Free Crochet Hat with Ear Flaps Pattern, a handmade accessory that adds warmth, charm, and playful winter vibes.
As the temperatures drop and the frost settles in, nothing compares to the comfort of a thoughtfully handmade accessory. The crochet hat with ear flaps stands out not only as a practical winter essential but also as a piece of art that blends warmth with timeless elegance. Perfect for braving icy winds or adding charm to your outdoor attire, its textured design and snug earflap detail offer a balance of style and functionality.
How to Crochet Hat with Ear Flaps Pattern Step by Step
This hat provides a unique beauty that complements winter ensembles while keeping the chill at bay. With every stitch, it carries a sense of personal care, turning yarn into a comforting shield for chilly days. Its versatility shines whether you wear it on snowy wanderings, casual outings, or as a cozy companion during seasonal festivities.
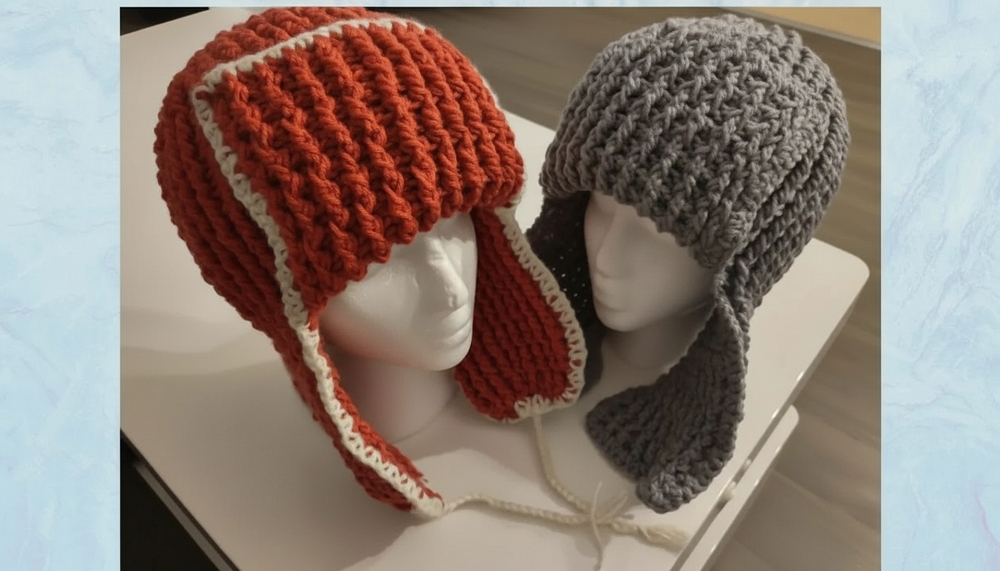
Constructing the hat allows creativity to flow, from crocheting the textured body to shaping the earflaps with precision. Using techniques like front and back post double crochets, you can add a striking visual detail to the design, while personalizing it with pom-poms or braided strings ensures a touch of individuality. Each careful stitch reflects the warmth and charm of handmade artistry, making the creation process as delightful as the finished accessory itself.
Materials Needed
- Yarn: Red Heart Comfort Yarn
- Crochet Hook: Size 5 mm
- Optional Decorations: Pom-poms, buttons, or yarn for strings
- Stitch Markers: For marking key points on the hat
- Measuring Tape: To ensure proper sizing
Step-by-Step Guide
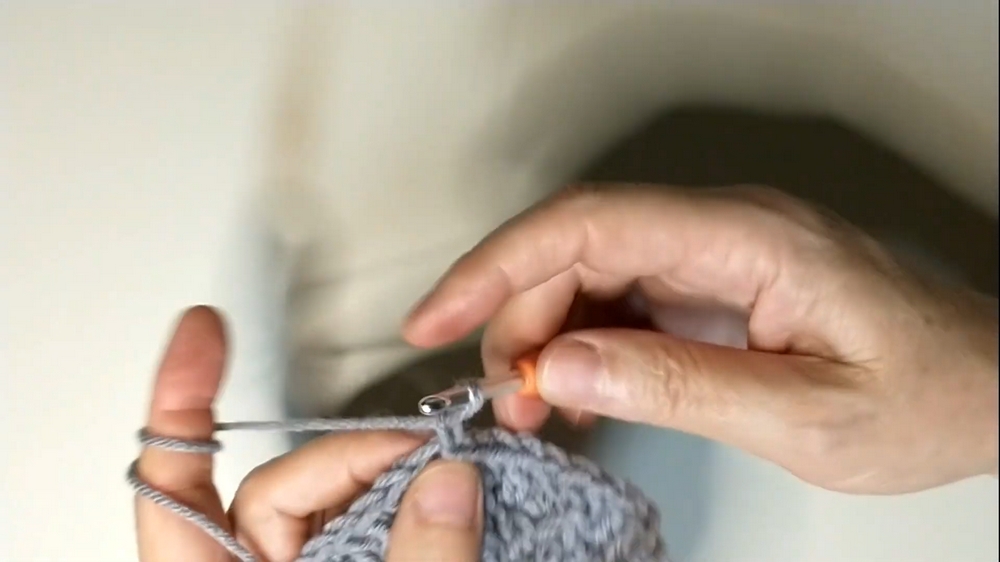
1. Create the Base Circle
- Chain Four: Start by chaining four.
- Form a Circle: Slip stitch into the first chain to form a circle.
- Single Crochets: Make 12 single crochets into the circle.
- Double Crochet Increase: In the next row, create 24 double crochets by working two double crochets into each stitch.
2. Build the Main Body of the Hat
- Start Adding Texture: Alternate between two double crochets in one stitch and a front post double crochet for subsequent rows.
- Increase Per Row: At the end of each row, the number of stitches will increase. For example:
- Row 3: Two double crochets and one front post double crochet (48 stitches).

- Row 4: Three double crochets and one front post double crochet (60 stitches).
- Stabilize Stitches: From Row 6 onward, switch to front and back post double crochets without adding more stitches. Maintain a consistent 72 stitches across all rows.

3. Add Earflaps
- Mark Sections:
- Skip 5 stitches for the back of the hat.
- Count 19 stitches for each earflap.
- Leave 24 stitches for the front of the hat.
- Create the First Earflap:
- Start with 19 stitches (marked), continuing in front and back post double crochet.
- Work until the earflap measures 6–6.5 inches.
- Create the Second Earflap:
- Repeat the process on the opposite side using the marked stitches.
- Ensure symmetry for both earflaps.

4. Add the Hat Border
- Use single crochet stitches around the edge of the hat and earflaps to create a clean, polished border.
- Add extra single crochets on curved edges for a smooth finish.
Special Features
- Customizable Details: Personalize your hat by adding pom-poms, buttons, or braided strings.
- Comfortable Fit: The earflaps ensure warmth and snug coverage.
Tutor’s Suggestions
- Use stitch markers to avoid confusion when shaping earflaps and marking sections.
- Adjust the depth of the hat based on measurements for a perfect fit.
- Work slowly on front and back post double crochets if you’re a beginner in textured patterns.
Uses
The earflap hat is excellent for cold weather, outdoor activities, or as a handmade gift. Its practical design and customizable features allow it to suit various preferences and styles.
Tip
When adding strings to the earflaps, ensure all yarn pieces are of equal length (around 20 inches). Secure with a firm knot and braid tightly for durability.
Conclusion
This tutorial makes crocheting an earflap hat approachable for intermediate crocheters, with clear steps to achieve a professional look. The pattern offers room for creativity, allowing you to make a unique and versatile cold-weather accessory. Use it, gift it, or take pride in a satisfying crochet project!