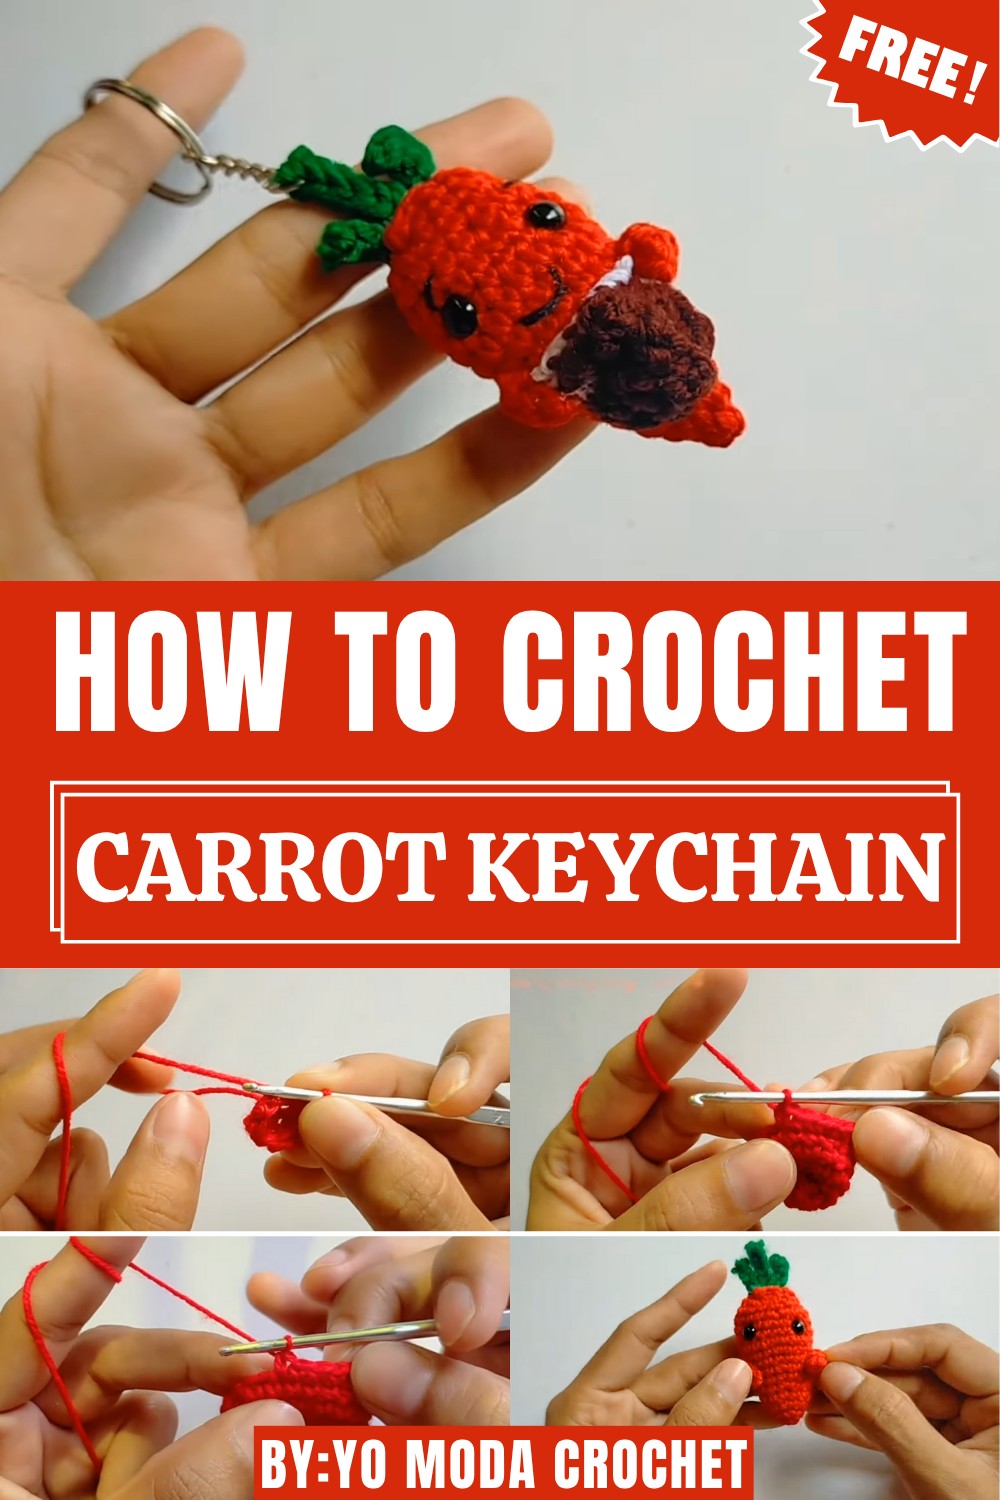
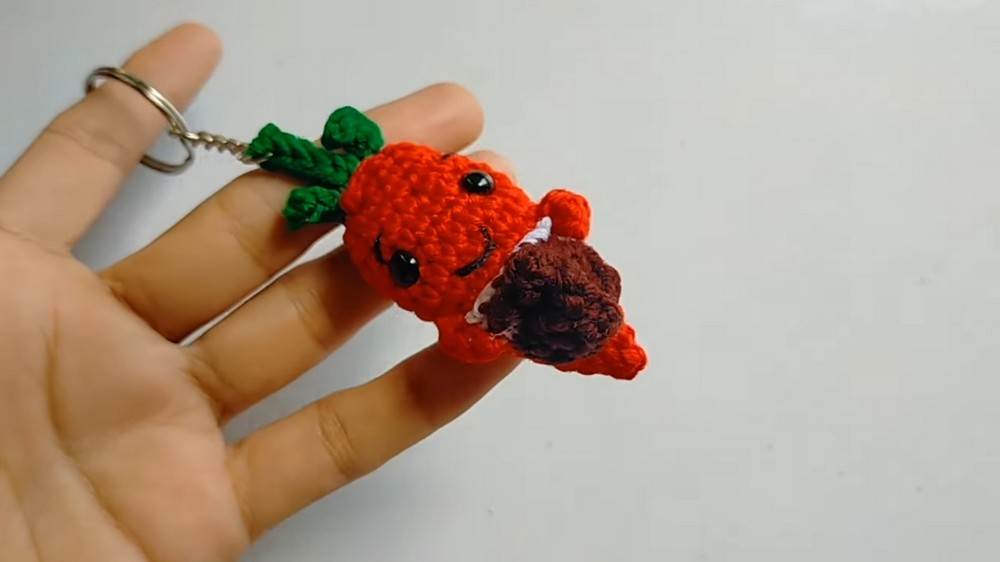
Fresh vibes pop with this Free Crochet Carrot Keychain Pattern, ideal for playful gifts, cute accessories, or adding a cheerful touch to your keys.
Did you know that adding small, handmade touches to everyday items can bring a sense of charm and personality to your life? The Free Crochet Carrot Keychain is a perfect example of this, combining functionality with whimsical beauty. This delightful accessory reflects creativity and care in its design, featuring a bright orange body and leafy green top that instantly catches the eye. Beyond its aesthetic appeal, this keychain serves both as a fun conversation starter and a practical way to keep your keys or bags organized and stylish.
Sweet Stitch Crochet Carrot Keychain Pattern for Fun Gifts
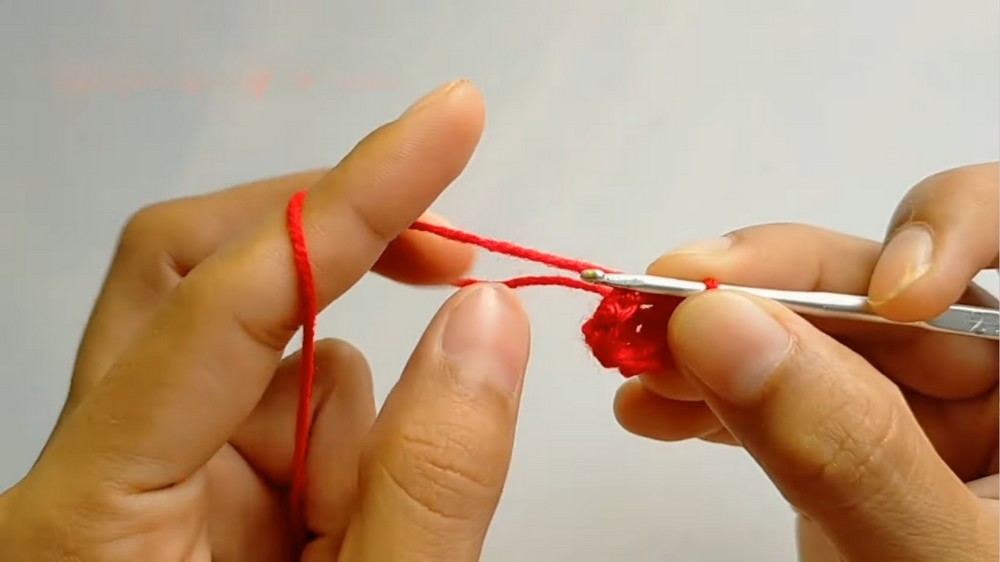
The process to create this carrot keychain is surprisingly simple and requires only basic crochet techniques, making it an accessible project for beginners while still being enjoyable for seasoned enthusiasts.
Utilizing a magic ring, single crochet stitches, and some straightforward shaping, you’ll have a manageable yet rewarding creation to hold in your hands. With minimal materials such as orange and green yarn, a crochet hook, and a little stuffing, this project is quick to complete yet full of delightful details.
Perfect for seasonal gifts, decor, or simply adding a splash of personality to your belongings, the carrot keychain showcases how small, thoughtful touches can make a big impact.
Its compact, durable nature ensures it will travel effortlessly, complementing your style wherever you go. With this playful carrot charm, you’ll bring brightness and joy to the everyday.
https://youtu.be/wY0zMzwa7pI
Materials and Tools
The following are the materials and tools required for this project:
- Yarn (Orange): 3-ply wool for the main carrot body.
- Yarn (Green): 3-ply wool for the leaves and top.
- Yarn (White): Used for the decorative edging on the top.
- Hook: A 2.5 mm crochet hook.
- Eyes: 6 mm safety eyes with security backs.
- Stuffing: Polyester fiberfill (stuffing material).
- Other Tools: Scissors, a tapestry needle for sewing and weaving in ends, and glue (to secure elements like the eyes and decorative tufts).
Level of Difficulty
- Beginner/Intermediate: The pattern relies on fundamental stitches (SC, INC, DEC) which are suitable for beginners. However, the precise counting required for the continuous increase and decrease rounds, along with the detailed assembly of the eyes and leaves, elevates the project slightly towards an intermediate level.
Special Features
- Conical Shaping: The pattern masterfully uses a consistent increase/decrease sequence to perfectly form the carrot’s triangular/conical shape.
- Cute Facial Design: The placement of the 6 mm safety eyes between Rounds 10 and 11, with a 4-stitch gap, gives the finished piece a signature cute, cartoonish expression.
- Textured Finish: The final touch involves adding small tufts of yarn to the body using a needle, which creates a textured, fuzzy surface on the finished carrot.
Tutor’s Suggestions and Uses
- The primary use is a keychain (keyring) accessory.
- It can also be used as a charming bag or backpack charm or a small decorative item.
- The tutor suggests focusing on the shaping by accurately following the increase and decrease patterns.
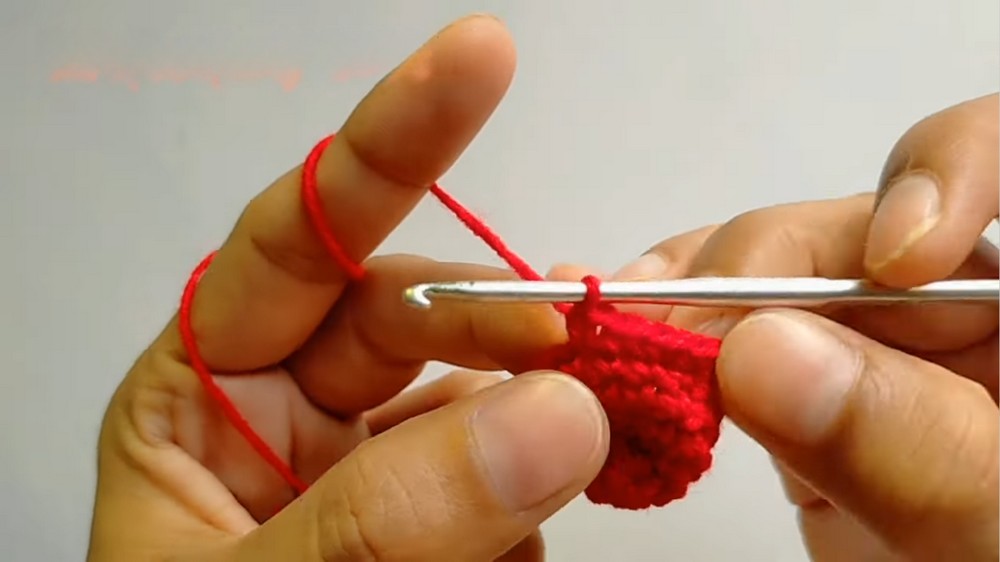
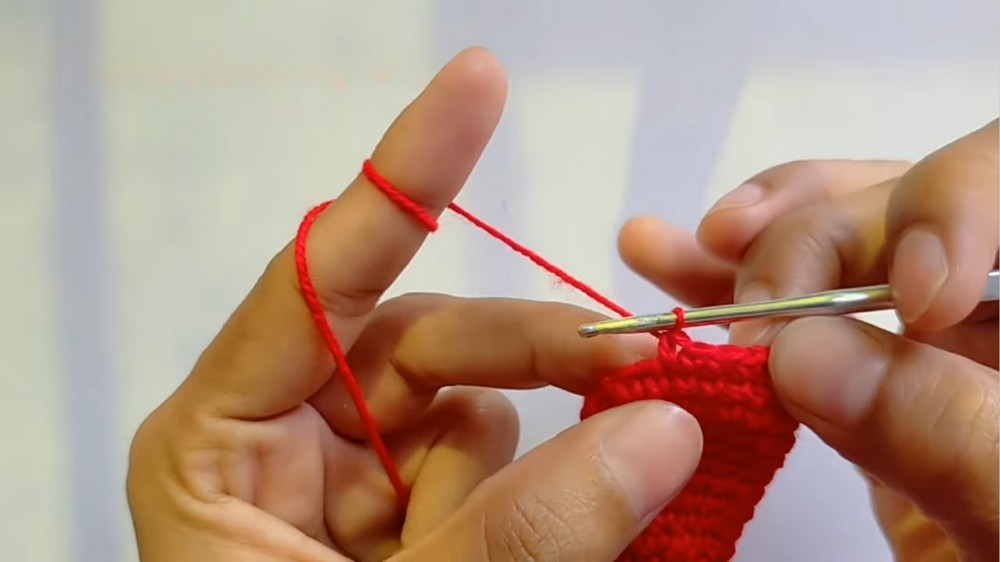
Step-by-Step Details
Presents a step-by-step tutorial for crocheting a small, charming carrot keychain. Using basic amigurumi techniques—primarily single crochet, increases, and decreases—the project creates the carrot’s distinct conical shape and texture. It’s a fun and quick project that results in a delightful, finished accessory.
Conclusion
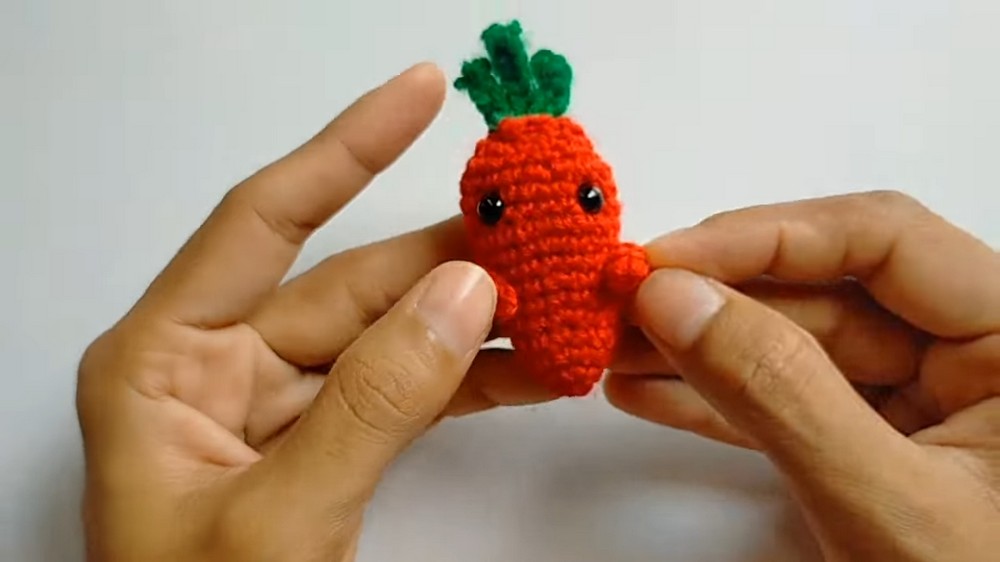
The result of following these steps is an enchanting, personalized crochet carrot keychain. Its compact size and cheerful face make it a perfect quick project and a wonderful accessory for keys or bags. The combination of simple shapes and detailed finishing (like the texture) results in a highly professional and adorable finished piece.
Tutor’s Tip
To ensure the carrot holds its perfect conical shape, stuff the tip firmly right at the beginning of the project, even before you start the main decrease rounds. A well-stuffed tip prevents the cone from flattening or losing its defined point as you finish the rest of the body.