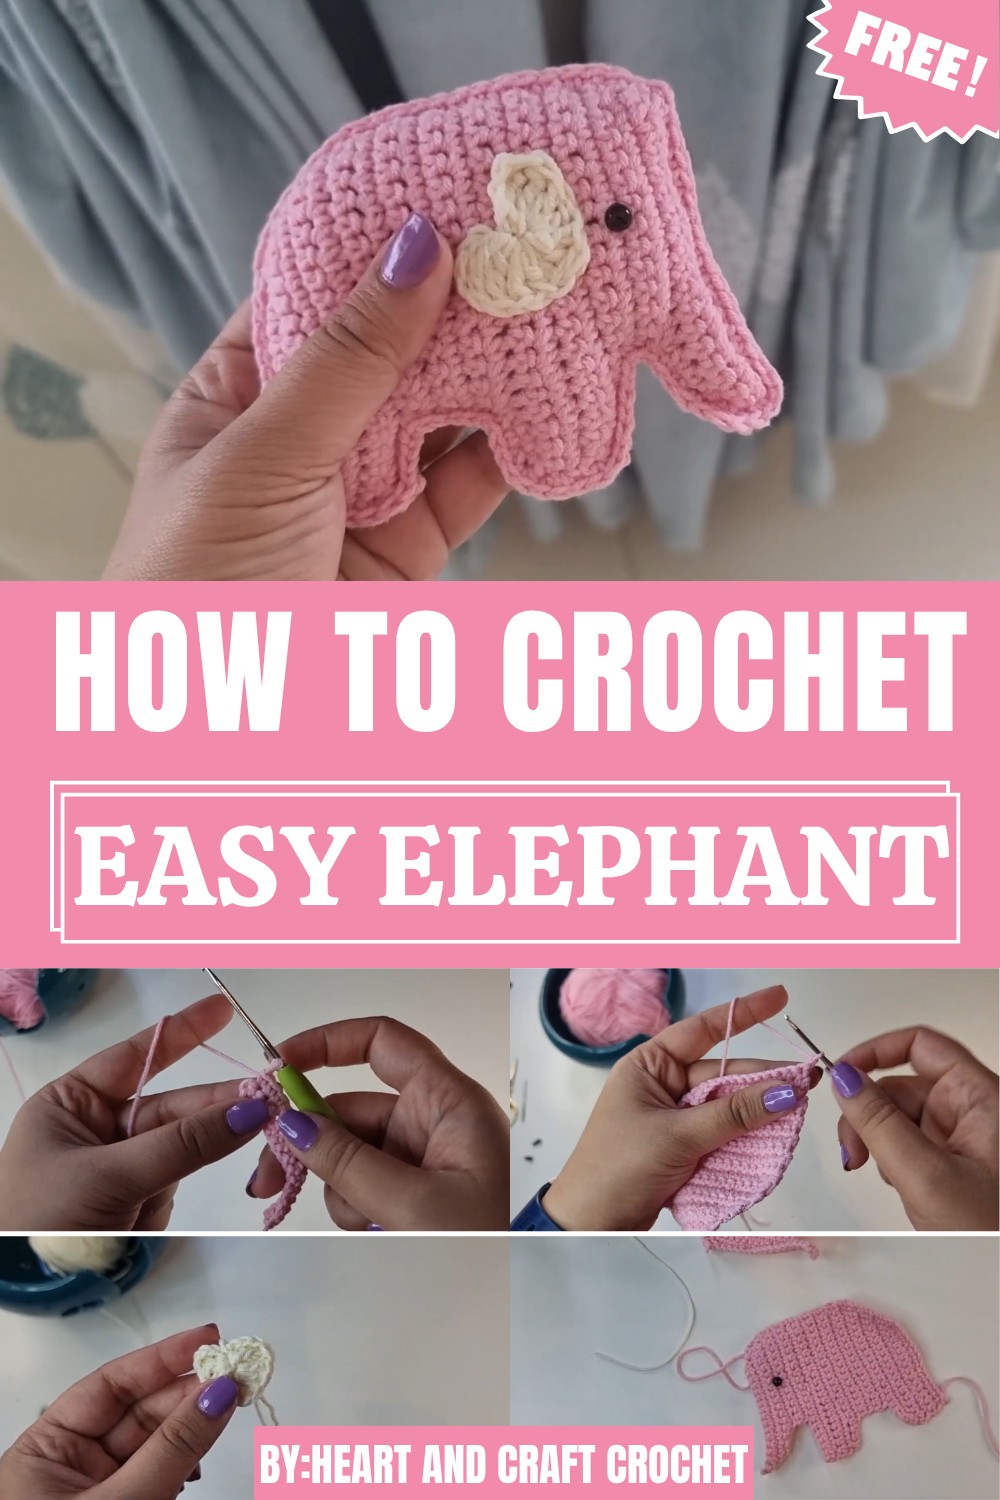
Charm every corner with the Free Crochet Elephant Pattern, a cute and lovable design that adds warmth and personality to gifts or home decor.
Soft toys often hold a special place in memories, symbolizing comfort, care, and imagination. The Free Crochet Elephant Pattern brings this sentiment to life through gentle curves, thoughtful details, and a design that radiates warmth. With its floppy ears, rounded body, and charming expression, this handmade elephant captures attention as both a toy and a decorative keepsake. Its versatility makes it perfect for children’s nurseries, baby showers, or even as a meaningful handmade gift.
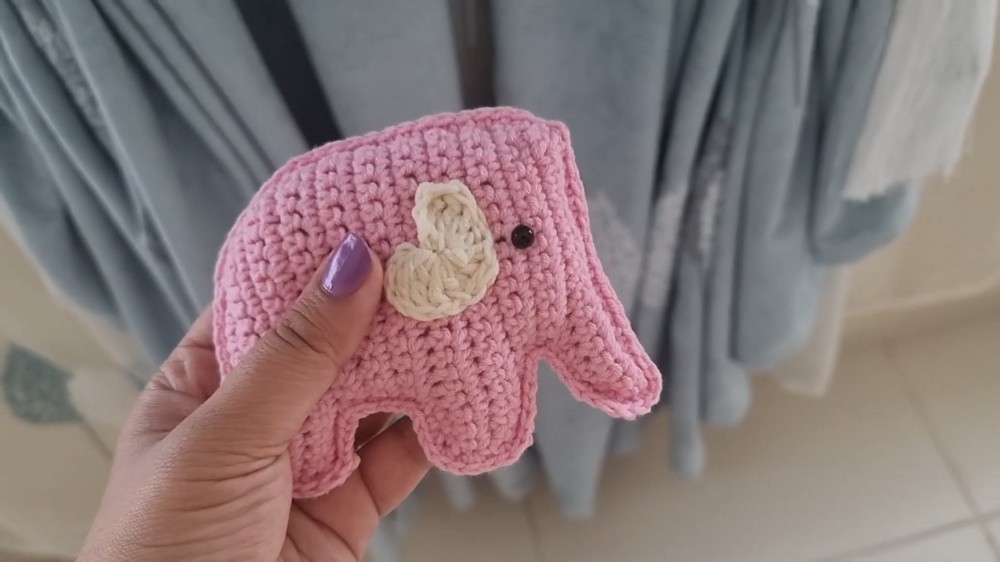
Free Crochet Elephant Pattern Perfect for Nursery Decor
The soft texture and safe materials ensure it’s suitable for little hands, while the delicate stitching gives it a timeless, heirloom quality. Working on this piece also offers a peaceful and rewarding experience, helping makers practice shaping, assembling, and precision techniques. Each elephant can be personalized through color choices or small accessories like bows or scarves, making every creation unique.
The finished result brings joy not just through its appearance but through the thought and care invested in each stitch. Whether placed on a shelf, gifted to a loved one, or cherished as a symbol of affection, this crochet elephant embodies gentleness, creativity, and lasting beauty turning simple yarn into a comforting companion filled with warmth and meaning.
Special Features
- Scrap Yarn Usage: The pattern uses leftover yarn scraps, making it eco-friendly and cost-effective.
- Customizable: Use any yarn weight, color combination, and decorative elements, such as beads or keychains.
- Minimal Sewing: Easy assembly using basic crochet techniques and sewing only essential parts like the ears and eyes.
- Compact Design: The small size makes it perfect for keyrings, charms, or lightweight décor items.
- Beginner-Friendly: Simple stitches (single crochet and slip stitch) and clear instructions suitable for first-time amigurumi crafters.
Level of Difficulty
- Skill Level: Beginner to intermediate.
- Requires basic crochet stitches like single crochet, increases, and decreases.
- Slightly challenging for beginners due to sewing, shaping the trunk/ears, and safety eye placements.
Tutor’s Suggestions
- Yarn Selection: The tutor recommends scrap sport weight yarn, but emphasizes that any weight or color can be used depending on the size and design you prefer.
- Neatness and Accuracy: Follow the stitch counts carefully, as shaping the elephant accurately depends on the correct number of increases and decreases.
- Safety Eyes Alternatives: If you don’t have safety eyes, use black yarn embroidery for the eyes.
- Custom Attachments: Make use of beads, backpack clips, or keyring attachments to turn the elephant into a functional item as a charm or gift.
- Stuffing Moderation: Avoid overstuffing the plushie so it keeps a flat and compact shape suitable for use as an accessory.
Materials Needed
- Yarn:
- Sport weight scrap yarn (thin yarn)
- Two colors: (e.g., pink for the body and white for the ears)
- Crochet Hook: 2 mm crochet hook.
- Stuffing: Fiberfill, scrap yarn, or other suitable materials for stuffing the elephant.
- Safety Eyes or Black Yarn: Tiny safety eyes for adorning the face (optional black yarn for embroidered eyes).
- Scissors: For cutting yarn ends.
- Yarn Needle: For sewing parts together.
- Keyring, Backpack Clip, or Beads: Optional attachments to turn the plushie into a functional accessory.
Step-by-Step Instructions
Part 1: Crocheting the Body and Head
- Create Two Identical Pieces:
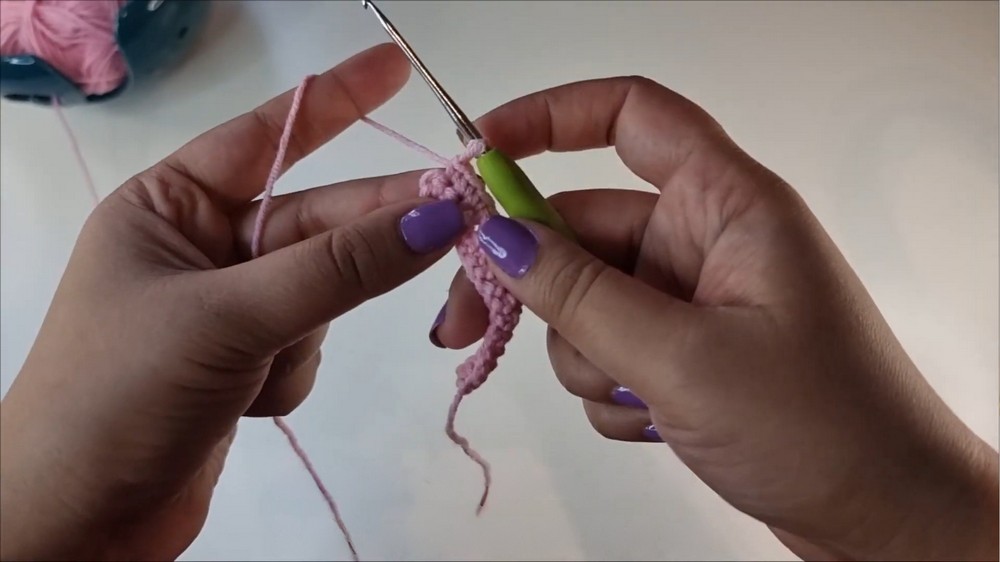
- Start with a slipknot and chain 15 stitches.
- Skip the first stitch and make two single crochets into the second chain. Then, work one single crochet into every remaining chain across the row (15 stitches total).
- Chain 1, turn, and follow an increasing pattern focused on one side:
- Row 2: 14 single crochets, then increase in the last stitch (16 stitches total).
- Row 3: Increase in the first stitch, then 15 single crochets (17 stitches total).
- Row 4: 16 single crochets, then increase in the last stitch (18 stitches total).
- Continue this pattern until reaching Row 7 (19 stitches total) while keeping one side flat.
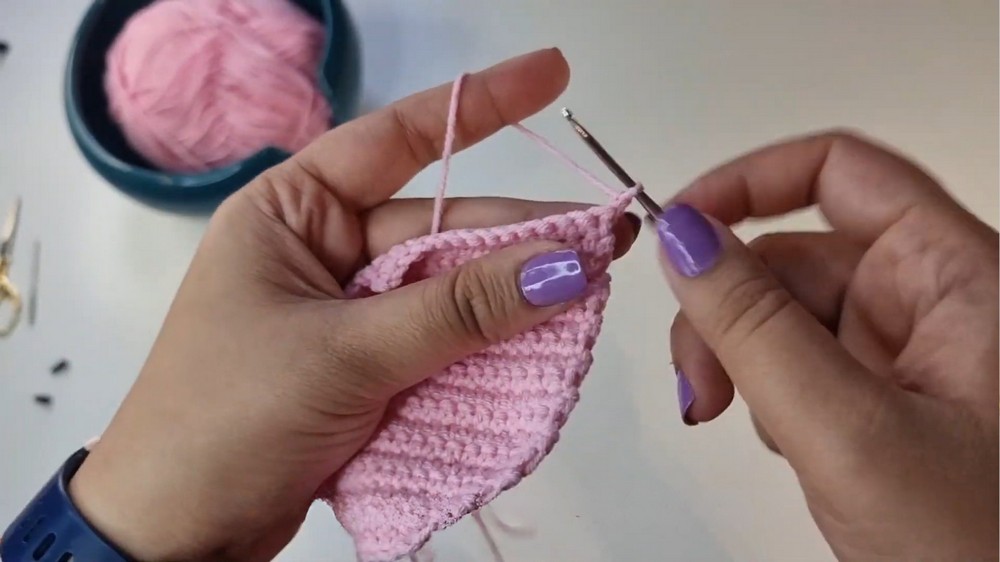
- Shape the Body and Legs:
- Row 8: Chain 1, turn, and work just 16 single crochets (stop short of finishing the row).
- Work the next 3 rows by chaining 1 and crocheting 16 single crochets per row (flat shaping).
- Form the Elephant’s Legs and Trunk:
- Chain 5, skip the first chain, and attach back to the row to form one leg.
- Continue working 20 single crochets for the next rows up to four rows.
- For the trunk, create two decreases and crochet down to narrow its shape (16 single crochets and repeat row decreases). This forms the elephant’s body with trunk/head shaping.
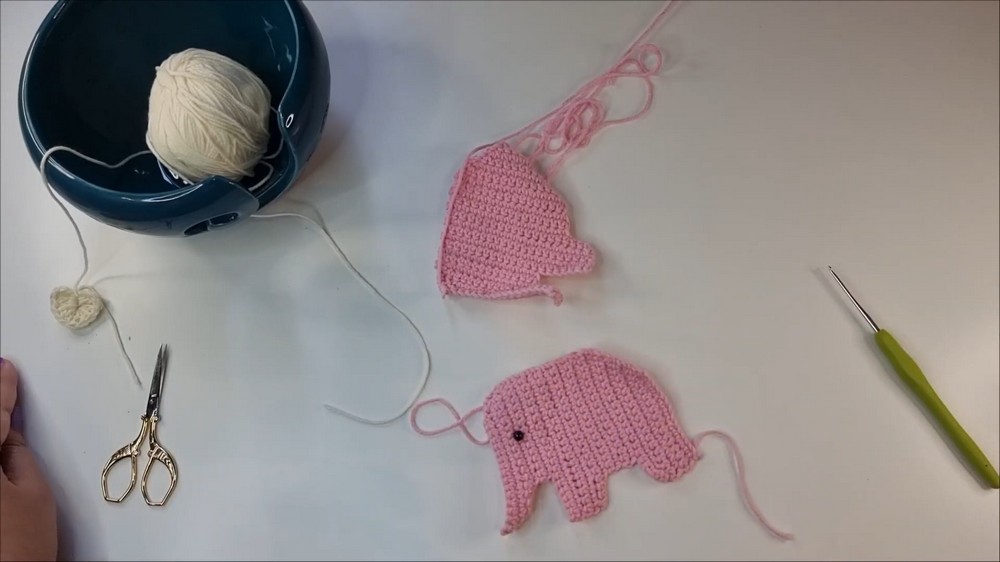
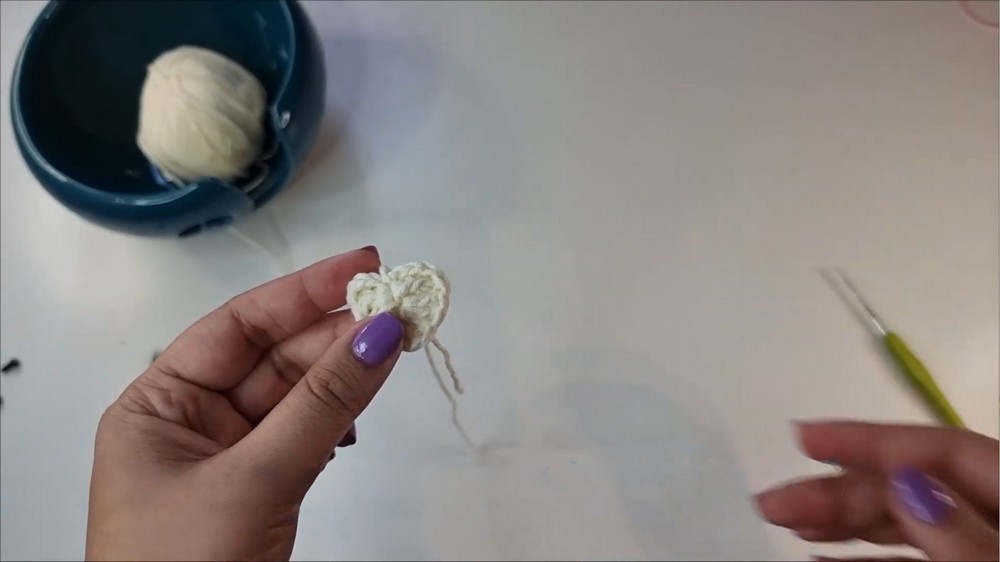
Part 2: Crocheting the Ears
- Work in white yarn using the magic ring technique:
- Create a magic ring by wrapping yarn around your fingers to form an “X”. Insert your hook, pull up yarn, and chain 3 stitches.
- Add two triple crochet, followed by three double crochet stitches, and one more triple crochet.
- Repeat with two triple crochet and finish with three chains to close the magic ring. Slip stitch into the center, pull the tail, and sew the ear onto one side of the elephant.
- Make Two Ears, sewing both parts near the elephant’s safety eyes. Place each ear in either a heart or half-moon shape, depending on preference.
Part 3: Assembly & Stuffing
- Add Safety Eyes: Place safety eyes above the trunk/head and ensure proper alignment of both pieces.
- Attach & Stuff the Pieces:
- Line up both body parts. Using a single crochet stitch, attach the edges of the body together while inserting stuffing (fiberfill or scrap yarn) gradually.
- Do not overstuff to avoid distorting the plushie’s flat shape.
- Continue stitching around until the entire plushie is closed and secure.
Uses
- Keyring or Backpack Charm: Add attachments such as keychain hooks or clips.
- Craft Fair Items: Makes a great handmade creation for craft fairs or markets.
- Gift: Perfect as a cute gift for children, teachers, or friends.
- Décor: Use on shelves, desks, or as part of amigurumi sets.
Special Tip
To ensure the perfect shape, keep one side flat by following the tutor’s increasing pattern on only one side. Consistent stitch counts and tension are key to the plushie’s aesthetic appeal.
Conclusion
The crochet elephant plushie tutorial is a fun, quick, and versatile project that’s perfect for beginner crocheters looking to explore 3D designs. Using scrap yarn, basic stitches, and simple assembly techniques, you can create a charming elephant that doubles as a keyring, charm, or decorative piece.