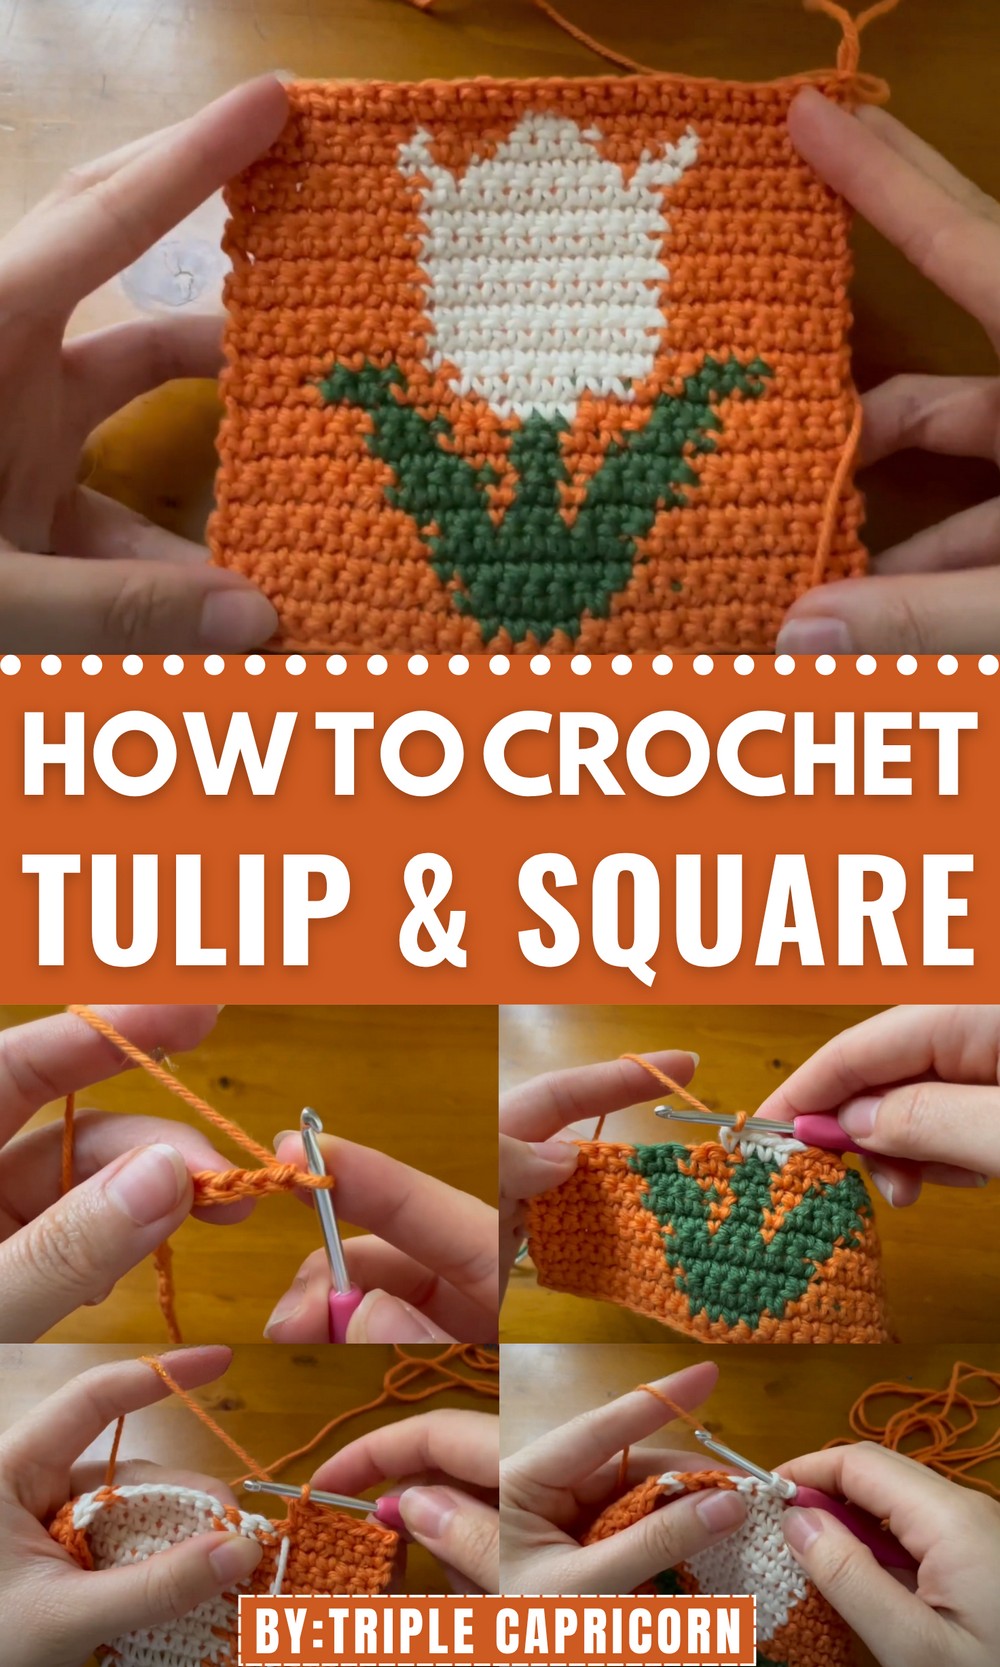
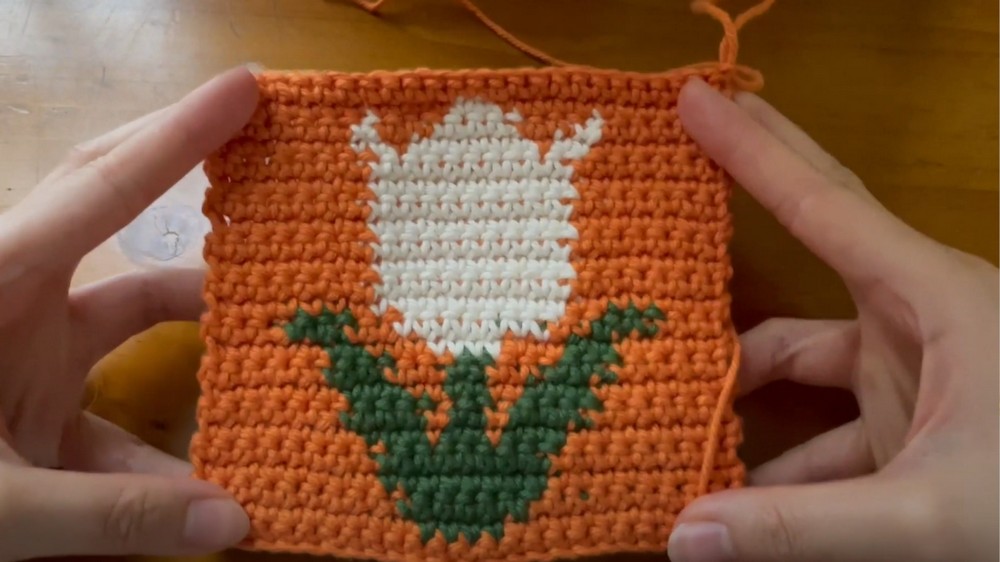
Bloom in color with this Free Crochet Tulip Square Pattern, ideal for vibrant blankets, creative décor, and adding a fresh handmade touch to any project.
A touch of spring often begins with the sight of blooming petals, each one a reminder of color, renewal, and quiet beauty. With the Free Crochet Tulip Square Pattern, that same charm can be brought to life through the softness of yarn and the rhythm of the hook. Each square carries the grace of tulip blooms, combining texture and symmetry to form a piece that feels both soothing and refined. Perfect for blankets, cushions, or home accents, it adds a hint of floral artistry wherever it’s displayed.
Spring Style Crochet Tulip Square Pattern Perfect for Projects
This crochet project offers a peaceful and rewarding experience, inviting both new and seasoned crafters to enjoy the process while producing something beautiful and enduring. Clear guidance ensures smooth progress, while color and stitch variations allow for personal expression and creativity. Whether used individually or joined together into a larger work, each tulip square adds depth, warmth, and personality.
More than decoration, it represents patience, care, and a love for delicate detail. The Free Crochet Tulip Square Pattern turns simple yarn into a soft reflection of springtime joy, filling spaces with color, comfort, and timeless elegance that continues to brighten every glance.
Special Features
- Creative Color Work: A unique three-color design captures the vibrant essence of tulips, allowing for endless customization according to your color preferences.
- Versatility: Use the finished square as decorative coasters or incorporate the pattern into larger projects, like afghan blankets or clothing items.
- Skill Development: Offers excellent practice for mastering carrying non-working yarns, transitioning between colors, and maintaining consistent tension.
- Elegant Design: The gradual tapering of petals at the end mimics real tulip blooms and adds a polished look to your finished piece.
Materials Needed
- Crochet Hook: 3.5 mm crochet hook.
- Yarn: Hard-wearing 100% cotton worsted weight yarn, such as Knit Picks ‘Dishie’ in three colors—orange (‘Clementine’), green (‘Jalapeno’), and off-white (‘Swan’).
- Basic Tools: Scissors, measuring tape, stitch markers (optional), and a darning needle for weaving in tail ends.
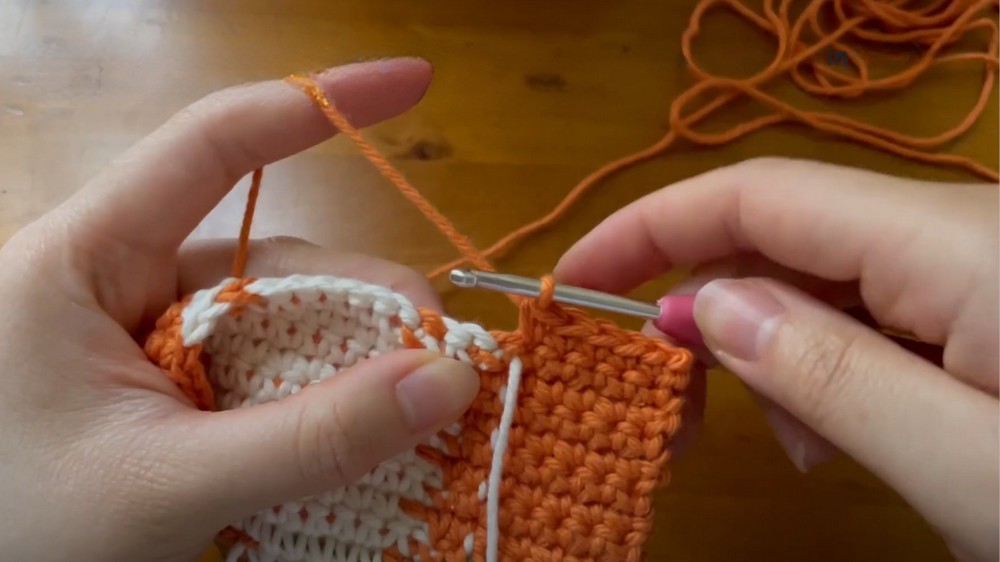
Step-by-Step Guide
Getting Started
- Begin with a slip knot on your hook.
- Use color A (orange) to chain 25 stitches, making sure the last chain serves as the turning chain. Count your stitches for consistency.
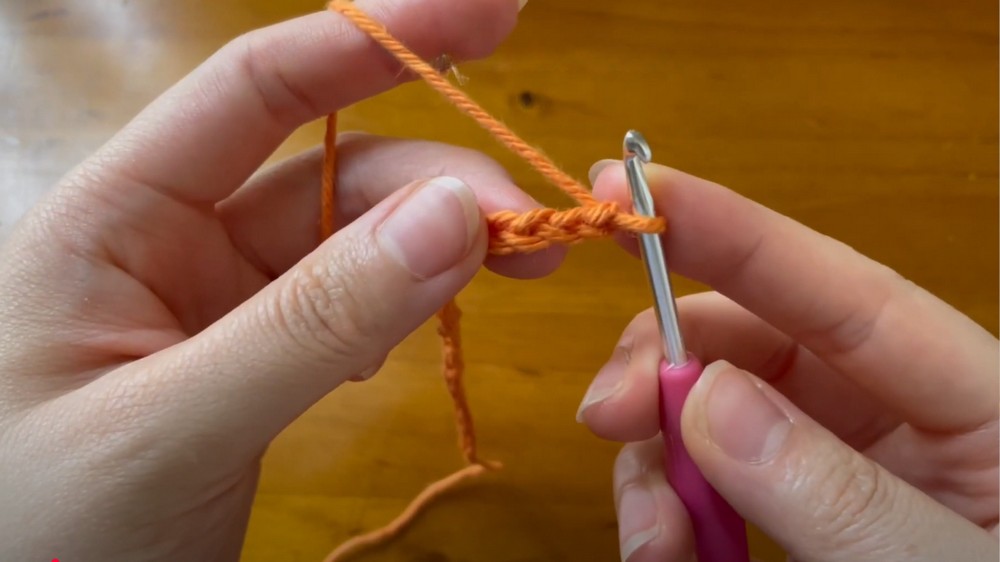
- Row 1: Work single crochet into each stitch using the back bumps of the chain for a neater edge, ending with 24 stitches.
Introducing Color Work
- Row 2: Start with 10 single crochet stitches in color A. For the next 4 stitches, switch to color B (green) and carry color A behind your work. Change back to color A for the remaining stitches, carrying color B for another two or three stitches before dropping it.
- Row 3: While facing the back of your work, crochet 9 single stitches in color A. Then switch to color B for 6 stitches, carrying the working yarn, and return to color A for the rest of the row.
Creating Tulip Leaves and Stems
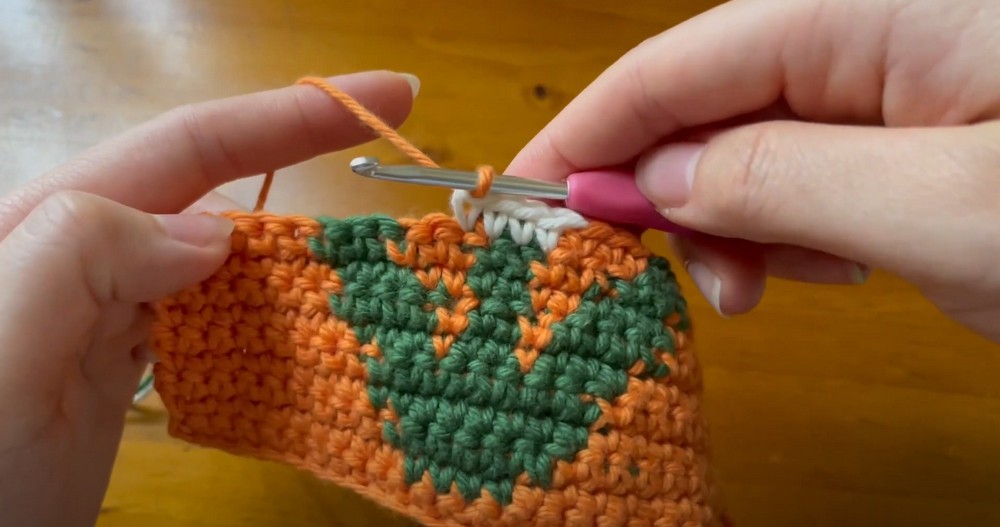
- Rows 4–5: Crochet 8 stitches in color A, switch to B for 8 stitches, and return to A for 8 more.
- Row 6: Add parting between the tulip’s stem and its leaves. Start with 7 stitches in A, then work 3 stitches in B (part of the leaf). Next, work 1 stitch in A to separate the leaf and stem. Then switch to B for 2 stitches (the tulip stem). Mirror the leaf and the stem’s color work and finish the row with A.
- Rows 7–9: Gradually increase the spacing between the tulip’s leaves and its stem in each row: working fewer stitches in color A for each section adjacent to the stem and leaf.
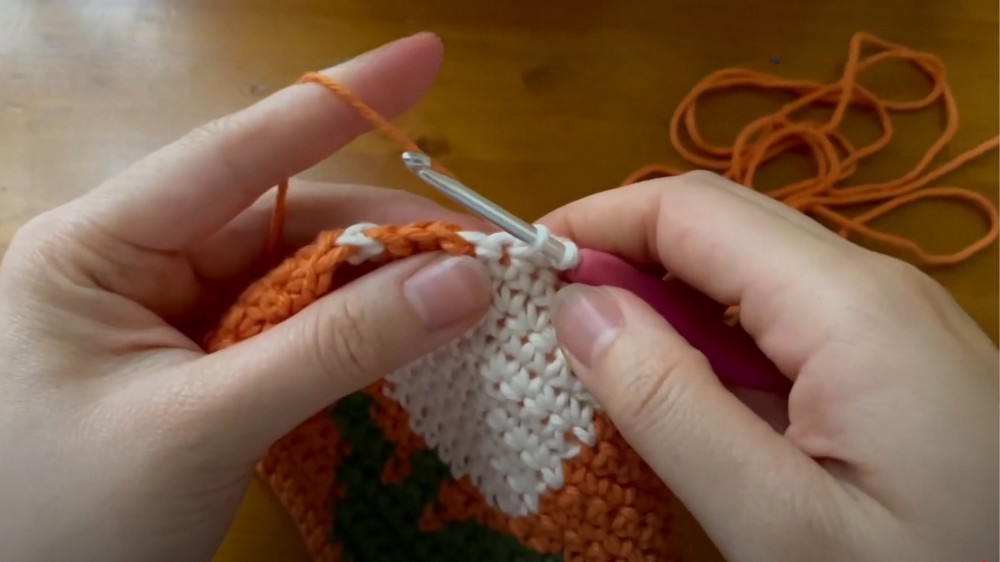
Adding the Tulip Petals
- Row 10: Introduce color C (off-white) to create the tulip’s petals, spanning four stitches. Ensure you carry the non-working colors behind your work as needed.
- Row 11: Widen the tulip’s petals using color C (10 stitches in the middle of the row). This row also marks the last use of color B.
- Row 12–20: Focus on creating the tulip’s petals by continuing the repeated pattern: 7 stitches in A, 10 in C, and back to 7 in A.
Tapering the Petals
- Row 21: Taper the petals with fewer color changes to mimic a natural look. Maintain your tension as sequences of single stitches and color changes come into play.
- Row 22: Complete this row with 11 stitches in A, 2 in C, and back to 11 in A to achieve the final tapered design.
Finishing Touches
- Row 23: Switch back entirely to color A. Work single crochet across, tie off, and weave in the tail ends using a darning needle.
- (Optional) Add a contrasting border around the square for a polished finish.
Level of Difficulty
The pattern is ideal for intermediate crocheters, especially those looking to expand their skillset in color work. Beginners can tackle it with patience, as the steps are simplified and well-guided by the tutor. Rows with frequent color changes may feel more challenging but serve as a fruitful learning curve.
Tutor’s Suggestions
- Pay attention to carrying non-working yarn neatly to avoid creating loose strands or messy color transitions.
- Practice detangling yarns after every row to save time and prevent frustration as you work with three colors.
- Count stitches regularly to prevent losing track and ensure the tulip forms properly.
Uses of the Tulip Crochet Pattern
- Coasters: The square design makes it ideal as a vibrant, decorative coaster for your home.
- Patchwork Projects: Incorporate the tulip square to create blankets, pillows, table runners, or even clothing with floral designs.
- Gifting: Handmade tulip pieces can make lovely, thoughtful gifts for spring festivities or other special occasions.
Tip
When working on rows with frequent color changes, gently pull on your non-working yarn to ensure your stitches remain evenly tensioned without sagging or puckering. This small adjustment can lead to a polished, professional finish.
Conclusion
This tulip crochet pattern offers the perfect combination of creativity and craftsmanship. With its seamless blending of colors, thoughtful design, and customizable nature, it’s an ideal project for adding beauty to functional items or enhancing larger crochet works. The tutorial provides an accessible yet challenging process, helping you refine important crochet skills while delivering stunning results.