Upgrade your summer wardrobe with Crochet Short Sleeve Crop Top Pattern, offering a playful, stylish, and colorful design for sunny days.
Stay stylish and comfortable this season with a versatile piece that combines simplicity and flair. The Crochet Short Sleeve Crop Top Pattern offers a perfect blend of modern design and casual elegance, making it ideal for warm-weather wear. Its lightweight and breathable structure ensures comfort while accentuating a flattering silhouette, adding a chic touch to any outfit. The top can be easily paired with high-waist jeans, skirts, or shorts, offering endless styling possibilities for both everyday wear and special occasions.
Modern Crochet Short Sleeve Crop Top Pattern You’ll Wear Everywhere
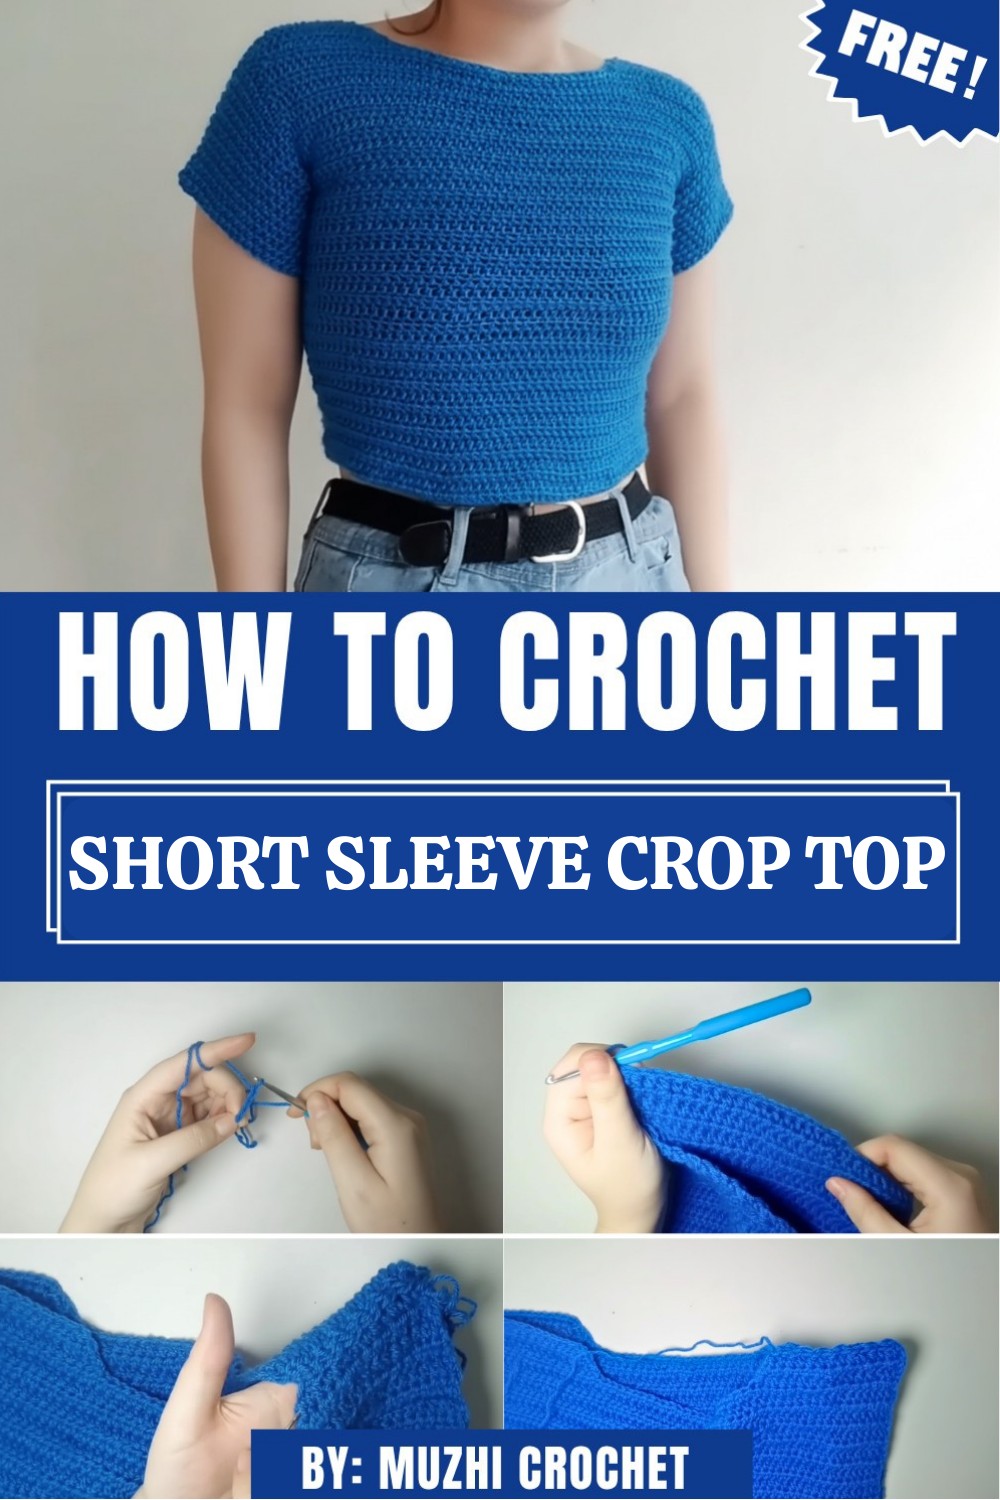
The design starts with a basic foundation and gradually develops into a well-fitted crop top with short sleeves. The pattern features clear steps that guide you from the initial rows to the final details, allowing each stitch to come together seamlessly. As you progress, the top reveals a balanced combination of structure and delicate textures, creating a stylish and wearable piece. Its cropped length highlights the waistline while maintaining comfort, making it a practical yet fashionable addition to your wardrobe.

Beyond its aesthetic appeal, this pattern allows you to experiment with different yarns and colors, giving each piece a personalized touch. The Crochet Short Sleeve Crop Top Pattern is perfect for enhancing your wardrobe with a trendy and functional item, blending effortless style with everyday practicality. It’s a must-have for anyone looking to elevate their summer or casual collection.
Step-by-Step Details
Step 1: Gather Materials
For this project, you need the following materials:
- Yarn: Approximately 160 grams of 8-ply or double-knit yarn, although any yarn type or color can be used based on preference.
- Crochet Hook: A 4mm crochet hook.
- Darning Needle: For assembling pieces and weaving in ends.
- Scissors (or a nail clipper): For trimming yarn.
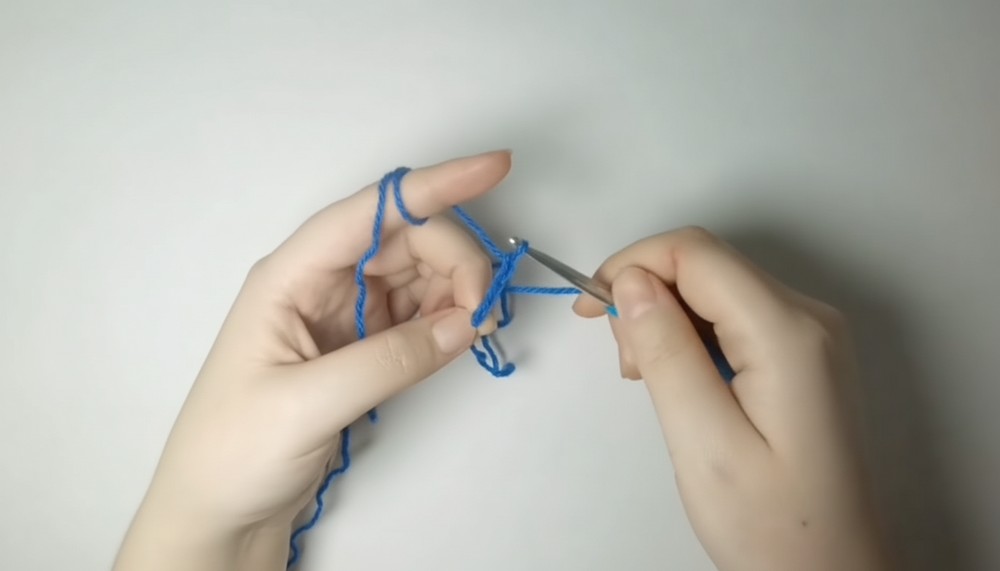
Step 2: Begin with a Slip Knot and Chain
- Make a slip knot and place it on your hook.
- Chain 60 stitches. This will form the foundation of your top. Adjust the number of chains for the desired width if necessary.
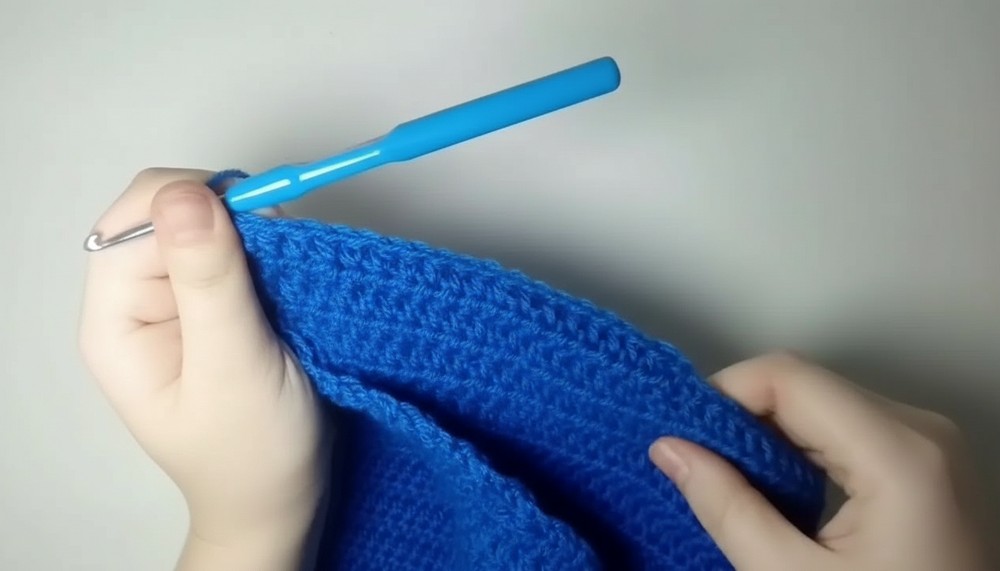
Step 3: Complete Row 1 with Half Double Crochet
- Chain one more after the initial 60, then skip the first chain.
- Start from the second chain and work a half double crochet (hdc) in each chain across the row.
- For a half double crochet: Yarn over, insert the hook into the chain, pull up a loop (having three loops on your hook), yarn over, and pull through all three loops.
4: Continue Half Double Crochet for 44 Rows
- At the end of each row, chain one and turn your work.
- Continue working in half double crochet across each row for a total of 44 rows.
- Ensure consistency in your stitch tension to achieve a uniform texture.
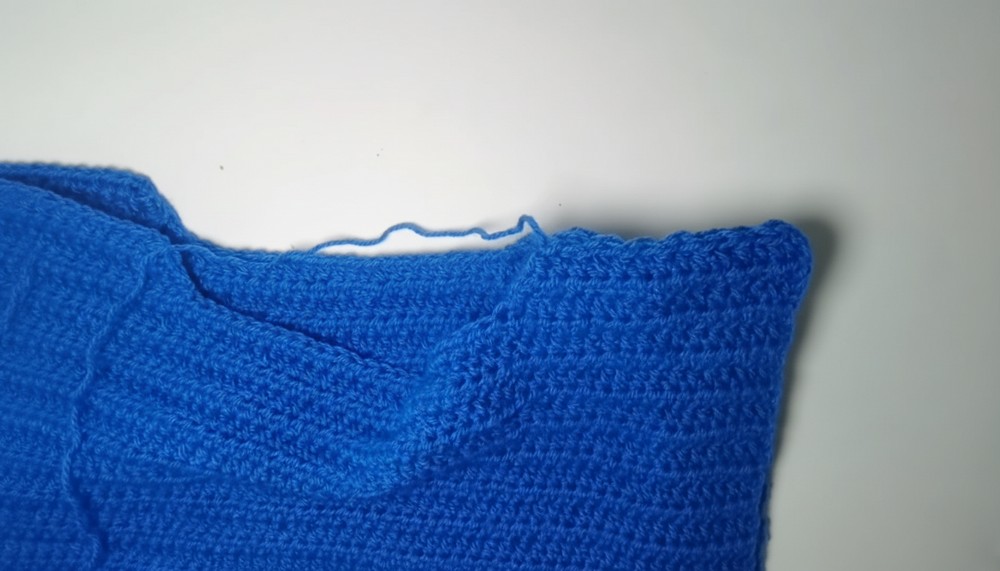
5: Start the Collar (Rows 45–47)
- Chain one, turn the work, and begin Row 45 with 17 half double crochets.
- Work a half double crochet decrease:
- Yarn over, insert the hook into the stitch, and pull up a loop.
- Insert the hook into the next stitch to pull up another loop (having four loops on the hook), yarn over, and pull through all four loops.
- Chain one, turn your work, and Row 46 begins with a half double crochet decrease, followed by two regular half double crochets until the end of the row, then chain one again.
- Repeat for Row 47, ending with another half double crochet decrease. Fasten off the yarn with a long tail.
6: Create the Back Panel
- Repeat the same steps as the front panel: chain 60, work 44 rows of half double crochet, and complete 3 rows of decreases for the shoulders.
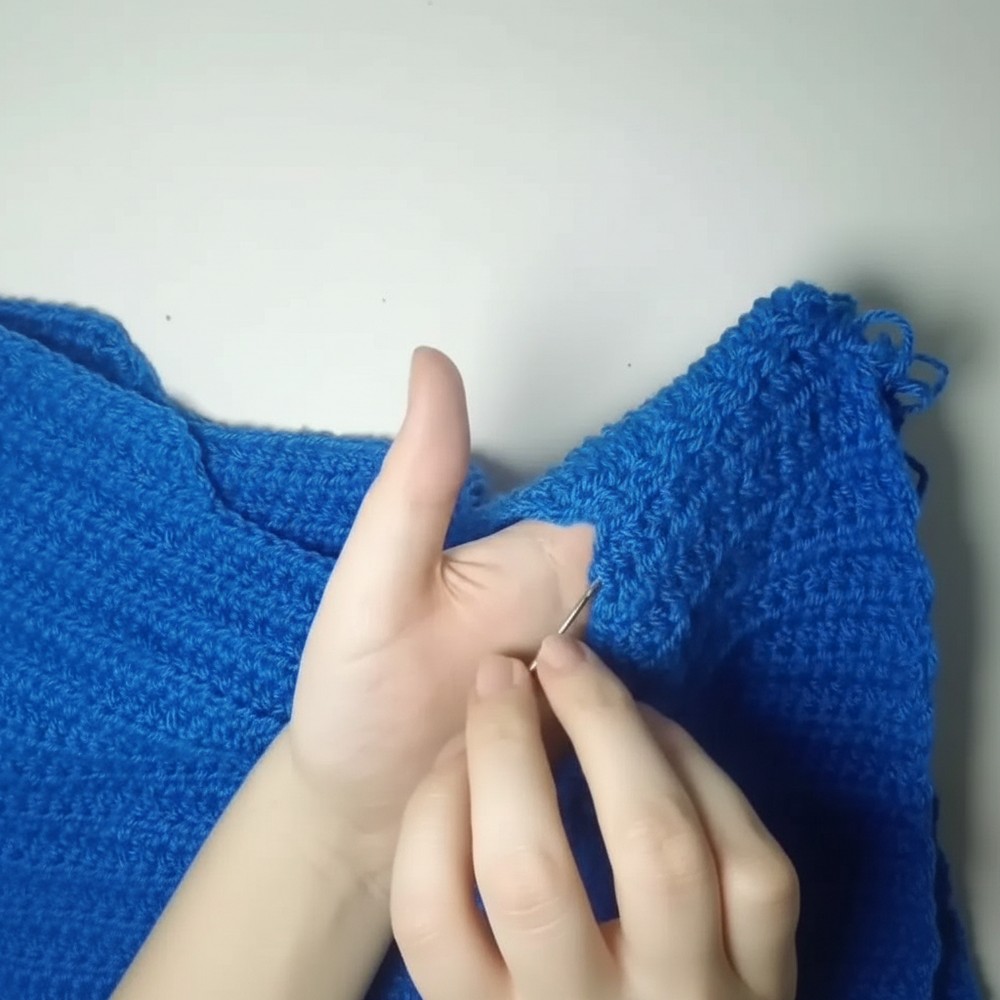
7: Join Front and Back Panels
- Use the long tails from fastening off to sew the shoulders together using a darning needle, ensuring alignment of front and back stitches.
- For the side seams, start sewing from the bottom up to row 30. Leave the remaining 16 rows open for the armholes.
8: Weave in the Tails
- Turn the piece inside out to access the wrong side. Use your darning needle to weave in all tails, creating a clean finish.
9: Crochet the Sleeves
- With the garment right side out, attach yarn at the armhole.
- Work 12 rows of half double crochet around the armhole, starting with a chain one at each new row.
- Complete by weaving in the final tails.
10: Final Steps and Assembly
- Complete the second sleeve in the same manner as the first.
- Ensure all ends are secured by weaving in untrimmed yarn ends.
Special Features
- Adaptable Sizing: Easily adjustable width and length through variable chain counts and row numbers.
- No Complex Shaping: The pure half-double crochet pattern makes it straightforward and beginner-friendly.
- Versatile Style: A perfect fit for casual outings, offering a light and airy feel for warmer seasons.
- Minimal Sewing: Use crochet assembly techniques to minimize sewing except for joining the shoulders and sides.
Level of Difficulty
This crochet project is beginner-friendly. The tutorial focuses on the basics of crochet stitches, practicing the half double crochet, and introduces a simple pattern modification with decreases.
Tutor’s Suggestions
- Be Consistent with Tension: Ensure uniform tension for a polished appearance.
- Customize Freely: Feel free to adjust chain count and number of rows to make the top longer or shorter.
- Practice Decreases: If you’re new to decreasing, practice this technique on test swatches for better execution.
Uses
- Casual Wear: Excellent for daily wear in warm climates or seasons.
- Layering Piece: Can be worn over camisoles or other tops for added style.
- Handmade Gift: Offers a personalized touch as a gift for friends and family.
Tip
If you desire longer sleeves, continue working more rows on the sleeves before fastening off. Personalize it by experimenting with different stripe patterns or adding embellishments.
Conclusion
This pattern guides you through creating a stylish, short-sleeve crochet crop top from start to finish, focusing on simplicity and customizability. This project, utilizing basic stitches, is accessible even to those new to crochet. Whether you make this for yourself or as a gift, the result is a versatile and fashionable piece ready for any spring or summer outing.