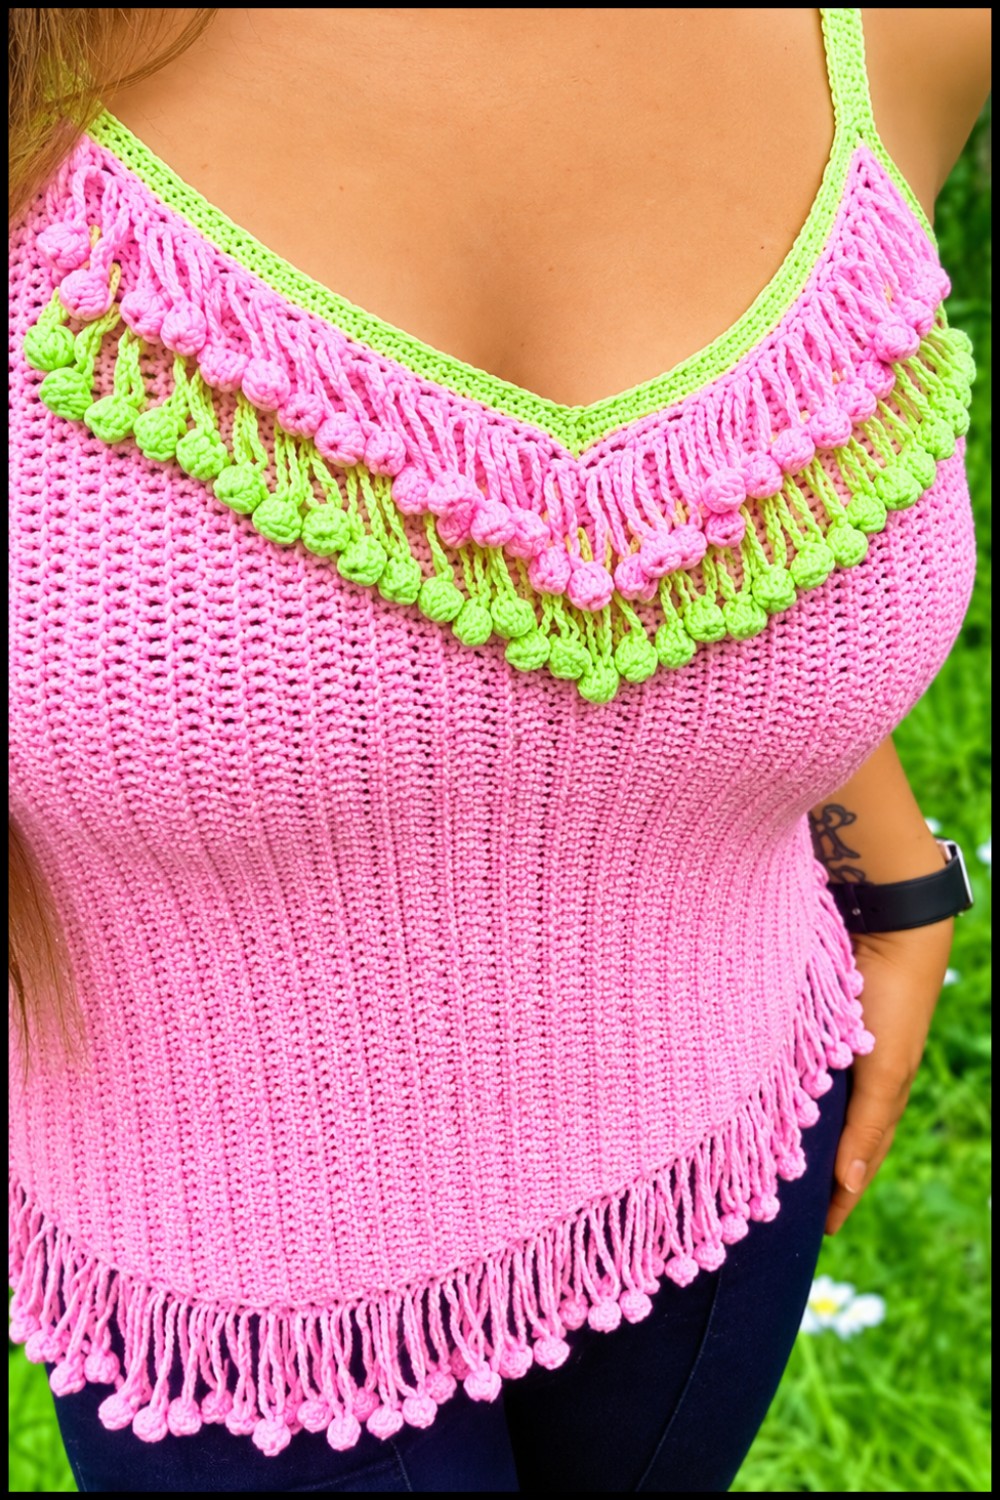
Style your warm-weather outfits with this Crochet Summer Top Free Pattern, a lovely choice for sunny outings, relaxed weekends, and beach walks.
A light top with soft yarn can be a nice choice when you want to stay cool and still look stylish. The Crochet Summer Top is a pretty clothing piece that works well with simple everyday outfits. Its handmade stitches give it a lovely texture, while the right yarn can help the fabric feel light on warm days.
This clothing idea comes from Кристина Богданова.
Free Crochet Summer Top Pattern For Everyday Fashion
One thing to think about is the yarn. Cotton is often a good choice for warm weather because it allows air to pass through. You can use white, light green, peach, or sky blue for a fresh look. The neckline, straps or sleeves, and overall length will depend on the tutorial.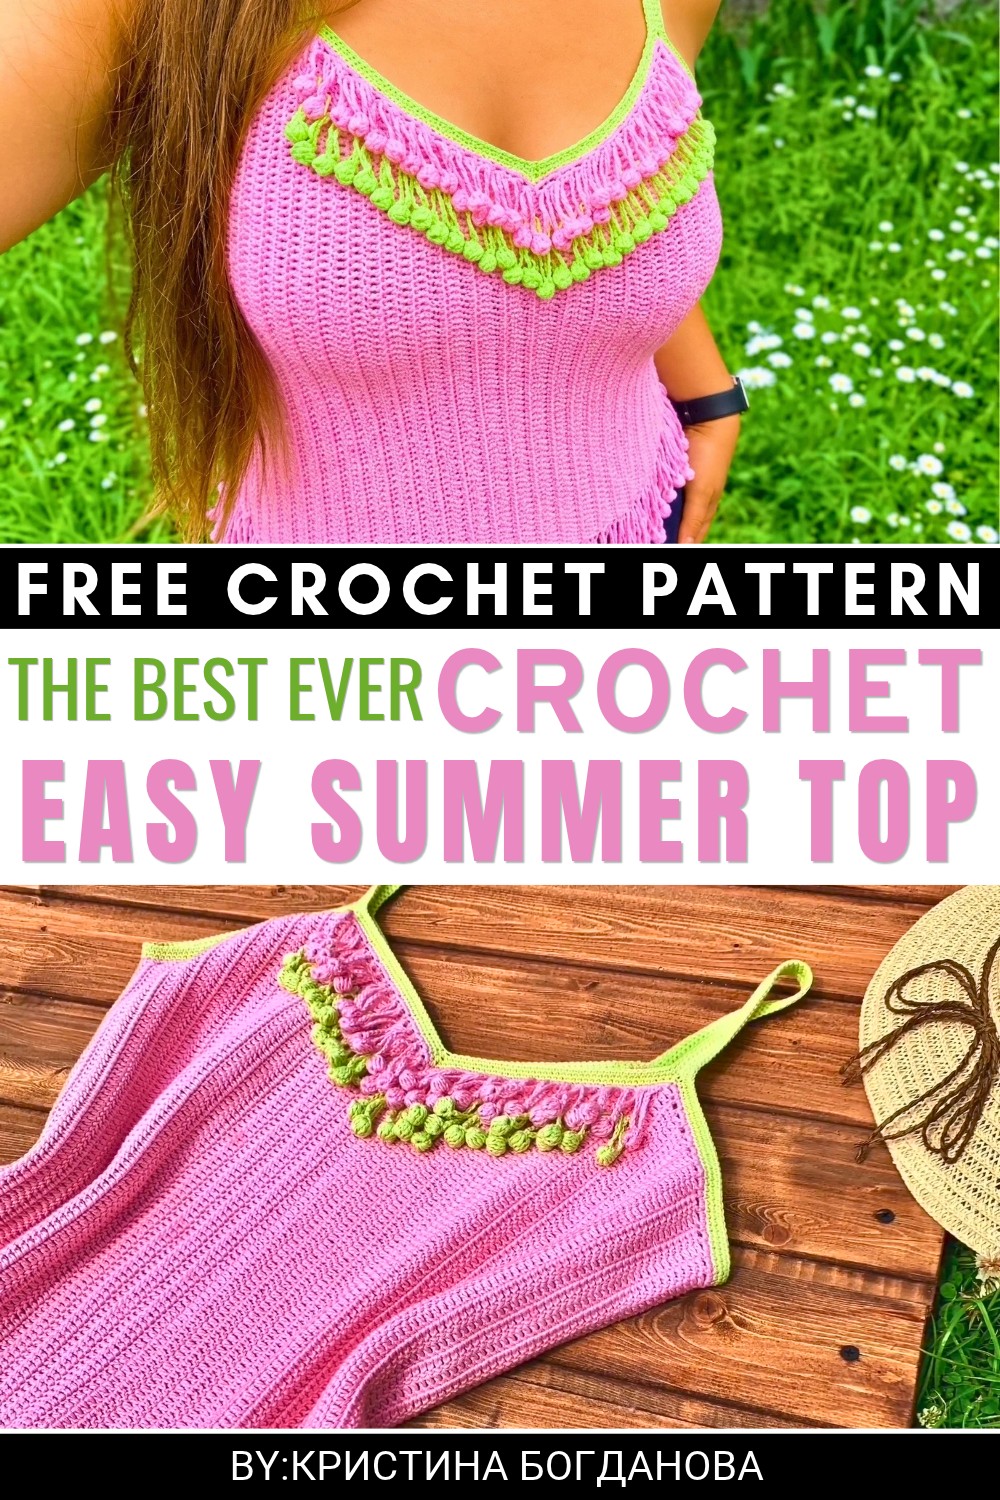 Before starting, take your chest and waist measurements. Follow the instructions and check the size as you crochet. Some open stitches may need a camisole underneath, depending on how much coverage you prefer.
You can wear this top with denim shorts for a walk by the beach or pair it with a long cotton skirt for lunch with friends. High-waisted jeans and flat sandals also give it a nice casual look.
For a handmade birthday gift, you can choose a color that suits the person’s style and follow their measurements.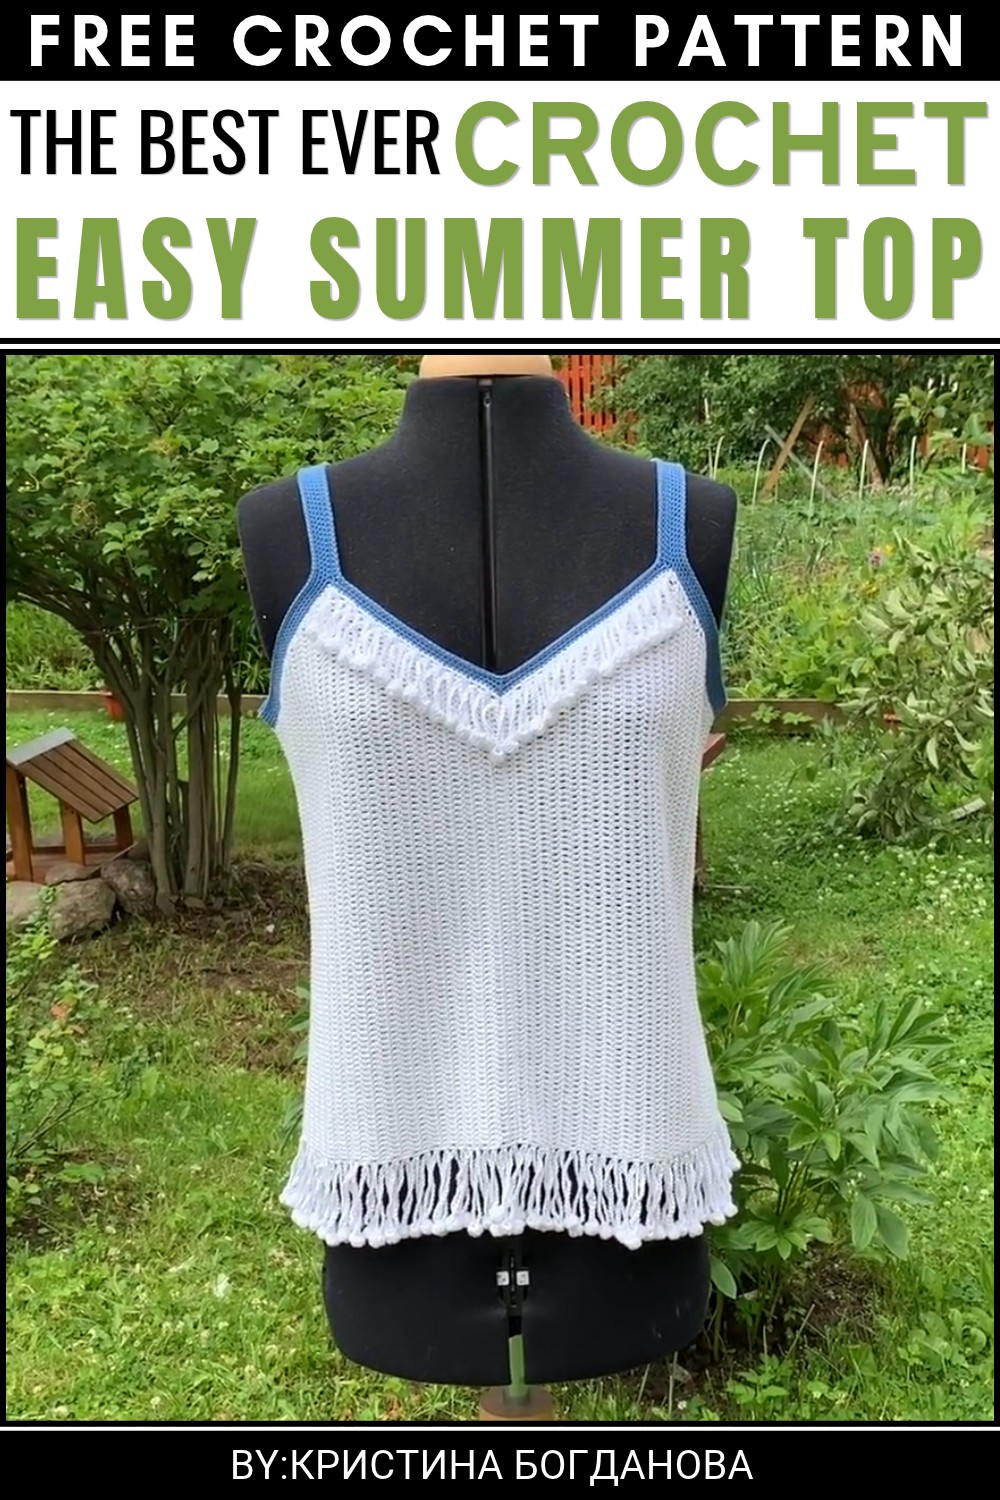 After wearing the top, wash it according to the yarn label and dry it flat. This helps the fabric keep its shape so you can wear it again on another sunny day.
Pattern Overview
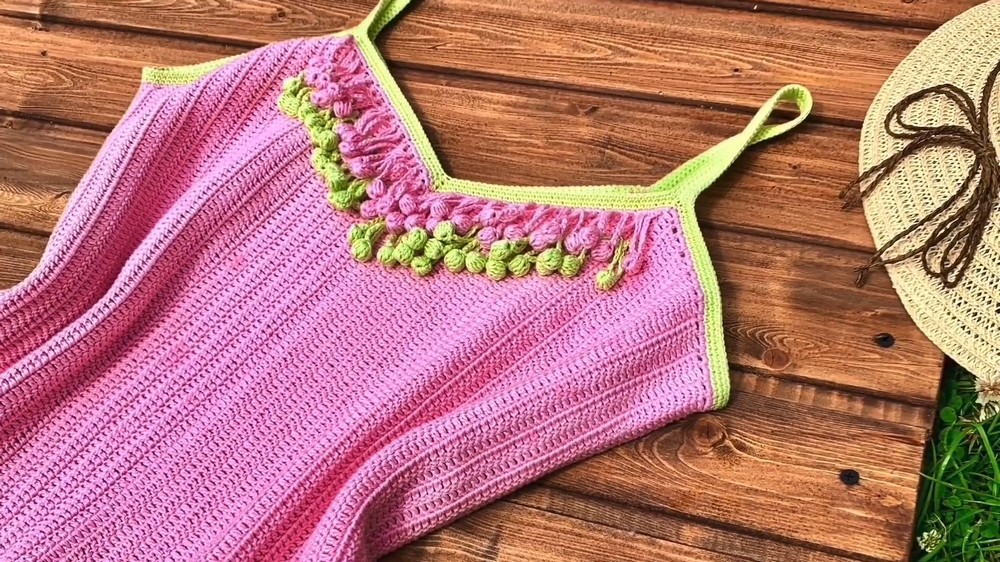
The Chelsea top is a modern crochet piece assembled from two main panels shaped with increases and decreases. The panels are seamed together, finished with single crochet edging on the neckline and armholes, and decorated with a distinctive bobble/fringe. All steps use basic crochet stitches, resulting in a wearable garment with clean lines and playful detail.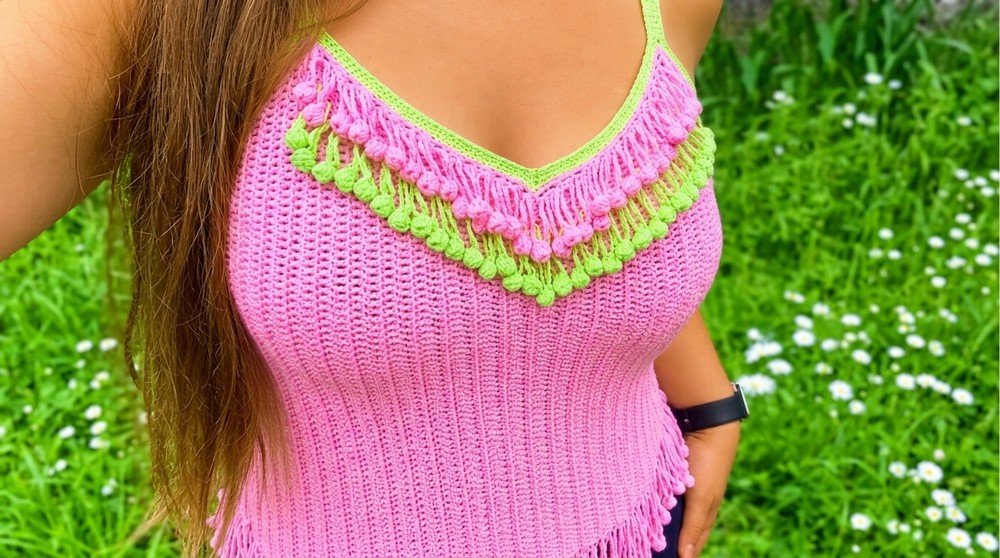
Quick Details
- Panels: Two main panels, worked identically.
- Shaping: One half of each panel with increases, one half with decreases.
- Construction: Side seams joined by slip stitch or single crochet.
- Edging: Neckline and armholes worked in single crochet.
- Trim: Hem finished with a bobble/fringe using chains and double crochet.
Important Tips
- Maintain even tension for the shaping sections.
- Mark panel centers for easier matching during seaming.
- Count stitches, especially at the increases and decreases, to ensure symmetry.
- Check panel lengths match before joining.
Skill Level
Confident beginner to intermediate. Comfort with double crochet, single crochet, increases, decreases, and seaming is required.
Materials
- Medium weight yarn
- Crochet hook to match yarn (typically 4.0–4.5 mm)
- Scissors
- Tapestry needle
- Measuring tape
- Stitch markers
Measurements
- Each 16-row increase or decrease section = 12 cm
- Panel size and top size adjust to your foundation chain and tension
Gauge
- 16 rows (increase or decrease sections) = 12 cm in double crochet
Abbreviations
- ch – chain
- sc – single crochet
- dc – double crochet
- sl st – slip stitch
- inc – increase: 2 stitches in one
- dec – decrease: stitches worked together
Special Stitches
- Double crochet increase: 2 dc in same stitch.
- Turning chain for dc: Ch 3 at the start of a row.
- Double crochet cluster decrease: Work 2 dc together across last st and turning chain.
- Bobble/fringe: Cluster of incomplete dc closed together.
- V-neck decrease: Work 3 sc loops together at a corner.
Step-by-Step Instructions
1. Base Construction: Main Panels
Foundation and Increases
- Ch for desired panel width.
- Row 1: Work 1 dc in each ch across.
- Rows 2–16: At the start of every row, ch 3 (counts as dc), then work 1 dc in the same stitch for an increase. Double crochet across to end.
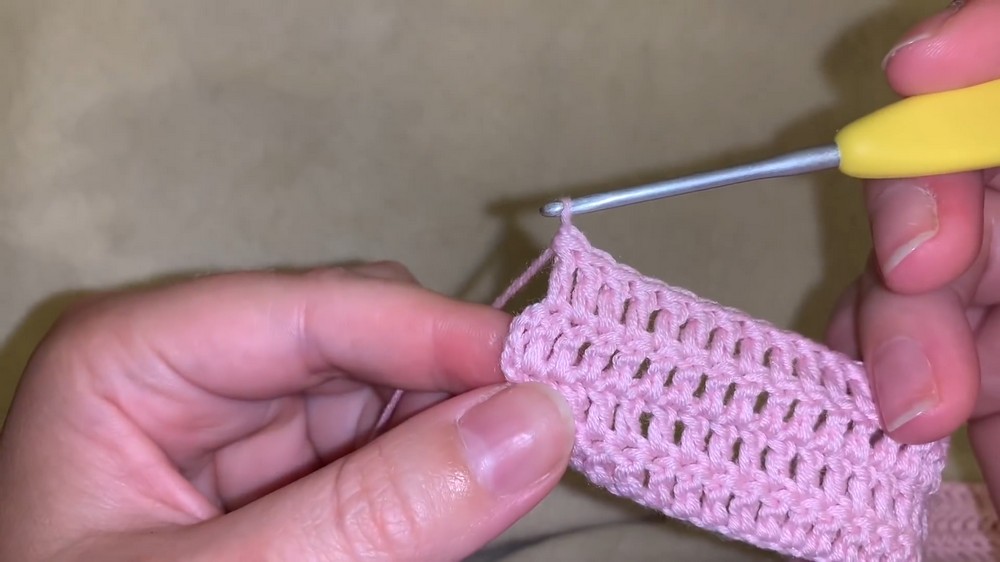
- Continue until you reach 16 rows and 12 cm. This is your increase section.
Decreases
- Rows 17–32: At the end of every row, begin your last dc, stop with two loops on your hook, begin another dc in the turning ch from the previous row, yarn over and pull through all loops (double crochet cluster decrease).
- Finish 16 decrease rows (another 12 cm).
- Fasten off.
- Repeat everything above for the second main panel.
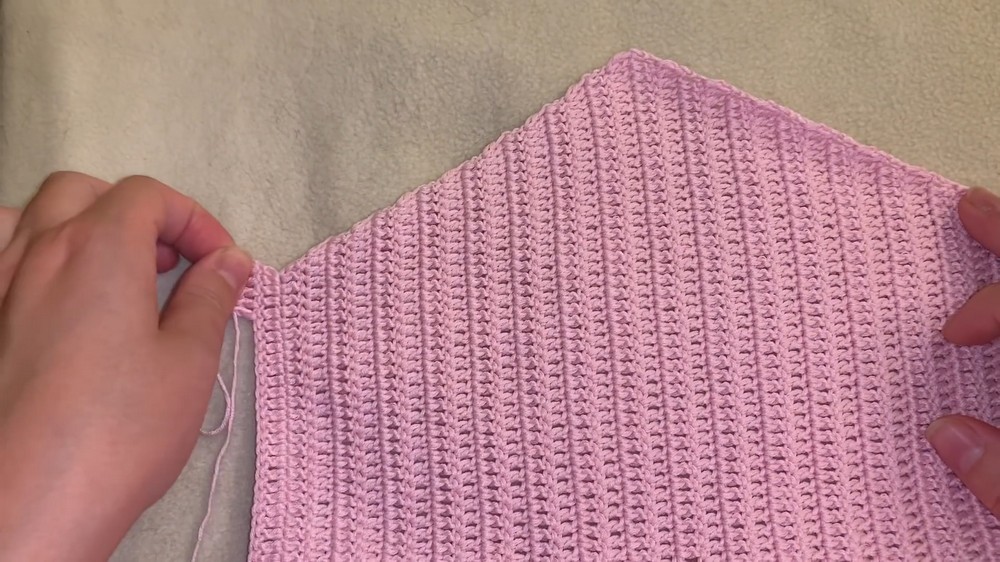
2. Panel Work: Stitch Details
- For increases: At start of row, ch 3, 1 dc in same stitch.
- For decreases: At end, cluster last dc and dc in turning ch together.
- Ensure both panels have the same row count and length.
3. Assembly
- Place right sides of panels together.
- Along each side seam, insert hook through both edges.
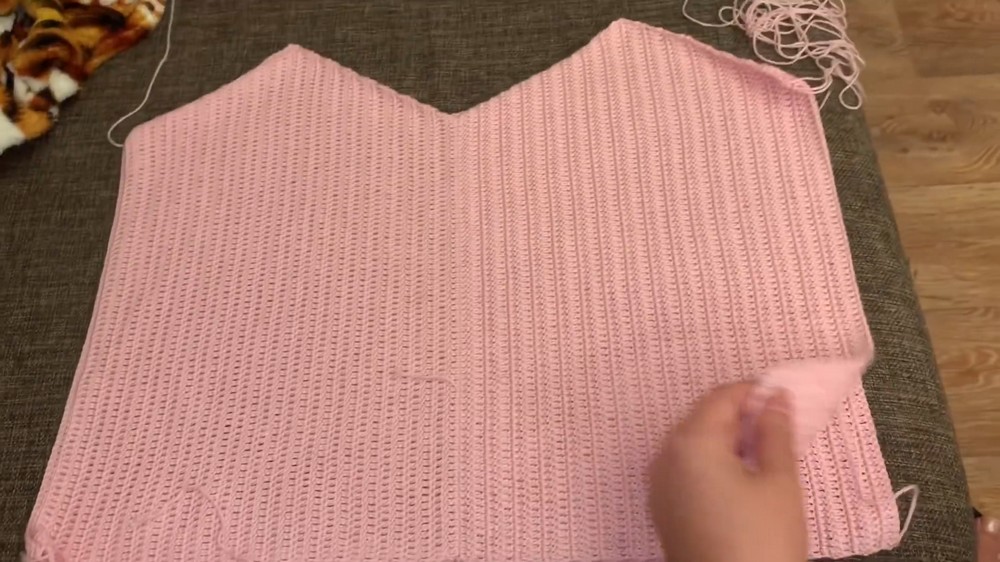
- Join with sl st or sc seam: Insert hook through both panels, yarn over, pull through both and complete either a sl st or sc for flexibility and strength.
- Seam both sides evenly.
4. Neckline & Armhole Edging
Foundation Row
- With right side facing, join yarn at any neckline edge.
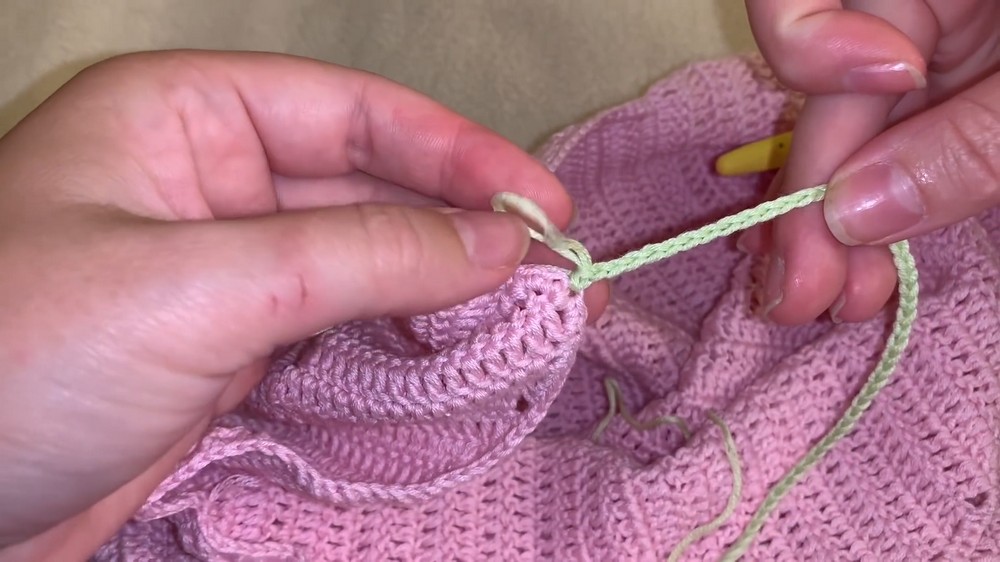
- Sc around entire neckline: Place 4 sc between markers, then 1 sc in the corner/gap to prevent folding.
- Continue sc in each st along neckline and armholes.
- Join to starting sc with a sl st.
V-Neck Decrease
- At V-neck points, work 3 sc loops together: Insert hook in each corner space, pull up a loop, then yarn over and pull through all 4 loops.
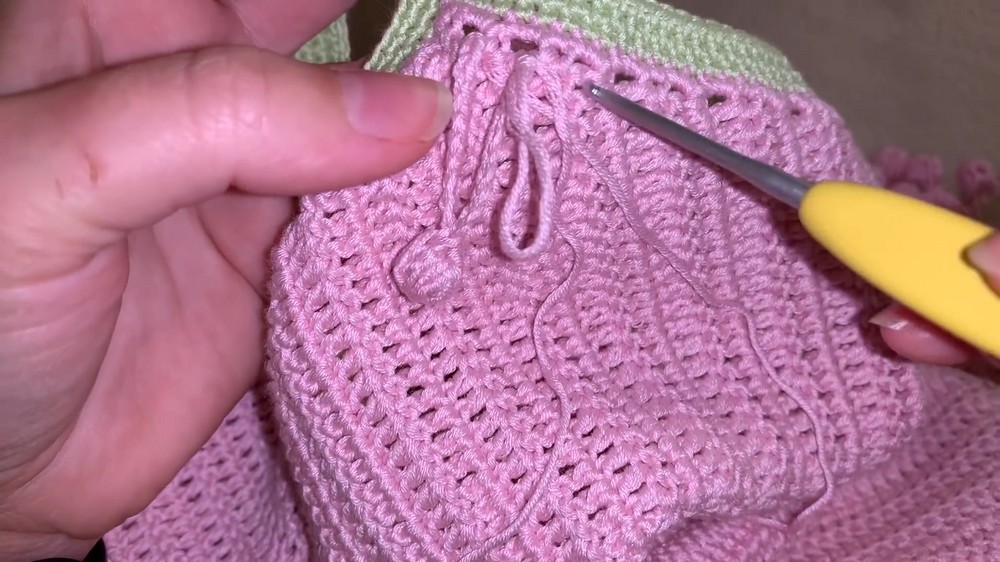
Armhole
- Join yarn at armhole. Sc evenly around.
- Repeat for 3–5 rounds of sc for a smooth, finished edge.
5. Decorative Fringe (Bobble/Ball Trim)
- At hem (or edge of your choice), begin in any sc of the foundation.
- Ch 20 (or desired fringe length).
- Into the 3rd ch from hook, work 5 incomplete dc: In each dc, yarn over, insert hook, pull up a loop, yarn over, pull through two loops, leave last loop on hook—repeat 5 times (you’ll have 6 loops).
- Yarn over, pull through all loops for a bobble.
- Ch 3; in same base ch, repeat the 5 incomplete dc, yarn over, pull through for a second bobble.
- Sc into the next foundation stitch to secure the fringe.
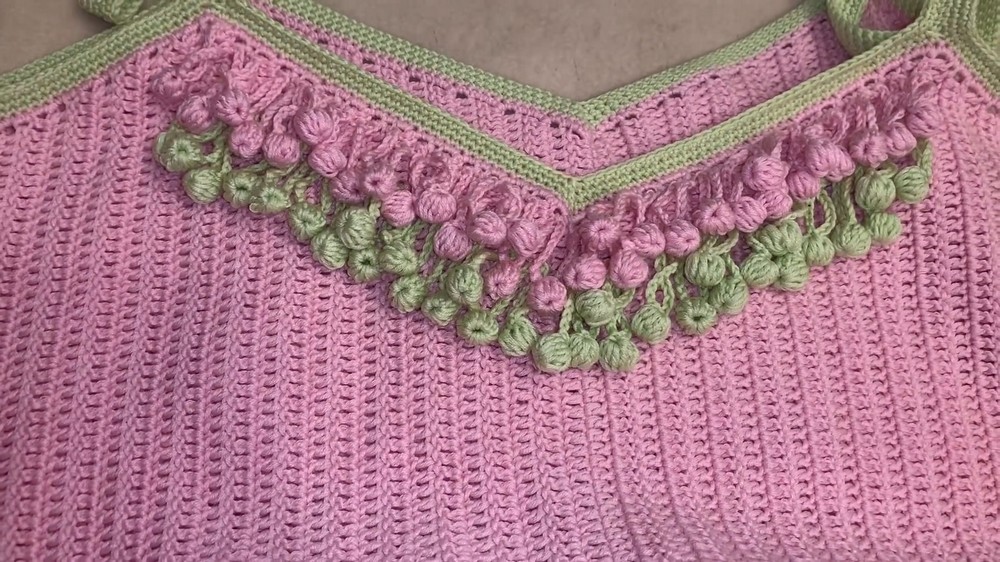
- Repeat all along the hem.
Assembly
- Seam both side edges using sl st or sc.
- Work single crochet edgings around neckline and armholes for stability and clean finish.
- Add bobble/fringe to hem.
- Weave in ends and lightly block the top for best drape and shape.
Final Notes
Count stitches and rows frequently for matching panel shaping. Each step relies on precise placement of increases, decreases, and neat edges for the best fit and finish. Single crochet, double crochet, and chains form the clean lines of the Chelsea top, while the bobble fringe provides playful movement. Personalize the top by adjusting panel length or the fringe for your style.