Charm your day with this Free Crochet Mini Frog Plushie Pattern, creating an adorable, soft companion that brings joy to gifts and playful décor.
A soft breeze brushed over a quiet pond, where tiny ripples shimmered beneath the sunlight and the gentle chorus of frogs filled the air. Such simple scenes remind us how small details can bring unexpected joy to everyday life. The Free Crochet Mini Frog Plushie Pattern captures that same cheerful charm, turning yarn into an adorable little companion that radiates warmth and playfulness.
Free Crochet Mini Frog Plushie Pattern Add Joy to Your Day
With its round shape, expressive eyes, and squishy texture, this plushie makes a delightful keepsake for children and adults alike. It’s perfect for keychains, desk décor, or as a thoughtful handmade gift that carries a touch of whimsy and affection. Each stitch brings the frog’s personality to life, resulting in a soft toy that feels both comforting and fun to hold.
Beyond its cuteness, making this plushie offers relaxation and focus, turning quiet moments into something meaningful and satisfying. Its compact size makes it ideal for personal accessories or small displays that need a spark of charm. Whether perched on a shelf or tucked into a bag, this miniature frog adds a joyful touch that brightens surroundings while celebrating the beauty of simplicity, softness, and heartfelt handmade detail.

Mini Frog Plushie Crochet Tutorial – Step-by-Step Guide
This tutorial walks you through creating an adorable mini frog plushie, using simple crochet techniques and cozy chenille yarn. The step-by-step instructions make it achievable for beginners, with some attention to detail for a polished finish. You’ll learn to create various stitches, including magic rings, single crochet, increase, decrease, and bubble stitches that make this frog unique and playful!
Special Features
- Chenille Yarn: The plushie is made with soft chenille yarn, providing a lovely texture and cuddly feel.
- Bubble Stitch Details: Unique bubble stitches are used to form the frog’s eyes for a distinct appearance.
- Compact Design: The frog is small and manageable, perfect for beginners and those looking for a quick crochet project.
Materials Needed
- Chenille Yarn: Use green and black colors for the frog body and hair.
- Crochet Hook: 7 mm for comfortable crocheting with chenille yarn.
- Thin Black Yarn: For creating the facial details, such as the frog’s mouth.
- Safety Eyes: To create the frog’s cute features (use the bubble stitch to insert the eyes).
- Stuffing: Fiberfill or any other soft filling to make the plushie squishy.
- Yarn Needle: For sewing and weaving in ends.
- Scissors: To trim yarn as needed.
Step-by-Step Instructions
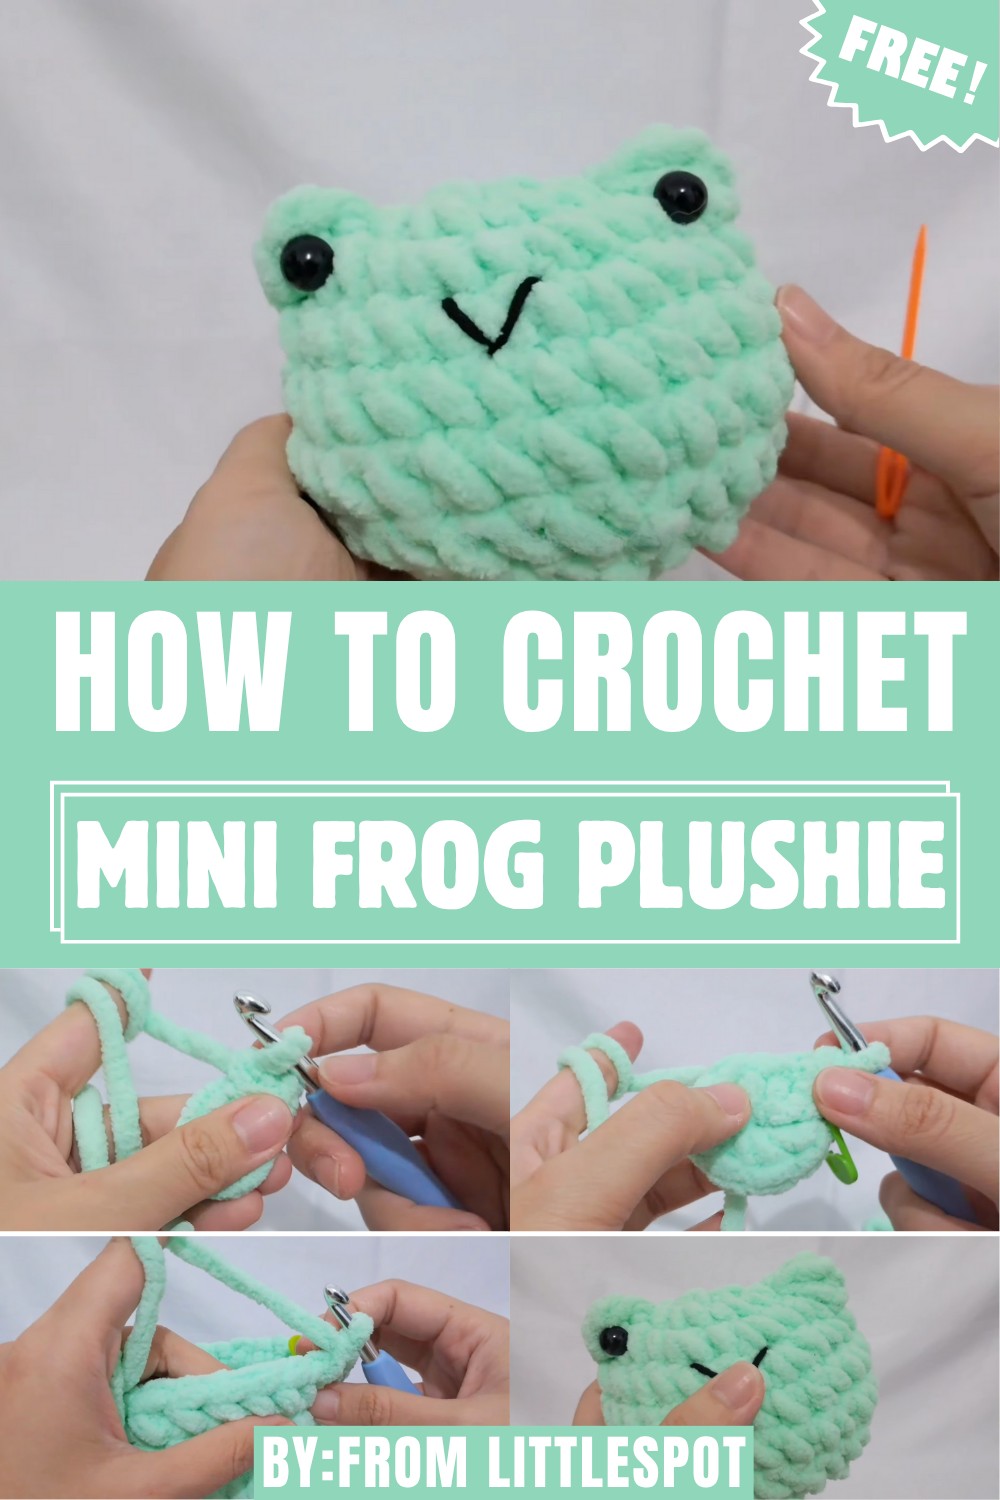
Part 1: Start with a Magic Ring
- Wrap the yarn around your fingers to create a loop.
- Flip the yarn and ensure you have two loops.
- Insert the hook under the first loop, hook into the second, and pull through.
- Make a chain stitch to secure the ring. This forms your magic ring.

Part 2: Round One – Single Crochet in Magic Ring
- Insert the hook into the ring. Yarn over and pull the yarn out, creating two loops on the hook.
- Yarn over again, pull through both loops to complete a single crochet.
- Repeat the process until you have 8 single crochets inside the magic ring.
- Pull the yarn tail to close the ring, forming the base for the plushie.
Part 3: Round Two – Increase in Each Stitch
- Begin the round with a single crochet.
- Work another single crochet into the same stitch – this is an increase.
- Continue making increases (2 single crochets per stitch) for the entire round, doubling the total number of stitches.
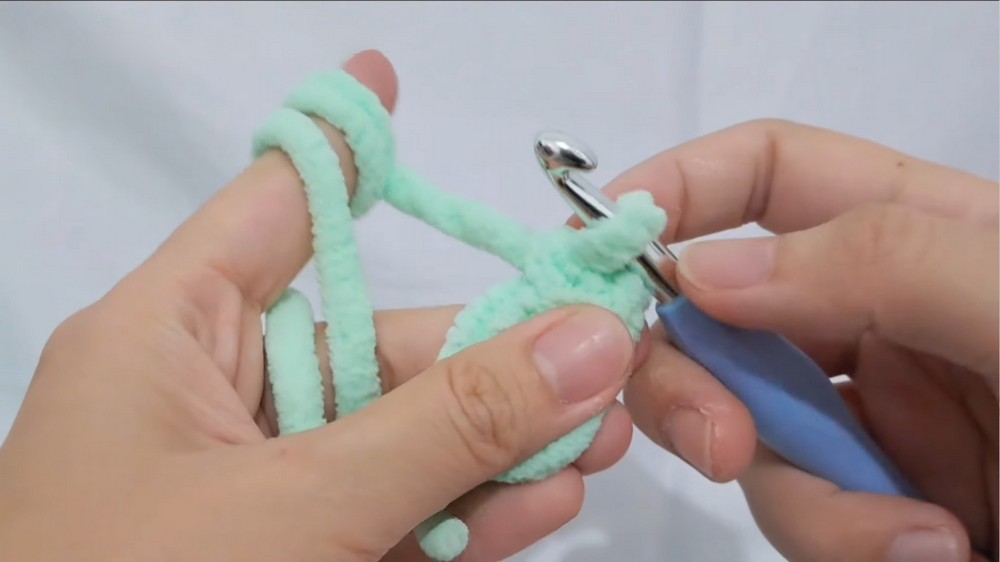
Part 4: Round Three – Single Crochet, Bubble Stitch & Increase
- Start with a single crochet in the first stitch.
- Work an increase (two single crochets) in the next stitch.
- Move to the third stitch and create a bubble stitch:
- Yarn over, insert the hook into the stitch, yarn over again, pull through the first two loops on the hook.
- Repeat this step until you have five loops on your hook.
- Yarn over and pull the yarn through all five loops. This completes the bubble stitch.
- Find the next stitch (covered by the bubble) and carefully do an increase.
- Continue the pattern: 1 single crochet and 1 increase for three more sets.
- Make another bubble stitch as explained above, followed by an increase in the next stitch.
- Finish the round with alternating 1 single crochet and 1 increase to complete the sequence.
Part 5: Rounds 4–6 – Shaping the Plushie
For Round 4:
- Start with 5 single crochets in consecutive stitches.
- Work an increase in the next stitch.
- Repeat this pattern (5 single crochets and 1 increase) until the end of the round.
For Rounds 5 and 6:
- Simply work 1 single crochet into every stitch.
Part 6: Round 7 – Start Decreasing
- Begin with 5 single crochets.
- Work a decrease: Insert the hook into the front loop of the current stitch and the front loop of the next stitch. Yarn over and pull the yarn through both front loops. Yarn over again and pull it through the loops on the hook.
- Repeat the pattern of 5 single crochets and 1 decrease to complete the round.
Part 7: Round 8 – Final Shaping
- Alternate between 1 single crochet and 1 decrease for the entire round.
- Insert the stuffing into the frog’s body before the final round.
Part 8: Round 9 – Closing Up
- Work decreases for every stitch in this round.
- Finish the round, and insert more stuffing as needed to achieve the desired shape.
- Once the decreases are complete, cut the yarn and thread a yarn needle.
- Insert the needle into the front loop of each stitch, pulling the yarn gently after each until the hole is completely closed.
- Weave in the yarn ends to hide them.
Part 9: Adding Eye and Mouth Details
- For the eyes, position safety eyes on the bubble stitches created earlier.
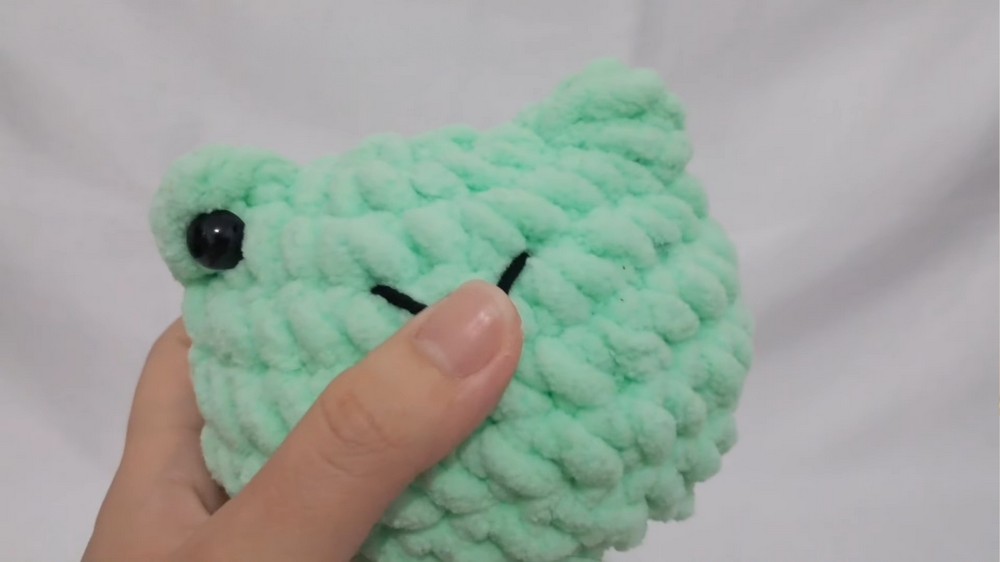
- Use the thin black yarn to embroider the frog’s mouth.
Level of Difficulty
This project is suitable for beginners and intermediate crocheters, as the tutor clearly explains foundational techniques such as single crochet, increases, decreases, and basic shaping methods.
Tutor’s Suggestions
- Pay Attention to Hidden Stitches: The bubble stitch can make the next stitch hard to see; take your time when locating it.
- Use Thin Yarn for Details: Small features like the mouth require a thinner yarn for better precision.
Uses of the Mini Frog Plushie
- Display Piece: Use the cute frog as part of your home decor or place it on a desk or shelf.
- Gift: A handmade present that is perfect for kids, friends, or anyone who loves frogs.
- Keychain or Bag Charm: Attach a small keyring or chain to make it a fun accessory.
- Stress Reliever: The plush texture and design make it a great sensory toy to squish or hold.
Tip for Success
Use chenille yarn carefully when creating smaller details to avoid tangles. Work gently and ensure to keep your tension consistent for a smooth finish on the plushie.
Conclusion
Creating this mini frog plushie is a delightful experience, allowing you to explore foundational crochet techniques with advanced touches like bubble stitches and shaping. It’s an amazing way to improve your skills while crocheting a quirky and adorable accessory for your collection.