Start your next fun project with this Free Crochet Ruffle Hat Pattern that brings a soft, wavy charm and a pretty touch to your cozy wardrobe.
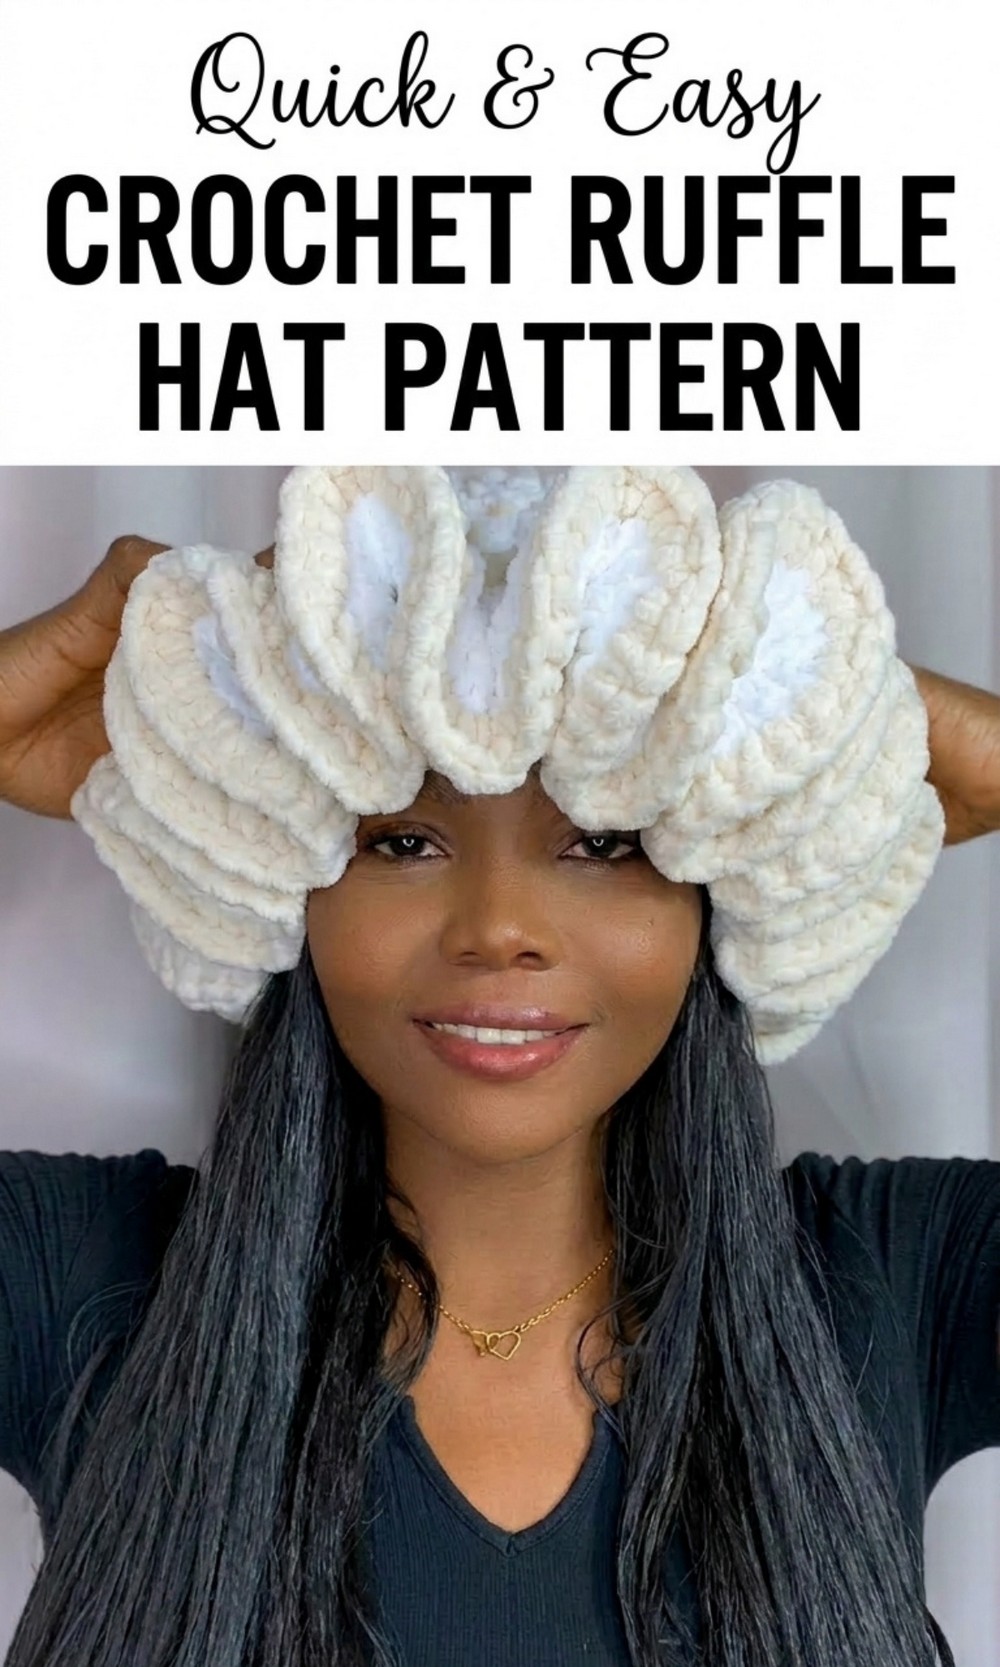
Use This Free Crochet Ruffle Hat Pattern to Stay Stylish
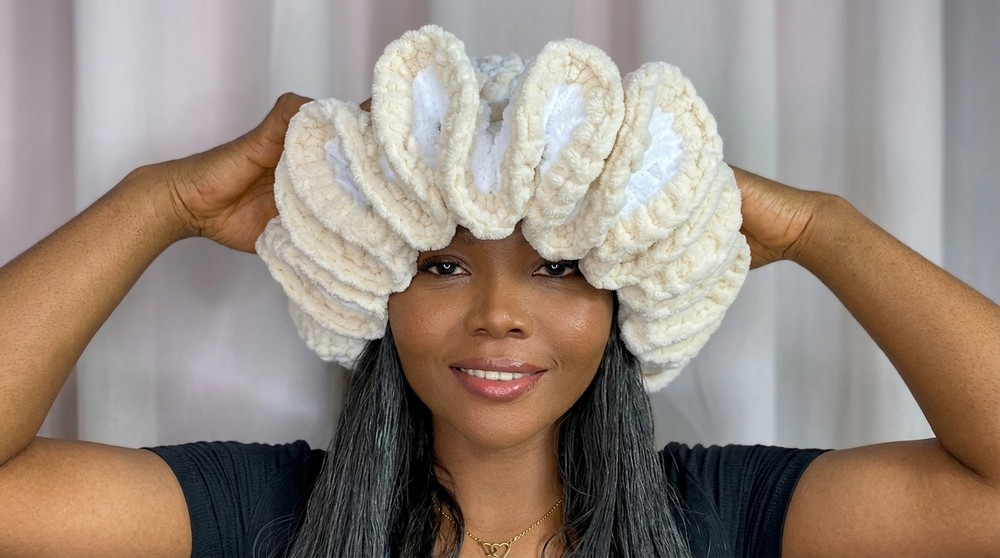
Let’s make a fun and cozy ruffle hat that will keep you warm and looking great. This crochet ruffle hat is soft, comfy, and full of pretty ruffles that make it unique and eye catching. The colorful layers and wavy edges give the hat a playful charm, making it perfect to use in cold weather or as a thoughtful handmade gift for someone you care about. 
The process is simple, relaxing, and enjoyable, and the end result is a beautiful hat that’s perfect for you or a loved one. This ruffle hat is not just useful but also fun to wear and show off.
Crochet Ruffle Hat Pattern
Materials Needed:
- Chunky Yarn
- Select two colors (e.g., gray and white, or any combination you prefer). Ensure the yarn is soft and suitable for ruffles.
- Crochet Hook
- Use an 8 mm hook for this design.
- Stitch Marker
- Essential for marking stitches, especially when working with rounds and changes in stitches.
- Scissors
- To cut the yarn when switching colors or finishing.
- Tapestry Needle
- For weaving in loose ends after completing the project.
Techniques Used:
- Magic Circle: Creates the base of the heart.
- Half Double Crochet (HDC): The stitch used primarily throughout the pattern.
- Color Changes: Switching yarns to achieve the two toned effect.
- Slip Stitch: Used to close rounds and provide a clean finish.
- Single Crochet (SC): Added for final detailing.
- Weaving in Ends: Hiding loose yarn ends for a clean look.
Detailed Pattern Steps:
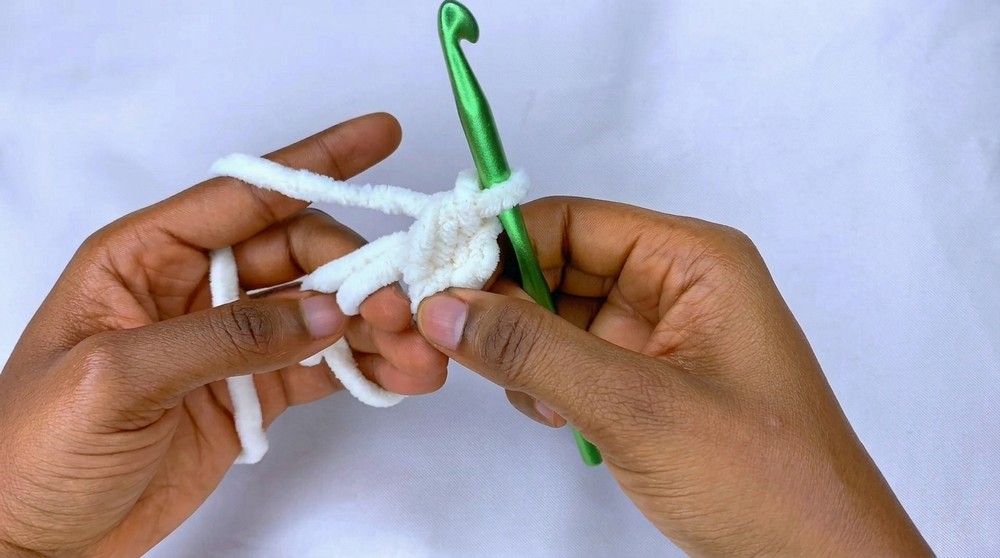
Step 1: Magic Circle and First Round (Foundation Row)
- Make a magic circle: Wrap the yarn around three fingers and hold it tightly. Insert the hook into the circle, pulling the second yarn strand through.
- Chain 2 stitches to begin.
- Work 10 half double crochets (HDC) evenly around the magic circle. Yarn over, insert the hook, pull the yarn through, and complete the stitch by pulling through all three loops.
- Pull the circle tight (but not too tight) to close. Slip stitch into the first HDC to close the round.
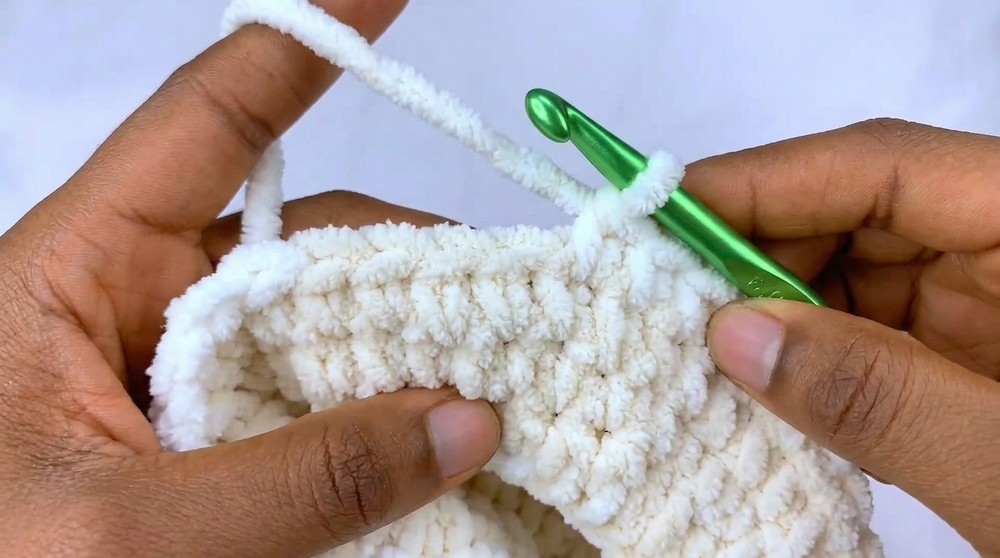
Step 2: Second Round (Increasing Stitches)
- Chain 2.
- For this round, place 2 HDCs into each stitch from the previous round. You’ll end up with 20 HDCs.
- Slip stitch into the first HDC to close the round.
Step 3: Third Round (Further Increase)
- Chain 2.
- Work 1 HDC in the first stitch, 2 HDCs in the second stitch. Repeat this (increasing in every second stitch) all the way around.
- Slip stitch into the first HDC and finish the round.
Step 4: Fourth Round (More Gradual Increase)
- Chain 2.
- Work 1 HDC in each of the first 2 stitches, then place 2 HDCs in the third stitch. Repeat this pattern (increasing in every third stitch) around.
- Slip stitch to close the round, ending with neat edges.
Step 5: Changing Colors (Start Two-Toned Design)
- To change color, make a slip stitch and pull the new yarn color through.
- Chain 2 and work 1 HDC in each stitch around—no increases or decreases.
- Hide the loose ends of the yarn as you crochet.
- Repeat the process for the next row using the second color yarn to create alternating rows.
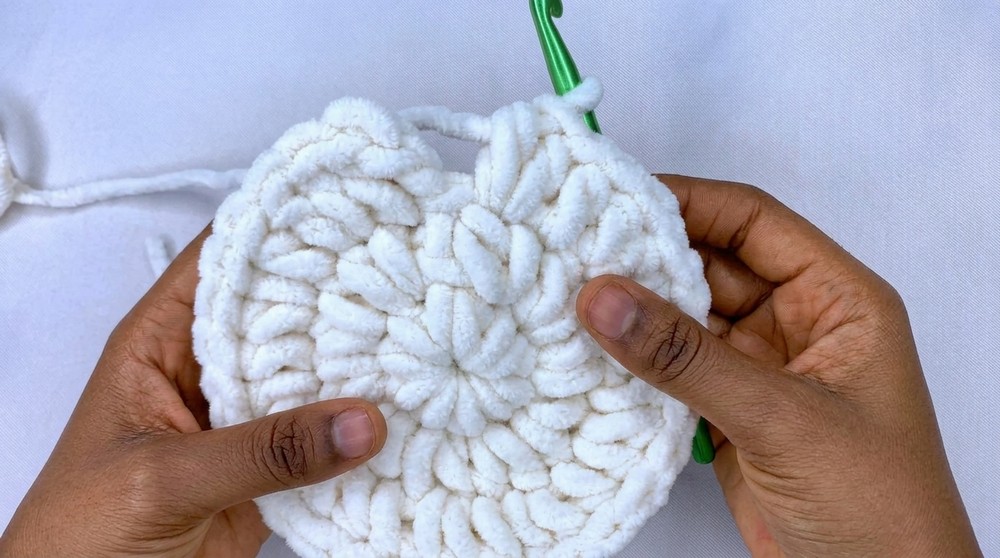
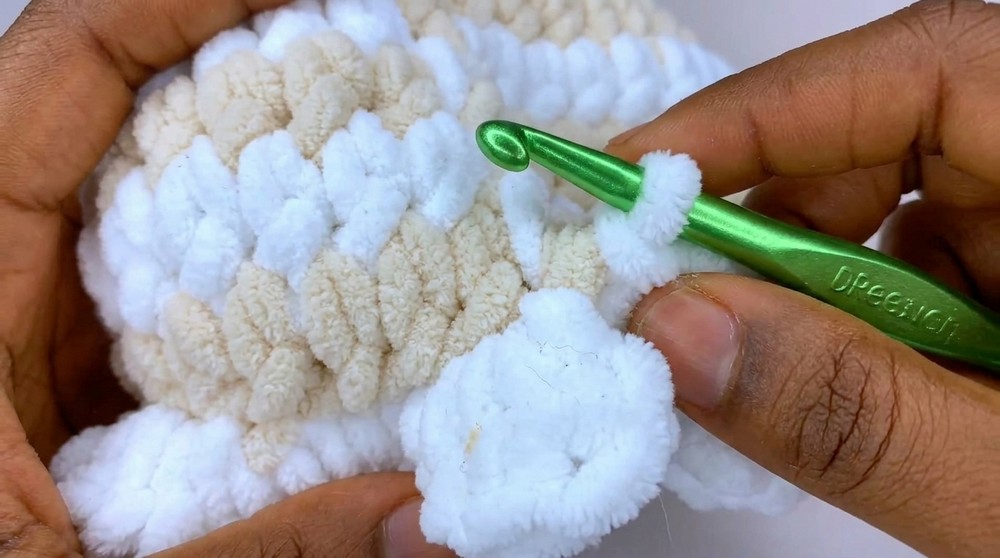
Step 6: Ruffle Effect
- Using the second yarn color, cut the base yarn (if necessary) and prepare to start the ruffles.
- For the ruffles, work 3 HDCs in every stitch around the edge of your heart. This creates a frilly, textured appearance.
- Complete the round with a slip stitch.
- For the second row of ruffles, chain 2 and work 3 HDCs into the spaces visible between existing stitches (use your fingers to guide yourself if needed). Finish the round with a slip stitch.
Step 7: Adding Final Detailing
- Change back to the original yarn color and work single crochets (SC) in every stitch. This adds a clean border and defines the ruffles.
- Use a stitch marker to keep track of the first stitch in this round.
- Complete with a slip stitch once the row is finished.
Step 8: Weaving in Ends (Finishing Touches)
- Thread the loose yarn ends through a tapestry needle.
- Weave the ends into the spaces at the back of the heart, ensuring no loose threads show on the front.
- Cut off excess yarn once the ends are neatly hidden.
Final Words:
Your beautiful two toned ruffled heart is now complete. This project is perfect as a decorative piece, a gift, or even a creative way to enhance your crochet skills. The contrast of the two tones and the ruffled edges give it a unique look that stands out.
Tips to Maintain the Pattern:
- Tension Control: Ensure your stitches are evenly tight to maintain a consistent look.
- Yarn Storage: Use yarn that is soft and easy to work with for a smoother finish.
- Practice Magic Circle: If you’re new to this technique, practice it several times, as it forms the base.
- Care Instructions: Gently wash and air dry if the heart is meant to be used regularly or displayed in areas prone to dust.