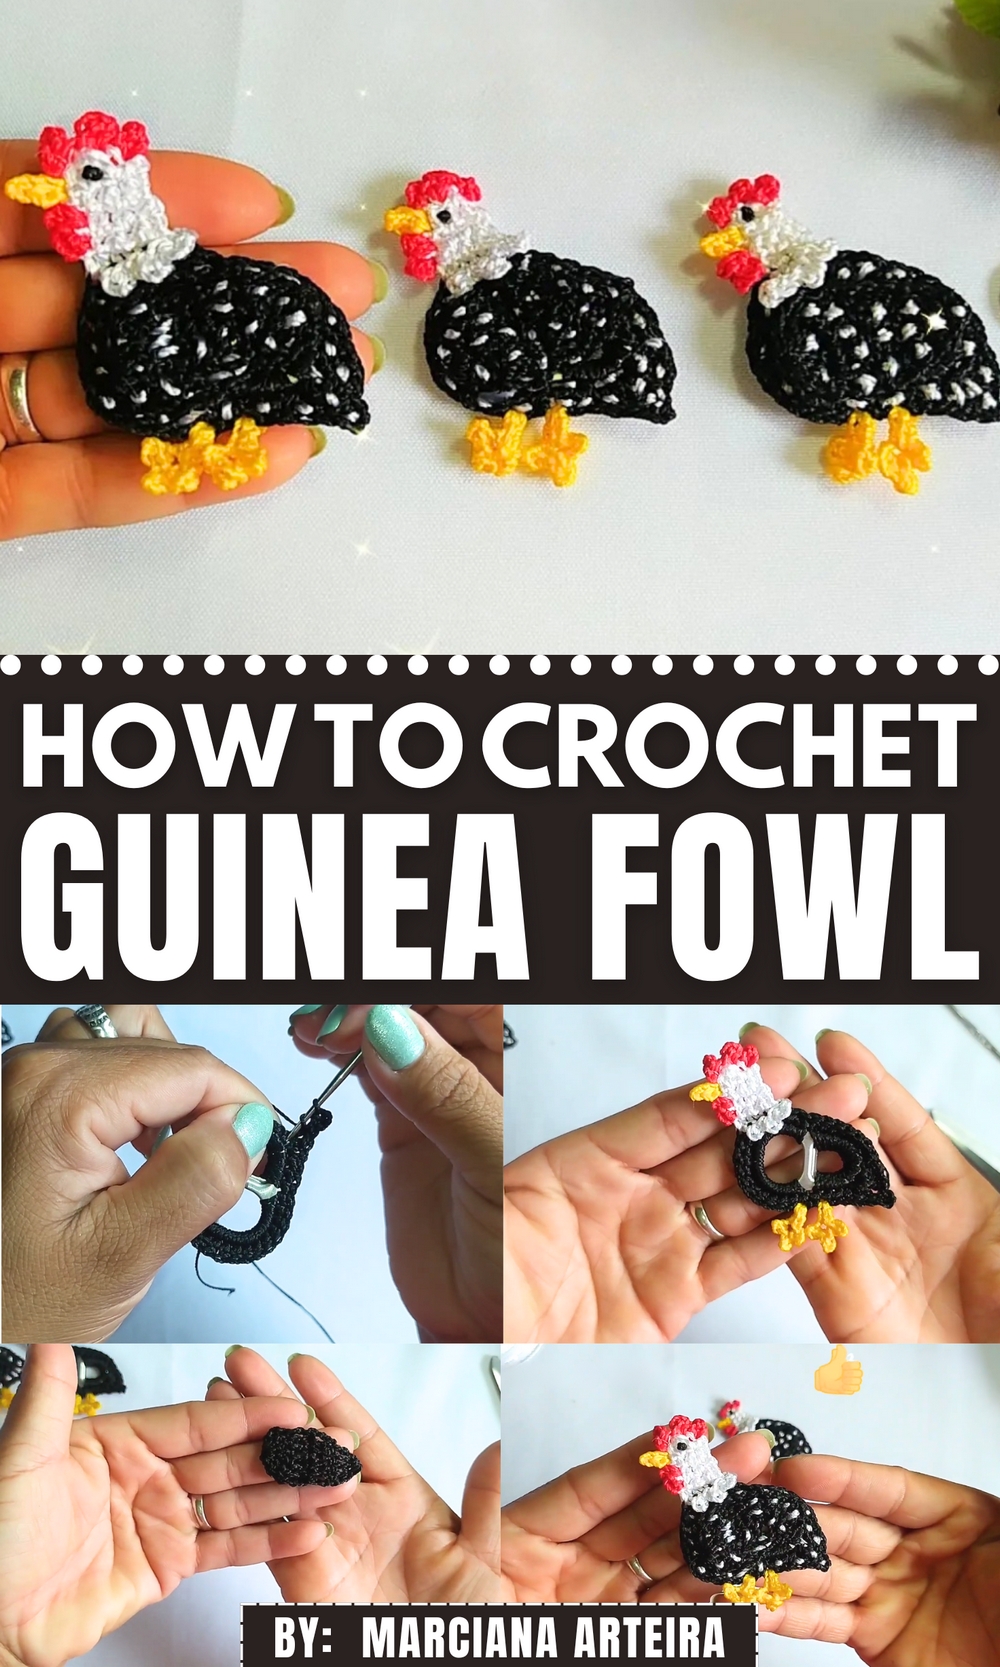
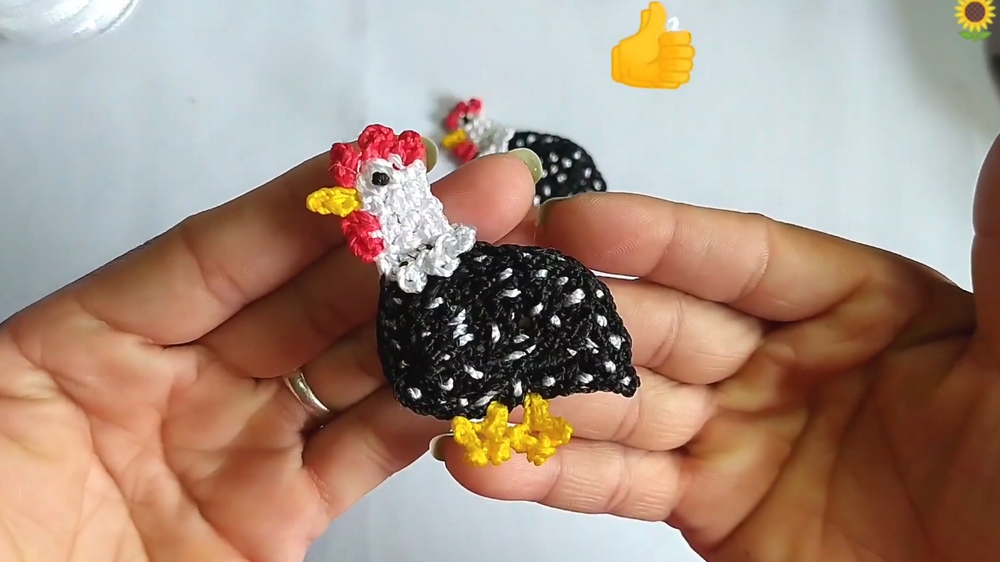
Whip up charm with this Free Crochet Guinea Fowl Pattern that brings farmhouse whimsy to life through soft stitches and playful handmade detail.
Once kept in barnyards for their alert nature and quirky charm, guinea fowls have found their way into homes not just as watchful companions, but now as delightful décor. Their unique speckled feathers and distinctive silhouette make them an unexpected yet charming muse for handmade décor lovers. The free crochet guinea fowl pattern offers a fun way to recreate this iconic bird in soft yarn, making it an appealing choice for both seasonal and everyday decorations. Whether perched on a shelf or gifted as a playful piece, this handmade bird adds a touch of whimsy and warmth to any room.
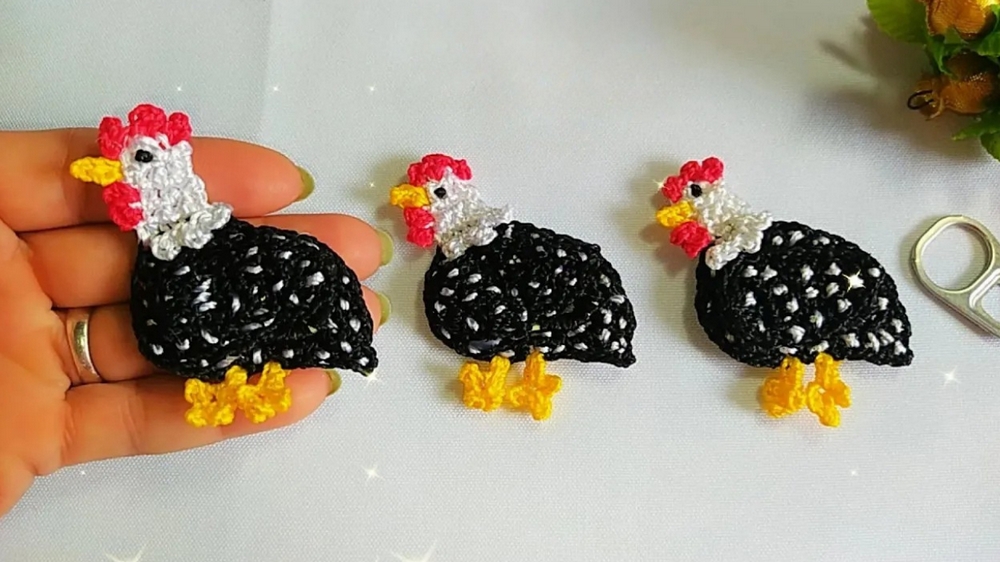
Perfectly Sized Crochet Guinea Fowl to Accent Rustic Decor
The pattern serves more than decorative purposes, it’s also a satisfying project that balances detail and simplicity. The end result can be used as a desk ornament, farmhouse-style centerpiece, or a thoughtful present for bird enthusiasts. The free crochet guinea fowl pattern brings with it the quiet joy of making something memorable, personal, and timeless.
It invites the maker into a calming rhythm of stitches while resulting in a keepsake that sparks conversation and charm. Lightweight and easy to display, this delightful creation turns yarn into something character-filled and surprisingly lifelike, proving that beauty often lies in the unexpected.
Special Features
- Eco-Friendly Creation: Recycling a sardine can seal as the project base.
- Minimal Material Usage: Leftover threads and simple craft tools.
- Multifunctionality: Resulting craft can be used as a refrigerator magnet or decorative piece.
- Compact Design: Small and lightweight, perfect for display.
- Beginner-Friendly: Straightforward instructions for basic crochet techniques.
Level of Difficulty
This project is beginner-friendly, requiring basic knowledge of crochet. The level of detail in creator explanations makes it accessible even to those new to crafting. Advanced crafters will appreciate its simplicity and the creative reuse of materials.
Tutor’s Suggestions
- Thread Selection: Use thick silk threads (red, black, white, and gold-yellow). Leftover threads work perfectly.
- Needle Size: A 1.75 mm crochet needle is ideal for precise stitches.
- Additional Tools: Have scissors, hot glue, and a lighter on hand to finish edges neatly.
- Optional Material: A mobile eye can be used for the chicken’s eye for a playful touch.
Uses
- Refrigerator Magnet: A charming addition to your kitchen.
- Decorative Purpose: Decorative item for any space needing a touch of handmade creativity.
- Gift Idea: An inexpensive and thoughtful handmade present for friends and family.
Materials Required
- Sardine can seal (the base of the craft).
- Threads:
- Red
- Black
- White
- Gold-yellow
- 1.75 mm crochet needle.
- One small magnet.
- Sewing needle and thread.
- Scissors, hot glue, lighter.
Step-by-Step Instructions
1. Preparing the Base (Sardine Can Seal)
- Begin with the seal (the flat part) from a sardine can, ensuring it’s clean.
- Use black thread to crochet around the edges of the seal. Create 18 single crochet stitches on the larger edge and 12 on the smaller edge.
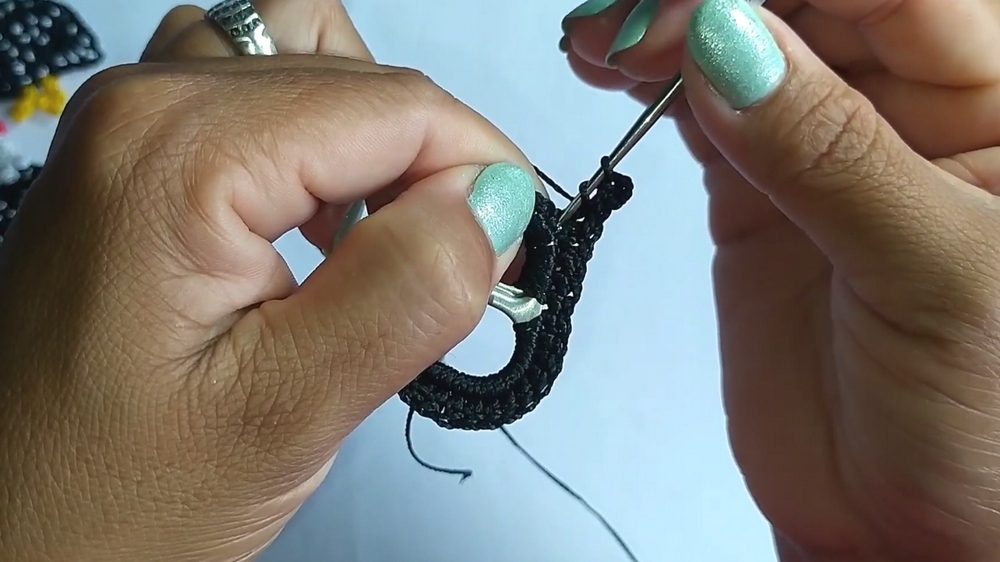
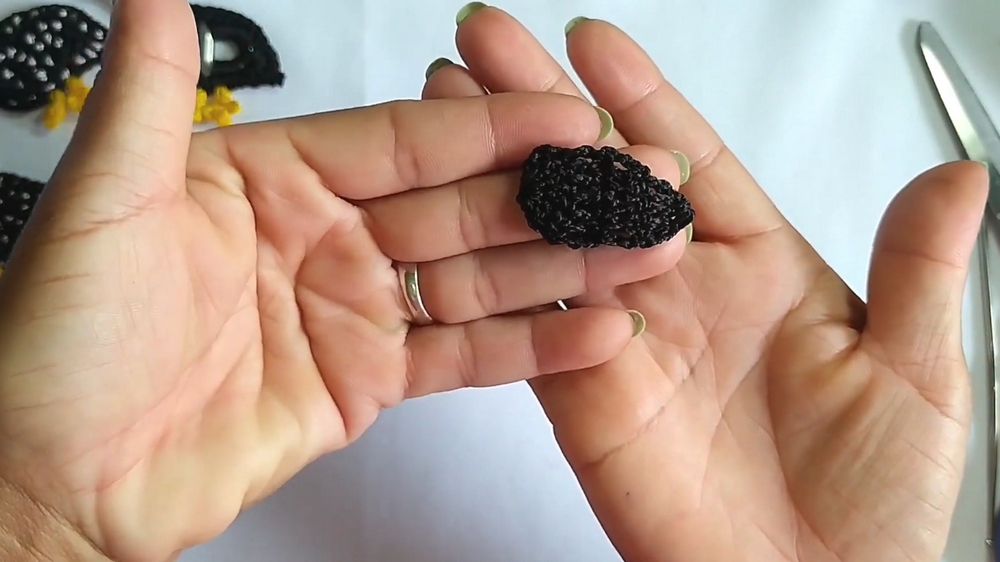
2. Making the Chicken Body
- Using black thread, crochet around the edges to create a base. Use single and double crochet stitches to define the body.
- Add peaks to the design using chains and picots. Creator carefully demonstrates how to work the loops and chains to achieve the shape.
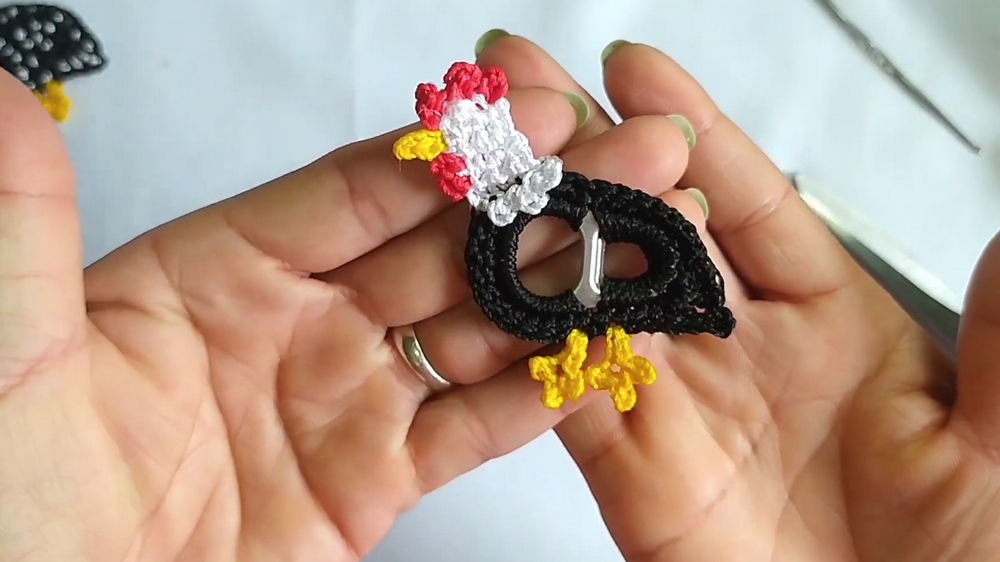
3. Chicken’s Head
- Switch to white thread. Begin crocheting the head near the seal’s larger edge, counting five stitches across and working with single crochet stitches.
- Build up rows of stitches to form the head shape while leaving loops free for additional details later.
4. Creating the Crest (Red)
- Use red thread to crochet three small peaks for the crest. Work small sections of chain stitches within the designated spaces and secure them with slip stitches.
5. Adding the Wings
- Create a wing using black thread and a magic ring. Work rows of decreasing numbers of double crochet stitches to form the wing shape.
6. Feet & Beak Details
- Use yellow thread for the feet, creating small toes with chain stitches and slip stitches.
- Similarly, use red thread for the beak and apply simple slip stitches for a clean, sharp finish.
7. Adding Spots
- Use white thread and a sewing needle to add spots to the body and wing. The tutor suggests adding as many dots as desired for aesthetic appeal.
8. Final Assembly
- Attach the magnet to the back using hot glue.
- To complete the guinea fowl, ensure all threads are sealed neatly using a lighter.
Conclusion
This guinea fowl crochet is an exciting project that blends creativity with sustainability. Creator detailed instructions ensure anyone can create a beautiful handmade refrigerator magnet while using minimal materials. The crochet also makes a wonderful personalized gift or keepsake.
Crafting Tip
Ensure Tension: When crocheting, maintain consistent tension in the thread to achieve clean, uniform stitches. This is particularly critical for forming small details like the crest, beak, and feet.