Top off your look with this free crochet bucket hat pattern that is simple to follow and helps you make a light and trendy hat for sunny days.
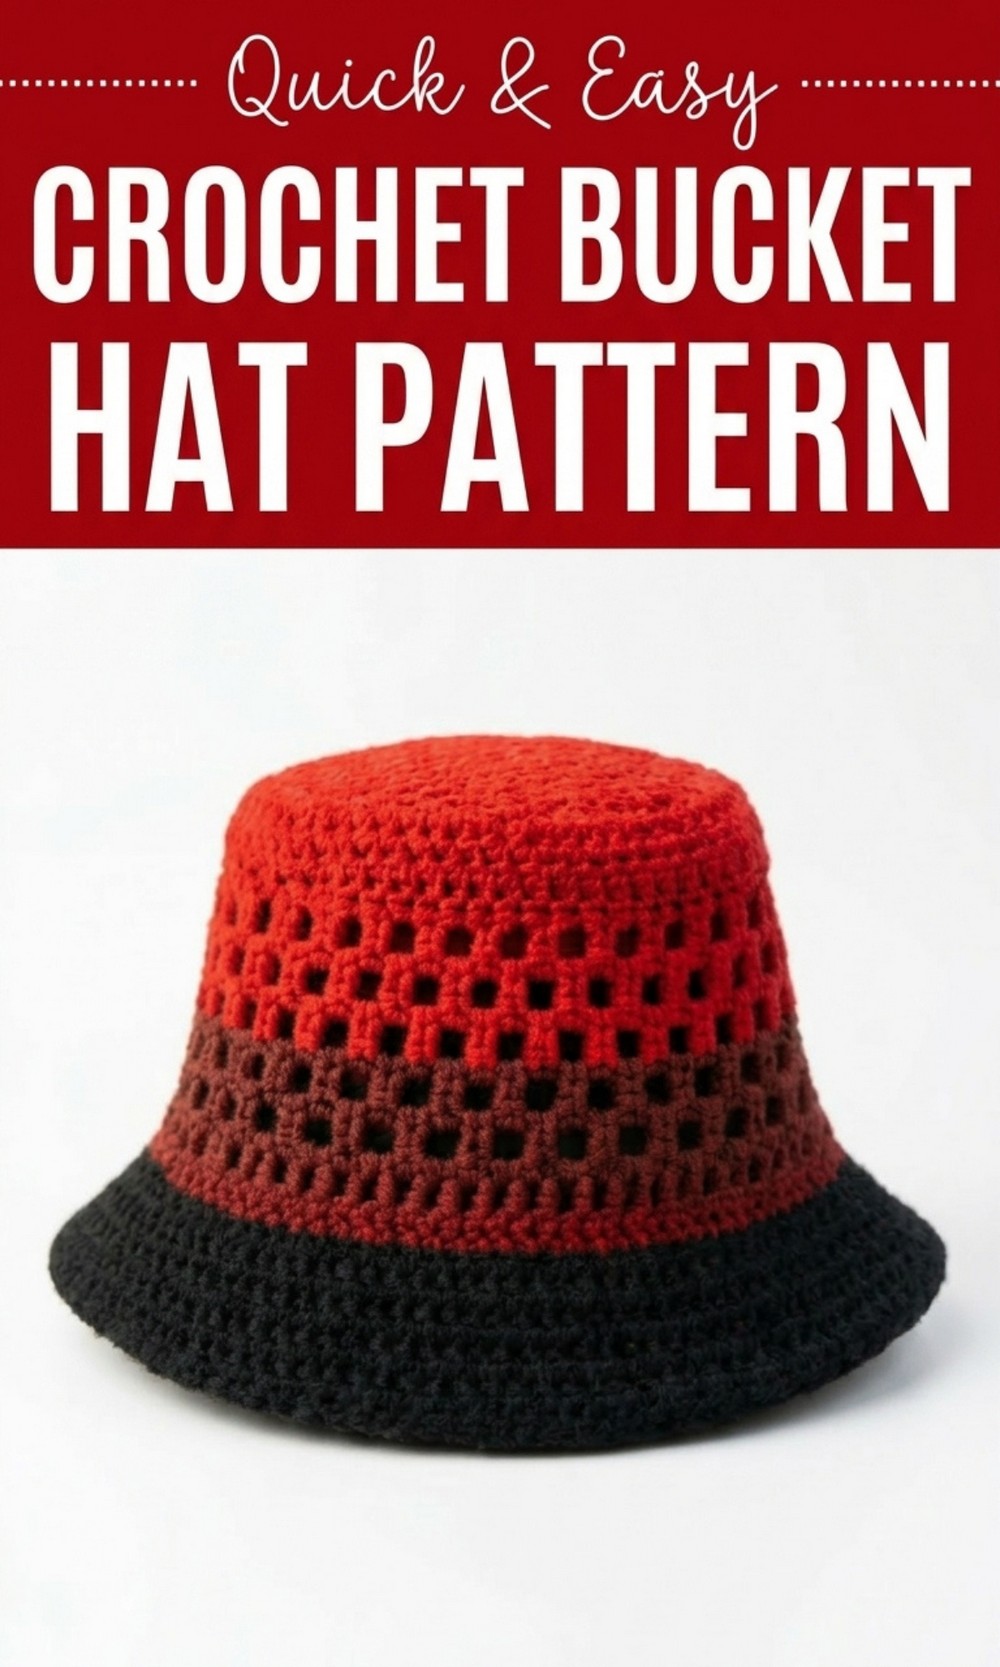
Free Crochet Bucket Hat Pattern for the Ultimate Style Boost
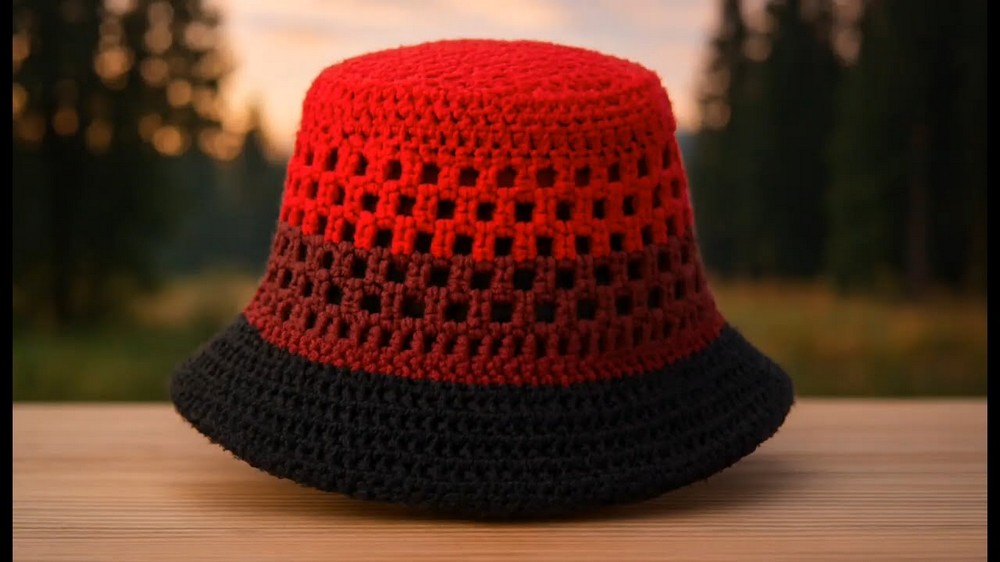
Stay cool and look wonderful under the bright sun by making your own soft and stylish hat that goes perfectly with all your favorite outfits. A Free Crochet Bucket Hat Pattern is a fun, creative, and simple way to crochet a trendy hat right at home.
This adorable hat has a soft, rounded top with a wide, floppy brim that not only protects you from the sun but adds a touch of charm to your look. It’s super lightweight and has a breathable design, so it’s comfortable for long sunny days. 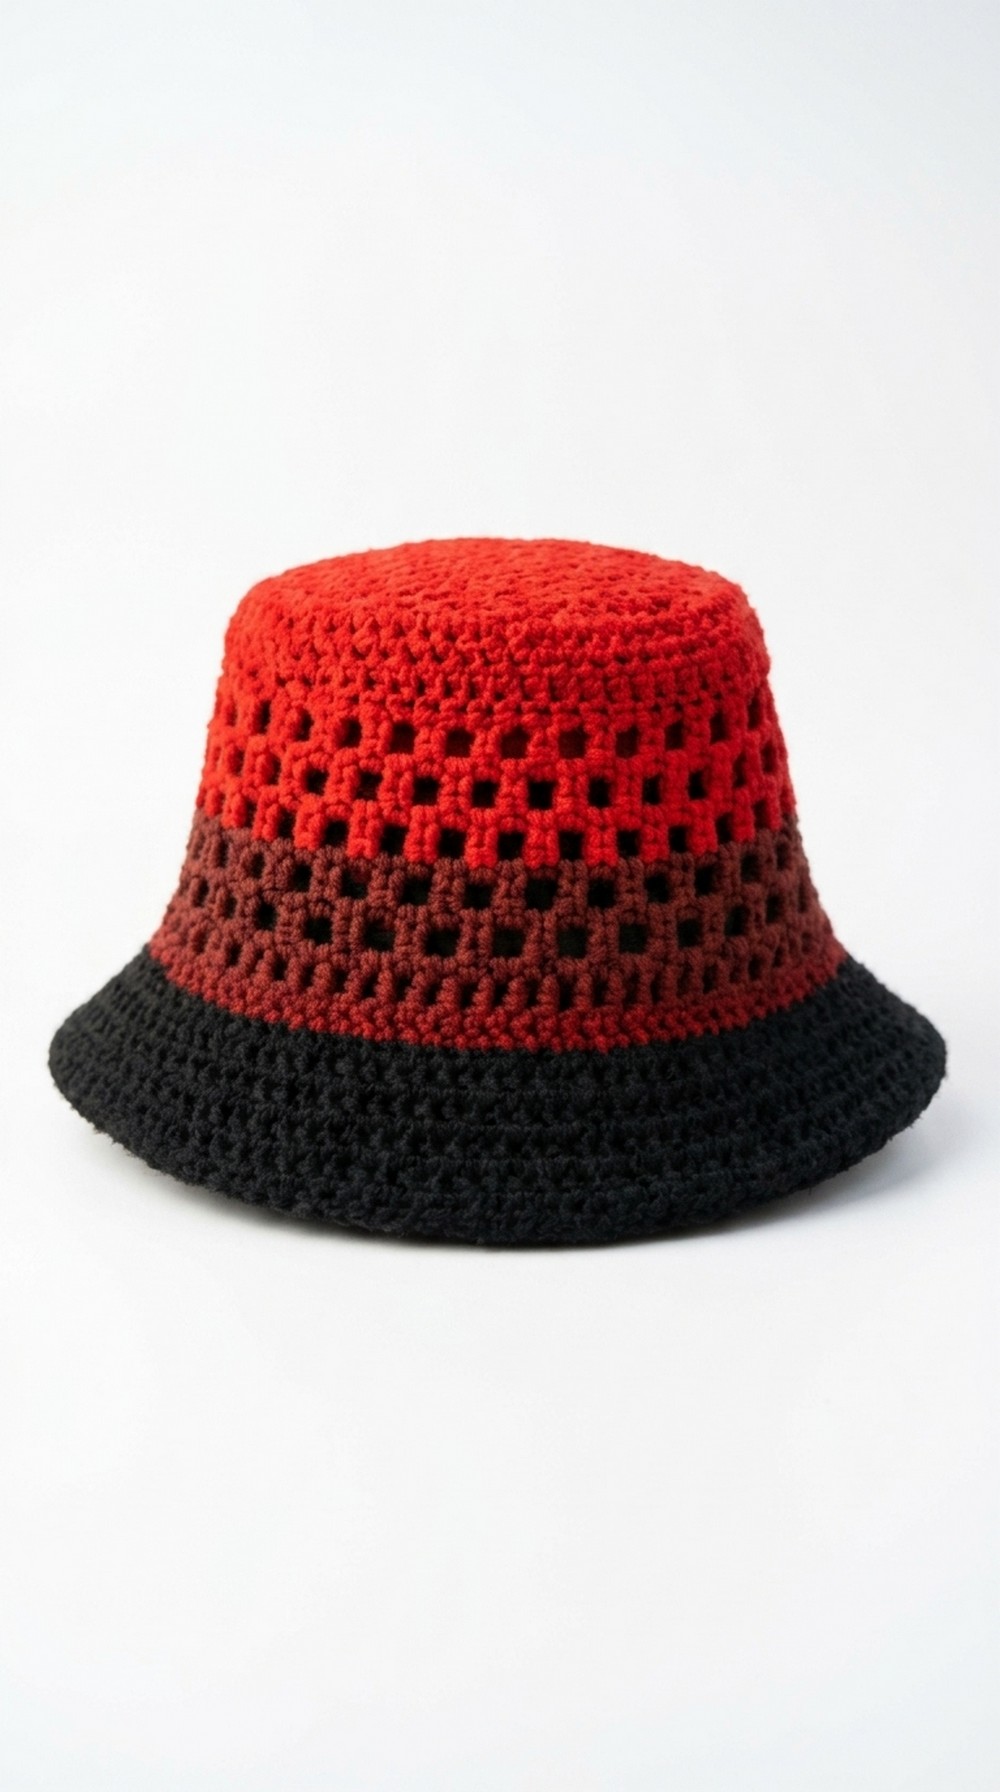 The pattern is beginner friendly, using easy stitches like half double crochets, so anyone can enjoy making it. Whether for a day at the beach, a walk in the park, or a thoughtful handmade gift, this hat is as practical as it is beautiful.
Beautiful Crochet Mesh Pocket Hat Pattern
Finished Size
- Base Diameter: Approximately 6 inches.
- Height: Customizable, depending on individual preferences. The sample size follows 7 rows for the body with a mesh texture.
Materials
- Yarn:
- Main Color (Black): 100% acrylic yarn (2 ply).
- Accent Color (Wine or Scrap Yarn): Double strands for additional thickness.
- Hook: 4mm crochet hook.
- Measuring Tape: To check the base size and ensure accurate crochet dimensions.
- Needle: For sewing in loose ends.
- Scissors: To trim excess yarn.
Gauge
- Using 4mm hook and 2 ply yarn: 10 Half Double Crochets x 10 Rows = 4 inches square.
Ensure that the gauge is consistent for accurate sizing.
Tips and Customization Ideas
- Color Customization:
- Use scrap yarn for vibrant stripes or alternate rows for a multi colored effect.
- Pair neutral shades for a classy look or bold colors for a playful touch.
- Texture Enhancement:
- For a thicker appearance, use bulkier yarn or combine multiple strands.
- Size Customization:
- Adjust the number of rows for the base and the body to suit desired length and width.
Pattern Instructions
Special Techniques
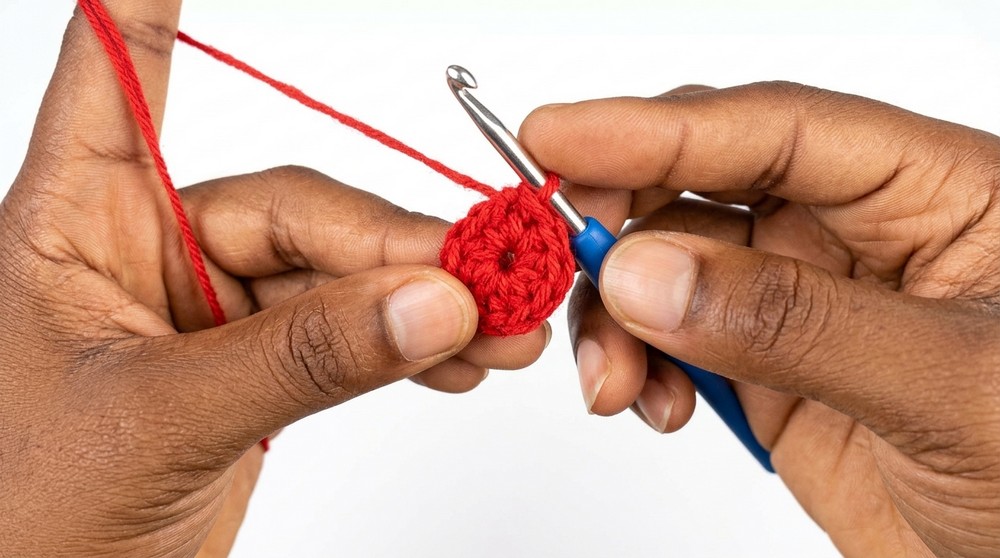
- Magic Ring Technique:
Start with two fingers, wrap the yarn in an “X” shape, and secure using tension from the pinky finger. This technique creates an adjustable circle for the base. - Tripouble Crochet:
- Yarn over twice.
- Insert your hook into the stitch.
- Yarn over, pull up a loop, giving 4 loops.
- Yarn over, pull through two loops at a time (repeat until completed).
Step by Step Pattern
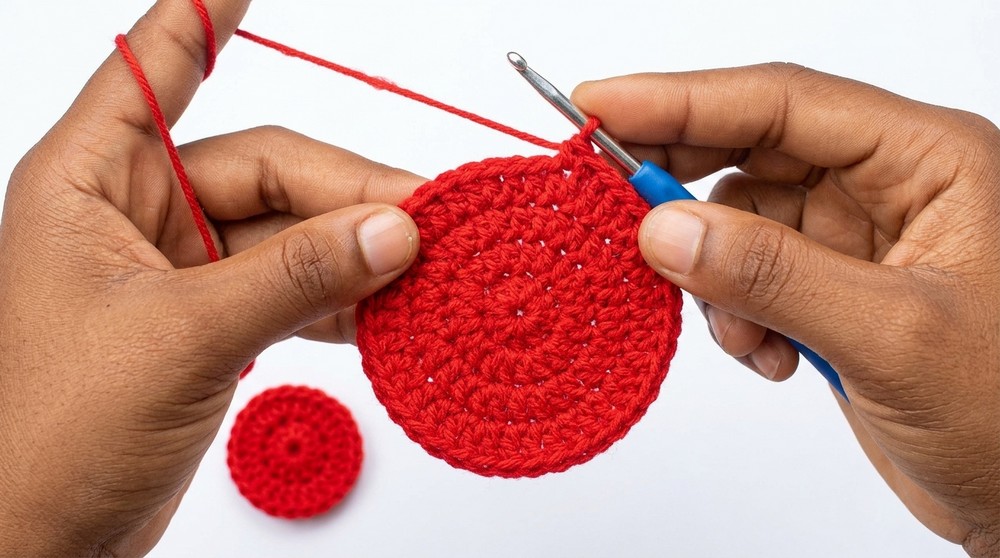
1. Base:
- Row 1:
- Begin with a magic ring.
- Chain 1 and work 10 half double crochets into the magic ring.
- Close the ring by pulling the yarn tightly.
- Slip stitch into the first half double crochet to form a circle.
- Row 2:
- Chain 1.
- Make 2 half double crochets in each stitch across.
- You should end with 20 half double crochets.
- Slip stitch into the first half double crochet.
- Row 3:
- Chain 1.
- Alternate between 2 half double crochets (increase) and 1 half double crochet across: [Increase, No Increase].
- You should end with 30 half double crochets.
- Slip stitch into the first half double crochet.
- Row 4:
- Chain 1.
- Alternate between sequences of [Increase, No Increase, No Increase].
- End with 40 half double crochets.
- Remember: Start with an increase and finish with no increase.
Continue this pattern of increases, gradually expanding the base to reach 6 inches in diameter.
2. Body:
- Row 1:
- Chain 1.
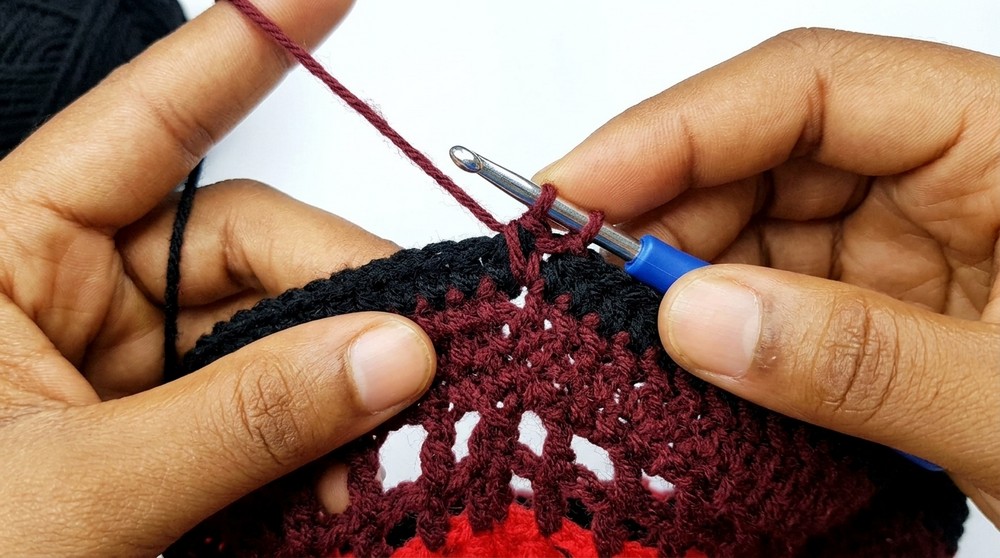
- Work half double crochets across only the front loop and the loop below it (skip the back loops for texture).
- Row 2 to 7:
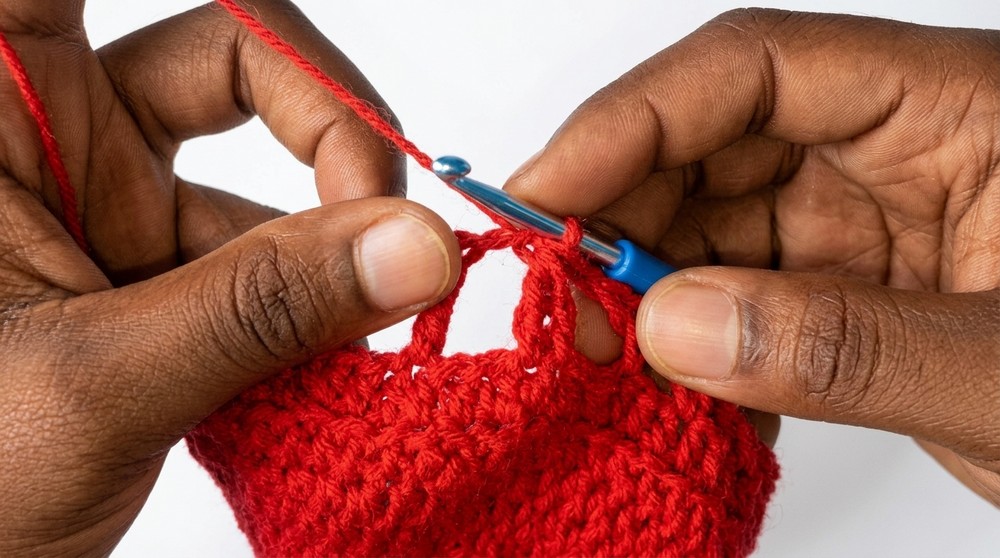
- Begin creating mesh texture:
- Chain 2.
- Make Tripouble Crochet in alternate stitches, skipping 2 stitches between each.
- Chain 2 between tripouble crochets.
- Begin creating mesh texture:
Repeat this sequence for 6 rows or until the desired height is achieved.
3. Flared Rim:
- Row 1:
- Chain 1.
- Start increasing every 8 stitches: [Increase, 7 stitches no increase].
- Slip stitch at the end.
- Row 2:
- Chain 1.
- Increase every 10 stitches: [Increase, 9 stitches no increase].
- Row 3 and Beyond:
- Gradually increase as follows:
- Row 3: Increase every 12th stitch.
- Row 4: Increase every 14th stitch.
- Gradually increase as follows:
Repeat until the desired flare effect is achieved.
4. Final Round:
- Work one round of half double crochet across without any increases for a clean edge.
Finishing Touches
- Sew Loose Ends: Use a needle to weave the loose ends into corresponding color sections for a neat finish.
- Trim Excess Yarn: Cut off any remaining loose threads.
Conclusion
The Crochet Mesh Pocket Hat is an elegant yet functional design combining a sturdy base, breathable body, and flared rim. Whether used as a fashion accessory, gift item, or practical pouch, this hat is highly customizable in colors and dimensions.
Important Remarks:
The mesh texture ensures a stylish appearance while also providing versatility for various uses. Pair it with a specific outfit, or make it a thoughtful handmade gift for friends and family.