Wrap yourself in style with this Free Crochet Cardigan Pattern, ideal for cozy, chic layers that brighten any outfit effortlessly.
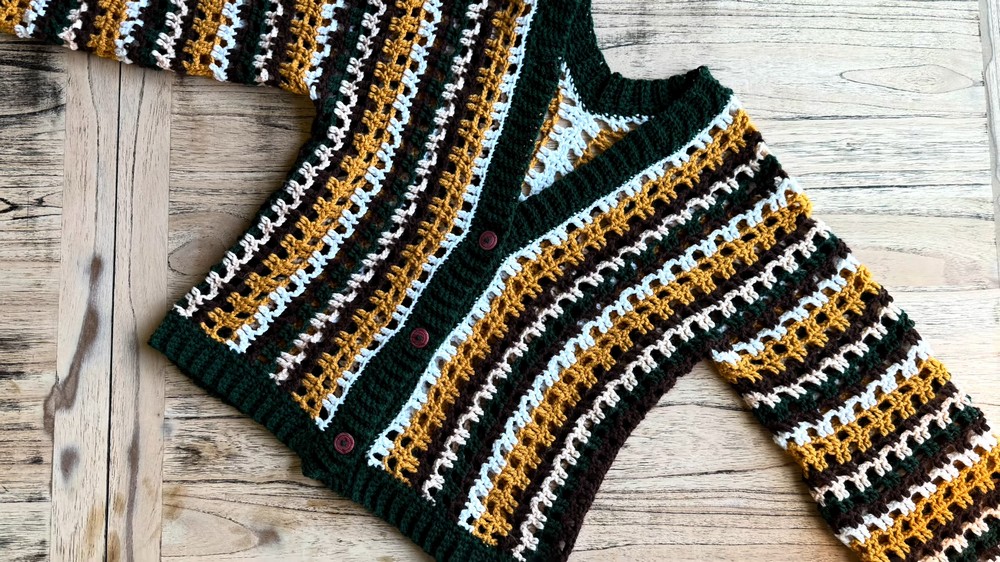
As temperatures drop, a cozy cardigan becomes an essential companion, offering both comfort and style. This striped crochet cardigan is a perfect blend of practicality and elegance, effortlessly balancing warmth with creativity. Its charm lies in its unique construction, beginning from the sleeves and extending to the body, showcasing seamless symmetry as the two sections meet at the back. The result is a functional yet visually striking piece, highlighted by colorful stripes and finished with soft ribbed edges that add structure and refinement.
Stitch Your Style Crochet Cardigan Pattern for Trendy Outfits
This cardigan’s versatility makes it suitable for all seasons, whether layered over a summer dress or paired with winter essentials. It starts with ribbed cuffs, using single crochet in the back loop to create a stretchy yet textured base. From there, the sleeves are crocheted using double crochet stitches, followed by the body panels, which are worked outward to ensure the perfect fit.
Personalization plays a key role, as measurements for the bust, body length, and sleeve length allow for a tailored garment. Ribbing along the open edges, collar, and bottom hem provides a polished finish, while optional buttonholes add functionality.
Special Features of the Cardigan
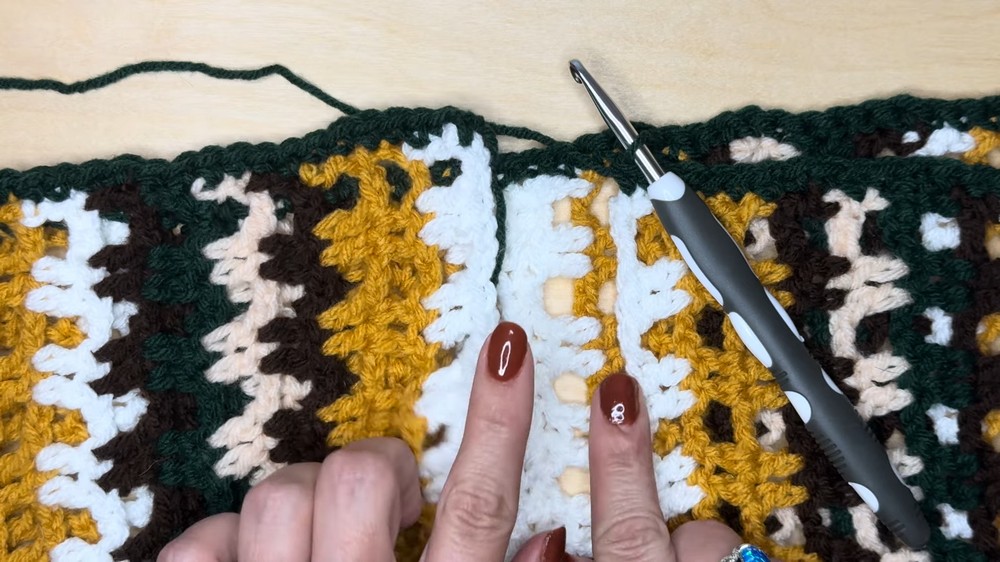
- Striped Design: The cardigan is composed of multiple color stripes, allowing for creative freedom and a bold appearance.
- Unique Construction: The cardigan is worked in two mirrored sections:
- Each section starts at the sleeve and extends to the center.
- It is then seamed up along the back.
- Ribbing Details: Single-crochet ribbing is used to accent the edges:
- The sleeves feature ribbed cuffs.
- Ribbing is added along the collar, open edges, and bottom.
- Custom Fit:
- Measurements for the bust, sleeve length, and body length are customized for the maker.
- Instructions are provided to add positive (looser) or negative (tighter) ease to suit personal preference.
Materials Needed
- Yarn: Multiple colors of yarn are used for the striped pattern (check the video or description for the creator’s specific color layout).
- Crochet Hook: Match the hook size to your yarn.
- Soft Measuring Tape: To measure body dimensions for a custom fit.
- Darning Needle: For sewing seams and weaving in ends.
- Scissors: To cut yarn when changing colors and finishing.
- Stitch Markers: To secure sections when seaming and marking button placements.
- Buttons (Optional): If you want to include closures.
Step-by-Step Cardigan Instructions
1. Taking Measurements
- Bust Measurement: Measure around the largest part of your bust; keep the tape horizontal.
- Sleeve Length: Measure from the middle of your neck to your wrist.
- Cardigan Body Length: Measure from your preferred shoulder length down to where you want the cardigan to end.
2. Creating the Ribbing for Sleeves
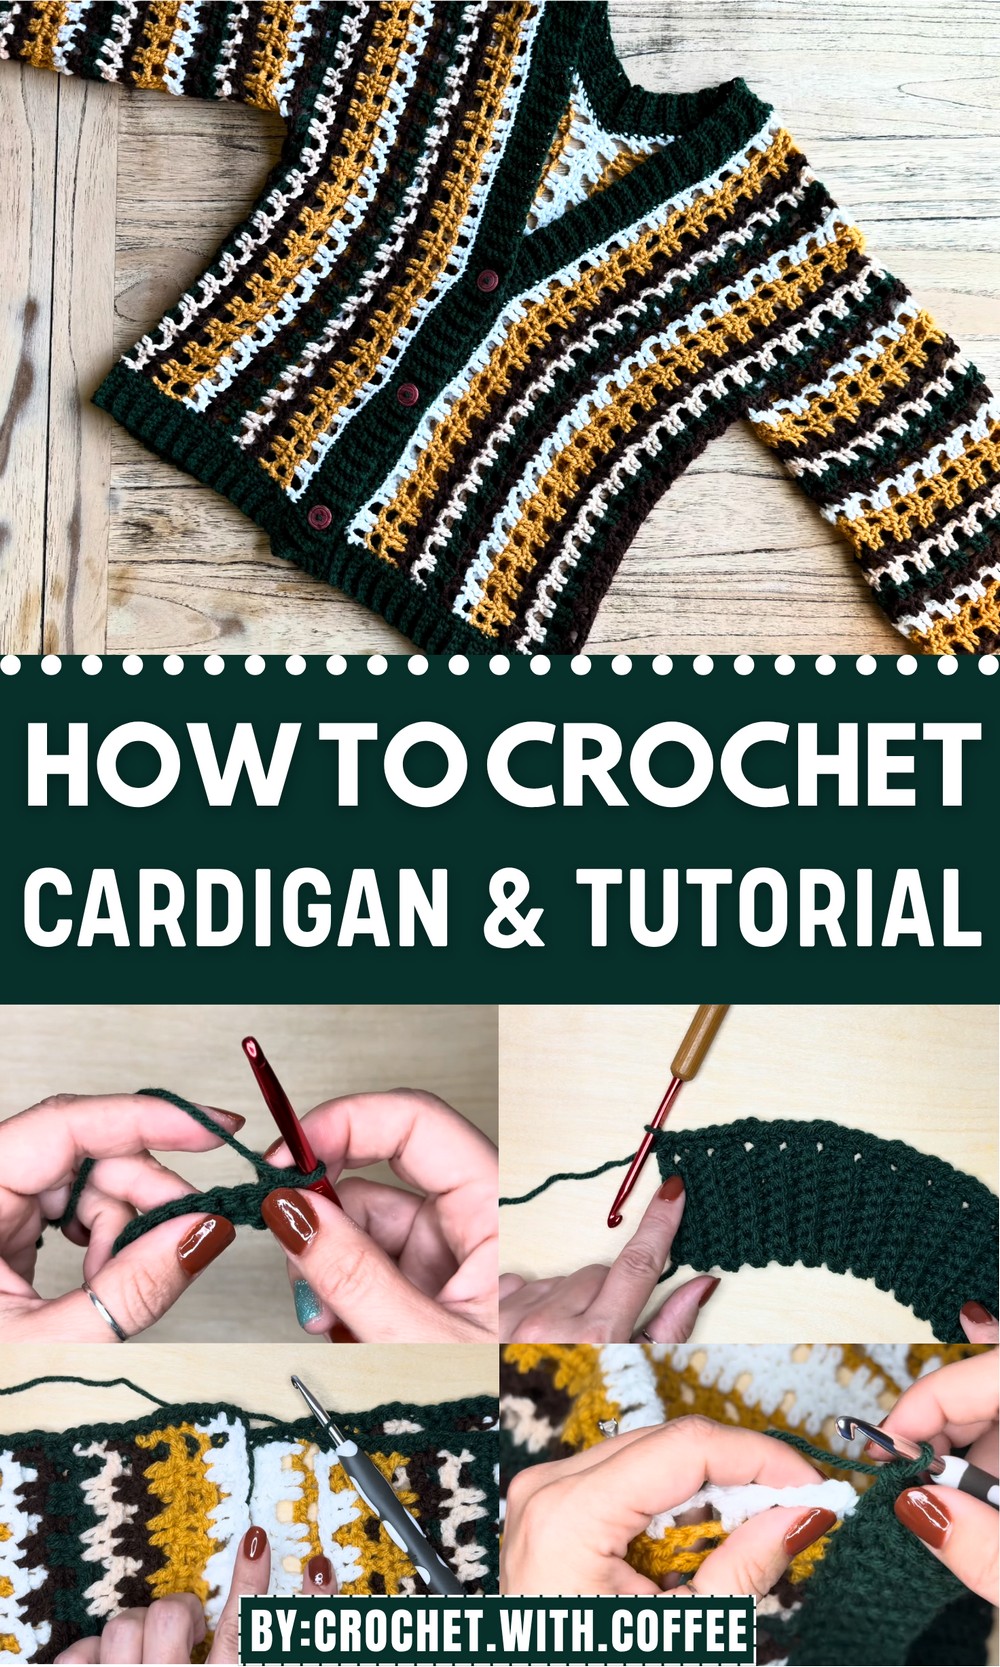
- Begin with a Slip Knot & Chain: Chain 9 stitches to create a ribbed cuff for the sleeves.
- Use Back Loop Only (BLO) Single Crochet: This creates the ribbing texture. Work until the piece fits around your wrist.
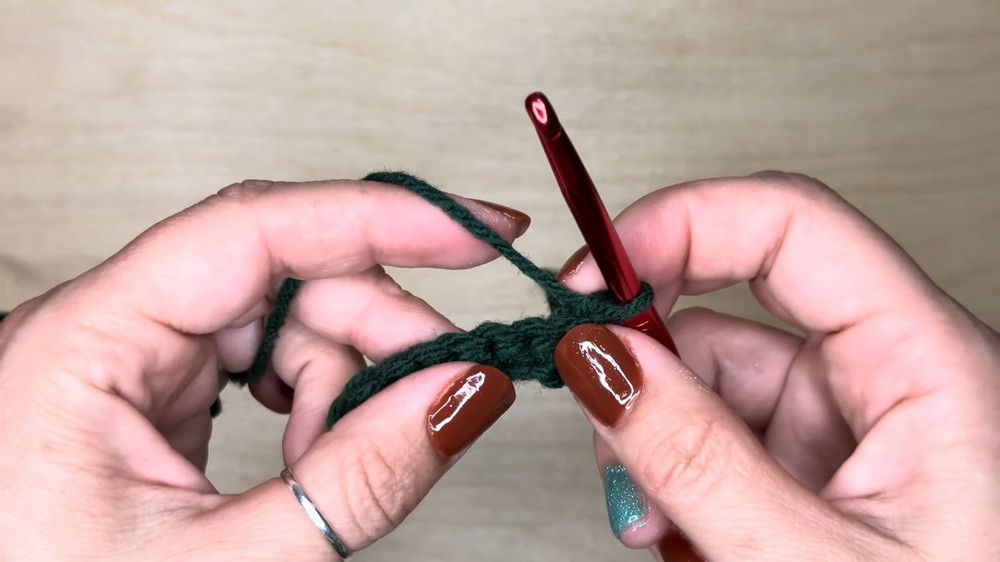
- Seam the Ribbing: Bring the edges together to form a wrist cuff.
3. Constructing Sleeves
- Add single crochets across the top of the ribbing for the base stitch row.
- Use a double crochet and skip-stitch pattern to create the rows for the sleeves. Adjust colors as needed.
- Work until the sleeve reaches the desired length (e.g., 18 inches).
4. Adding the Body Panels
- Attach yarn to create extensions for the cardigan width (e.g., 46 chains on either side of the sleeve pieces).
- Continue working double crochet rows for the body panels. These extend from the sleeve edge to the midline of the cardigan.
- Repeat this process for the second sleeve and section.
5. Assembly
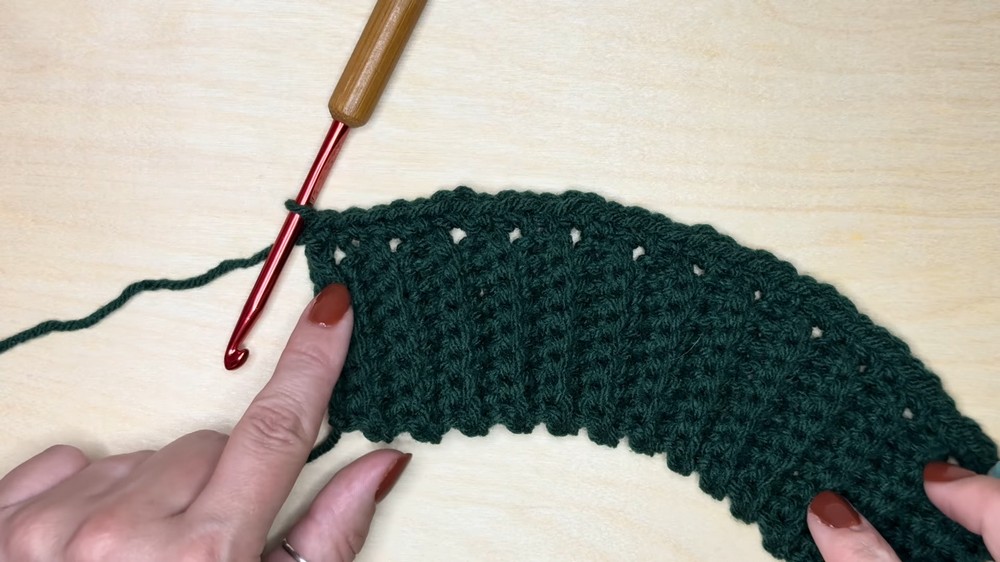
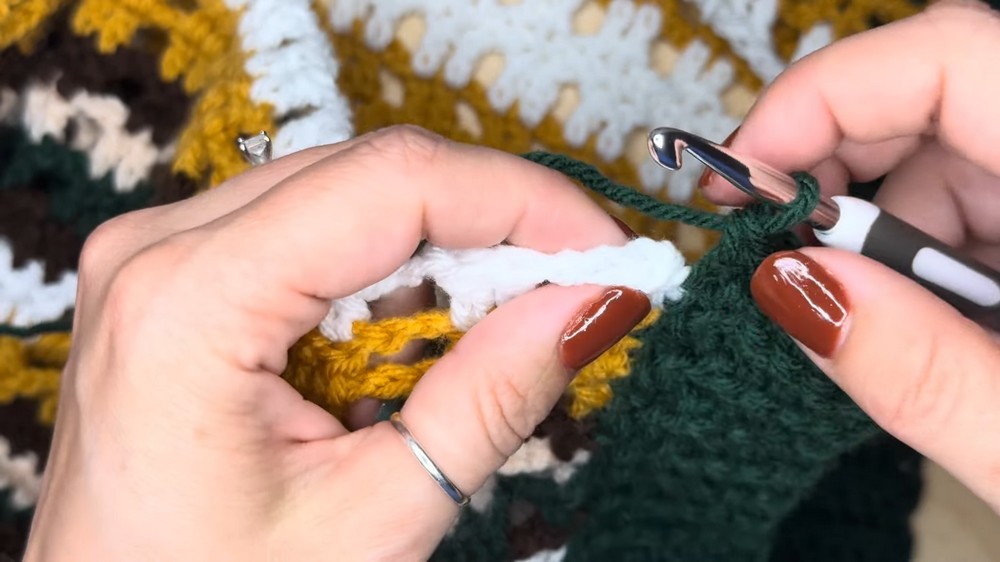
- Seam the Back: Use a darning needle and stitch the two sections together along the back.
- Seam the Sleeves and Sides: Stitch the sleeve pieces and side edges together, either using the same yarn or by coordinating colors for a neat finish.
- Weaving in Ends: Tidy up all loose threads by weaving them into corresponding sections.
6. Adding Ribbing
- Bottom Ribbing: Crochet ribbing along the hemline for a polished edge.
- Collar and Front Edging: Add ribbing along the open edges and neckline. Adjust slip stitches around the collarbone area for a better fit.
7. Button Placement (Optional)
- Mark button positions with stitch markers on one side of the cardigan.
- Crochet buttonholes along the corresponding ribbing. Use back-loop single crochets and leave a chain space to fit the button size.
- Use a darning needle to attach the buttons securely.
Tutor’s Suggestions
- Practical Measurements: Double-check your body measurements for an accurate fit.
- Try It On: Use stitch markers to secure pieces and try the cardigan on before committing to seaming.
- Color Customization: Follow the creator’s stripe pattern or design your own.
- Tension Management: Keep your tension even to ensure the cardigan is uniform.
Level of Difficulty
The tutorial is intermediate level, suitable for crocheters familiar with these techniques:
- Single crochet and double crochet
- Working into back loops
- Color changes
- Basic seaming and weaving in ends
Beginners determined to advance their skills can use this tutorial with patience and practice.
Uses of the Cardigan
- Layering Piece: Lightweight enough to wear over other garments.
- Seasonal Wear: Customize it with cotton yarn for summer or warmer fibers for colder weather.
- Fashion Statement: Its bold stripes and ribbed edges make it an eye-catching addition to any wardrobe.
A Tip for Success
To ensure the best fit, measure as you go! This means periodically checking your work dimensions against your body. Prevention is better than correction—it’s easier to adjust mid-project than at the end.
Conclusion
This striped cardigan project is a wonderful balance of creativity and practicality. The tutorial provides detailed step-by-step instructions for constructing a stylish and customizable garment. Whether you’re making it for yourself or someone else, this project allows for plenty of personalization in color choice and fit.