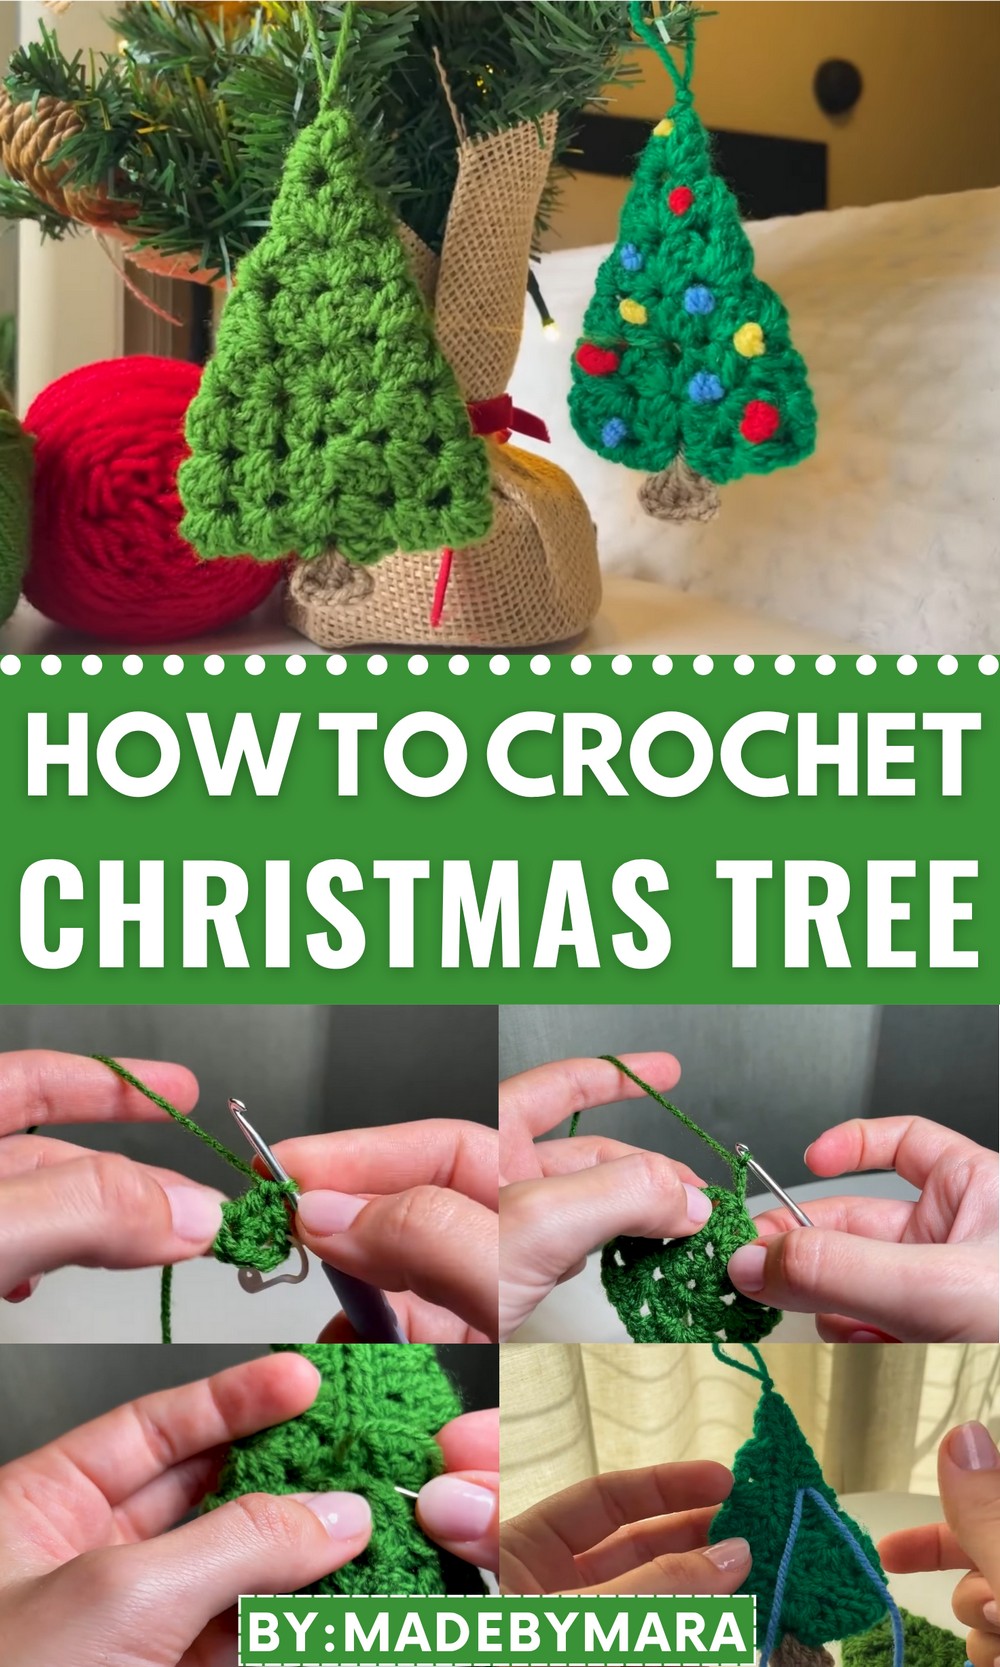
Spread holiday smiles with this Free Crochet Christmas Tree Pattern and make a playful, festive piece that brightens any space or gift.
Soft twinkling lights, cozy rooms, and the scent of pine mark the charm of the festive season. The Free Crochet Christmas Tree pattern captures that same warmth in a delightful handmade form that adds elegance and joy to any holiday setting. Perfect for table décor, mantel displays, or thoughtful gifts, each tree showcases textured stitches and a structured shape that brings a festive touch without requiring bulky materials.
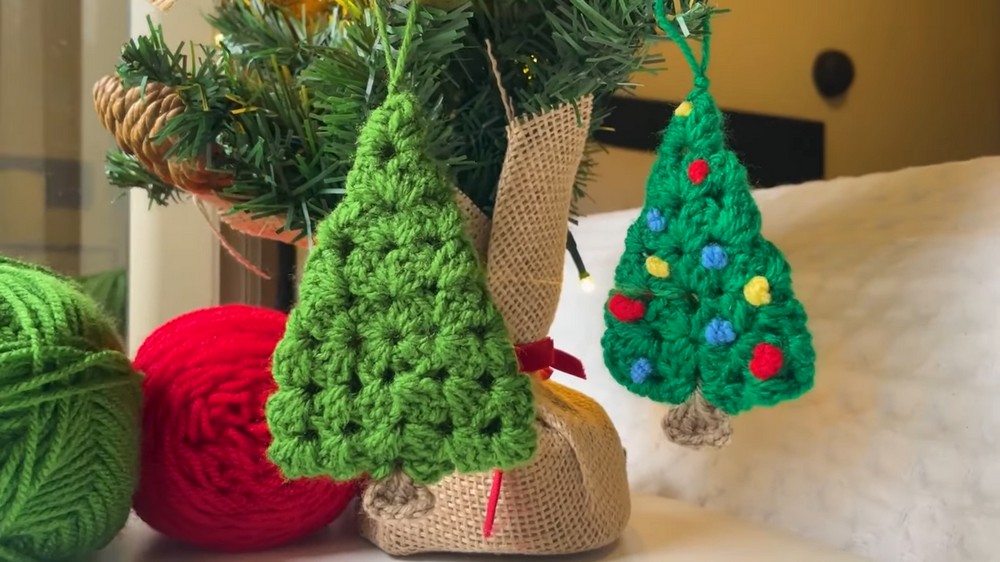
Free Crochet Christmas Tree Pattern for Cozy Festive Décor
Its compact form makes it easy to display anywhere, from cozy corners to office desks, spreading seasonal cheer in a subtle, stylish way. Working on the Free Crochet Christmas Tree pattern promotes focus, mindfulness, and satisfaction as each round builds into a charming little masterpiece. The pattern offers endless room for personalization through colors, beading, or small ornaments, allowing every tree to reflect its maker’s creativity.
Lightweight and durable, these trees can be reused year after year, becoming treasured keepsakes of the holiday season. Whether as part of a festive collection or a standalone accent, this project combines beauty, functionality, and emotional warmth. The Free Crochet Christmas Tree pattern brings handmade elegance to celebrations, turning simple yarn into a timeless symbol of holiday spirit and heartfelt tradition.
Special Features
- Beginner-Friendly: The tutorial builds on fundamental crochet techniques, making it accessible to those new to crochet while still being engaging for experienced crocheters.
- Simple Granny Square Design: Uses a classic granny square structure with customization to create a unique 3D tree.
- Customizable: You can personalize the tree by adding decorations like colorful “light bulbs” or adjusting the size with more rows.
- Versatile: This ornament can function as a hanging tree decoration, part of a garland, or a thoughtful handmade gift.
Materials Needed
- Yarn: Scraps of yarn in your choice of colors for the tree, trunk, and optional decorations. (Green for the body, brown for the trunk, and other colors for the bulbs).
- Crochet Hook: Size 3, suitable for the yarn used.
- Scissors: For cutting yarn.
- Yarn Needle: For weaving in ends and sewing.
- Stitch Marker: To track specific stitches.
Step-by-Step Instructions
Part 1: Making the Granny Square Base
- Slip Knot and Starting Chains:
- Create a loop in your yarn for the slip knot. Insert your hook, tighten it, and chain five chains.
- Create a Circle:
- Slip stitch into the first chain to form a ring. This central hole is where the project begins, so maintain a loose hand.

- Slip stitch into the first chain to form a ring. This central hole is where the project begins, so maintain a loose hand.
- Work the First Corner:
- Chain three (counts as the first double crochet). Place a stitch marker on the third chain for easier tracking.
- Crochet two double crochets into the center hole (total of three, including the chain).
- Work the Remaining Corners:
- Chain two to create the corner space, then work another set of three double crochets.
- Repeat this until you have four sides, separated by chain-2 spaces at each corner.
- Close the Round:
- At the end of the row, chain two and slip stitch into the third chain of the starting stitch (remove the marker here).
- At the end of the row, chain two and slip stitch into the third chain of the starting stitch (remove the marker here).
Part 2: Building the Granny Square
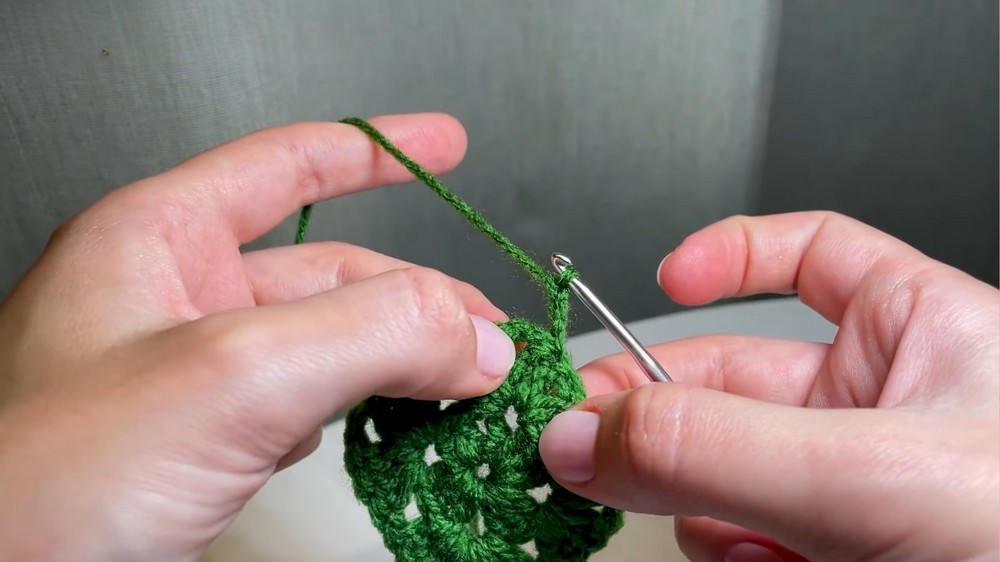
- Starting the Next Round:
- Chain three and turn your work. Place the stitch marker onto the third chain again to mark the starting stitch.
- Work two double crochets in the first corner space to create the next row.
- Repeat the Pattern:
- For corners: Crochet three double crochets, chain two, and three double crochets in each corner space.
- For side spaces: Work three double crochets in each side space (created from the previous round).
- End of the Round:
- Slip stitch into the third chain of the starting chain to close the round.
- Slip stitch into the third chain of the starting chain to close the round.
- Continue for More Rounds:
- Repeat this process, adding more rows to the square by working into the new side spaces that form as the piece grows. Each corner always includes the same structure: three double crochets, two chains, and three double crochets.
- Finish the Granny Square:
- Once the square is the desired size, finish by slip stitching, chaining one, and cutting the yarn. Use the needle to weave in any loose ends.
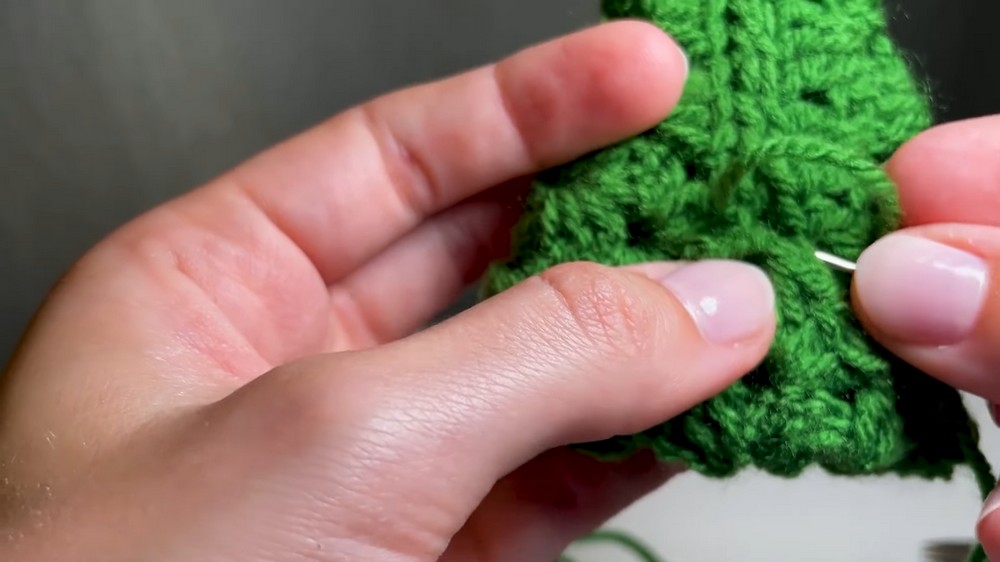
Part 3: Folding and Sewing the Tree
- Fold the Square:
- Turn the square to the wrong side, fold it into a triangle by joining the two side edges together.
- Fold the bottom part upward, shaping it into a tree structure.
- Sew the Edges:
- Use a yarn needle and leftover yarn to sew along the edges. Use small stitches to ensure the structure is firm.
- Hide the yarn tail by weaving it through the edges. Cut off any remaining thread.
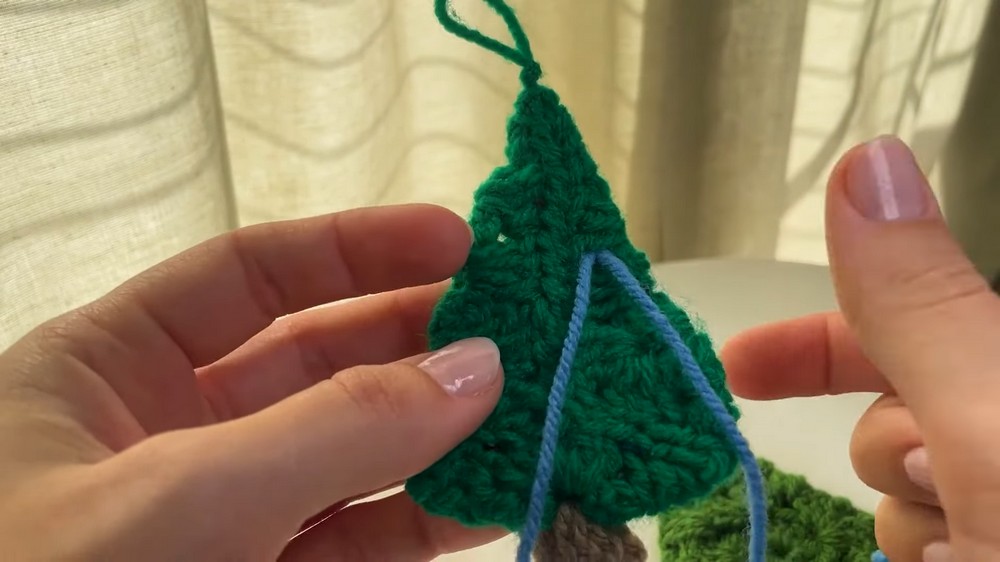
Part 4: Adding the Tree Trunk
- Make the Trunk:
- Create a loop with brown yarn for the trunk. Attach it to the bottom center of the tree using a slip knot.
- Chain three and work four double crochets into the same space.
- Finish the Trunk:
- Chain three to create the sides of the trunk. Slip stitch back into the starting chain to secure it.
- Weave in yarn tails as before.
Part 5: Optional Decoration – Adding Bulbs
- Create Light Bulbs:
- Use different colored yarn scraps to make small bulbs.
- Insert the yarn in the desired spot on the tree, pull it through, and wrap it around the needle three times to create a small loop.
- Secure the Bulbs:
- Insert the needle back into the tree (slightly away from the starting point to avoid unraveling) and secure the yarn.
- Continue adding bulbs in various colors to resemble festive lights.
Tutor’s Suggestions
- Go Slow: Take your time with the delicate parts like folding and sewing the granny square. Rushing can result in uneven shapes.
- Use Stitch Markers: They make it easier to locate critical points, especially when identifying the third chain.
- Keep Your Tension Consistent: Maintaining uniform tension ensures a clean and professional look.
- Practice Basic Stitches First: If you’re unfamiliar with stitches like double crochet, the tutor recommends practicing with scrap yarn before starting the project.
Uses of the Crochet Christmas Tree Ornament
- Holiday Decorations: Hang it from your Christmas tree, garlands, or wreaths.
- Personalized Gifts: These ornaments make lovely small gifts for friends and family.
- Customizable Craft: Change the colors, size, or add embellishments to create unique trees.
Conclusion
Creating this crochet Christmas tree ornament is a fun and rewarding project that can add a personal touch to your holiday celebrations. With its simple design and easy construction process, it’s a great starting point for anyone learning to crochet. Whether you use the tree as holiday decor or share it as a handmade gift, you’ll love the charm and festive spirit it brings.
Bonus Tip
When weaving in the loose yarn ends, pull them gently through multiple stitches to avoid loosening the fabric, ensuring that both the decoration and structure hold up over time.