Grab this fun Free Crochet Basket with Handles Pattern, perfect for organizing, decorating, and adding a touch of charm to any corner of your home.
Add a touch of charm and organization to your home with this beautifully handcrafted basket! Whether holding craft supplies, kids’ toys, or bathroom essentials, this basket is as stylish as it is functional. Its modern braided pattern makes it a statement piece, while the sturdy handles ensure it’s convenient to carry around.
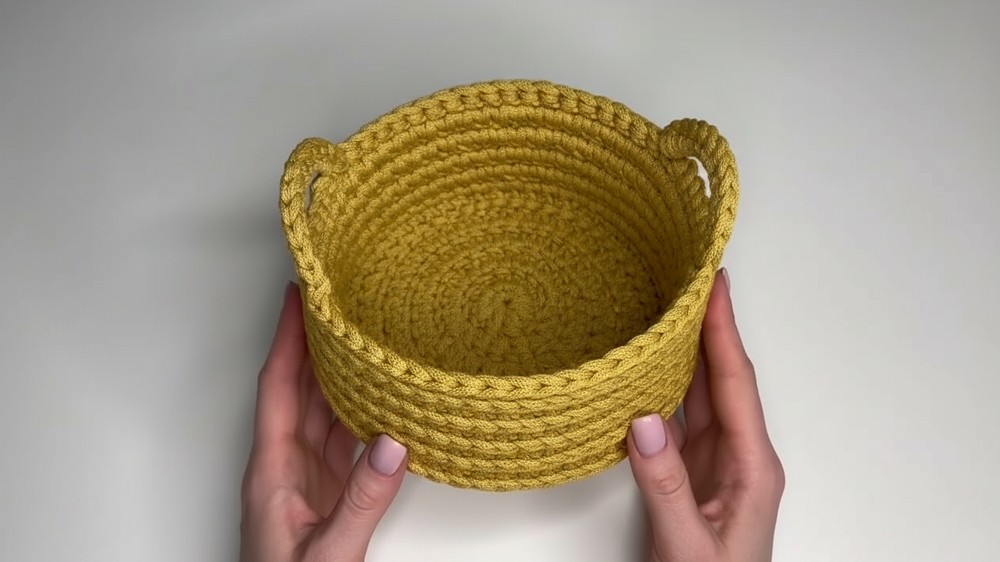
Perfect Crochet Basket with Handles that’s for Storage

What’s even better? You can create this basket yourself using a simple yet impressive crochet technique that’s perfect for beginners and fun for intermediate crafters.

Crochet Basket with Handles Pattern
Materials Needed
- Yarn: Polyester cord, 5mm thick, no core (120 meters) in the color of your choice.
- Hook: Size 6mm crochet hook.
- Thread: A small piece of extra thread (~60 cm long) to assist with seamless row connections.
- Tools:
- Large-eye tapestry needle for weaving ends and optional finishing touches.
- Scissors for cutting the cord.
Optional: You can substitute the polyester cord with materials such as jute, cotton yarn, or t-shirt yarn for alternative aesthetics.
Finished Size
- Height: ~8.5 cm.
- Diameter: ~16 cm.
Skill Level
Intermediate – This pattern involves working in the round, creating handles, and using an invisible row-joint technique.
Key Abbreviations (US Terminology)
- CH: Chain
- SC: Single Crochet
- SS: Slip Stitch
- YO: Yarn Over
- Far Loop: Back loop of the top braid of the stitch.
- Jumper: The bar connecting adjacent SC stitches in the previous row.
Special Techniques
- Invisible Row Connection: Uses an extra thread to close rows seamlessly for uniform stitches.
- Handle Formation: Created by combining air chains with reinforced single crochets.
Pattern Instructions
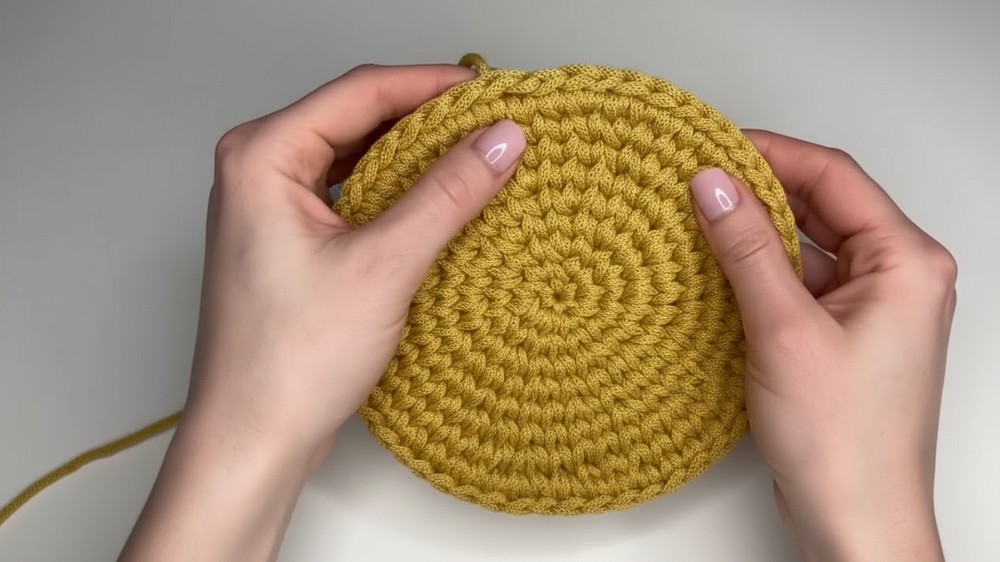
Step 1: Creating the Basket Bottom
The bottom is worked in the round with even increases to form a perfect flat circle.
- Start with a magic ring and work in DC (double crochet) to create a flat base.
- Work 9 rounds of increases to create a bottom with a diameter of ~16 cm.
- The increments should follow the Perfect Circle Formula as shown in this pattern:
Flat Circle Formula
- Row 1: 12 DC into the magic ring. (12 stitches)
- Row 2: 2 DC in each stitch (increase in each stitch). (24 stitches)
- Row 3: Alternate 1 DC, INC. (36 stitches)
- Row 4: Alternate 2 DC, INC. (48 stitches)
- Row 5: Alternate 3 DC, INC. (60 stitches)
- Continue this pattern until Row 9, where you achieve approximately 96 stitches around.
- Finish the 9th round with a SS to close the circle.
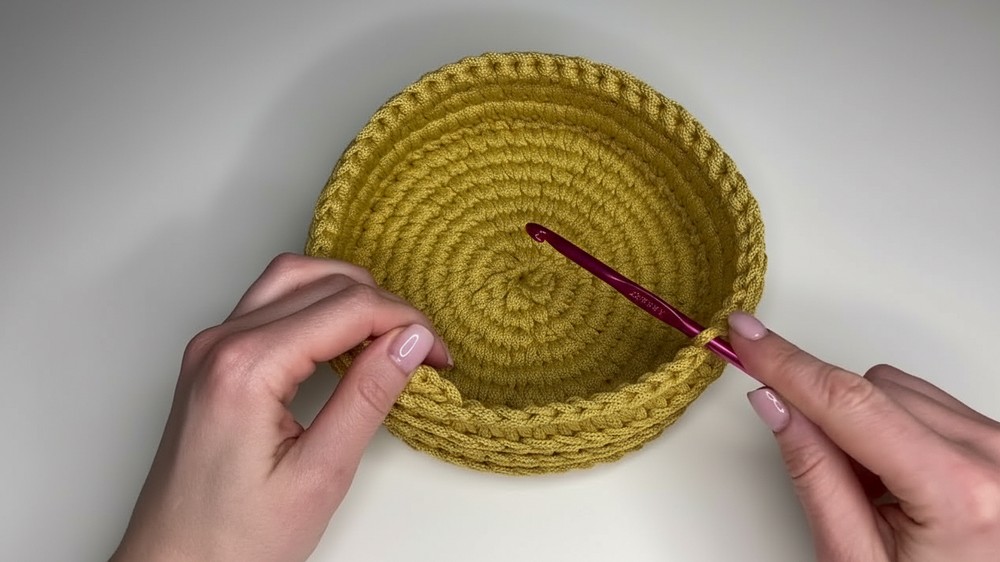
Step 2: Transitioning to the Basket Walls
Row 1 – Transition Row
- To form the walls, attach a 60 cm extra thread which will be used to create neat row connections.
- Start the row by working SC stitches into the far loop and jumper of each DC stitch.
- Far loop: The back loop of the top braid of the stitch.
- Jumper: The horizontal bar between stitches in the row below.
- Hold the extra thread parallel to the working yarn and crochet over it to secure it at the base of the first stitch.
- Repeat SC into far loop + jumper for every stitch around the row.
- Finish the row using the invisible row connection technique:
- Pull the last loop taller, remove the hook, and insert it into the first lying braid (SC) from the back.
- Grab the extra thread with the hook and pull it through to the back.
- Pull the thread back through the loop from where it started to create a seamless connection.
Row 2 – Second Wall Row
- Start the row by crocheting SC stitches into the jumper (horizontal bar) of each stitch in the previous row.
- Crochet one SC per jumper around the row.
- Finish the row with the invisible row connection technique (described above).
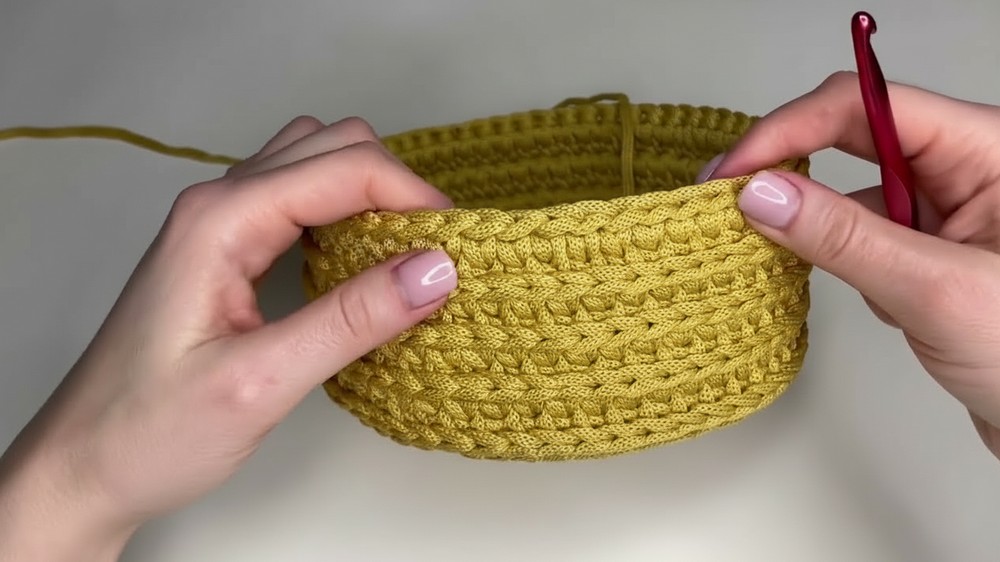
Row 3 – Third Wall Row
- Begin crocheting SC into the split of the legs of each stitch in the previous row.
- The “split of the legs” is the space between the two vertical bars of an SC stitch.
- Crochet evenly around the row, ensuring consistent tension to maintain the patterned appearance.
Row 4–9:
- Alternate Rows 2 and 3:
- Even Rows (2, 4, 6, 8): SC into the jumper.
- Odd Rows (3, 5, 7, 9): SC into the split of the legs.
- Repeat until nine rows are complete, stopping at the 9th row with a split-leg SC row.
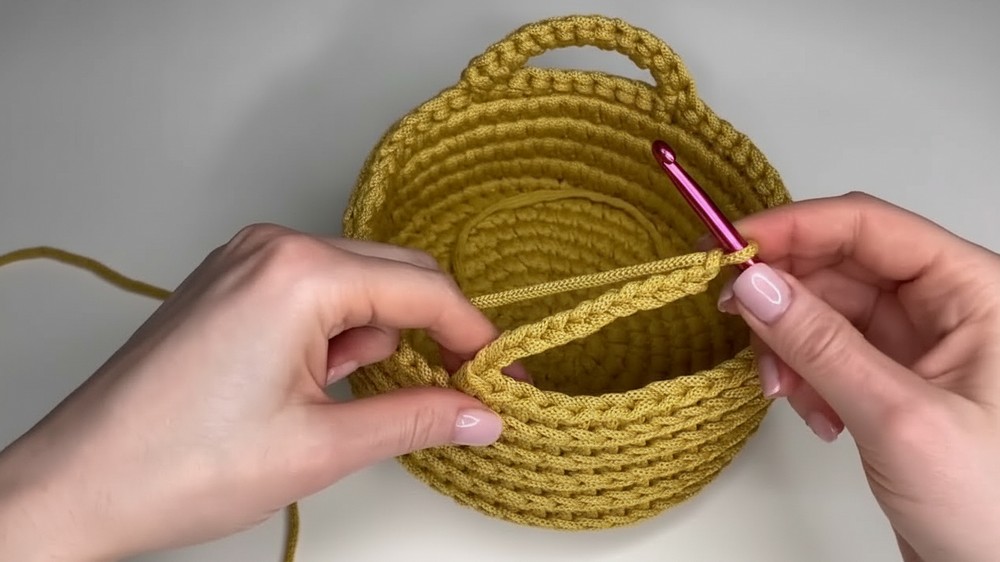
Step 3: Adding Handles in the Final Row
Row 10 – With Handles
- Work the handles in the 10th row by substituting air chain straps in two sections of the row.
Steps to Create Handles:
- Start the row by crocheting 10 SC into the jumper of the stitches at the beginning of the row.
- Work 12 CH stitches for the handle.
- Ensure all CH stitches are even in size and tight enough to hold their shape.
- Remove the hook from the loop; count 10 stitches along the basket rim before inserting the hook.
- Reattach the loop and secure the handle with a SC.
- Ensure all CH stitches are even in size and tight enough to hold their shape.
- Continue with 17 SC to the next handle position.
- Repeat the handle-making process (as in steps 1–2).
- Finish the remaining SC stitches to the end of the row.
Reinforcing the Handles
- SC into the handle chain loops to strengthen and reinforce the handle structure.
- Ensure each handle section has 12 SC stitches, evenly spaced along the chain.
Step 4: Binding and Finishing the Edge
- Final Binding Row: After completing Row 10 with handles, work a final row of slip stitches (SS) around the outer edge of the basket, including the handles.
- Use an extra thread to secure the final SS row if necessary.
- When done, weave in all ends using a tapestry needle, hiding them along the inside walls of the basket.
Finishing Steps
- Lightly steam the basket under a cloth if using polyester cord. This will help set the stitches in place and ensure the basket maintains its shape.
- Trim any excess threads, and your basket is complete!
Final Words and Tips
Conclusion
Congratulations on completing your basket with handles! Its sturdy, structured sides, decorative braids, and functional handles make it perfect for everyday use. You can use it for holding yarn, toiletries, or other household items.
Tips for Maintaining the Basket
- Cleaning: Spot-clean the basket with warm, soapy water if using polyester cord. Avoid soaking it for prolonged periods.
- Shaping: Store the basket with soft fabric or paper filling to help it retain its shape during storage.
- Customization: Experiment with different yarn types or adjust the size by increasing or decreasing the number of bottom rows.