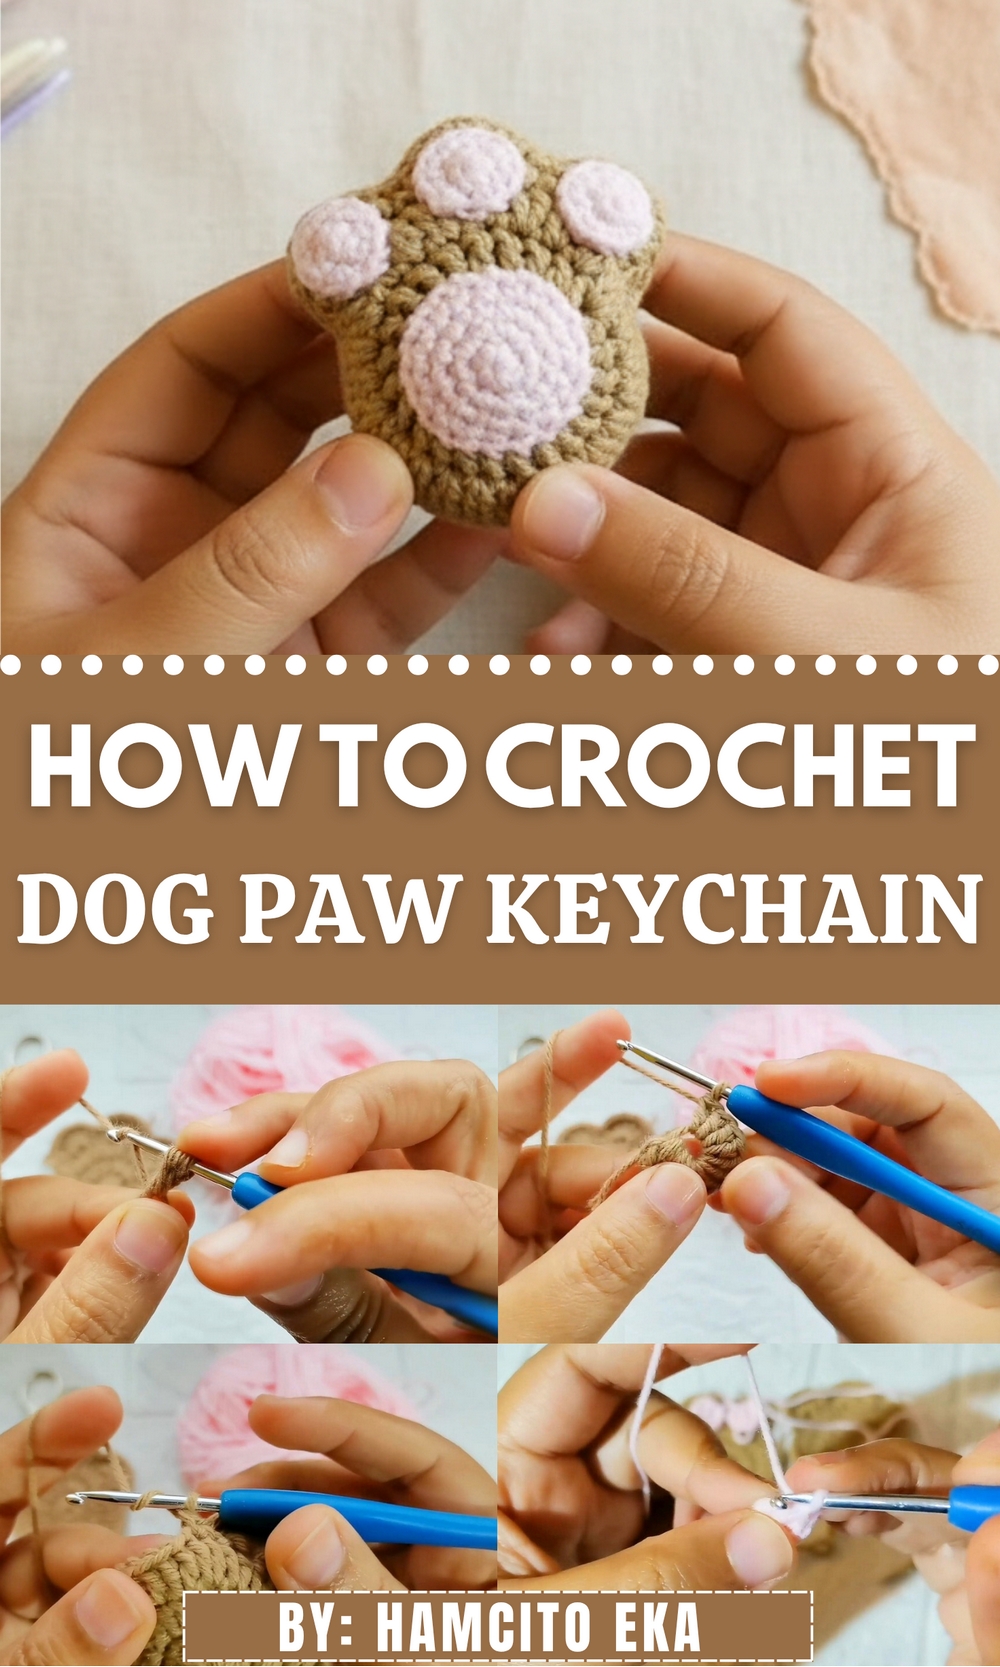
Show your love for pets with the Free Crochet Dog Paw Keychain Pattern, a cute handmade piece that adds personality to bags, keys, or gifts.
Bright little charm meets meaningful keepsake in this fun accessory. The Free Crochet Dog Paw Keychain Pattern guides you in making a small—but striking—paw print keychain that appeals to dog-lovers, gift-givers, and craft-enthusiasts alike. It features a compact amigurumi-style paw motif worked in a solid base color with contrasting “pads,” and includes a sturdy loop or split ring so it functions as a keychain, zipper pull, or bag charm.
Crochet Dog Paw Keychain Pattern That Spreads Pet-Lover Joy
This keychain adds a sweet personal touch to keys, backpacks, pet-accessory bags, or even makes a heart-warming little holiday favour. With only basic stitches and minimal supplies you can finish it in an evening, handmade, thoughtful, and totally charm-ready.
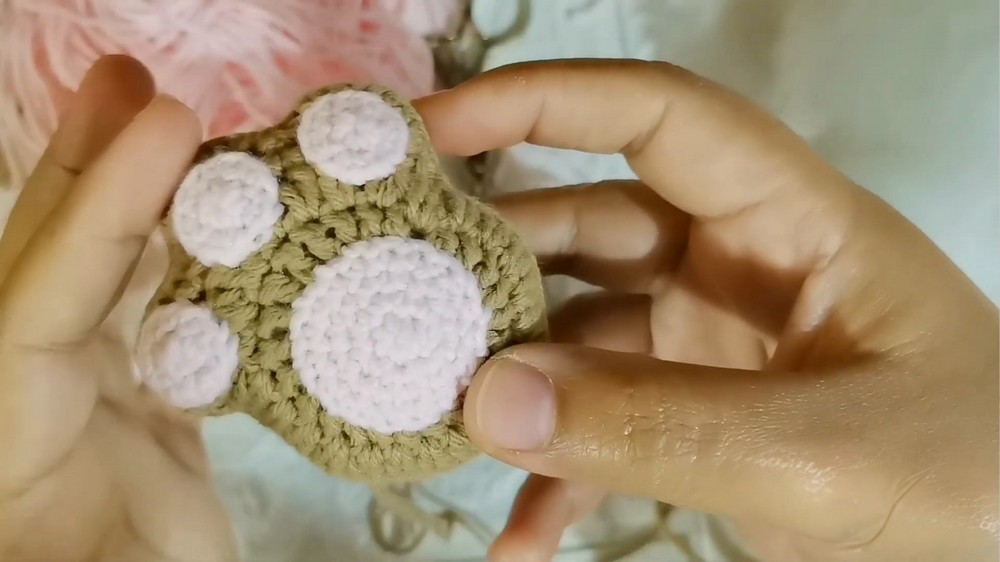
The general features include a circular or rounded base in a neutral yarn, a smaller round pad in a contrasting shade, three tiny oval pads above it, and a metal key ring or jump ring attachment.
Crochet Pattern: Cute Animal Paw Keychain
Finished Size:
The finished paw measures approximately 8 cm (3 inches) in diameter.
Gauge:
Gauge is not critical for this project; the size will depend on the tension and the yarn/hook chosen.
Materials Required:
- Brown Yarn: Any worsted-weight yarn (you can substitute with your preferred color).
- Pink Yarn: For the paw pads and center.
- Crochet Hook: 3 mm.
- Small Scissors.
- Tapestry (yarn) needle: To sew the pieces together and for weaving ends.
- Stuffing material (polyfill/Napa): To fill and plump the paw.
- Optional: Keychain ring or clip to attach.
Special Techniques Used:
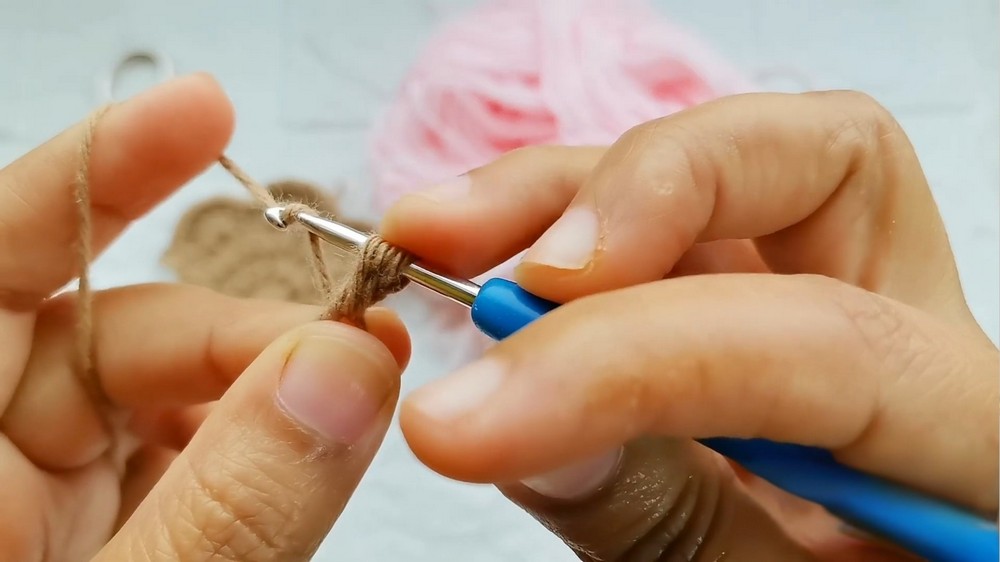
- Magic Ring (Adjustable Ring): Used to begin circular crochet projects.
- Slip Stitch: A method for connecting a round or finishing an area.
- Single Crochet: A basic stitch creating a tight and dense fabric.
- Double Crochet: A taller stitch that creates texture and height.
- Working Increases: Adding additional stitches within a row/round to expand the shape.
For beginners who need help with basic crochet techniques like the magic ring, it is recommended to search additional videos or tutorials for visual assistance.
Step-by-Step Instructions:
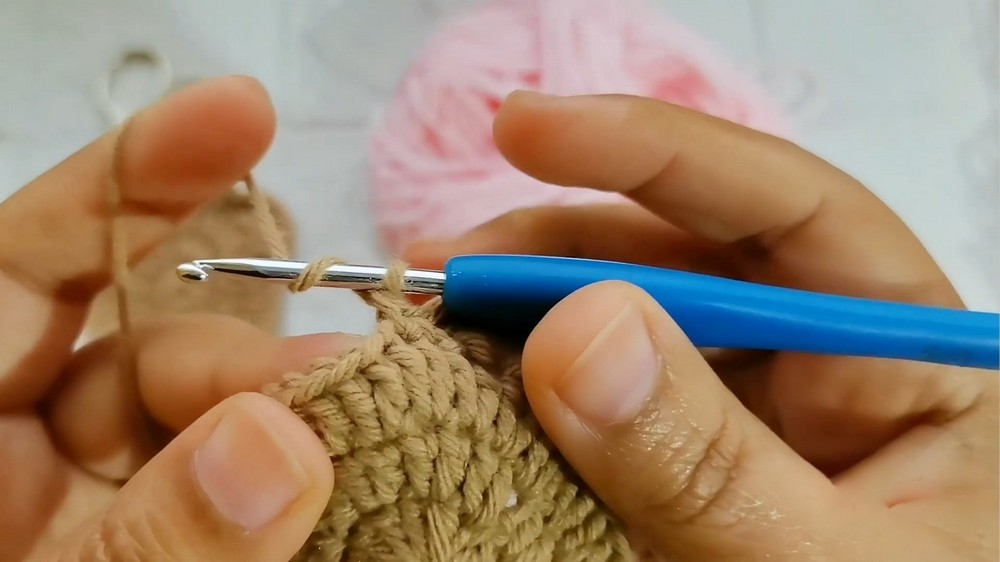
Step A: Make the Paw Base (Outer Circle)
- Start with the brown yarn.
- Create a magic ring. Pull the yarn tightly after forming the ring.
- Round 1:
- Crochet 12 double crochets (DC) into the magic ring.
- Pull the ring tight to close the center.
- Finish the round with a slip stitch into the first double crochet made.
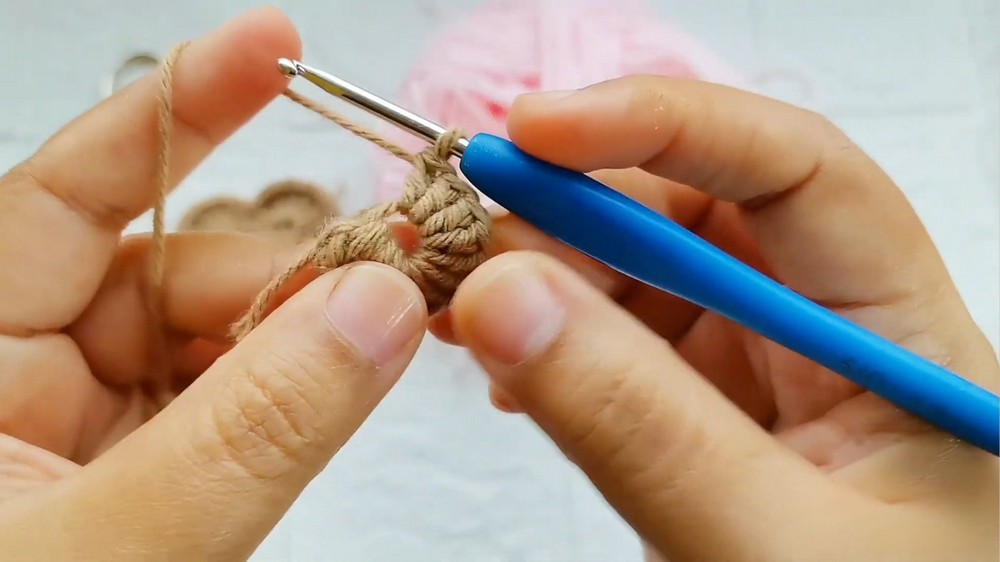
- Round 2:
- Chain 1 to begin the round.
- Crochet 2 DCs into each stitch of the previous round (increase in every stitch).
- By the end of the round, you will have 24 DCs.
- Close with a slip stitch.
- Round 3:
- Chain 1 to lift your work.
- Repeat the increase pattern, crocheting 2 DCs into each stitch. This will result in 48 DCs.
- Close with a slip stitch and finish off.
Your paw base will now appear as a large circle.
Step B: Create the Paw Toes (3 Toes)
- With Brown Yarn:
- Attach the yarn to the edge of the circle where one toe will be built.
- Start each toe:
- Skip one stitch, insert into the next stitch.
- Crochet 6 DCs into the same stitch. This forms a rounded semi-circle (the “toe”).
- After each toe:
- Skip one stitch for spacing.
- In the next stitch, create a single crochet stitch (SC) to join the toe to the base.
- Repeat While Making 3 Toes:
- Follow the same process to add two more toes spaced evenly across the edges of the base.
Step C: Sew the Paw Pad & Toes (Pink Yarn)
This step involves creating small pink pads for the paw and then sewing them in place.
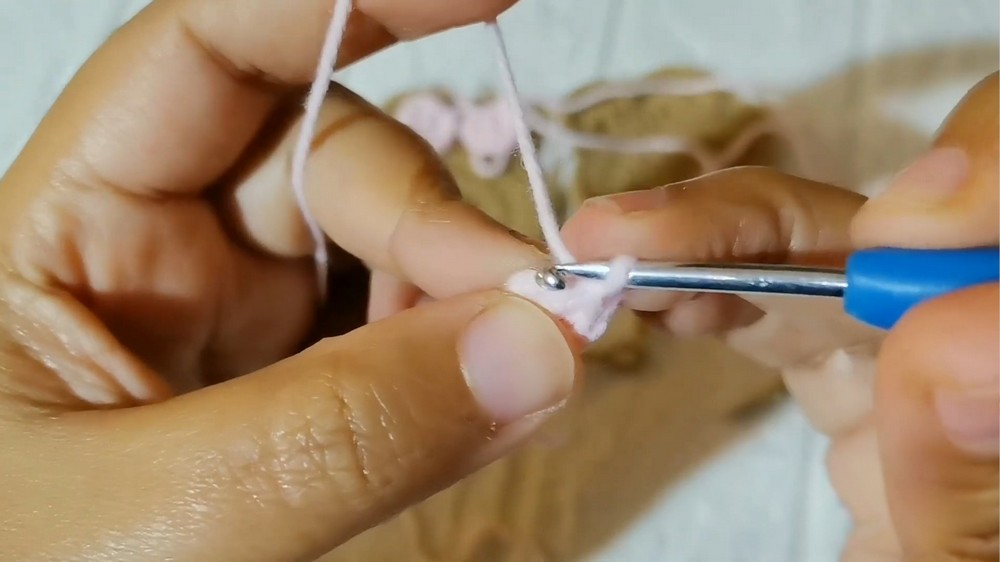
- Make 3 Pink Toe Pads (Small Circles):
- Crochet a magic ring with pink yarn.
- Round 1: Crochet 6 SCs into the magic ring.
- Round 2: Increase around by crocheting 2 SCs in each stitch of the previous row. You will end with 12 SCs.
- Finish off, leaving a sewing tail.
- Make the Paw Center Pad (Large Circle):
- Create a magic ring with pink yarn.
- Round 1: Crochet 6 SCs into the magic ring.
- Round 2: Increase around by crocheting 2 SCs in each stitch (12 SCs).
- Round 3: Alternate 1 SC and 1 increase all around (18 SCs total).
- Round 4: Crochet 1 SC in each stitch to finish the shape.
- Finish off, leaving a sewing tail.
- Sew the Pads to the Base:
- Position the center pad and stitch it onto the middle of the brown circle.
- Attach the three toes above the center pad. Use the tapestry needle to securely sew each one into place.
Step D: Finish & Assemble
- Join Two Paw Base Pieces:
- Place the front and back circles together with the wrong sides facing inward.
- Use the long sewing thread left over from the base to sew the two sides together.
- Once halfway around, stuff the paw with Napa or polyfill before completing the seam.
- Optional: Attach a keychain ring or clip at the top using leftover yarn/thread.
Tips and Customization Ideas:
- Experiment with Colors: Use black, white, or multicolored yarn for the paw and pads depending on your preference.
- Size Adjustment: To make a larger paw, add more rounds to the circle in the base and adjust the toes accordingly.
- Personal Touch: Embroider initials, hearts, or patterns onto the center with additional yarn.
- Keychain Clip: For a sophisticated look, attach a metal clip or loop using a jewelry ring.
Conclusion and Final Remarks:
Congratulations! You have just crocheted a Cute Animal Paw Keychain. This adorable design is perfect for gifting, personal use, or adding a touch of creativity to your bag or keys. If you’re happy with your work, consider making more in different colors, or experiment with sizes to create larger plush toys with the same pattern.
For a polished final look, ensure all ends are woven securely, and the stitches are tight around seams. Enjoy your handcrafted paw decoration and keep exploring more crochet patterns.