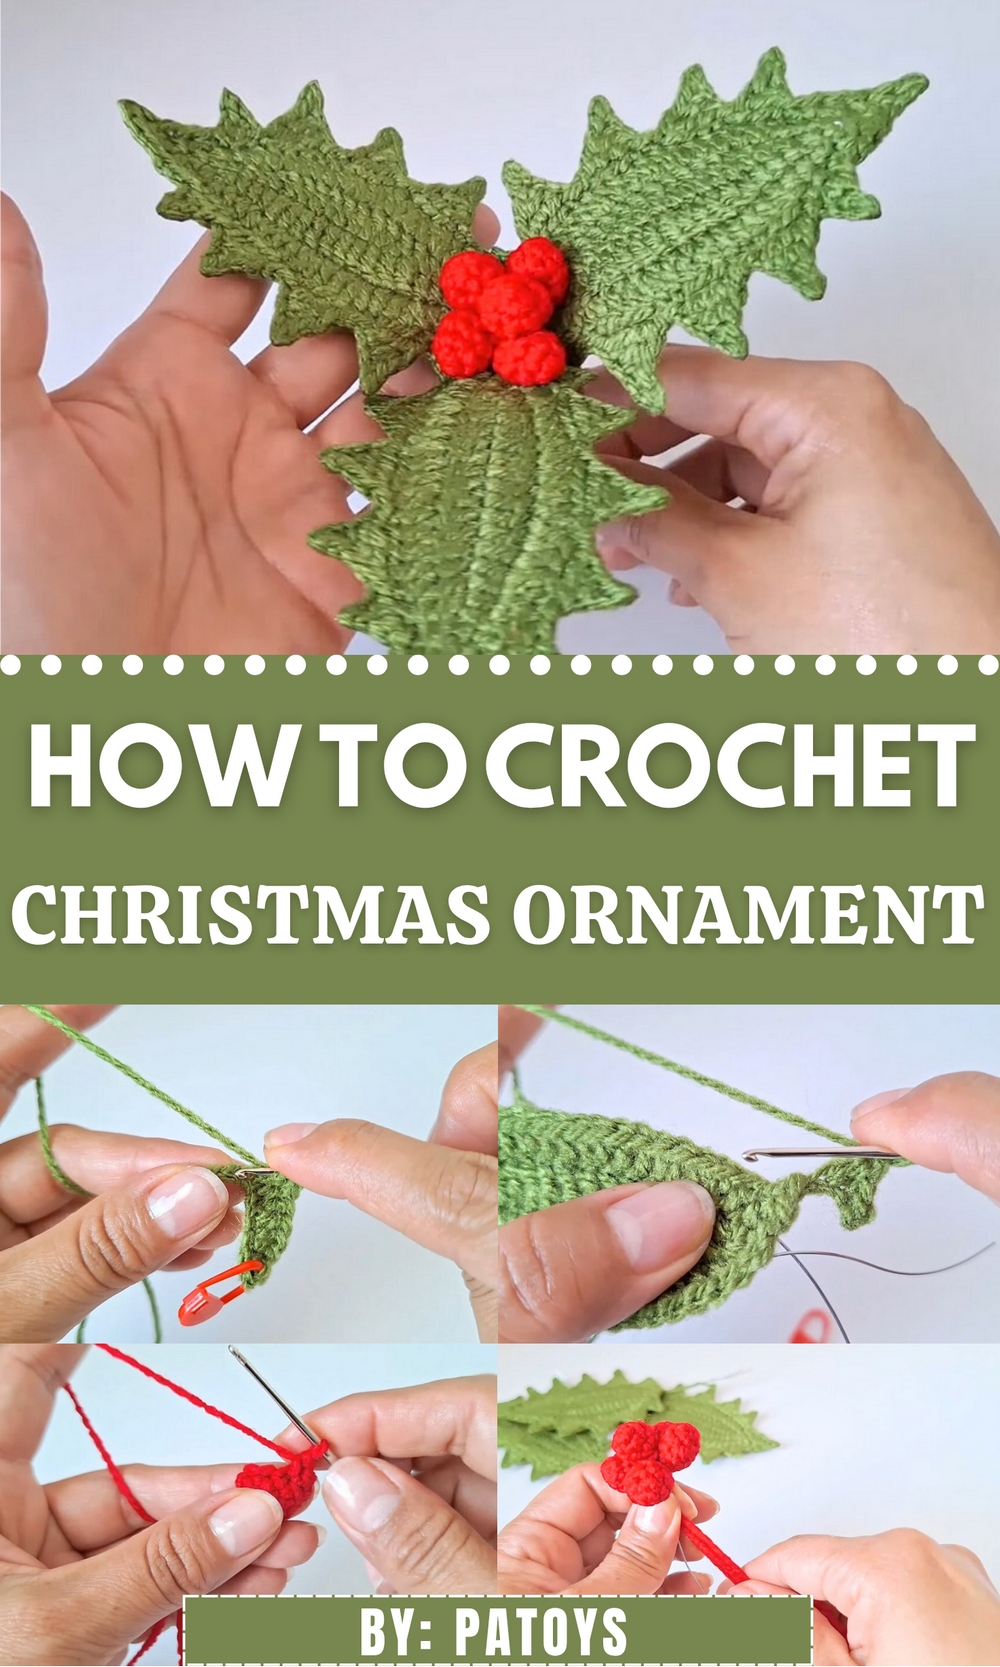
Celebrate festive charm with the Free Crochet Christmas Holly Ornament Pattern, adding timeless beauty and handmade warmth to your holiday décor.
Glimmering like a festive accent nestled among evergreen branches, this little handmade gem brings cheerful sparkle to any holiday setting. The Free Crochet Christmas Holly Ornament Pattern guides you through creating a charming hanging décor piece that pairs vibrant green holly leaves with bright scarlet berries, perfect for adorning tree limbs, gift packages, or winter table centrepieces. The general features include two textured leaves worked in round or semi-round fashion to form the recognizable holly shape, a small cluster of three berries crocheted separately, and a simple loop or chain to let the ornament hang effortlessly.
Crochet Christmas Holly Ornament Pattern for Elegant Tree Styling
Use this ornament to elevate your seasonal flair: hang it from a branch, tie it to a wrapped present, or thread a strand to create a festive garland. With straightforward construction and minimal materials required, this pattern offers a delightfully quick yet impactful way to add handmade charm to your holiday décor.

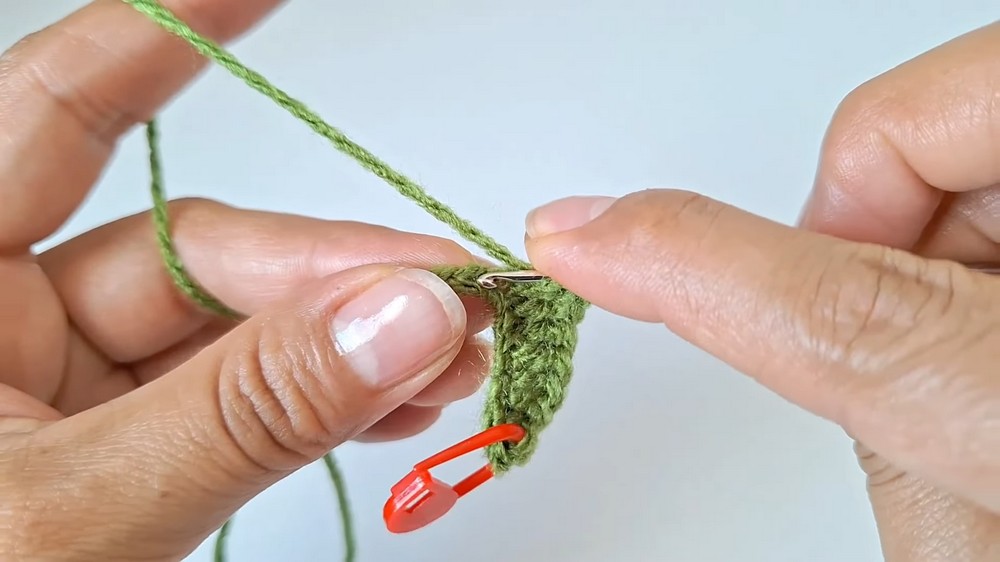
The steps begin with selecting green yarn and forming a foundation chain, then working rounds of single crochet and half-double crochet (or other textured stitches) to build each leaf with pointed edges.
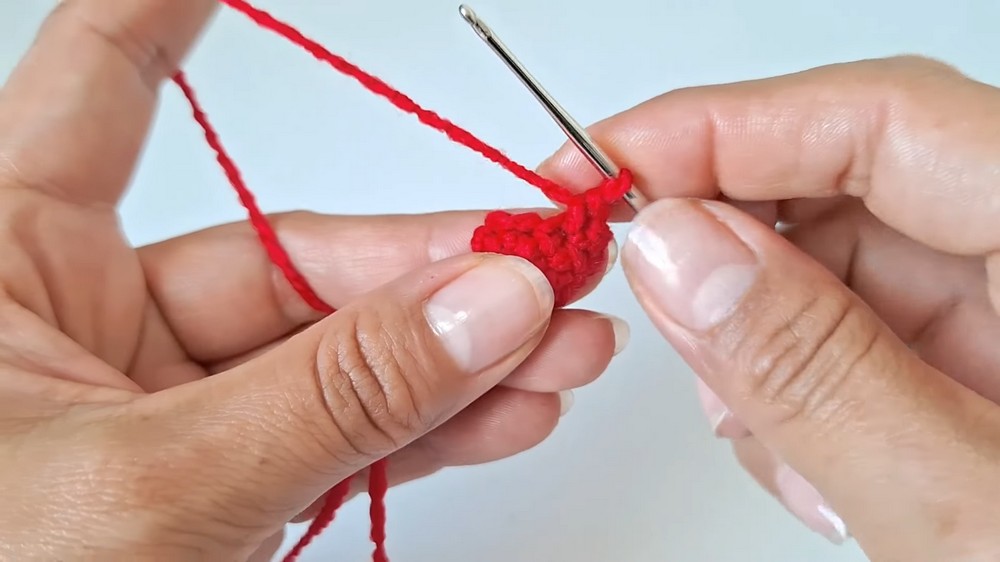
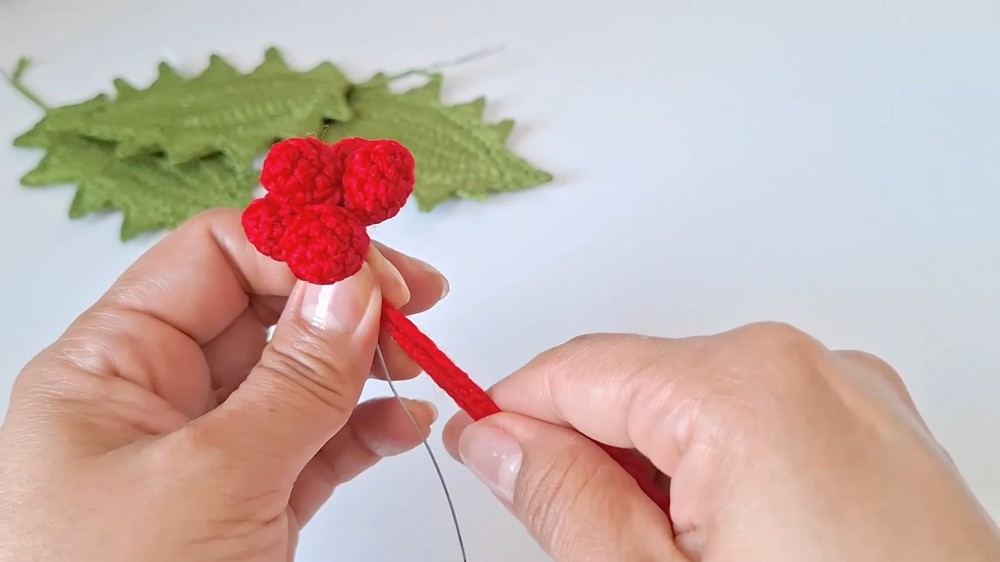
After the two leaves are completed, switch to red yarn to make the berry cluster—often by working a small ring or tightly crocheted ball. Finally, arrange the leaves so they slightly overlap, sew or slip-stitch the berries in place at the leaf base, attach a golden or matching yarn loop, weave in the ends and gently block the piece flat so it holds its shape.
Materials
This project uses common crochet materials, with the addition of floral wire and tape for structure.
- Yarn/Thread: 100% Acrylic yarn with a 2 mm thickness in:
- Olive Green (for the leaves)
- Red (for the berries)
- Hook: Metal crochet hook, size 4 (approx. 4.0 mm).
- Wire (Gauge #22 / approx. 1 mm thick):
- Three pieces, 30 cm long (for the leaves).
- One piece, 20 cm long (for the berry stem).
- Notions:
- Floral Tape (Flora Tape – usually found in floristry or craft stores).
- Tapestry needle (blunt tip).
- Scissors.
- Stitch marker.
- Candle/Lighter and Cutting Pliers (for finishing the yarn).
- Hair Straightener/Flat Iron (for shaping the finished leaves).
Uses:
- Wreath and garland embellishment.
- Christmas centerpiece decoration.
- Holiday gift wrapping accent.
- General home holiday decor.
Special Features:
- Wired Structure: The leaves are crocheted around a central, folded piece of wire (30 cm), making them completely poseable and giving them a realistic, sturdy form.
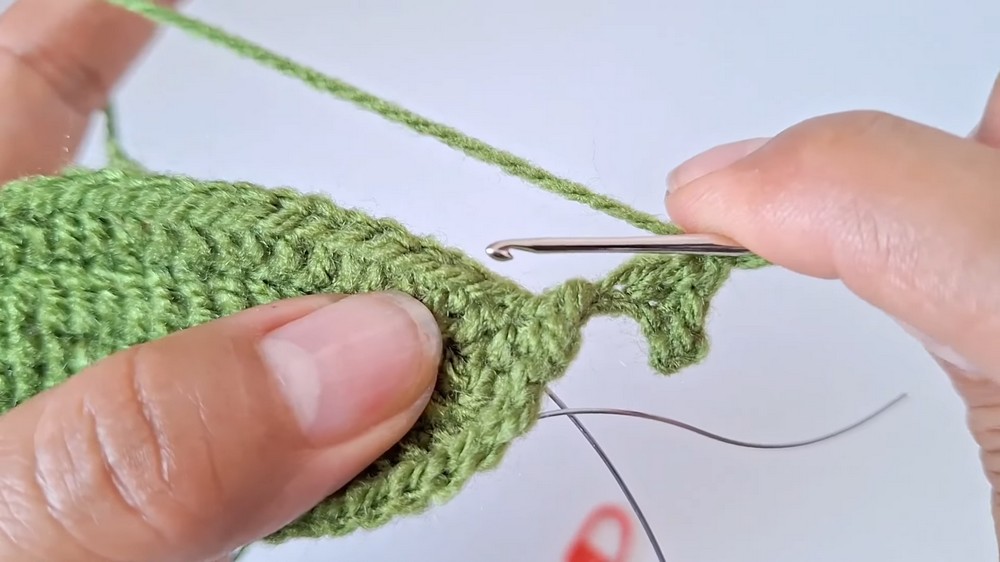
- Sharp Pico Edging: The characteristic jagged edge of the holly leaf is created using a combination of Chain stitches and tall stitches (Double Crochet and Double Treble Crochet) anchored by Slip Stitches.
- Polished Finish: The final acrylic pieces are given a polished look by lightly burning the excess yarn fibers with a flame and then pressing the leaves flat with a warm hair straightener.
- Natural Stem Assembly: The final wires of the leaves and berries are wrapped together using Floral Tape to create a single, cohesive, and natural-looking stem.
Level of Difficulty: Intermediate
Tutor’s Suggestions:
- Yarn Selection: Use the recommended 2 mm acrylic yarn thickness to achieve the correct finished size.
- Berry Stuffing: Do not use fiberfill for the berries. Instead, use the long yarn tail left from the beginning of the berry as its own stuffing to maintain a dense shape.
- Garland Size: If the holly is for a large garland, leave the final stem wrapped with floral tape longer. For smaller, less voluminous decorations, you can trim the stem shorter.
Step-by-Step Construction Details
This tutorial demonstrates how to crochet a beautiful, poseable Christmas holly sprig complete with three leaves and five berries. This fast and straightforward project is ideal for adding a handmade, festive touch to wreaths, garlands, centerpieces, or any special holiday corner in your home.
Conclusion
The crocheted holly sprig is a satisfying and unique seasonal project. By utilizing wire for structure and a specialized edge, this decoration achieves a beautiful, realistic appearance. The final polishing with heat sets it apart from typical crochet work, resulting in a durable and charming piece that will enhance any Christmas display.
Tip
To secure the small berry pieces before assembling the stem, take the initial yarn tail (used for cinching the center) and wrap it around the base of the five berries multiple times, knotting it tightly to force them into a clustered group before introducing the wire and floral tape.