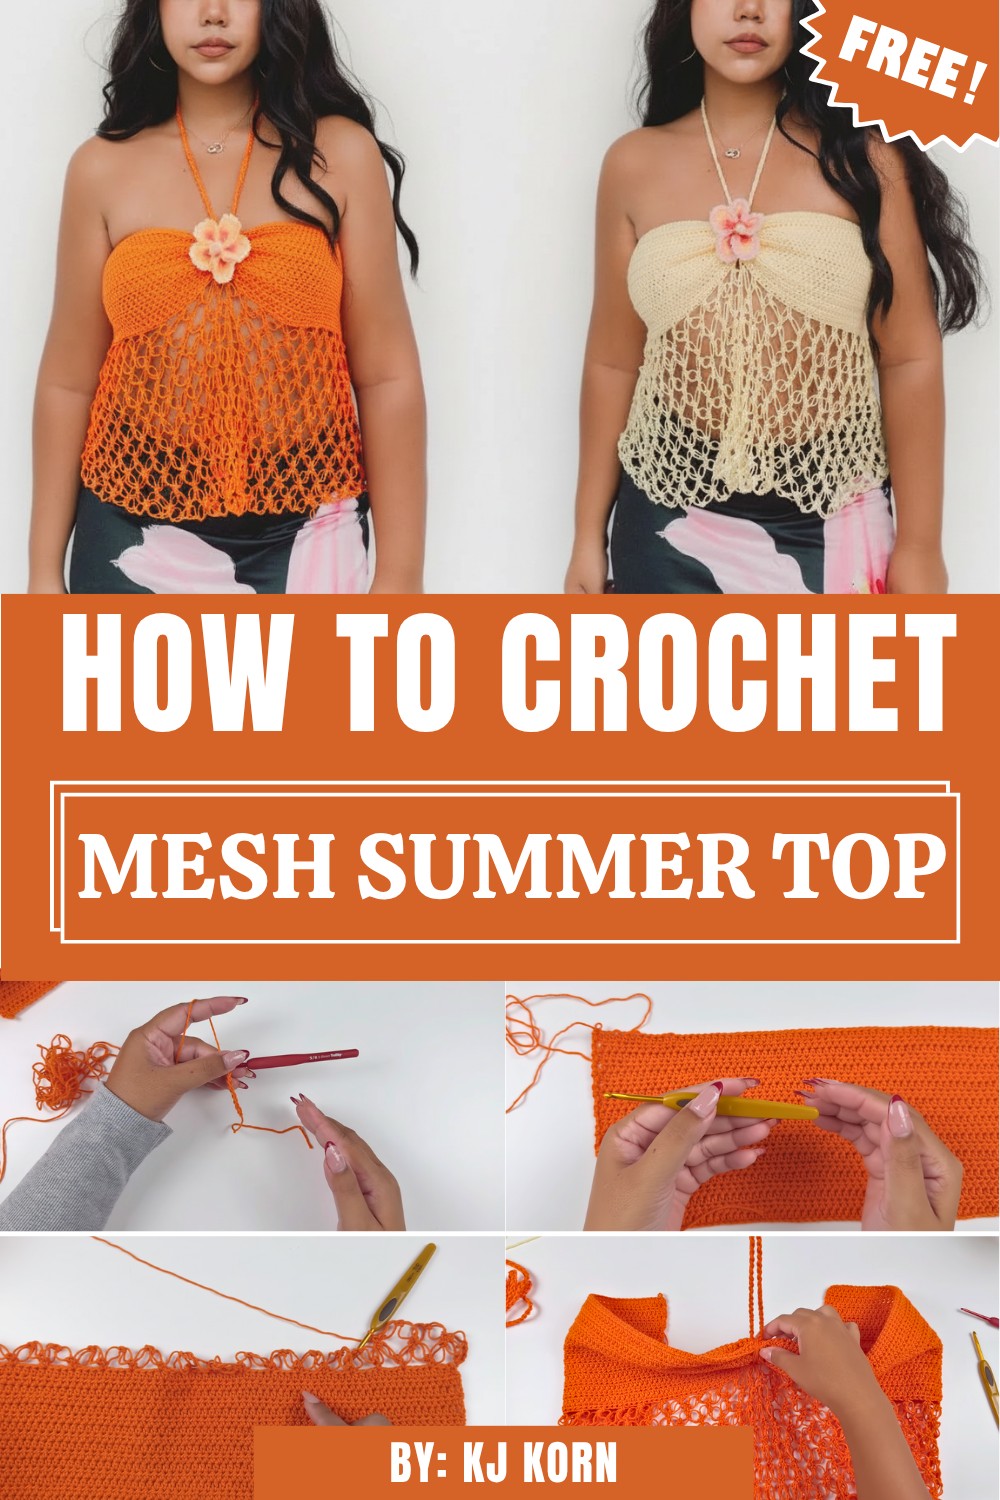
Enjoy effortless warm-weather style with this Free Crochet Summer Top Pattern that’s light, comfortable, and perfect for keeping your look fresh all season.
A breezy, lightweight top is a summer essential — perfect for sunny days when comfort and style go hand in hand. The Free Crochet Summer Top Pattern offers a simple yet chic way to create a top that’s airy, flattering, and ideal for warm weather. Its breathable fabric and relaxed fit make it a go-to choice for casual outings, beach walks, or layering over a light camisole.
Vibrant Crochet Summer Top Pattern for Sun-Ready Looks
The finished top is wonderfully versatile and flattering. It works beautifully as a standalone piece in warm weather, or layered under a light jacket for cooler evenings. Thanks to its lightweight and breathable texture, it keeps you cool while still looking elegant.

Depending on your choice of yarn — cotton or a breathable blend — and color palette, the top can swing from minimal and refined to bold and expressive. Whether you wear it for a casual outing, a beach day, or a relaxed evening meet-up, this summer top brings both comfort and timeless style to your wardrobe.
Crochet Summer Top
Skill Level
- Beginner to Intermediate: Includes simple stitches, repetitive patterns, and easy assembly techniques.
Materials
- Yarn:
- Cotton ply yarn (lightweight and breathable); approximately 180 grams.
- Amount may vary depending on the size.
- Hook Sizes:
- 5/0 (3 mm): For the main body (tighter fabric).
- 7/0 (4 mm): For the hem and straps (looser/flared effect).
- Additional Tools:
- Scissors
- Tapestry needle: For weaving in ends and assembly.
- Stitch markers: Optional but helpful for beginners.
- Decorative Flowers: Follow a separate flower pattern or choose a pre-made embellishment.
Finished Size
- Customizable to fit your body size.
- Example Size: 6 inches (15 cm) height for the main body, hem adjustments made to personal preference.
Key Abbreviations (US Terminology)
- ch: Chain
- sc: Single Crochet
- hdc: Half Double Crochet
- sl st: Slip Stitch
- yo: Yarn Over
Special Notes
- Gauge and Stretch Test:
- Chain your desired circumference, then stretch the chain along your body to account for yarn elasticity before starting the main body.
- Leave some space to accommodate further yarn stretching during wear.
- Pattern in Multiples:
- Total chain count must be a multiple of 4, plus 1 extra chain for turning. Adjust as needed for your size.
- Customization:
- Adjust the hem length, strap width, and back lacing depending on personal style preferences.
Step-By-Step Pattern
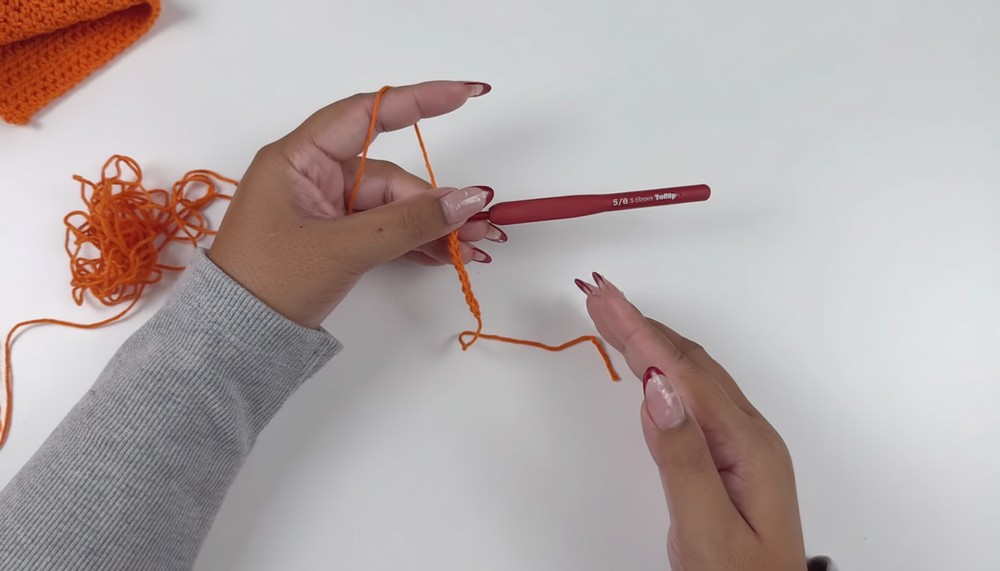
Step 1: Creating the Foundation Chain
- Measure your body circumference.
- Example: If your desired size is 100 chains but the yarn is stretchy, reduce to approximately 70–80 chains.
- Ensure your total chain count is a multiple of 4, plus 1 extra chain.
- Example: Chain 128 + 1 = 129 chains.
- Example: Chain 128 + 1 = 129 chains.
Step 2: Row 1 (Foundation Row)
- Ch 1.
- Work hdc into the third chain from the hook (the skipped chain counts as the first stitch).
- Mark your first stitch with a stitch marker for clarity.
- Work hdc into each chain across.
- Once at the end of the row, turn your work.
Step 3: Main Body Rows
- Row 2:
- Ch 1, sc into the first stitch (counts as your first stitch).
- Mark this stitch for reference.
- Work hdc into each stitch across.
- At the end of the row, turn your work.
- Row 3 to Desired Height:
- Repeat Row 2 until the body reaches your preferred height.
- Example: 6 inches (15 cm) or more if additional coverage is desired.

- Measuring Tip: When repeating rows, occasionally hold the piece against your chest to confirm coverage and height.
Step 4: Assembly (Optional Center Pleat)
- After finishing the main body, fold the piece in half to find the center point.
- Use a stitch marker to mark the center temporarily.
- For a gathered look, pinch or pleat the center as desired.
- Tie around the pleated section securely using a matching yarn strand.
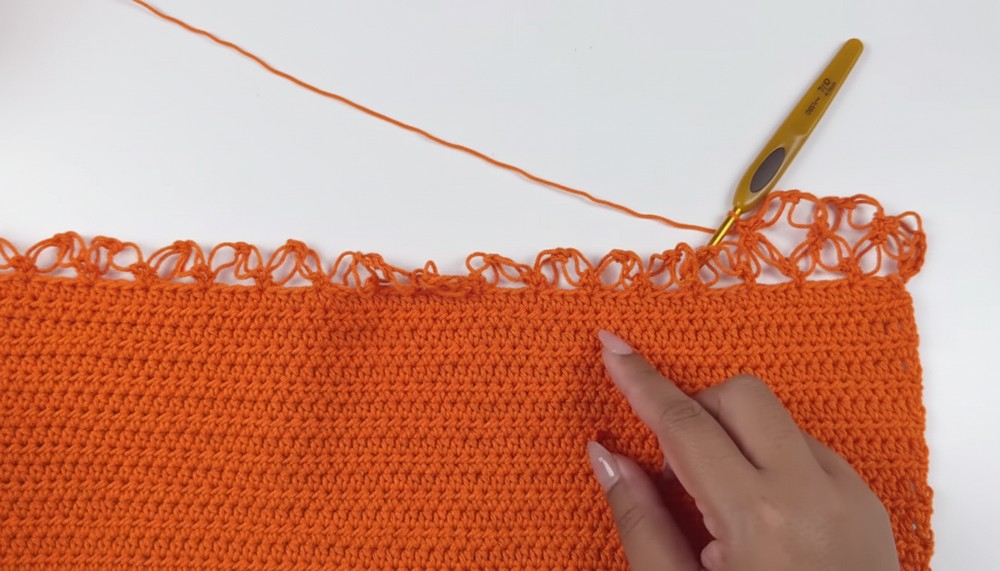
Step 5: Bottom Hem
Switch to your 7/0 (4 mm) hook for a more flared hem.
Row 1 (Foundation Row):
- Ch 1 and turn the work.
- Work sc into the first stitch. Pull up about 2 cm of yarn, yarn over, and pull through the loop.
- Insert the hook into the next stitch, yo, and complete another sc.
- Skip 3 stitches and work the pattern into the 4th stitch:
- Pull up, yo, sc twice in the same space.
- Repeat this pattern across the row.
Row 2:
- Ch 4 and turn the work.
- Pull up a loop, yo, and complete a sc into the stitch below.
- Continue creating loops (pull up, yo, sc) in the spaced stitches.
- End the row with a triple crochet into the edge stitch of the previous row.
Rows 3 and 4:
- Follow Row 1 for odd-numbered rows and Row 2 for even-numbered rows.
- Repeat Rows 1 and 2 to create the desired hem length (e.g., ~20 cm).
Step 6: Neck and Back Straps
Short Strap (Neckline):
- Using two strands of yarn, crochet a long chain strap to fit the neckline width.
- Attach the strap to the upper front corners of the top using slip stitches or yarn ties.
Long Strap (Back Lacing):
- Crochet a longer chain strap for the back lacing.
- Weave the chain through the loops along the back to create a crisscross, lace-up pattern.
- Adjust the strap length for a tighter or looser fit when tying at the bottom.
Step 7: Decorative Flower (Optional)
- Add embellishments such as a crocheted flower detail to the center pleat.
- Follow the decorative flower tutorial (uploaded in a separate video) or use any flower crochet pattern of your choice.
- Secure the flower using yarn ties or turn it into a removable pin/hair clip.

Finishing
- Weave in all loose ends using a tapestry needle.
- Check all attached straps and flower embellishments for secure weaving.
- Block your top if needed, lightly dampening and shaping it to refine the structure.
Conclusion
This summer crochet top combines function and aesthetics, offering a customizable fit and a decorative touch. Whether you wear it to the beach or pair it with casual jeans, its versatility makes it a staple addition to your crochet projects.
Customize the design further with:
- Striped yarn for a color-blocked look.
- Additional rows for the hem or longer lace-up straps.
Tips
- Stretch Test Before Starting: Test the yarn’s elasticity to avoid an excessively loose or tight fit.
- Keep Stitch Markers Handy: Mark the first stitch of each row to ensure straight edges and prevent confusion.
- Experiment with Hem Length: Add or subtract rows of the hem as desired for a cropped or extended look.
- Try Variations: Replace the lace-up back with a solid crochet extension or elastic straps for different styles.