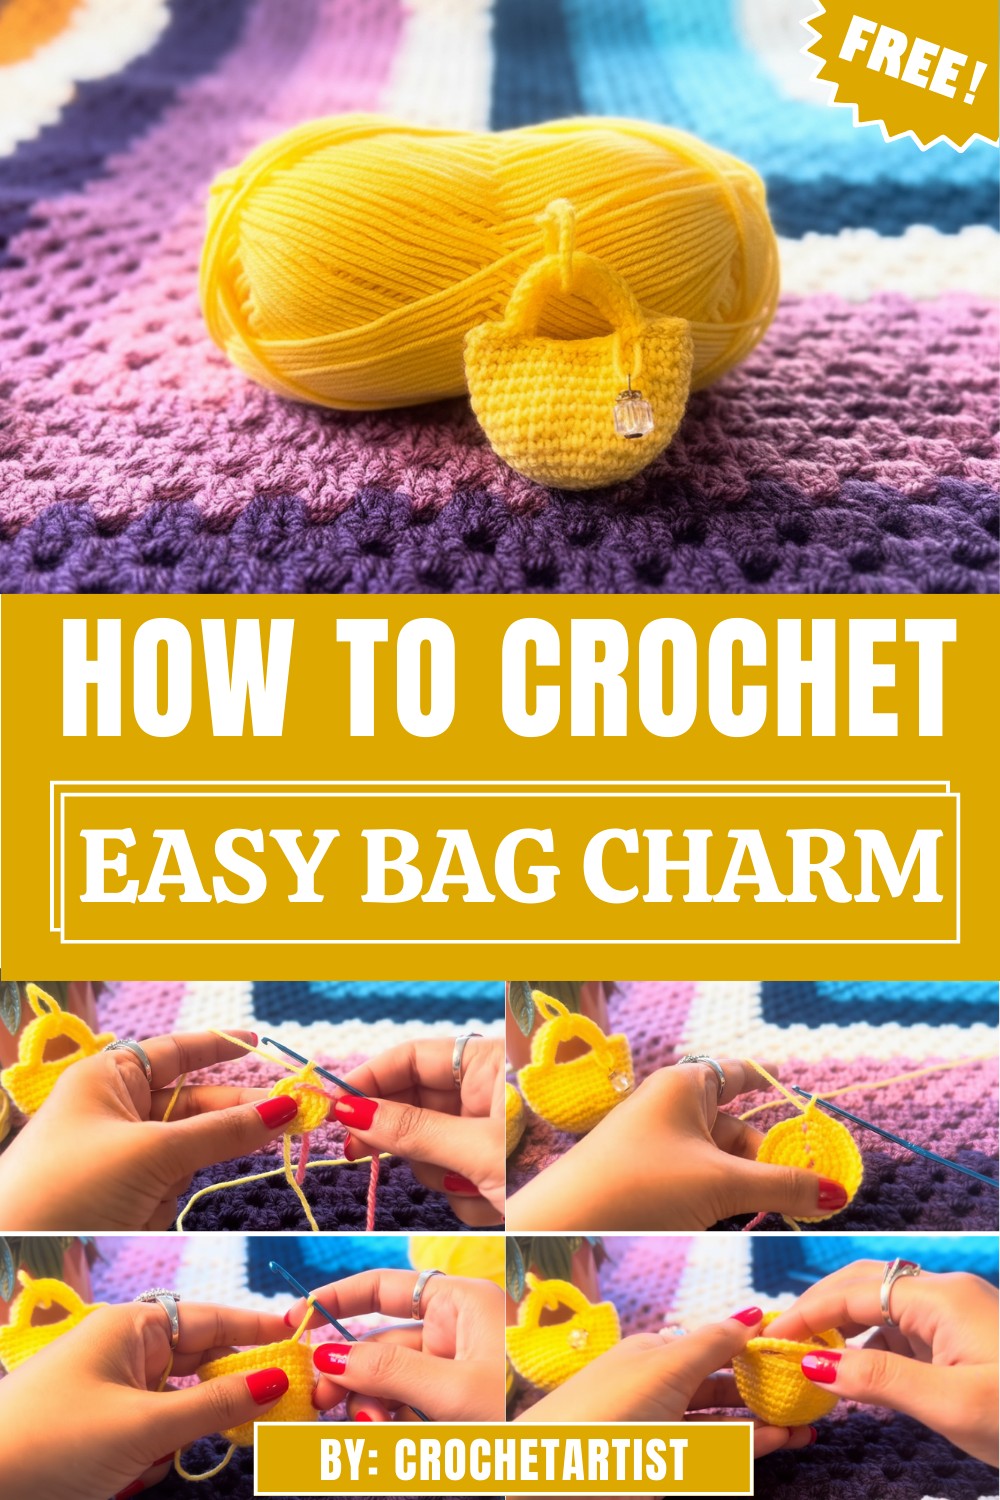
Charming style meets simplicity with the crochet Bag Charm Pattern, offering a quick decorative touch that suits accessories of all kinds.
Small details often make the biggest impact, and a charming accessory can instantly transform any bag with personality and color. Perfect for everyday use, gifting, or adding a playful touch to your style, this little embellishment brings both beauty and function. The Crochet Bag Charm Pattern offers a delightful way to create eye-catching accents that feel fresh, stylish, and uniquely expressive.
Fresh Crochet Bag Charm Pattern to Elevate Any Tote
Designed with a balance of simplicity and visual appeal, the pattern allows you to create charms that suit everything from tote bags to backpacks. The Crochet Bag Charm Pattern is easy to follow yet produces polished, professional-looking results, giving each charm a clean shape and pleasing texture. Its compact size makes it a quick and enjoyable project while still offering plenty of room for creativity in colors, shapes, and finishing touches. Whether you prefer subtle elegance or bold, playful designs, this pattern adapts effortlessly.
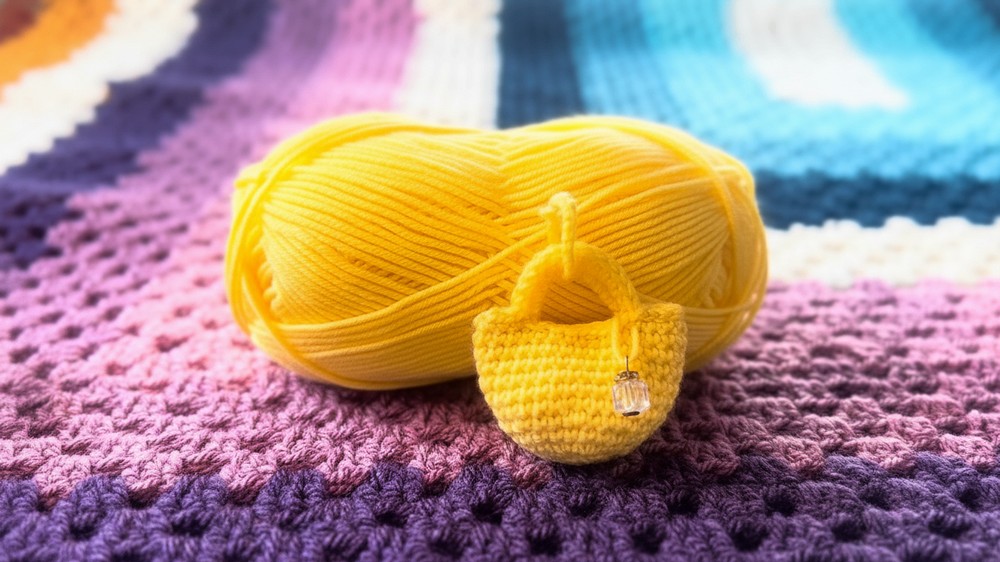
Highly versatile and customizable, these charms can be made in a wide range of yarns to match seasons, moods, or specific outfits. Soft neutrals bring a minimal, modern feel, while bright shades add an energizing pop of color. The Crochet Bag Charm Pattern encourages experimentation and personalization, resulting in accessories that elevate any bag with charm, style, and a touch of handmade flair.
Step-by-Step Details
Step 1: Gather Materials
The tutor uses the following tools and materials:
- Yarn: Bambino yarn from Knitcraft, which is soft and easy to work with.
- Crochet Hook: A 2.5 mm hook. A larger hook can also be used if you prefer a slightly looser finish.
- Stitch Marker: Helps to mark the start of each round.
- Filling Material: Leftover yarn, cuttings from old T-shirts, or stuffing materials for the final charm.
- Scissors: For cutting the yarn.
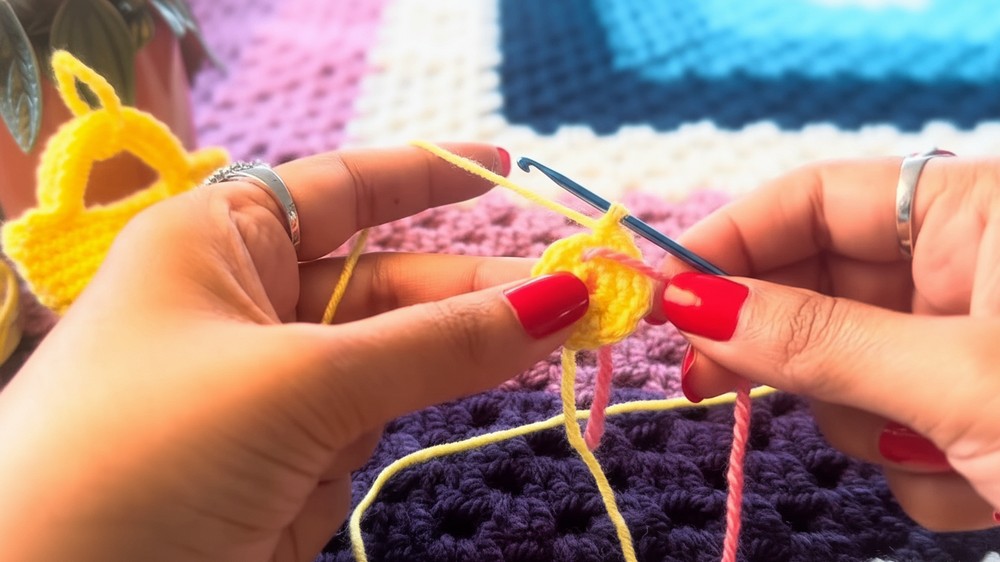
Step 2: Begin with a Magic Loop
- Start by making a magic loop.
- Chain one (the chain one does not count as a stitch).
- Work eight single crochet stitches into the magic loop.
- Pull the yarn tightly to close the loop and secure it.
Step 3: Round 2 (Increase the Stitch Count)
- Place a stitch marker at the beginning of the round.
- In Round 2, work two single crochet stitches into each stitch around.
- By the end of Round 2, there will be 16 stitches.
4: Round 3 (Continue Increasing)
- Work one single crochet into the first stitch.
- Work two single crochets into the next stitch.
- Repeat the pattern (one single crochet, then two single crochets) for the entire round.
- By the end of Round 3, there will be 24 stitches.
5: Round 4 (Single Crochet Around)
- Work one single crochet into each stitch all the way around without any increases.
- At the end of Round 4, the piece remains at 24 stitches.
6: Round 5 (Increase in Pattern)
- Work one single crochet into the first two stitches.
- Then, work two single crochets into the third stitch.
- Repeat the pattern (one single crochet in the first two stitches, then two single crochets into the third) throughout the round.
- At the end of this round, there will be 32 stitches.
7: Rounds 6-11 (Build the Body)
- For rounds 6 through 11, work one single crochet into each stitch around without any increases.
- By the end of Round 11, your work will have a solid, rounded body shape.
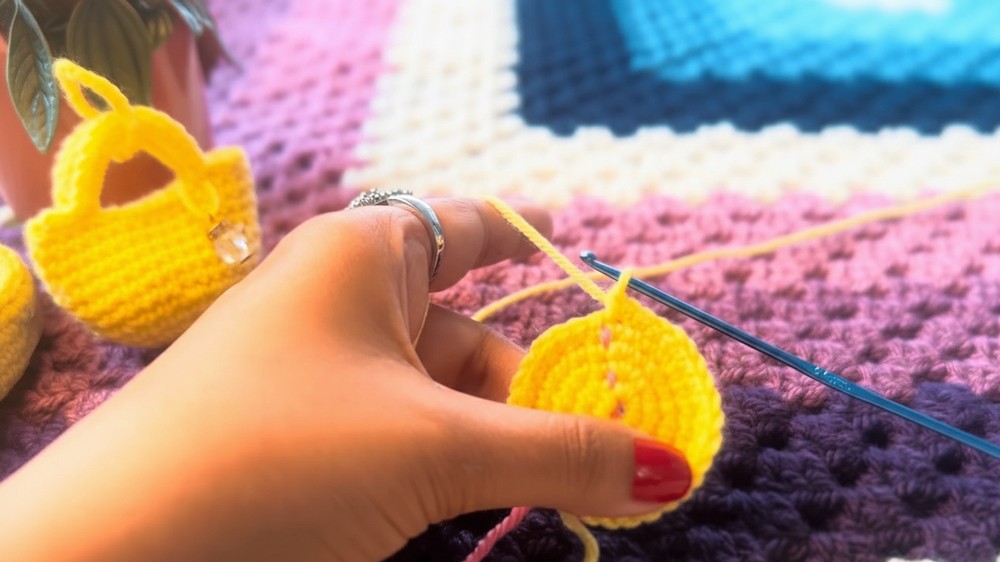
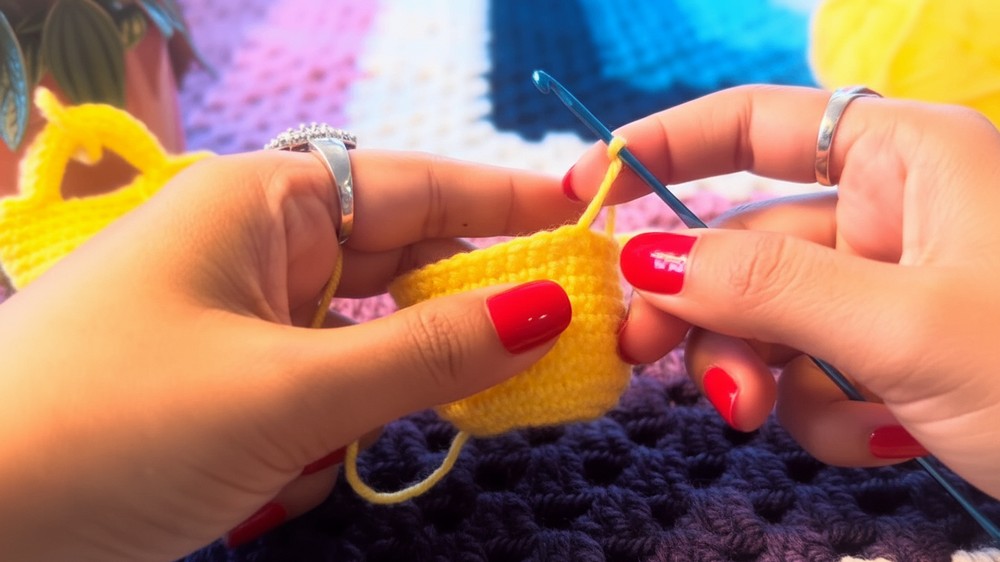
8: Round 12 (Start the Charm’s Structure)
- Work five single crochets into the first stitches of the round.
- Then, chain 10 stitches and skip the next six stitches on the round.
- Work 10 single crochets starting from the seventh stitch.
- Chain 10 stitches again, skip another six stitches, and finish with five single crochets in the remaining stitches of the round.
9: Round 13 (Create the Handles)
- Slip stitch into the next five stitches.
- Work 13 single crochets along the first chain-10 space created in Round 12.
- Then, slip stitch into the next 10 stitches on the body.
- Repeat the process: 13 single crochets along the second chain-10 space, and slip stitch into the next five stitches to complete the round.
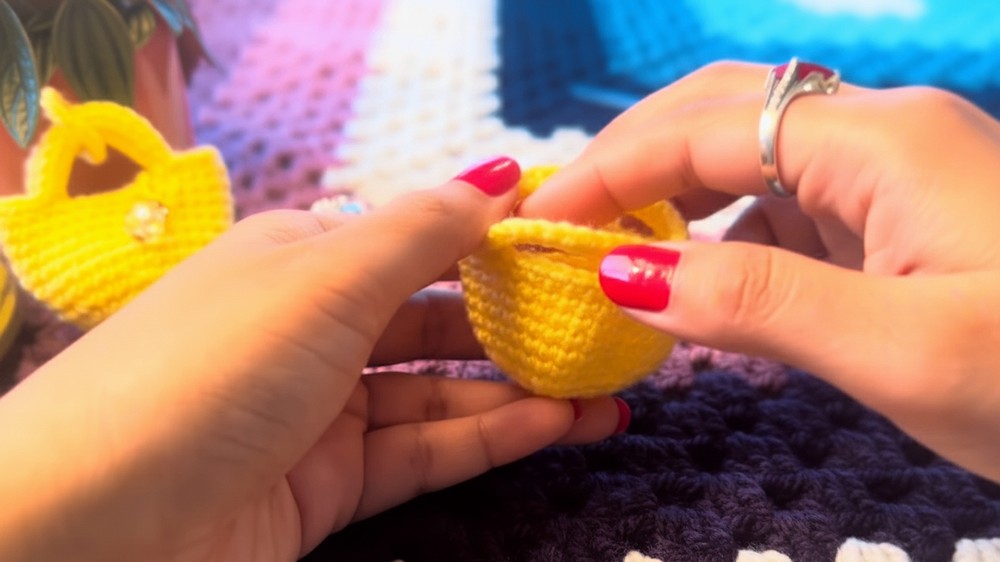
10: Finish and Fill
- Fasten off the yarn by pulling it through the loop securely.
- Use the remaining yarn tail to hide any visible gaps or loose ends.
- Fill the bag with stuffing material such as leftover yarn, fabric scraps, or T-shirt cuttings to give it volume.
- Once filled, press and shape it into the desired form for the final charm.
Special Features
- Easy and Beginner-Friendly: The charm is simple to create, using only basic stitches like single crochet, slip stitch, and chains.
- Customizable: You can adjust its size, color, and filling material to suit your preferences.
- Dual Purpose: It functions as both a decorative charm and a functional item (keyring or bag accessory).
- Quick Craft: The project is designed to be completed in a short amount of time, perfect for gifting or selling.
Level of Difficulty
This project is beginner-friendly, as it uses basic crochet stitches and techniques. The tutor provides clear instructions for each step, making it easy for anyone, even those without extensive crochet experience, to follow along successfully.
Tutor’s Suggestions
- Be Consistent with Tension: Keep the tension even throughout the project to maintain the charm’s shape and appearance.
- Use a Stitch Marker: This helps keep track of the beginning of each round, especially for rounds with increases.
- Experiment with Materials: Although soft bambino yarn is suggested, you can substitute it with any yarn of your choice for different textures or designs.
- Stuff Wisely: Use leftover yarn or fabric cuttings for the stuffing to make the project eco-friendly and cost-effective.
Uses
- Keyring Accessory: Add the charm to your keyset for a unique, handmade touch.
- Bag Decoration: Use it as a cute and functional way to personalize your bag.
- Gifts or Market Items: The charm is perfect for handmade gifts or items to sell at local craft markets.
Materials
- Knitcraft Bambino Yarn (or any soft yarn).
- 2.5 mm crochet hook (or a larger size, if preferred).
- Stitch marker, scissors, and filling material.
- Optional: Keyring attachment.
Tip
When filling the charm, avoid over-stuffing it to maintain its natural shape and flexibility. Adding too much material can make it stiff and could distort its design.
Conclusion
This pattern offers a step-by-step guide to creating an adorable crochet charm that is easy, quick, and fun to make. With its simple construction, customizable features, and versatile uses, it is a fantastic project for beginners and experienced crocheters alike. Follow the clear instructions, use vibrant colors, and bring your creativity to life with this delightful and practical accessory.