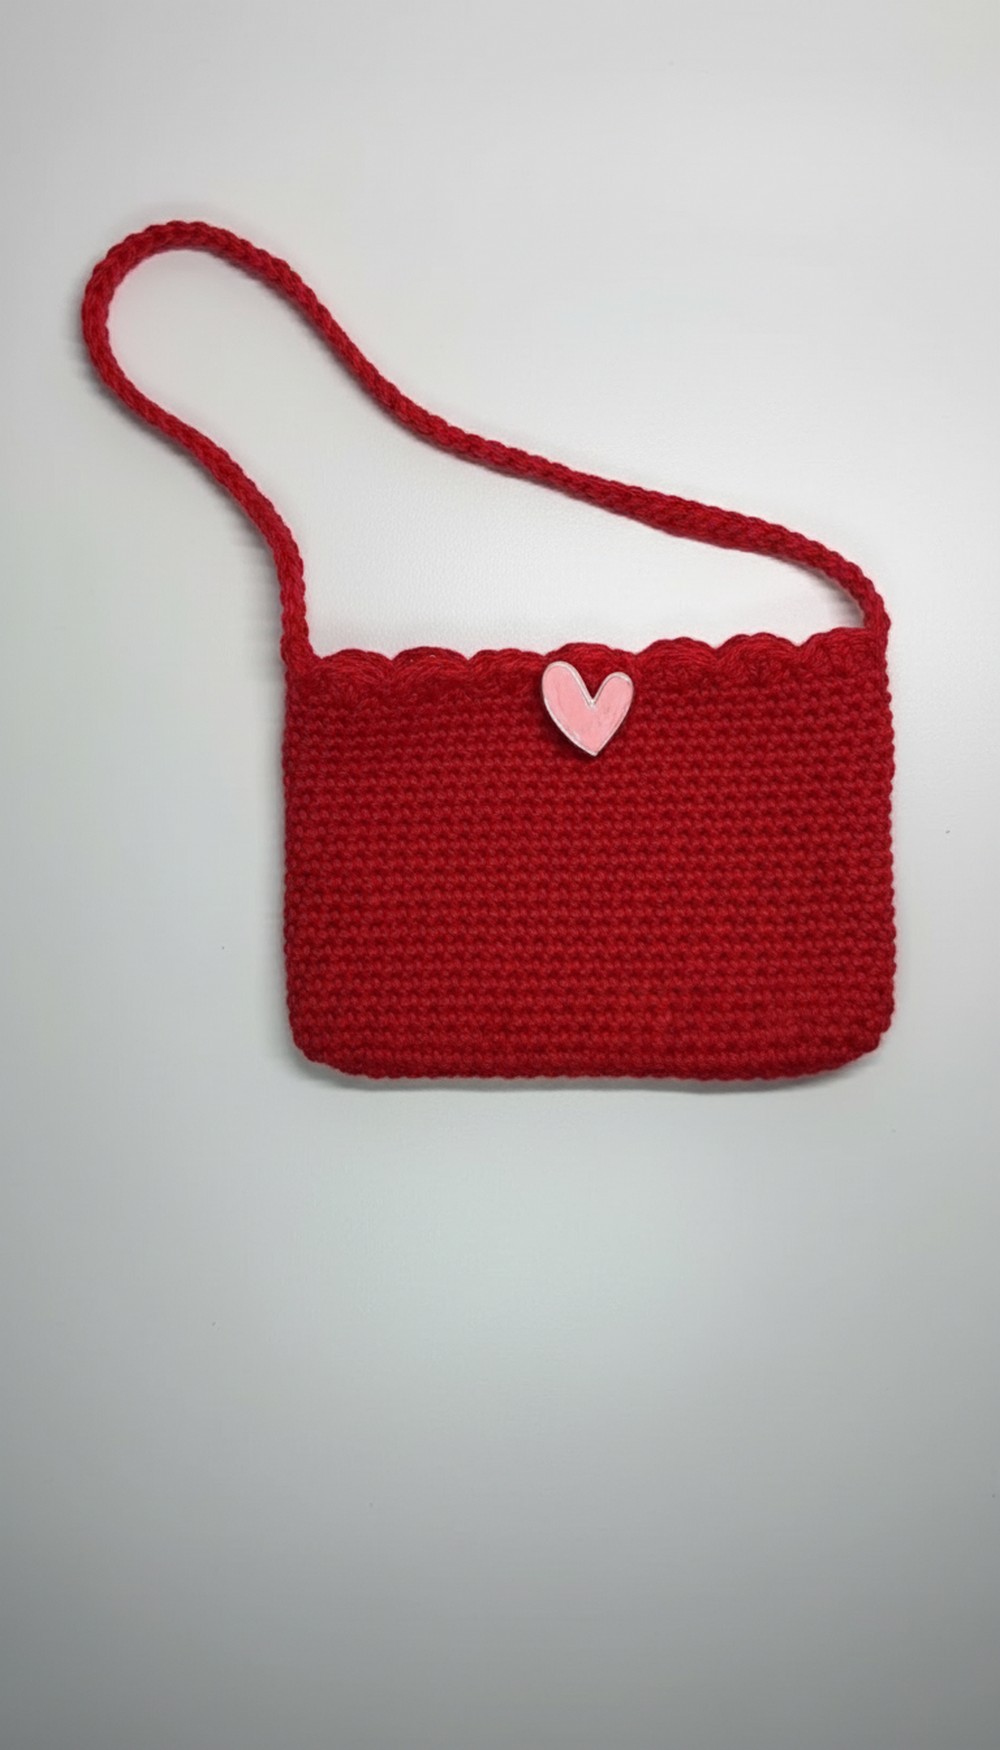
Stay organized every day with a Free Crochet Shoulder Bag Pattern that brings a simple bag for carrying your items with comfort and style.
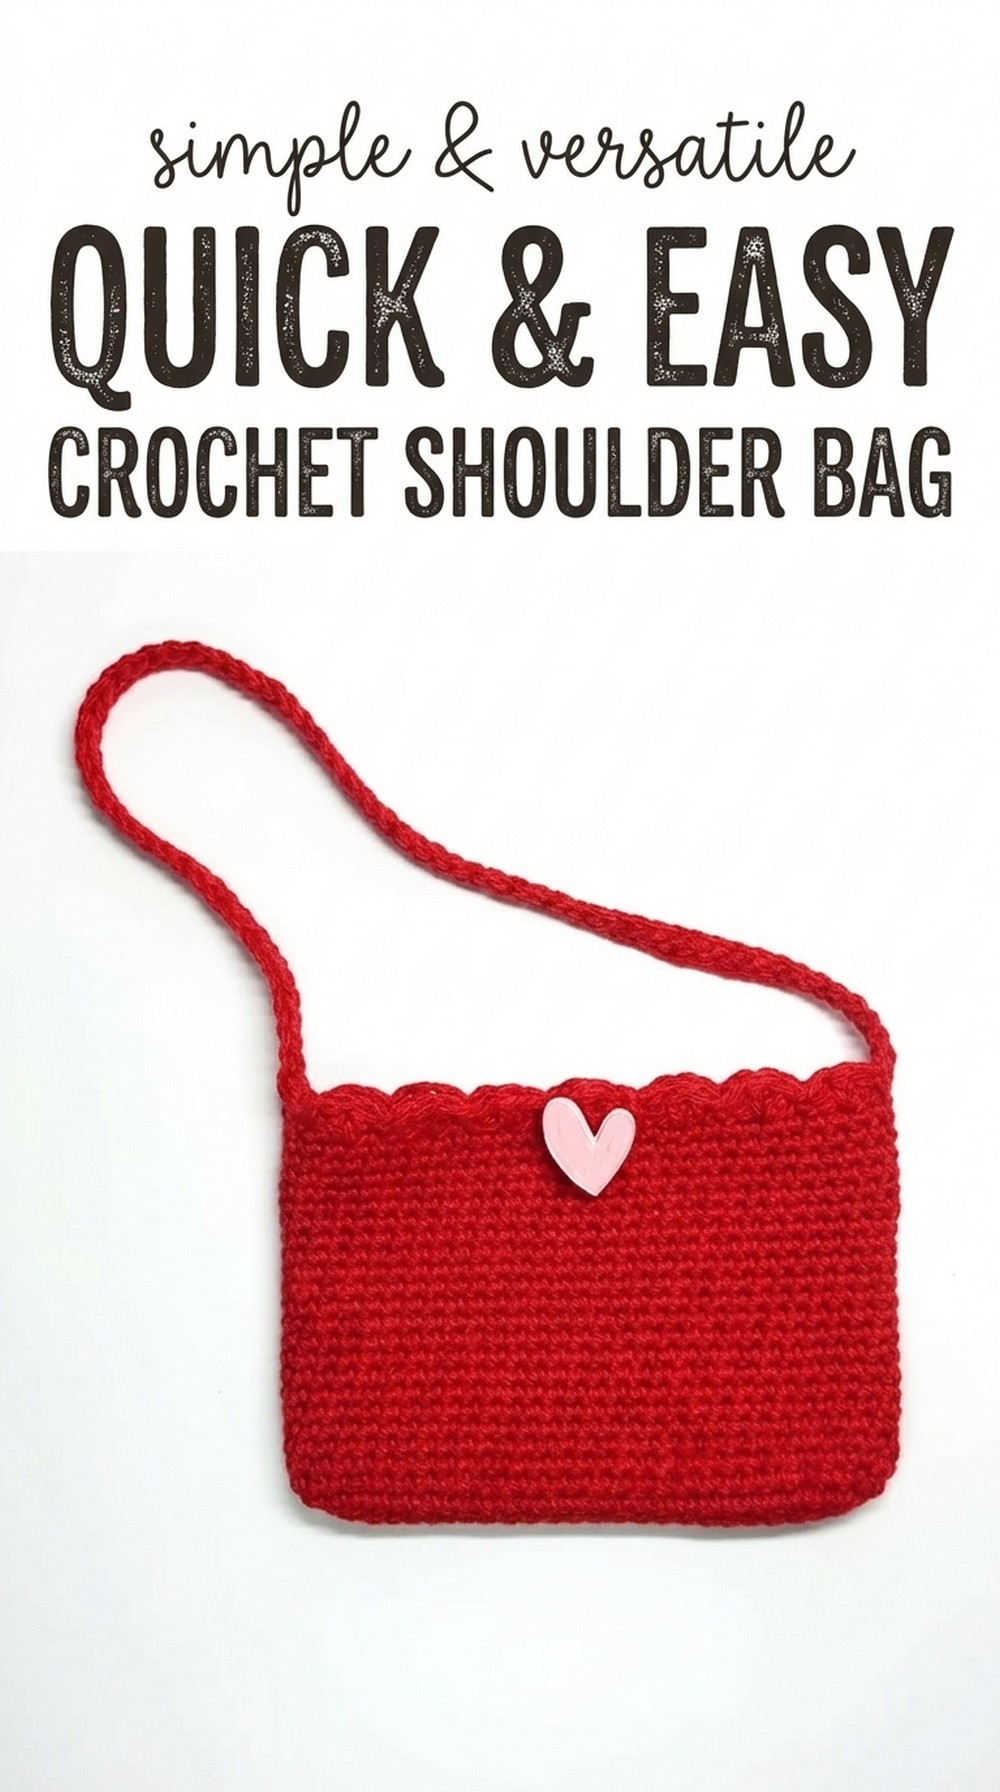
Whip Up a Cute Free Crochet Shoulder Bag Pattern That Looks Store Bought
Made your very own beautiful crochet shoulder bag with this free and easy pattern. This lightweight and stylish bag is perfect for carrying your everyday essentials like your phone, wallet, or keys. Made with 100% cotton yarn, it’s soft, sturdy, and durable, making it both functional and fashionable.
Its cheerful design and optional decorative border give the bag a unique, eye catching appearance. With a 90 cm strap and a secure button closure, it’s practical and easy to use. You can even customize the size or colors to match your style and make it truly special.
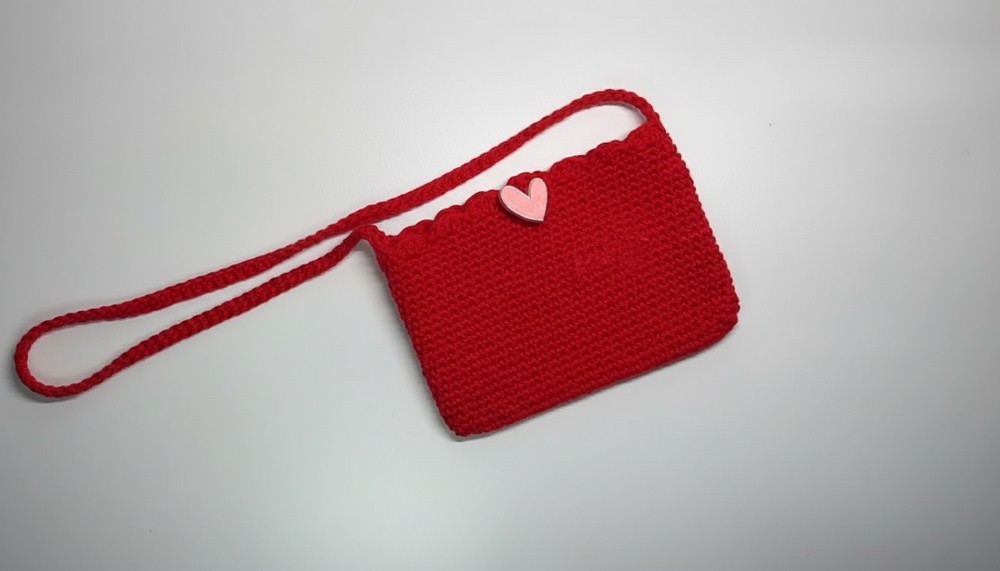
This project is simple, quick, and beginner friendly, taking just one to two hours to complete. Whether for yourself or as a thoughtful handmade gift, this crochet shoulder bag is sure to be a favorite accessory for any occasion.
Cute Crochet Shoulder Bag Pattern
Materials Needed
- Cotton Yarn: 2mm thickness; 100% cotton (Approximately 35 to 40 grams used)
- Yarn color of your choice (color in the video: fuchsia pink)
- Hook Size: 4mm crochet hook
- Stitch Marker: Optional (you can also use a hairpin or scrap yarn)
- Scissors
- Plastic Button: Large enough for closure
- Tapestry Needle: For weaving in ends and attaching the button
Gauge
- The gauge of this pattern is irrelevant, but note that the bag measures:
- 16 cm (width) and 10 cm (height) using the stated materials and hook size.
Finished Size
- Width: 16 cm
- Height: 10 cm
- Cord length: 90 cm (adjustable)
Special Techniques
- Slip Knot: Used to start your chain foundation.
- Single Crochet (SC): The primary stitch of the bag.
- Increases:
- Two Single Crochets into the same stitch to grow the width.
- Three Single Crochets into one stitch to round the corners.
- Slip Stitch: Used at the end of rounds and decorative finishing.
- Mini Fans:
- Create decorative edging at the bag opening using a sequence of three double crochets in the same stitch.
Key Tips
- Customization:
- To make the bag wider, add more starting chains.
- To make the bag taller, increase the number of rows of single crochet.
- Check your gauge: Adjust your hook size or yarn thickness for larger or smaller bags.
- Stitch markers: Use markers to mark the sides of the bag and the end of the round, ensuring even stitches.
Pattern Instructions
Step 1: Start the Foundation Chain
- Create a slip knot and insert the 4mm hook.
- Chain 27 stitches for a 16 cm wide bag. You can adjust the number of stitches to make the bag wider or narrower, keeping in mind that this will also influence the size of the bag.
- Ensure your chains are not twisted.
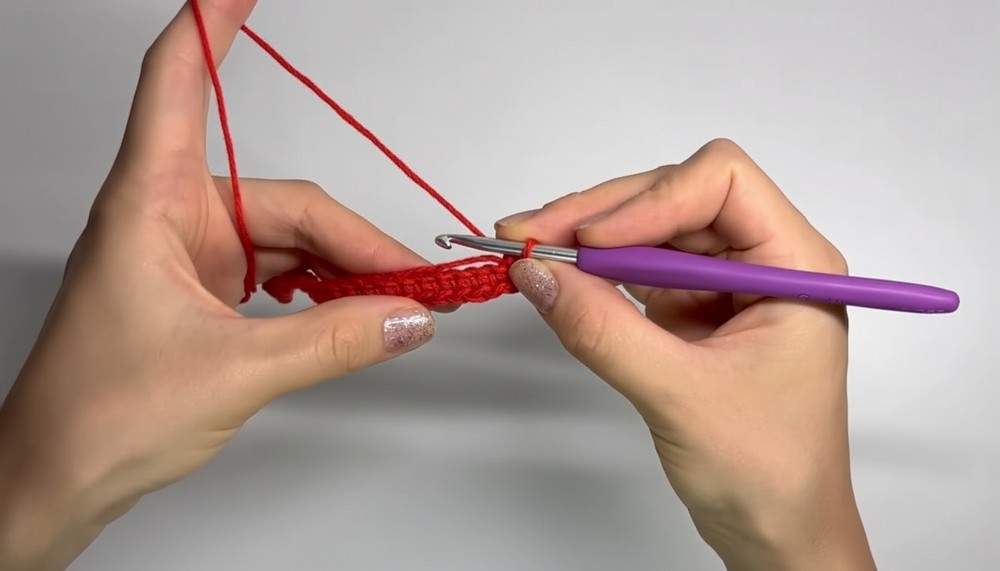
Step 2: Round 1 Base of the Bag
- Skip the first chain (closest to the hook).
- In the second chain from the hook, work 2 single crochets (increase).
- Work 1 single crochet in each chain across until you reach the last chain.
- In the last chain, crochet 3 single crochets (this forms the curve to pivot around to the other side of the chain).
- Continue working 1 single crochet into each stitch in the opposite side of the foundation chain.
- At the last chain on this side, crochet 1 single crochet and place your stitch marker in the last stitch for reference.
- The first round forms an oval base.
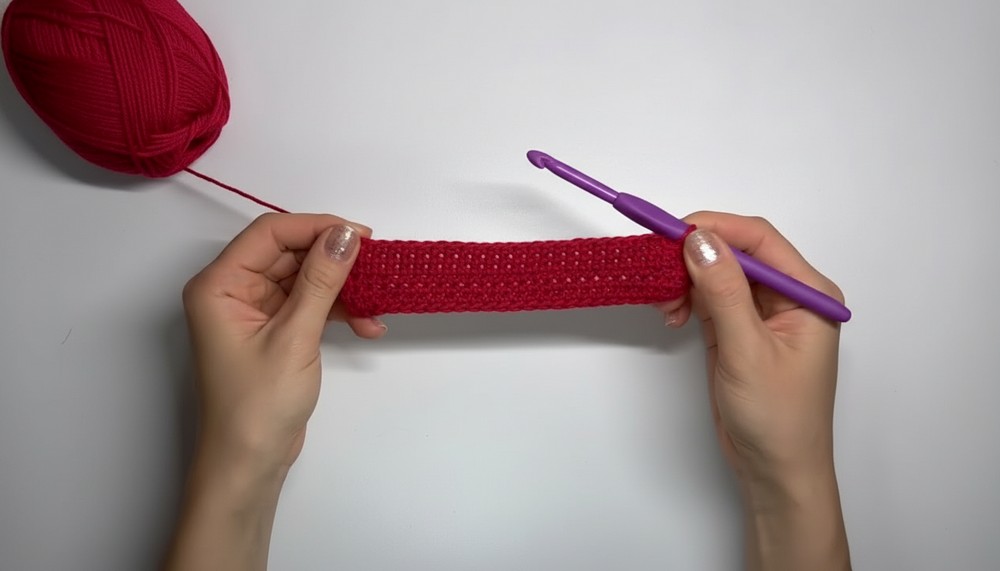
Step 3: Round 2 Expanding the Base
- In the first stitch of the new round, crochet 2 single crochets (increase).
- In the next stitch, crochet another 2 single crochets (increase).
- Work 1 single crochet in each stitch until you reach the curved section.
- In the 3 stitches of the curve, work an increase (2 single crochets) into each stitch to maintain the curve.
- Continue with 1 single crochet in each stitch along the opposite side.
- When you reach the last round’s final stitch, crochet 1 single crochet (increase) to balance the curve.
- Place your stitch marker at the end of the round.
Step 4: Build the Height
- From Round 3 onward, work 1 single crochet in each stitch around.
- Do not add increases now; this creates the upward walls of the bag.
- Place your stitch marker on the last stitch of each round to track progress.
- Continue crocheting 21 rows of single crochet or until the desired height is achieved.
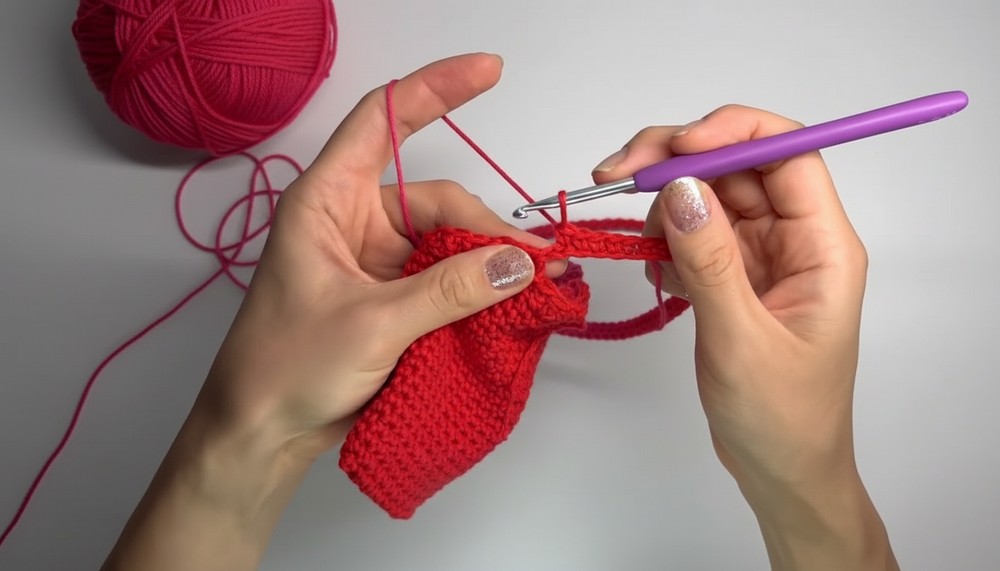
Step 5: Add the Decorative Border (Optional)
- Remove the stitch marker and start mini fan scallops for a decorative touch.
- Skip one stitch and in the next stitch:
- Crochet 3 double crochets into the same stitch.
- Skip the next stitch and make a slip stitch in the following stitch.
- Repeat this sequence around the opening of the bag:
- Skip one stitch, crochet 3 double crochets into the next, skip one, and slip stitch into the next.
- Once the round is complete, make a slip stitch to close, cut the yarn, and weave in the ends.
Step 6: Create the Strap
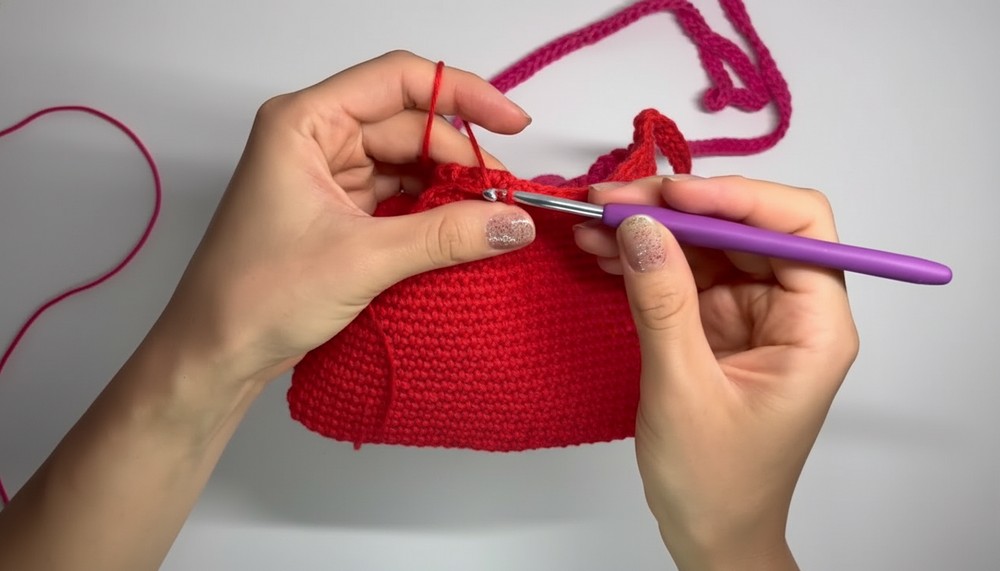
- Attach yarn to one edge of the bag’s body.
- Chain 150 chains (or any number for the desired length of the strap).
- Ensure the chain isn’t twisted, then connect the other end of the chain to the opposite side of the bag with a slip stitch.
- Flip the chain, and single crochet into each chain along its entire length for reinforcement.
- Attach the finished strap to the starting point using a slip stitch, then cut the yarn and weave in the ends.
Step 7: Add the Button and Closure Loop
- Take the selected button and sew it to the center front of the bag, about 2 rows below the border.
- Attach the yarn directly to the back of the bag, aligning it with the button’s position.
- Chain 18 chains (or as many needed to loop around the button snugly).
- Secure the chain loop back into the starting point with a slip stitch.
- Weave in all loose ends.
Customization Ideas
- Add Color Variation: Use different yarn colors to create stripes or patterns while crocheting the bag.
- Experiment with Edging: Instead of mini fans, try picot or shell edging for uniqueness.
- Larger Bag: Scale up by increasing both starting chains and the height.
- Embellishments: Add beads, tassels, or embroidery to personalize the bag.
Important Remarks and Final Look
- Once completed, this bag is compact, lightweight, and perfect for holding essential items like phones, small wallets, or keys.
- You can make this project in about 1.5 to 2 hours, making it an excellent beginner to intermediate level project.
- The decorative edging and button closure add charm, making it functional and stylish.