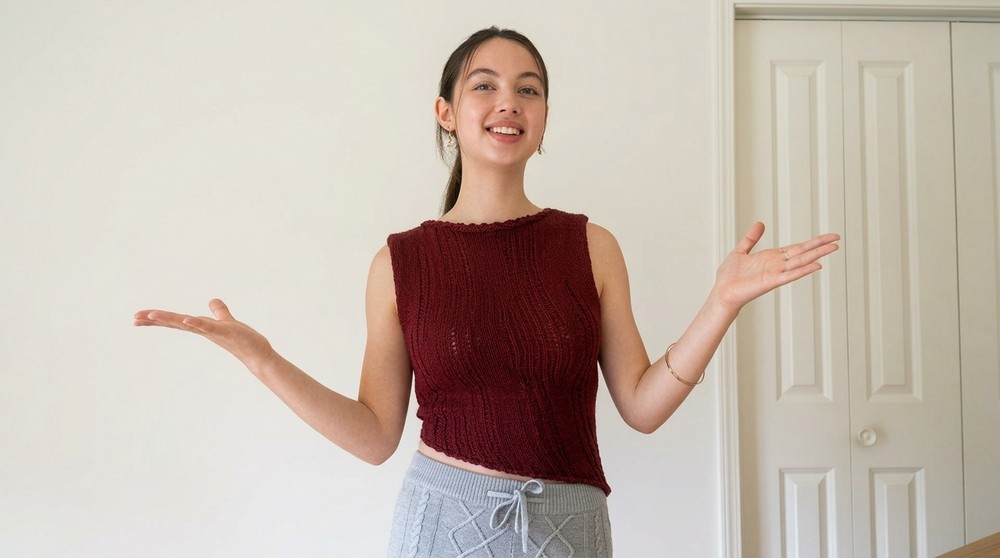
Feel fresh in warm weather with a Free Crochet Sleeveless Top Pattern that gives you a light top perfect for sunny days and simple daily wear.
Trendy Crochet Sleeveless Top Pattern Design for Summer Wear
Add This Trendy Free Crochet Sleeveless Top Pattern to Your Style
If you’re looking for a simple and fun project, this Free Crochet Sleeveless Top Pattern is perfect for you. It’s a stylish and lightweight top that’s great for warm weather. The design has a beautiful knit like look, an asymmetrical hem, and a tie back that makes it unique and fashionable. Whether you want a cropped or full length top, you can easily adjust it to fit your style and size.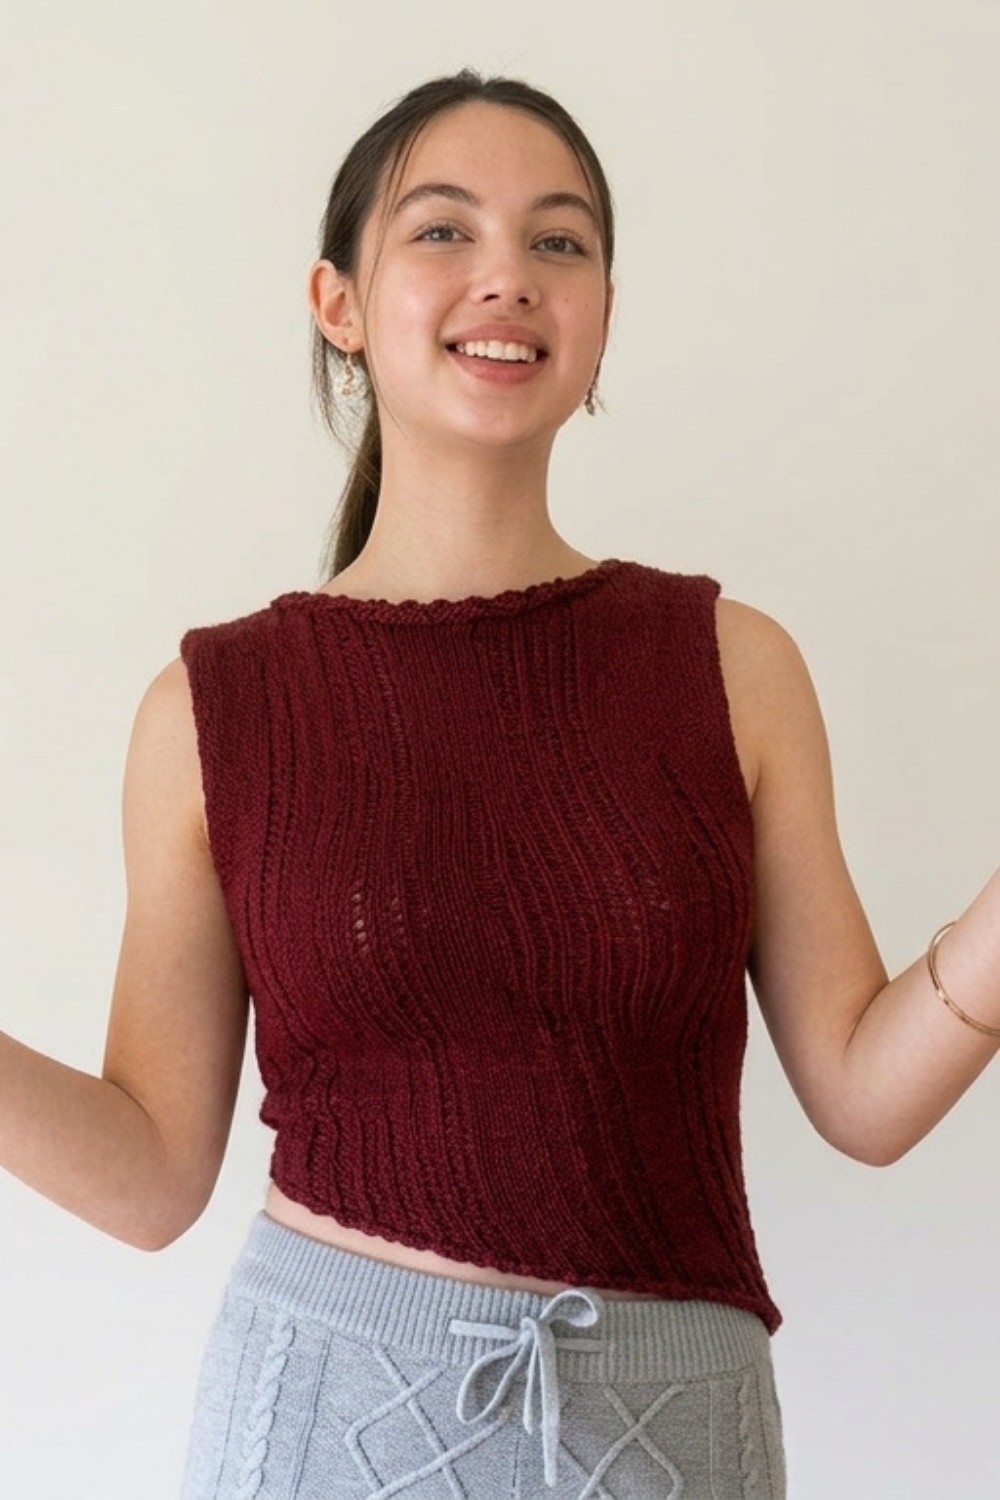
It’s worked up using a simple stitch that gives a neat, knit like effect, and the loose tension ensures a smooth and polished finish. You can wear this top for casual outings, pair it with jeans or skirts, or even layer it for cooler days. It’s fun to make and looks amazing on everyone.
Stylish Crochet Sleeveless Top Pattern
Materials Required
- Yarn: Light weight (Category 3) merino acrylic blend or any yarn of similar weight suitable for garments.
- Hook Size: A 6 mm crochet hook (Increase your hook size by 2 mm higher than the recommended size for your chosen yarn).
- Stitch markers or contrasting yarn (optional, for marking armholes or increasing accuracy).
- Scissors.
Suggestions for Yarn Options:
The tutorial mentions yarns specifically selected for comfort and quality. Look for yarn soft against the skin with durable fibers for clothing purposes.
Special Techniques
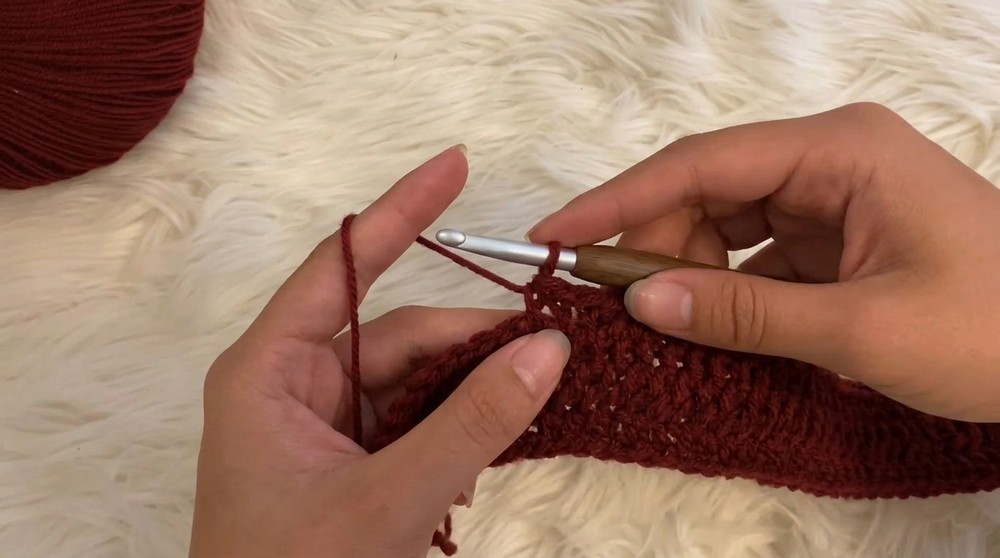
The Ruby Top utilizes a fake knit stitch (Yarn Over Slip Stitch):
- Yarn Over Slip Stitch: Yarn over, insert your hook into the next stitch or chain, yarn over again, and pull through all loops on the hook.
- Loosen Tension: Maintain a loose tension throughout the stitches to ensure flexibility and avoid tight, stretched chains.
Pattern Instructions
Chapter 1: Front Panel
- Determine Measurements: Measure the shortest desired length (cropped length or longer) from the top of your shoulder seam to the bottom, including the bust. Ensure not to stretch the chain across the bust. Alternatively, measure a shirt you like for accurate length adjustment.
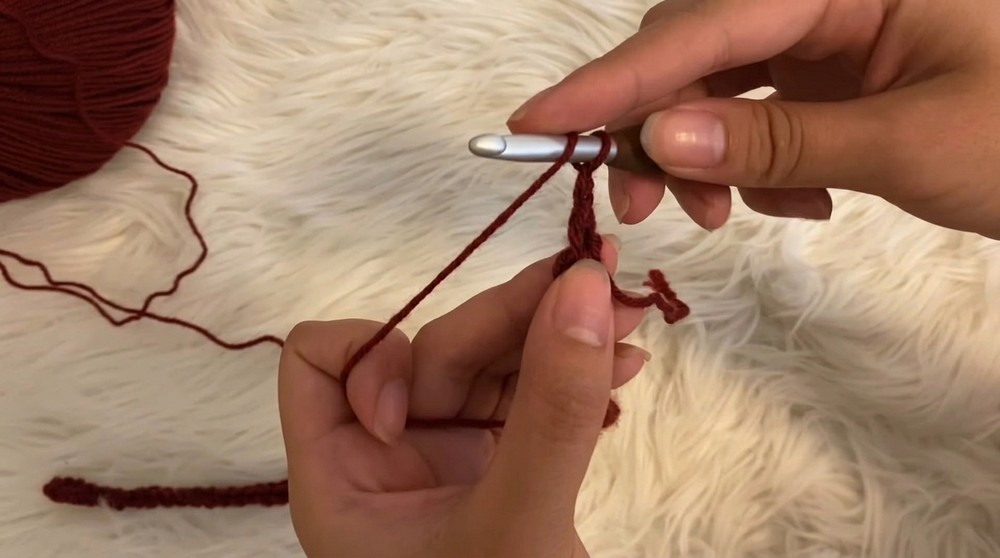
- Foundation Chain: Create a slip knot, then chain the length calculated above. Keep chains loose for ease of working. Write down the number of chains for reference.
Row 1: Fake Knit Stitch
- Chain one, turn your work, yarn over, and work a Yarn Over Slip Stitch into the second chain.
- Repeat across the entire row.
Row 2: Knitting Effect – Front Loop
- Chain one, turn your work, and Yarn Over Slip Stitch only into the front loop (the loop underneath the “V” on the front of the row).
- Orient the “V” loops forward to mimic a knit fabric texture.
Row 3: Push “Vs” to Front – Back Loop
- Chain one, turn your work, Yarn Over Slip Stitch into the back loop only (loop behind the “V” shape).
- When you reach the last stitch, increase in the last stitch by working two Yarn Over Slip Stitches into the same stitch.
Rows 4 & 5: Repeating Pattern
- Row 4: Chain one, turn, work Yarn Over Slip Stitch into the front loops.
- Row 5: Chain one, turn, Yarn Over Slip Stitch into the back loops.
Row 6: Asymmetrical Hem – Increase at Start
- Chain one, turn, work two Yarn Over Slip Stitches into the first stitch for an increase. Continue using Yarn Over Slip Stitch into front loops.
Repeat Rows 2 to 7:
- Repeat the rows, continuing the front and back loop sequence for each row with increases.
- Stop once the width of the front panel reaches your shoulder width. Do not worry about ending evenly with the rhythm of the row numbers; stopping mid-sequence is fine as long as the width matches your measurement.
Finish the Front Panel:
- Bind off by chaining two and pulling tight.
Chapter 2: Back Panel
The back panel is simpler since it is constructed as a rectangle, without asymmetry or increases.
- Determine Back Panel Length: Write down the chain number from the front panel and subtract 20 chains. This will be the starting foundation chain length for the back panel.
- Foundation Chain: Create a slip knot and chain the calculated length.
Row 1: Fake Knit Stitch
- Work Yarn Over Slip Stitches into each chain after skipping the first chain.
Row 2: Front Loops
- Chain one, turn, Yarn Over Slip Stitch only into the front loops across the row.
Row 3: Back Loops
- Chain one, turn, Yarn Over Slip Stitch into the back loops across the row.
Repeat Rows 2 & 3:
- Repeat until the width of the back panel equals the width of the front panel (measuring for equal width, not the same number of rows).
Bind Off the Back Panel:
- Chain two, pull tight, and trim the yarn.
Chapter 3: Assembly
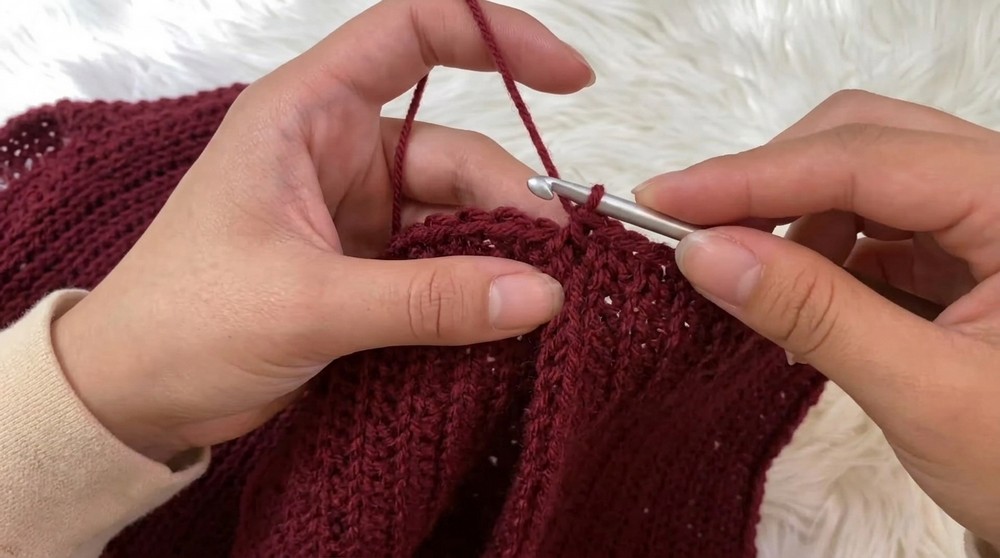
- Lay Panels: Place the front and back panels together, wrong sides facing up (the “Vs” of the stitches facing outward).
- Shoulder Seams:
- Match the straight edges of the front panel to the top of the back panel.
- Slip Stitch the panels together for the shoulder seams, inserting the hook through aligned “Vs” from both panels.
- Adjust the seam width by trying it on and ensuring comfortable fit around the neckline.
- Side Seams:
- Try the top on, pinch the sides to determine armhole placement. Place stitch markers for accuracy in both front and back panels.
- Slip Stitch the panels together from the stitch markers down to the hem on both sides.
Chapter 4: Ties
- Create Ties:
- Attach yarn at the side seam where you wish the tie to begin.
- Work four double crochets into a chain base to start the tie.
- Chain two, turn, and continue working four double crochets per row for desired tie length.
- Bind off securely by chaining two and trimming yarn.
- Repeat: Create identical ties for the opposite side of the top.
Chapter 5: Finishing Touches
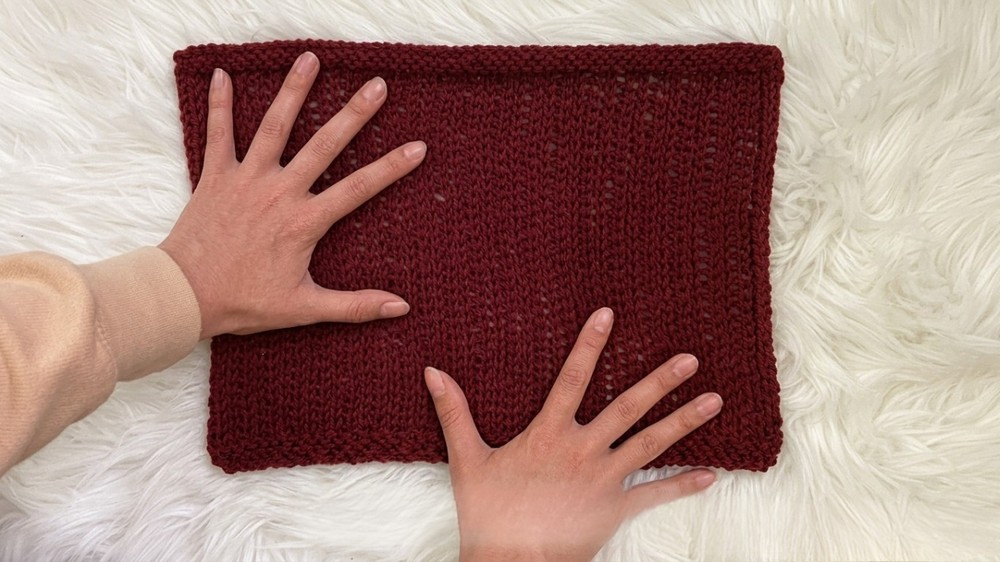
- Tighten Edges: For a clean and polished look, especially on the back panel or necklines, use a smaller crochet hook (4 mm) to add slip stitches along the edge.
- Fix Slanted Fabric: If your panels are slightly slanted, gently pull the opposite corners to adjust and ensure symmetry.
Final Words & Tips
- Gauge Matters: Loose tension is key for creating this project. Tight stitches may distort the pattern or prevent it from laying flat.
- Stretch Prevention: Avoid stretching the fabric excessively when measuring or pinching for placement.
- Customization: You can adjust the tie length, panel widths, or hem asymmetry to better suit your personal style.
- Care Instructions: Wash this garment in cold water, using a gentle detergent, and lay flat to dry to maintain its shape and quality.