
Make a stylish bag with this Free Crochet Yarn Bag Pattern that is simple to follow and perfect for keeping your yarn, tools, and everyday essentials organized.
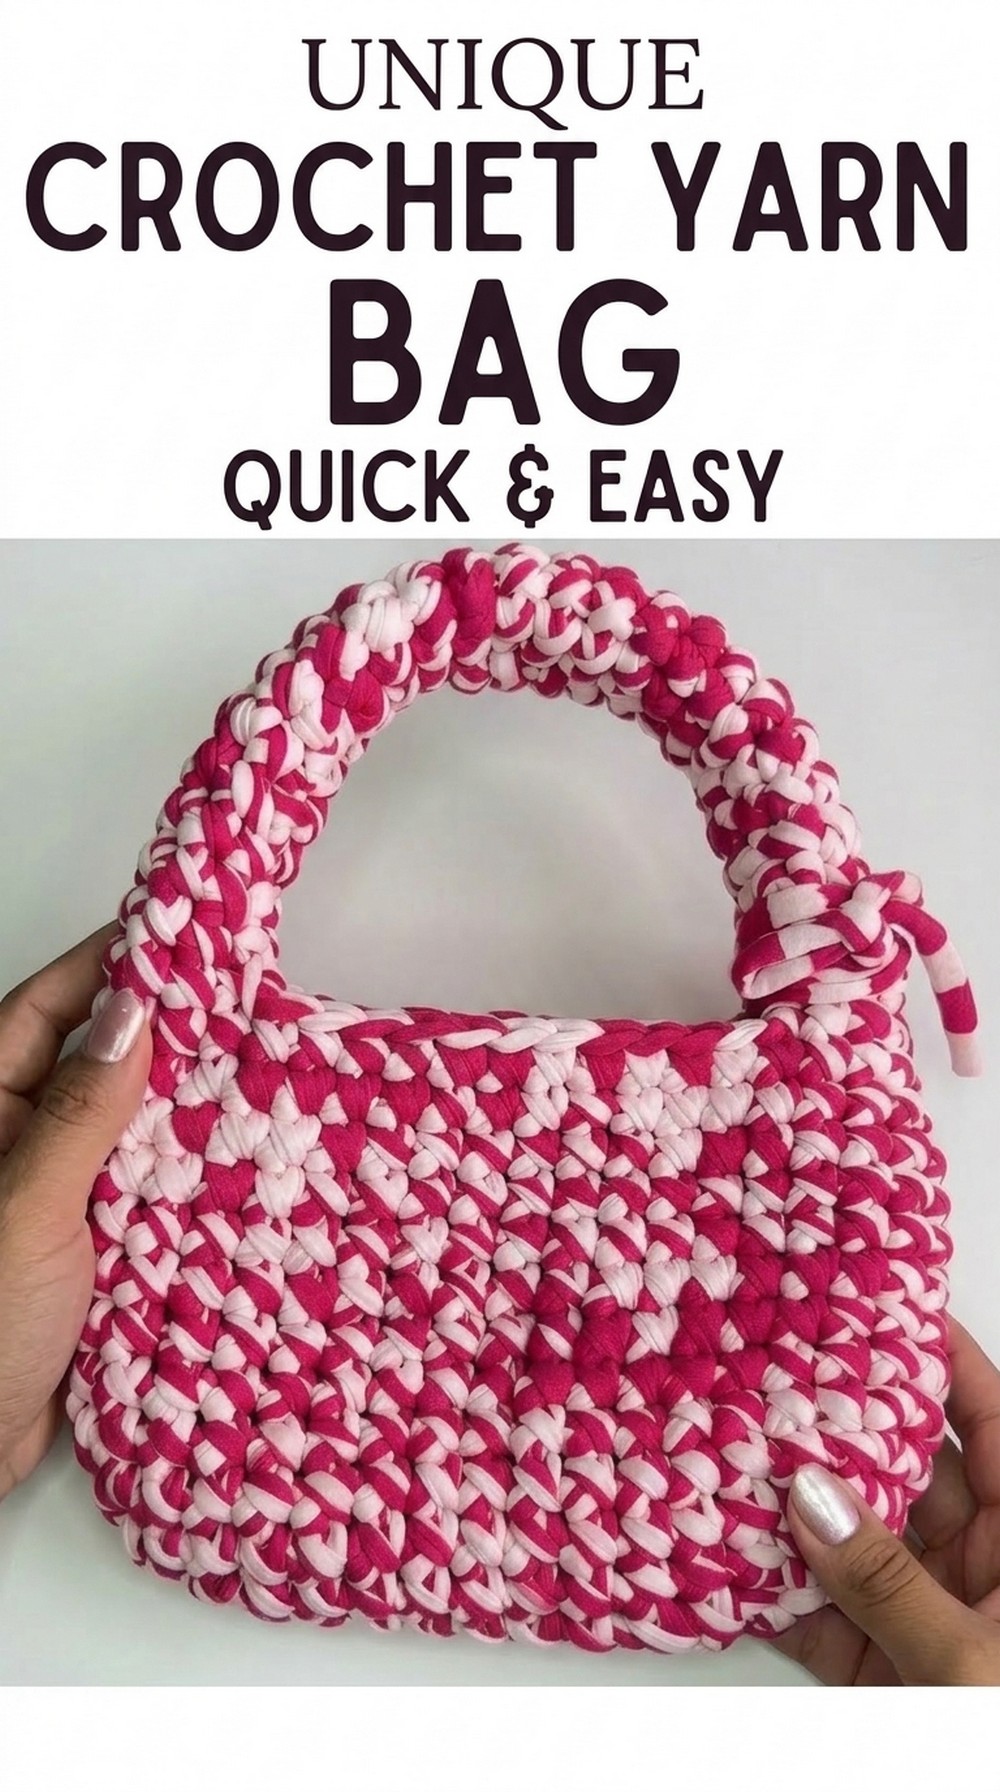
Free Crochet Yarn Bag Pattern You’ll Love to Carry
Carry your crocheting supplies in style with this Free Crochet Crochet Yarn Bag Pattern that looks like a beautiful accessory from a high end store. You can use thick and soft yarn in two pretty shades of pink to make a sturdy base that keeps its shape perfectly. This bag features a wide and comfortable handle that feels great in your hand while you walk to the park or a friend’s house.
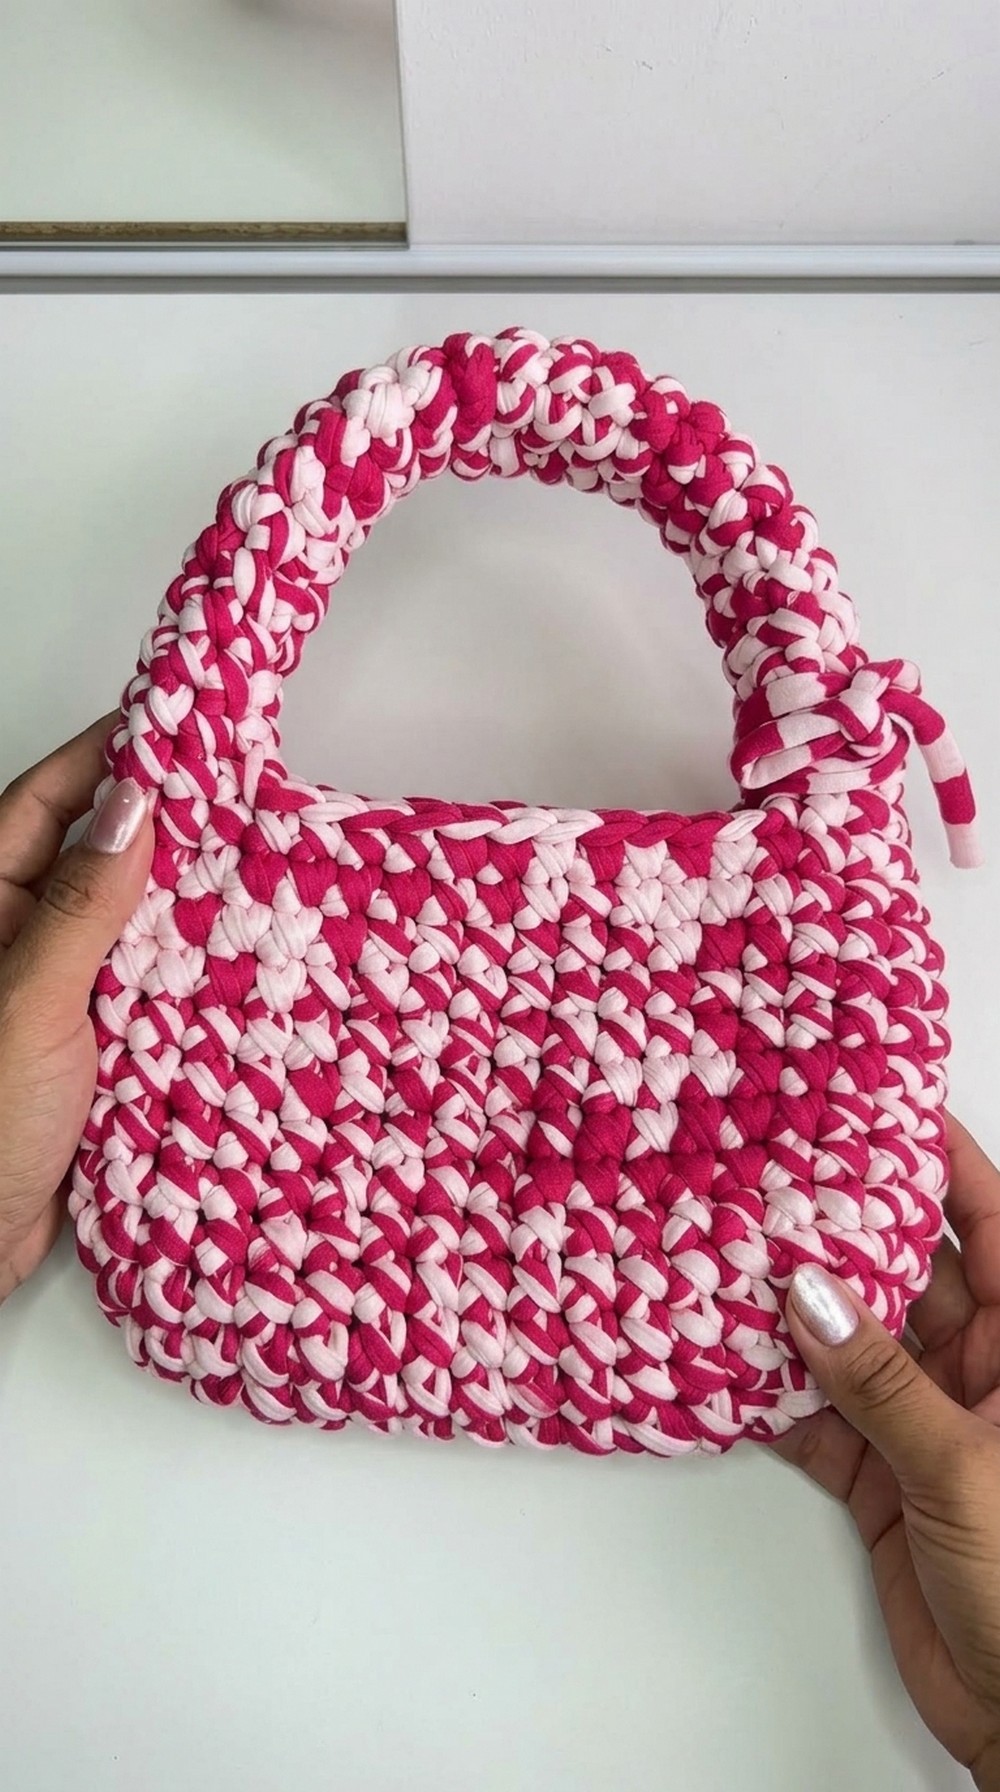
The unique look comes from the way the colors change to create a modern and fun style that everyone will notice. It is very useful for holding your yarn or even small items like a phone and keys when you are on the go.
Crochet Yarn Bag Pattern
Finished Size:
- Bag Base: 15 cm x 15 cm
- Strap: Approximately 30 cm long (3 cm wide)
Note: The finished size may vary depending on the yarn thickness and hook size used.
Materials Needed
- Yarn: 2 skeins of t shirt yarn (trapillo) in two colors:
- Color A: Light pink
- Color B: Darker pink
- Hook Size: 12 mm (or suitable for your yarn thickness)
- Needles and Tools:
- Large eyed tapestry needle or yarn needle for sewing.
- Scissors to cut yarn.
- Measuring tape or ruler for measuring dimensions.
- Stitch markers to keep track of critical points.
Gauge
4 single crochet (sc) stitches = 5 cm
2 rows = 5 cm
Tip: Accurate gauge is not critical for this project, as the size can be adjusted to your preference. Adjust your hook size or change the number of base chains accordingly if you want your bag size to be larger or smaller.
Special Techniques:
- Modified Single Crochet Method: Insert your hook into the stitch from below, yarn under instead of yarn over, pull through, and complete the single crochet as usual. This creates a unique texture on the bag.
- Color Changes: Seamlessly change colors by holding the yarn not used at the base of your stitches and switching during the last yarn over of your stitch.
Instructions
Step 1: Crochet the Base
- Create a slip knot to start.
- Chain (ch) 12 stitches (add 1 extra chain to turn, making 13 chains in total).
- Tip: If you’d like a wider or narrower base, adjust the number of starting chains.
- Measure the chain—it should be approximately 15 cm. If you’d like your base wider, create extra chains by maintaining the gauge provided.
- Start Row 1: Work 12 modified single crochets (sc), one stitch in each chain, beginning from the second chain from the hook. Remember to use the modified single crochet method.When you get to the first and last stitches of the row, work 3 sc into the same stitch (an increase) to create rounded edges.
- Rotate your piece (working in the round), and sc across the opposite side of the chain. Add 3 sc at the other end as an increase. Join the round with a slip stitch to the first chain from the previous row.
- Use a stitch marker to mark the last and first stitches of the round to avoid losing track.
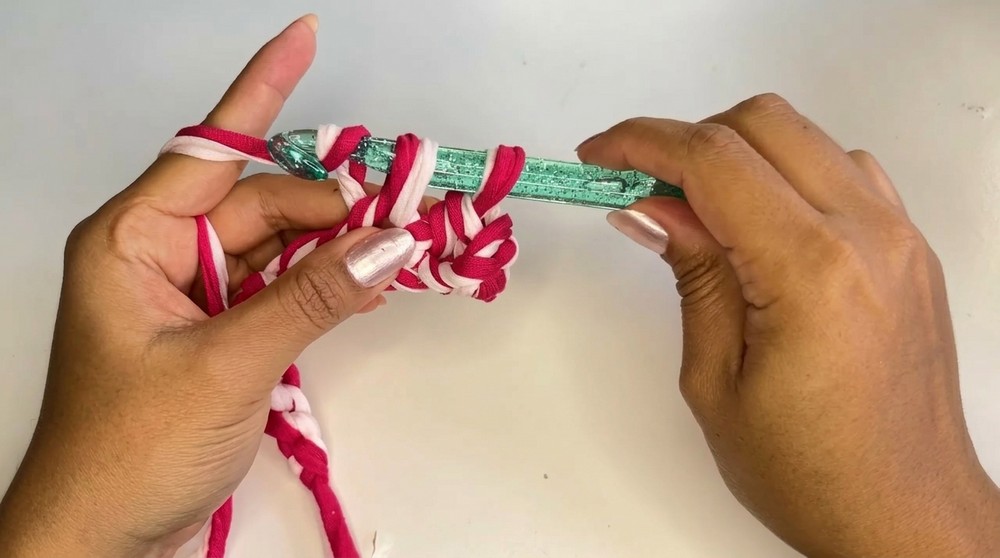
Repeat Rows 2–3 while making the following adjustments:
- For each round, at both ends of the base, increase by placing 2 sc in each corner stitch. This forms a smooth oval shape.
By the end of the third row, your oval base should measure slightly over 15 cm by 15 cm.
Step 2: Crochet the Bag’s Body
- After completing your base, stop increasing stitches to start working on the body of the bag in continuous rounds (no joining).
- Continue working 1 modified sc into each stitch (no increases required).
- Ensure you are working in the back loops of each stitch to maintain consistent tension and structure across the bag.
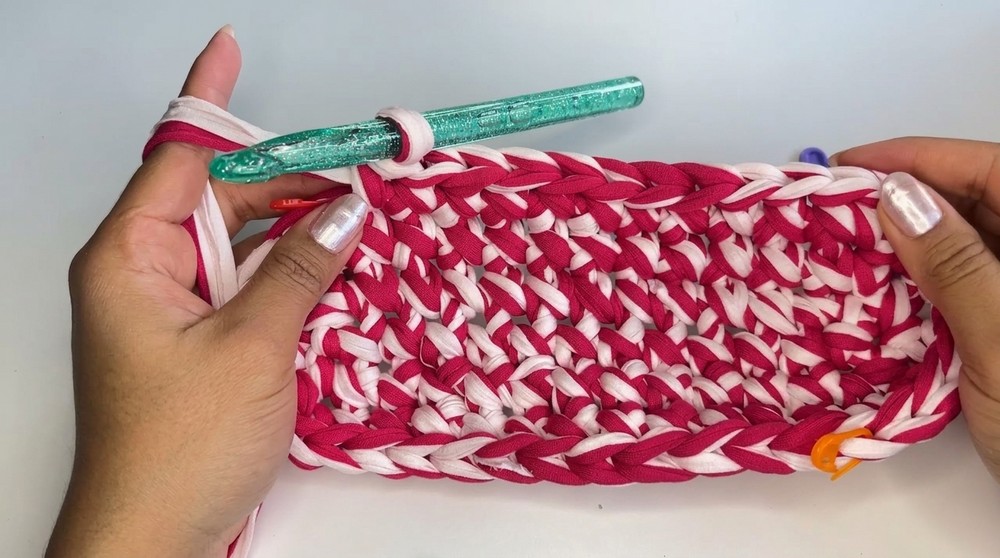
- Ensure you are working in the back loops of each stitch to maintain consistent tension and structure across the bag.
- Optional Color Change:
- To create a two tone effect, switch from Color A (base color) to Color B. Pull through your color change in the last yarn over of the last stitch of the round.
- Carry the unused color along the inside of the bag as you crochet.
- Continue crocheting in the round until the bag’s body reaches your desired height. In the video, 13 rounds were worked, which measured approximately 17 cm long.
- Customization Idea: You can repeat more rounds to make the bag taller or fewer rounds for a shorter design.
- Optional Design Tip: To create a striped pattern, alternate between Color A and Color B every few rows.
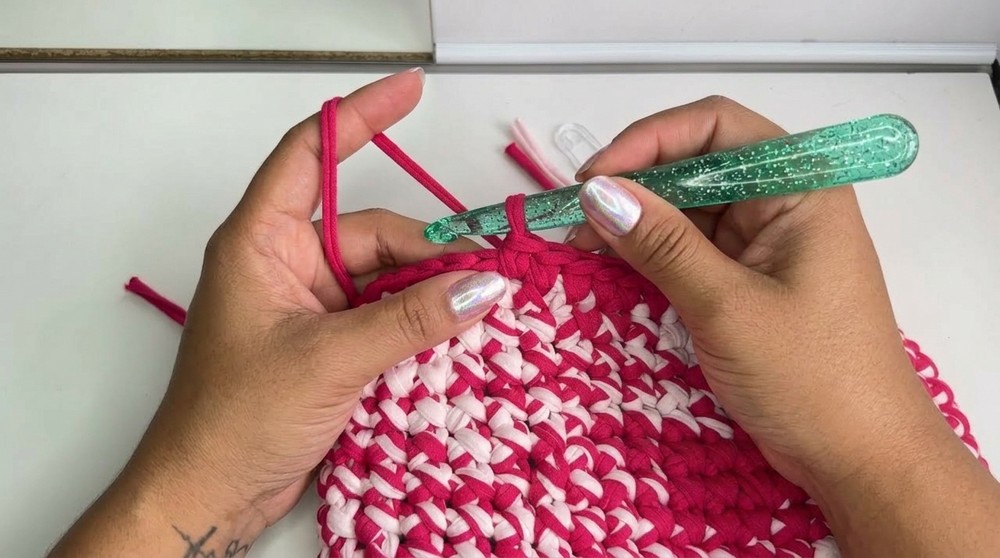
Step 3: Crocheting the Strap
- To create a handle, identify the center points of the front and back of the top of the bag. Use your stitch markers to mark these points and decide how many stitches wide you’d like your strap to be. The example in the video works with 4 stitches width.
- Start the strap:
- Attach Color A yarn at the marked stitch and work row 1: sc in the next 7 stitches (1 sc in each stitch, depending on how many stitches you marked).
- Turn your work, ch 1, and continue working row 2 through [desired length]: sc in each stitch, turning at the end of each row.
- Repeat these rows until the strap measures 27 cm long or your preferred length.
- Fasten off & secure the ends neatly. Leave a long yarn tail for sewing the straps.
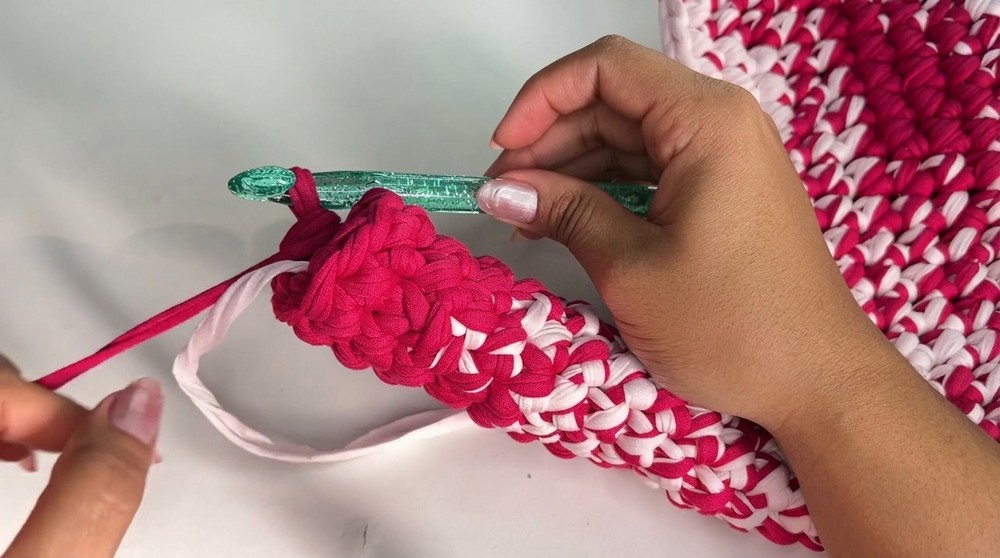
Step 4: Attach the Strap
- With the bag lying completely flat, make sure the handle straps are not twisted. Position the end of each strap on the other marked section of the bag’s top.
- Thread the yarn tail into a tapestry needle and begin to sew the handle strap securely onto the marked area of the bag using whip stitches.
- Make sure that both ends of the straps are sewn evenly on opposite sides to distribute weight properly.
Step 5: Final Assembly and Decoration
- After securing the straps, check the entire bag for loose ends or exposed stitches. Use your tapestry needle to weave in any loose ends into the project securely.
- Optional Decoration: If you’d like to cover up the strap joins or add a decorative element, crochet a simple flower, bow, or a small strap wrap. Wrap and sew it around the strap where it joins the bag.
- Alternative handles: Instead of crocheting a handle, you could attach pre made purse handles or use leather straps for a more structured look.
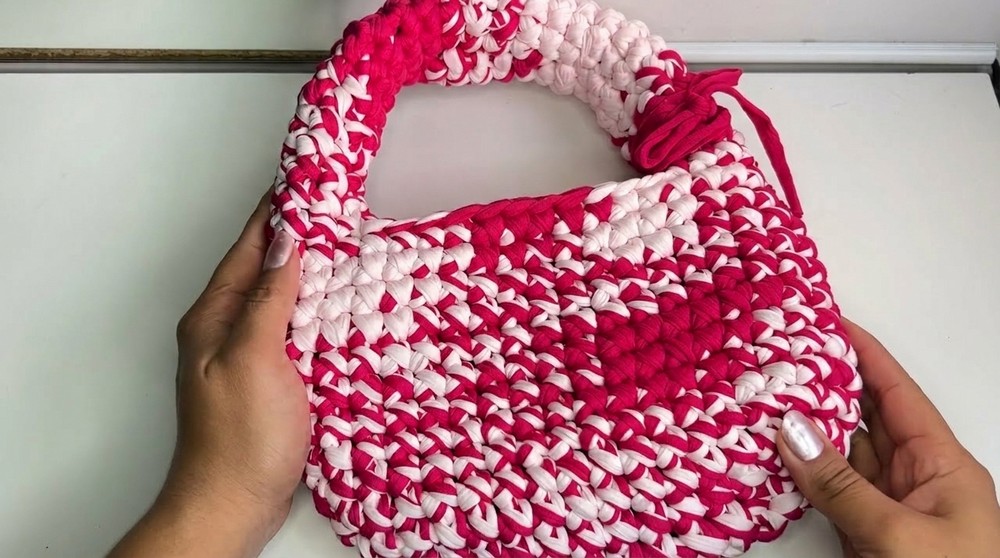
Customization Ideas
- Base Size: Add or decrease the number of starting chains to make your bag larger or smaller. Adjust strap length accordingly.
- Colors: Experiment with different combinations of single-color blocks or stripes for added personality.
- Style Add-ons: Sew on metal clasps, buttons, or tassels to enhance style.
Conclusion and Important Remarks
Congratulations on completing your crochet bag, Whether you’re using it as a casual accessory, a storage pouch, or an everyday tote, this project is customizable and versatile. It’s suitable for beginners who are looking to practice working in rounds and changing colors.
Final Remarks:
- Account for the thickness of your yarn material since it affects the size of the bag. Use a measuring tape frequently to ensure accuracy during your project.
- Keep stitch markers handy to keep track of critical points, especially when working in continuous rounds.
- Maintain a consistent tension throughout the project for a neat and polished finish.
