Spice up your décor with this Free Crochet Pumpkin Pattern that creates a cute, festive pumpkin perfect for autumn displays, gifts, or cozy home vibes.
A small, round decoration can instantly bring warmth and a festive touch to any space during autumn. With the Free Crochet Pumpkin Pattern, you can create a cute handmade pumpkin that is full of charm and personality. This pumpkin usually has a plump, rounded shape with gentle ridges and a tiny green stem on top, giving it a playful yet realistic look. Its soft yarn texture makes it pleasant to hold, while neat crochet stitches give it a polished, handcrafted appearance.
Handmade Free Crochet Pumpkin Pattern for Seasonal Gifts

It can be used to brighten a table, hang as a keychain, give as a small gift, or be part of a Halloween or autumn display. The pattern follows clear, simple steps, making it easy for beginners to complete. Choosing different yarn colors can make the pumpkin look classic, pastel, or bright and fun. In the end, this crochet pumpkin is a small handmade piece that brings color, charm, and cozy seasonal joy.
Step-by-Step Crochet Pattern: Mini Pumpkin
Finished Project Information
- Pumpkin Size: Palm-sized (~5–6 inches wide) based on 30 chains and 34 rows. Adjust dimensions for larger or smaller pumpkins as needed.
- Difficulty Level: Beginner to Intermediate
- Texture Feature: Ribbed texture using half-double crochets (hdc) worked in the back loops.
- Applications: Decorative seasonal accent, centerpiece, or DIY gift.
Materials
- Yarn:
- Main Body: Weight 4 acrylic yarn (Example: Hobby Lobby’s I Love This Yarn or Red Heart Yarn).
- Stem: A small amount of Weight 4 acrylic yarn (green, brown, or preferred stem color).
- Hook: 4 mm crochet hook
- Fiber Fill: To stuff the pumpkin.
- Tapestry Needle: For sewing and securing.
- Stitch Marker: For marking rows.
- Scissors: For trimming yarn.
Gauge
Gauge is not crucial for this pumpkin, but for optimal results:
Half-double crochet (hdc): 12 hdc x 8 rows = 4 inches using weight 4 yarn and a 4 mm hook.
Pattern Instructions
Pumpkin Body
- Foundation chain:
- Step 1: Start with a slip knot.
- Step 2: Chain 30 for a medium-sized pumpkin (adjust the number for custom sizing).
- Step 3: Add 1 turning chain to begin Row 1.
- Row 1 (Work hdc):
- Step 4: Yarn over, skip 1 chain, and insert the hook into the second chain from the hook.
- Step 5: Pull up a loop (3 loops on hook), yarn over, and pull through all three loops (1 hdc made).
- Step 6: Repeat across the row, working 1 hdc into each chain until you reach the end (30 stitches total).
- Step 7: Chain 1, turn your work.
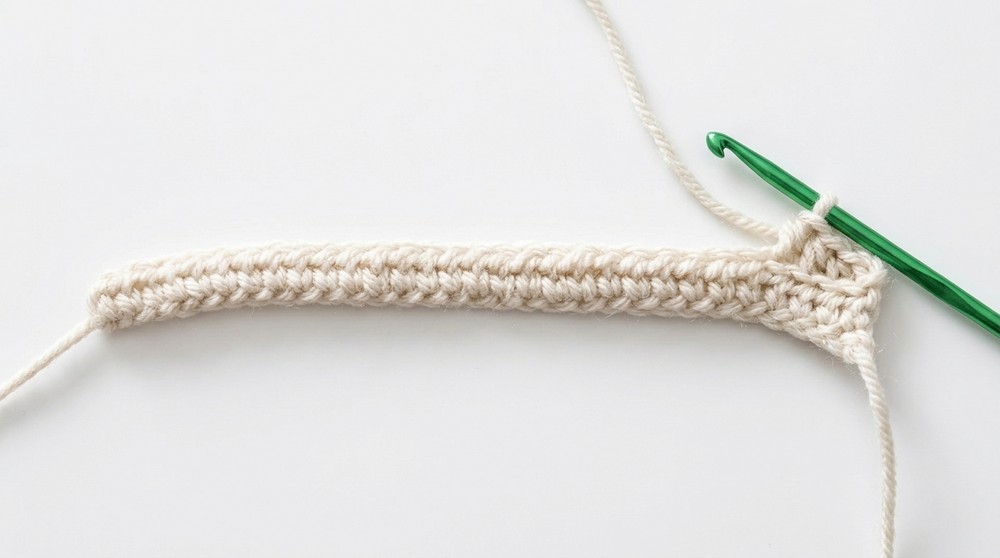
- Rows 2–34 (Work hdc in back loop only):
- Step 8: Yarn over, insert hook into the back loop (instead of the full stitch) of the first stitch, and work 1 hdc.
- Step 9: Repeat across the row (30 stitches). This creates the ribbed texture.
- Step 10: Chain 1, turn your work.
- Step 11: Continue repeating this pattern for 34 rows or until your desired pumpkin height is achieved.

- Seam Body Together:
- Step 12: Fold the rectangle in half with ridges running vertically. Align edges.
- Step 13: Using a tapestry needle and yarn, sew the edges together with single crochet (sc) stitches, working through front loops only of each stitch.
- Step 14: Leave a long tail for gathering the ends of the pumpkin.

Shaping the Pumpkin
- Close One End:
- Step 15: With the long tail from seaming, thread the tapestry needle.
- Step 16: Weave the yarn through the edge of one open side, working in and out around the circumference.
- Step 17: Pull the yarn tightly to gather the edges, closing the bottom hole. Secure by weaving through several times.
- Stuff the Pumpkin:
- Step 18: Flip the pumpkin inside out, ensuring that the seamed edge is inside.
- Step 19: Gradually add fiberfill and shape the pumpkin evenly. Avoid overstuffing.
- Close the Top End:
- Step 20: Repeat the gathering process with the remaining open edge, leaving a small hole at the top for attaching the stem.
Stem
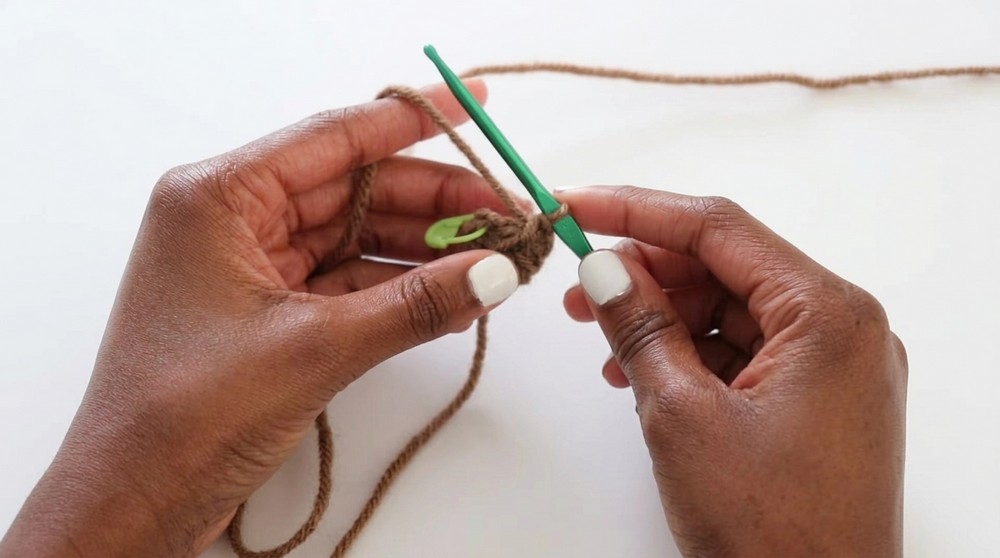
- Magic Ring Start:
- Step 21: Create a magic ring. Chain 1, then work 6 single crochet (sc) stitches into the ring. Tighten ring.
- Round 2 (Work sc in back loops):
- Step 22: Work 1 sc into the back loop of the first stitch. Repeat for all 6 sc stitches.
- Step 23: Mark the first stitch with a stitch marker.
- Rounds 3–6 (Work sc in both loops):
- Step 24: Work 1 sc into both loops of each stitch for 6 stitches per round.
- Step 25: At the end of each round, continue without slip stitching (use continuous rounds).
- Step 26: After Round 6, chain 1, leaving a long tail for sewing, then fasten off.
- Finish Off:
- Step 27: Weave the short magic ring tail inside the stem using the hook.
Attach Stem to Pumpkin
- Attach Stem:
- Step 28: Position the stem over the small top opening of the pumpkin.
- Step 29: Using the long tail from the stem, sew it onto the pumpkin via small stitches around the stem’s base.
- Secure and Finish:
- Step 30: Make even, tight stitches that lock the stem in place.
- Step 31: Cut yarn tail, weave in securely, and hide excess yarn inside the pumpkin.

Customization Ideas
- Size Adjustments:
- For larger pumpkins: Increase chain count and row numbers.
- For mini pumpkins: Use thinner yarn and a smaller hook.
- Colors:
- Alternate colors every few rows for stripes or gradients.
- Leaves or Embellishments:
- Use green or contrasting yarn to crochet small leaves for additional decoration.
- Shaping Variations:
- Create non-spherical pumpkins by altering tightness of gathers (“squash shapes”).
Conclusion
Congratulations! Your pumpkin is complete. Its ribbed texture and cute stem make it perfect for autumn decor.
Important Notes
- Final Look: The pumpkin must have visible ridges for texture and defined bumps achieved by the gathered threading.
- Care: Spot-clean only; avoid soaking as water may distort fiberfill.