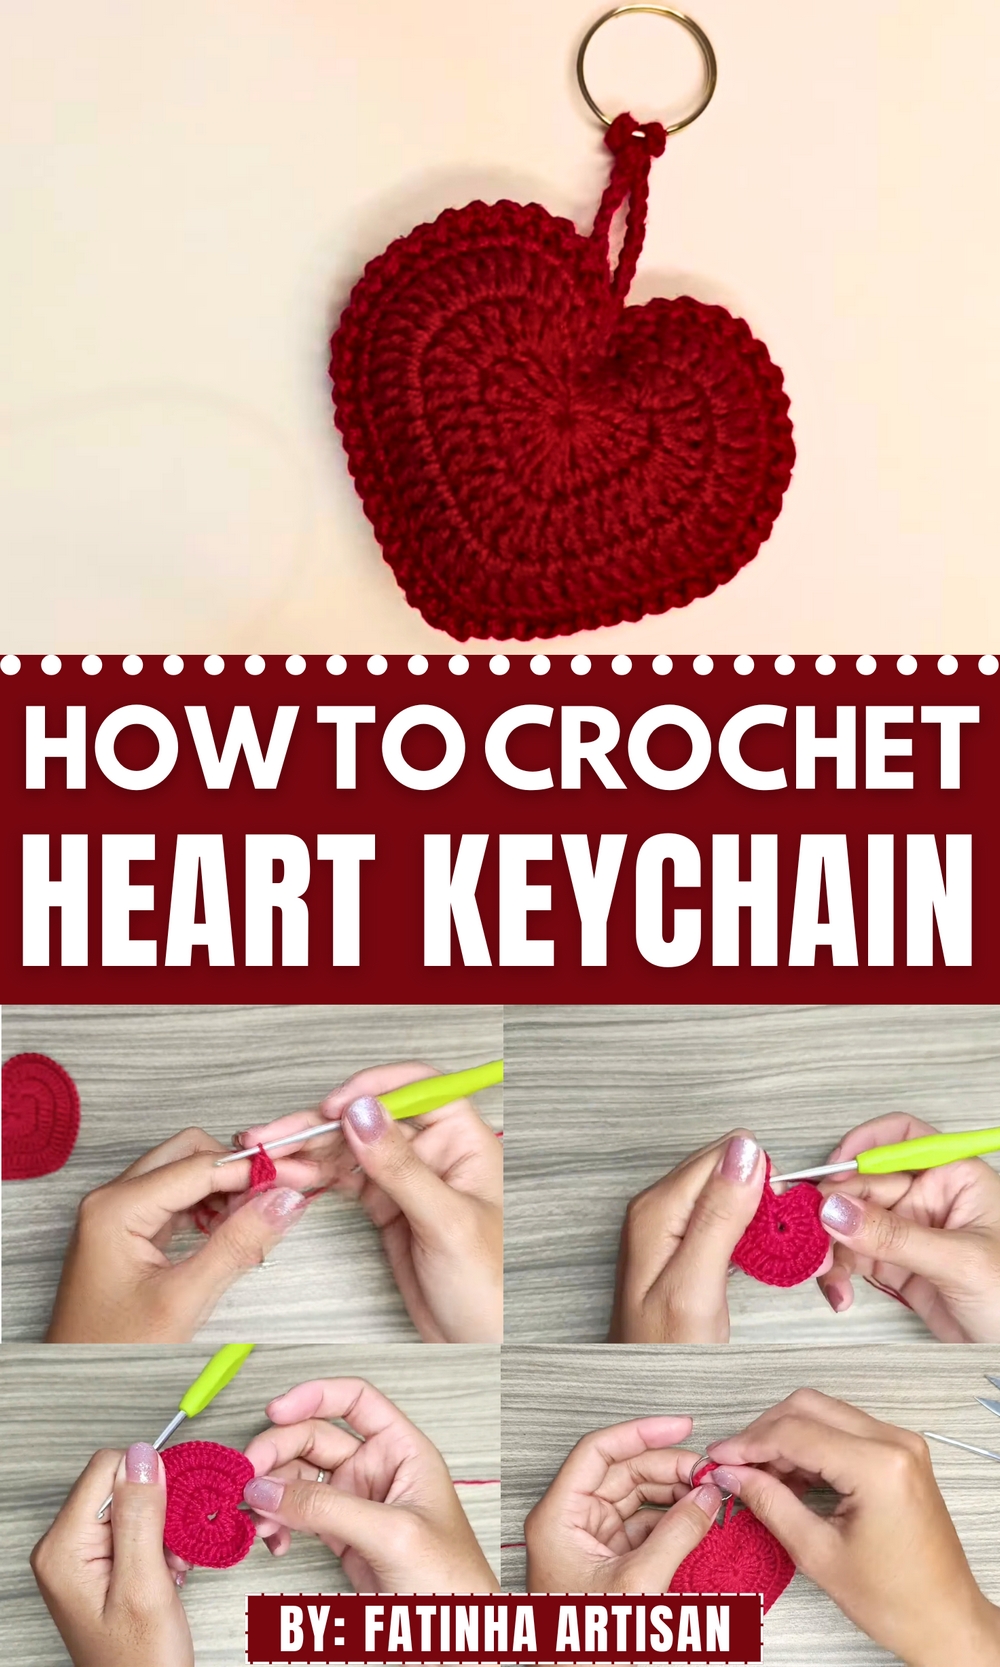
Radiate charm with this Free Crochet Heart Keychain Pattern, offering a delightful way to personalize bags, gifts, or accessories with handmade love.
The allure of handmade creations has always been intertwined with personal expression, and one such timeless example is the delicate beauty of a crochet heart keychain. Small yet symbolic, this tiny masterpiece embodies warmth, care, and creativity, making it a cherished companion for everyday use. Perfect as an accessory for your keys, purse, or backpack, it offers not only a functional purpose but also a touch of elegance wherever you go. A crochet heart keychain serves as a heartfelt gift, a token of love, or even a simple but significant addition to a collection of handmade treasures.
Quick Win Crochet Heart Keychain Pattern That’s Beginner-Friendly
This little heart’s appeal lies not just in its aesthetics but in the meditative joy of its creation. With every thread looped and each stitch weaved, it offers more than a accessory, it’s a piece of affection stitched with your hands.
Whether gifted as an intimate keepsake or kept as a memento of a handmade accomplishment, the crochet heart keychain is a blend of utility, artistry, and warmth you’ll cherish for years.
Crochet Heart Keychain Pattern
Finished Project Information
- Purpose: Crochet heart keychain with optional stuffing and a functional chain loop.
- Difficulty Level: Beginner-Intermediate.
- Customization Options: Use any yarn and hook to create different sizes or textures.
Materials
- Yarn: Medium-weight yarn or thread.
- Example used in the tutorial: a thinner thread (held double) for thickness.
- Alternative: Use any scrap yarn you have (acrylic, cotton, or polyester).
- Hook: Use a hook suitable for your yarn. Example: Size 2.25 mm (US size T).
- Keychain Ring: Any small key ring (can be replaced with a DIY crochet loop if preferred).
- Fiberfill: For stuffing the heart, if desired.
- Scissors: For trimming yarn ends.
- Tapestry Needle: For weaving in ends and finishing details.
- Stitch Marker or Extra Yarn (optional): Useful for marking specific stitches.
Key Abbreviations (US Terminology)
- ch: Chain.
- sl st: Slip stitch.
- sc: Single crochet.
- hdc: Half double crochet.
- dc: Double crochet.
- tr: Treble crochet.
- st(s): Stitch(es).
- inc: Increase (two stitches in the same space).
- blo: Back loop only.
Pattern Notes
- The project is worked in rounds. Use a stitch marker or yarn scrap to keep track of the start of each round.
- Use double strands of thinner yarn if the yarn is lightweight.
- Adjust the size of the heart by switching to bulkier or thinner yarn or resizing the pattern.
- Start with a magic ring at the base.
- For optimal shape, stuff lightly with fiberfill.
Pattern Instructions
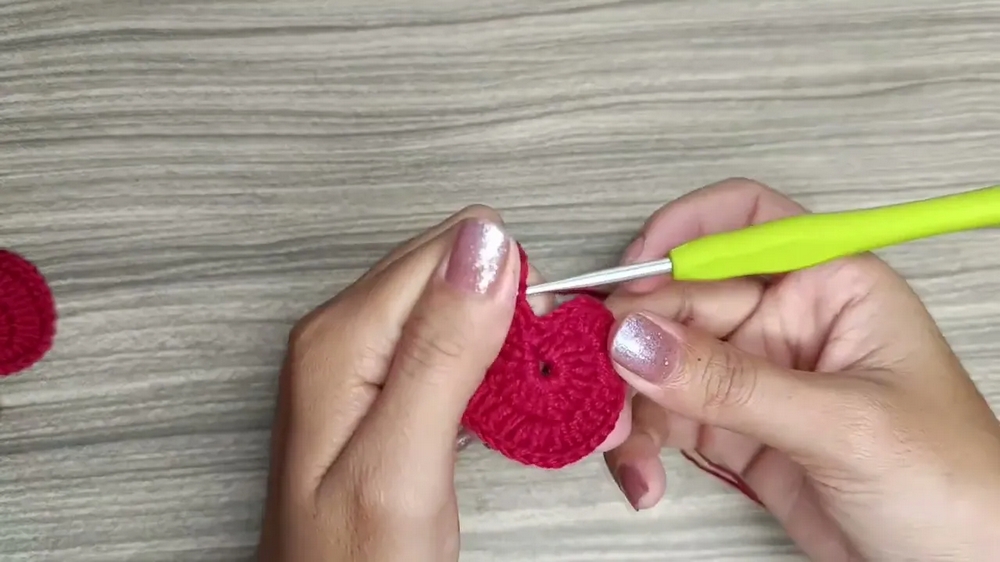
Step 1: First Heart Base
Round 1 (Magic Ring)
- Create a magic ring:
- Wrap the thread around your finger into a loop. Insert the hook into the loop, yo, and pull through to create a circle.
- Ch 2.

- Inside the magic ring:
- Work 3 tr, followed by 4 dc.
- Work 1 tr, then 4 dc, and finally 3 tr (all into the magic ring).
- Close the magic ring and sl st into the first stitch to secure.
- Fasten off and leave a long tail for sewing.
Step 2: Create the Second Heart Base
- Repeat Step 1 to create a second heart base identical to the first.
- Do not cut the tail of the second heart, as you will use it to join the two hearts later.
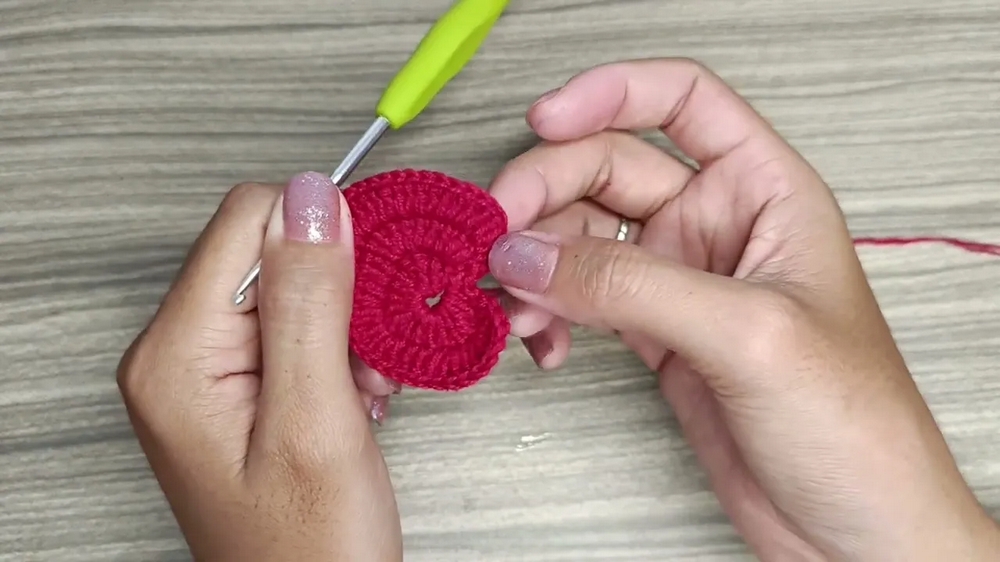
Step 3: Join the Hearts
- Place the two heart bases together, wrong sides facing inward. Align the stitches, ensuring both hearts are evenly lined up.
- Use the yarn tail from the second heart to join the edges:
- Insert the hook into the aligned stitches of both hearts.
- Use sl st to join the edges.
- Optionally, alternate each sl st with a ch to create a decorative edging.
- Leave a small opening for stuffing.
Step 4: Stuff the Heart
- Insert fiberfill into the small opening.
- Ensure the stuffing is firm but not overly tight to maintain a soft and plump shape.
- Once stuffed, continue closing the remaining gap using sl st.
Step 5: Add Keychain Loop
- Ch 30 (15 chains for both sides of the loop).
- Attach to the top center of the heart with a sl st, creating a loop.
- Secure the key ring by sliding it onto the loop before finalizing.
- Fasten off and weave the remaining tail into the project for a clean finish.

Finishing the Keychain
- Tidy up any loose ends, weaving them into the heart’s interior using a tapestry needle.
- Shape the heart with your hands, adjusting the stuffing if necessary.
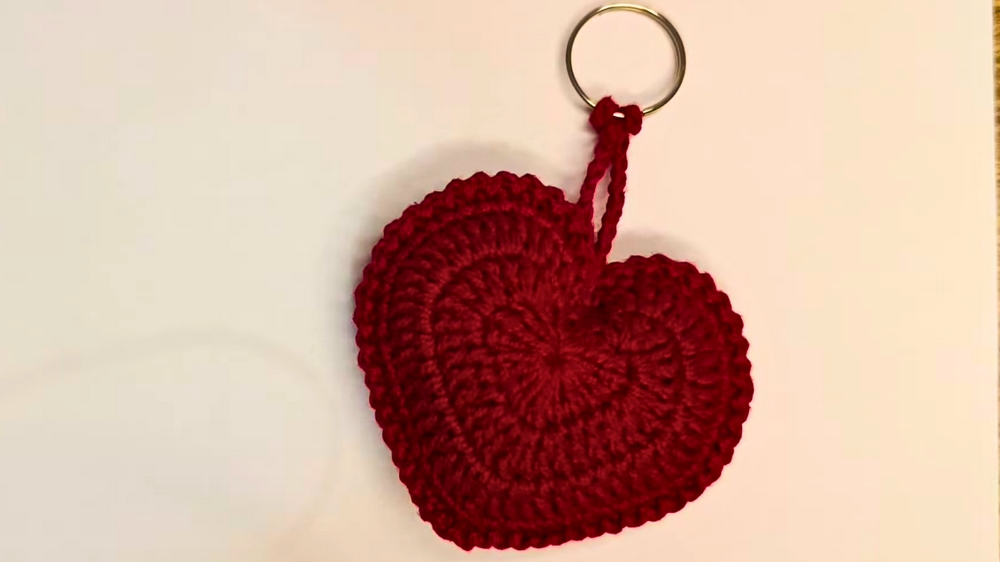
- Your crochet heart keychain is now complete and ready to use or gift!
Conclusion
Congratulations on completing your Crochet Heart Keychain! This project is not only a delightful way to use scrap yarn and hone your crochet skills, but it also makes for a thoughtful handmade gift. With its compact size and versatility, this quick project can be created in a variety of colors and yarn weights to suit any occasion.
Pattern Corrections
- If you notice that the heart is uneven or not symmetrical, recount your stitches on both halves to ensure alignment.
- Should the heart lose its shape, adjust the stuffing and gently reshape before fully sealing the opening.
Tips for Success
- If the heart seems lumpy or uneven after stuffing, adjust the fiberfill in smaller amounts.
- Consider using a stitch marker to mark critical stitches, especially when joining and closing the piece.
- For beginners, practice working treble crochets (tr) and double crochets (dc) beforehand to ensure your tension remains consistent.
- Experiment with yarn colors to match the aesthetic of your accessories (consider adding stripes or embroidery for a personalized look).