Fresh colors and simple stitches come together in this free crochet striped bucket hat pattern that helps you make a cool and comfy hat for sunny days outside.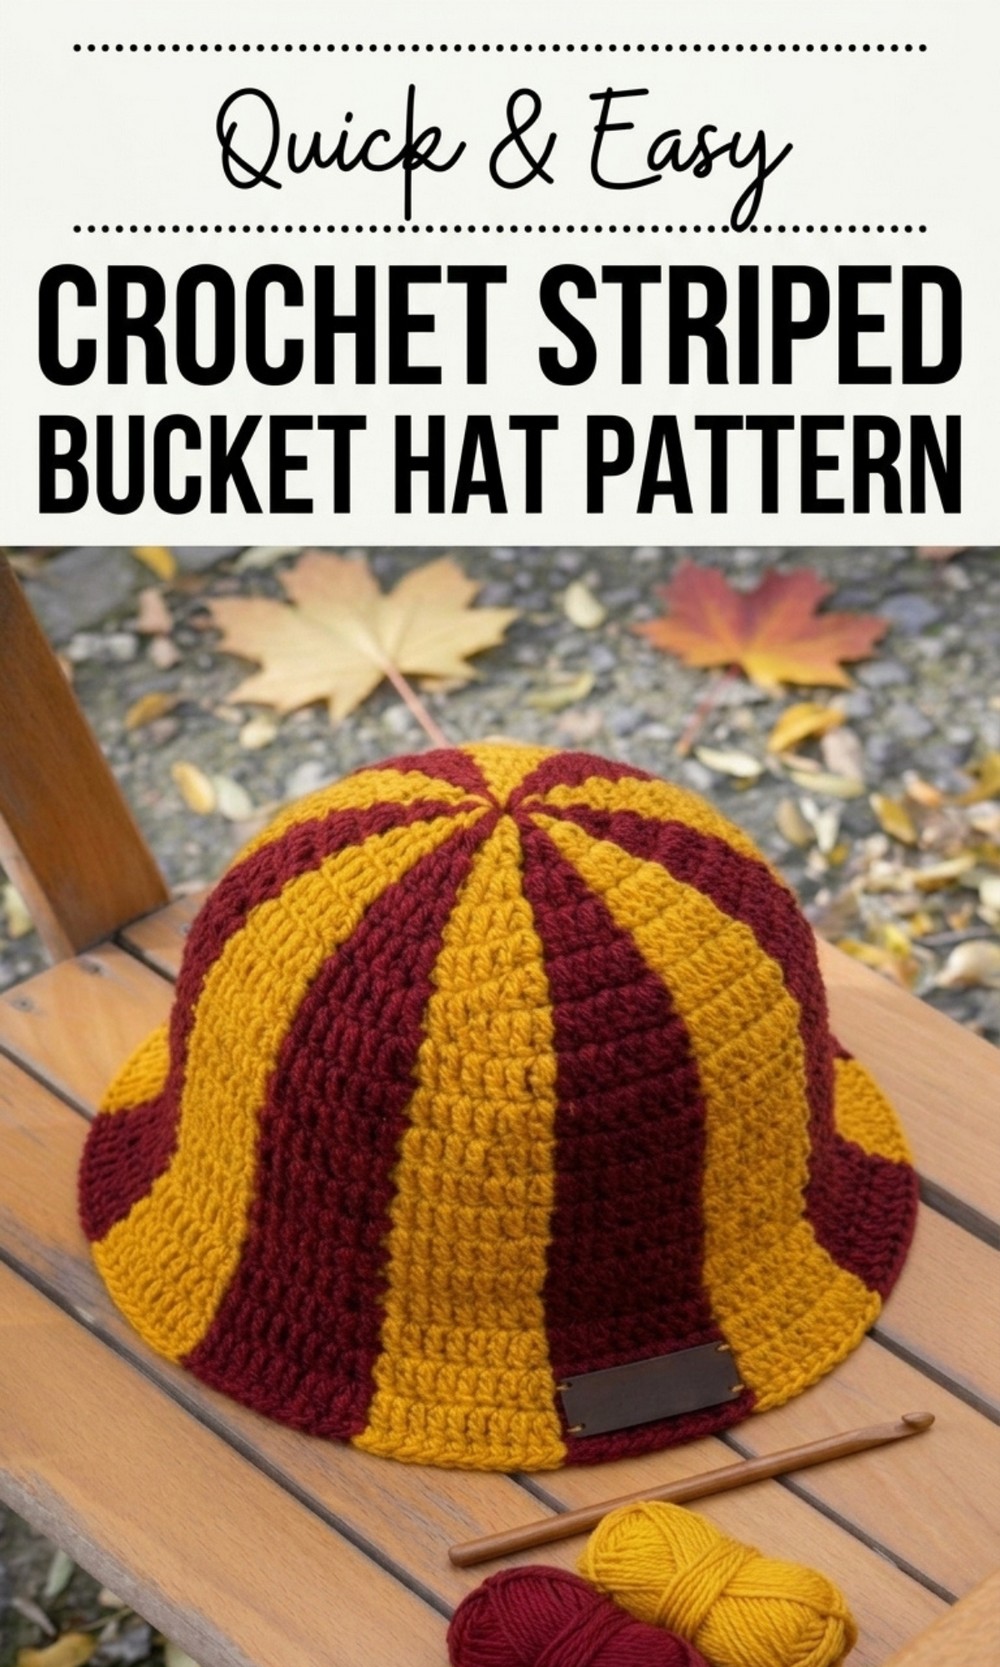
Add Flair to Your Outfit with Free Crochet Striped Bucket Hat Pattern
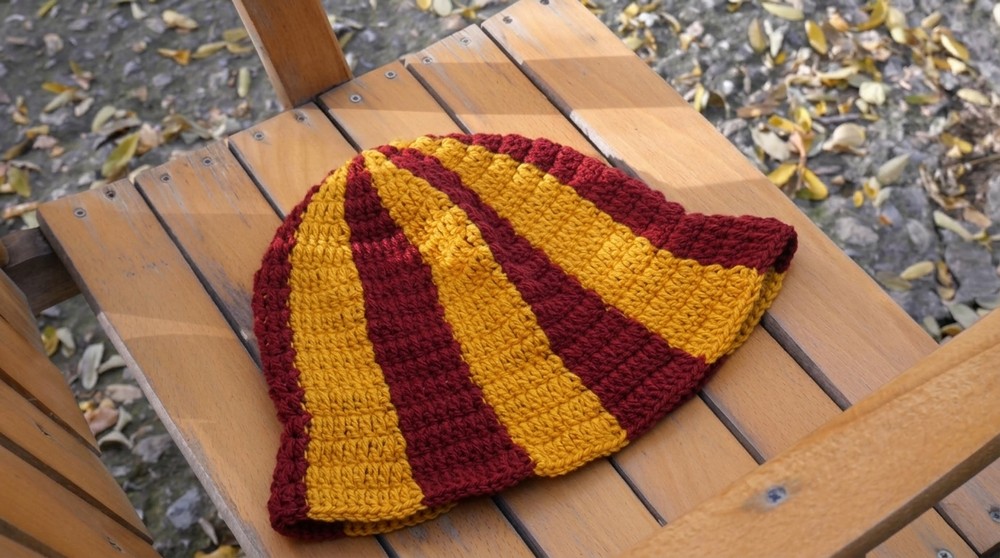
Making your own accessories is so much fun, and the Free Crochet Striped Bucket Hat Pattern is a fantastic project to try. This pattern lets you create a cute, colorful hat that’s both stylish and useful. The striped design gives it a fresh and modern look, making it perfect for sunny days at the beach, park, or even casual outings.
What makes this hat unique is its versatility—you can choose your favorite color combinations to match your personal style. It’s lightweight, easy to wear, and provides great sun protection while still looking fashionable.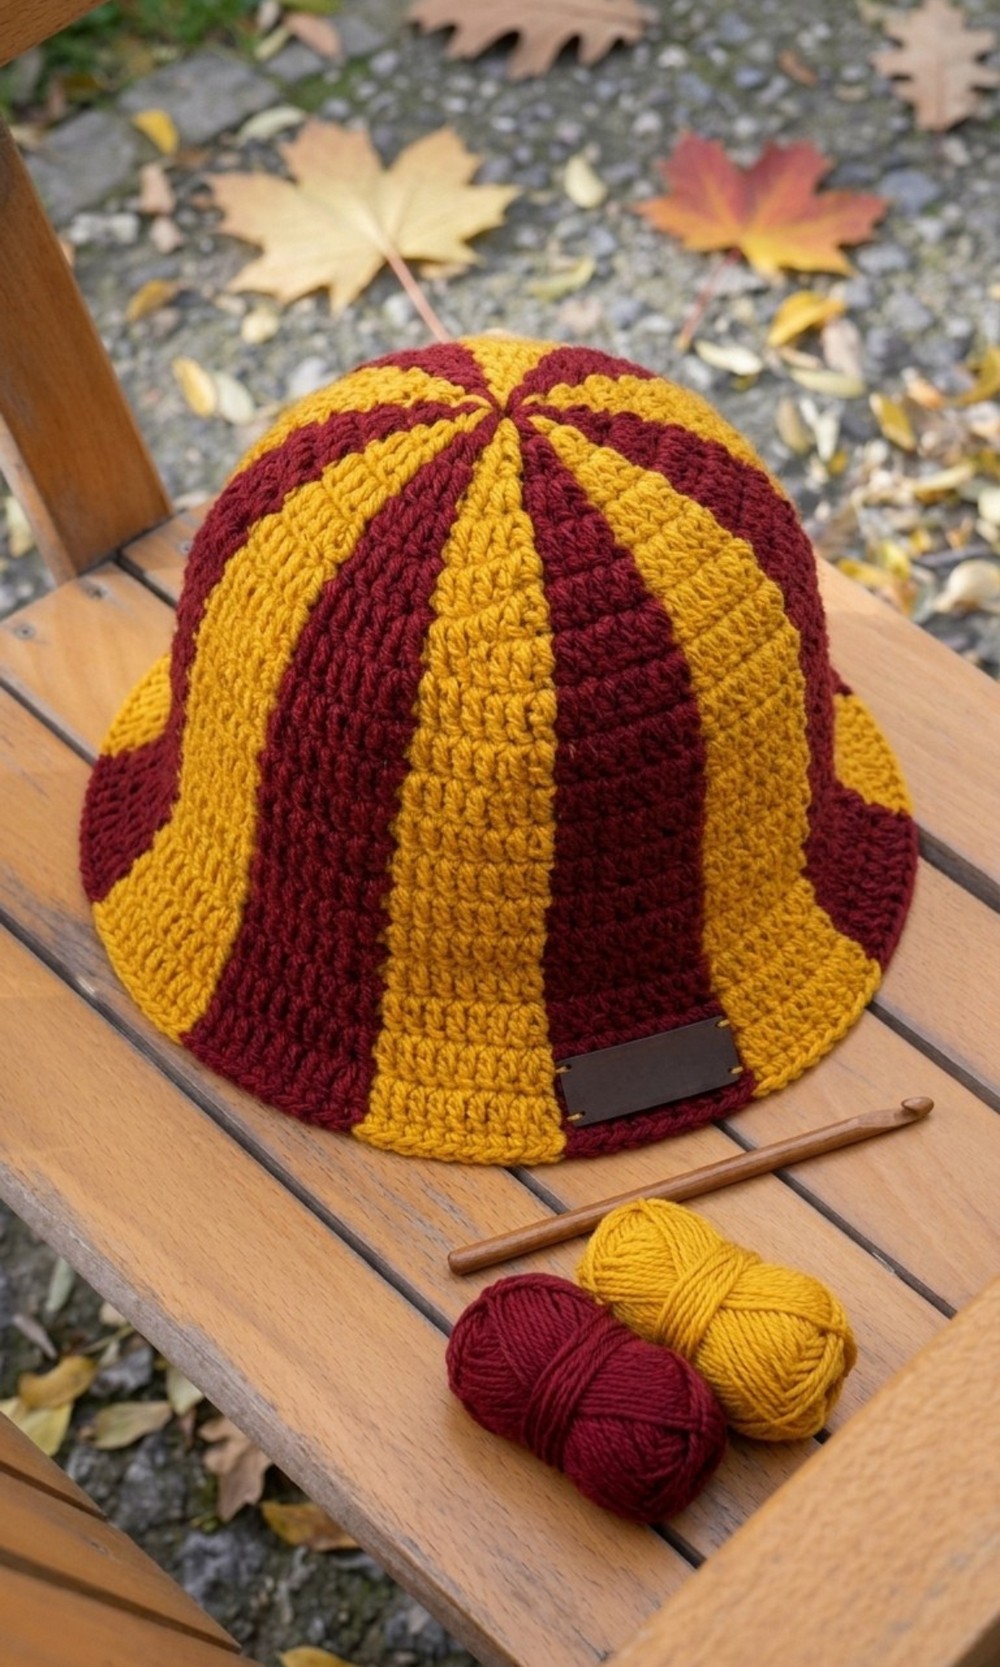
Using simple crochet stitches, this pattern is friendly for beginners and also exciting for advanced crocheters who want a quick and satisfying project. Whether you’re making it for yourself or as a gift, this hat is sure to turn heads and bring smiles everywhere.
Crochet Striped Bucket Hat Pattern
Materials Required
- Yarn: Use yarn recommended for 3.5–4 mm needles and 4–5 mm hooks. Two colors are used in the video for a contrasting effect.
- Example colors: Burgundy and Yellow.
- Crochet Hook: 4.5 mm crochet hook.
- Scissors
- Tapestry Needle: Only one is needed for weaving in the ends.
Special Techniques
- Magic Ring: Used to start the hat in the center.
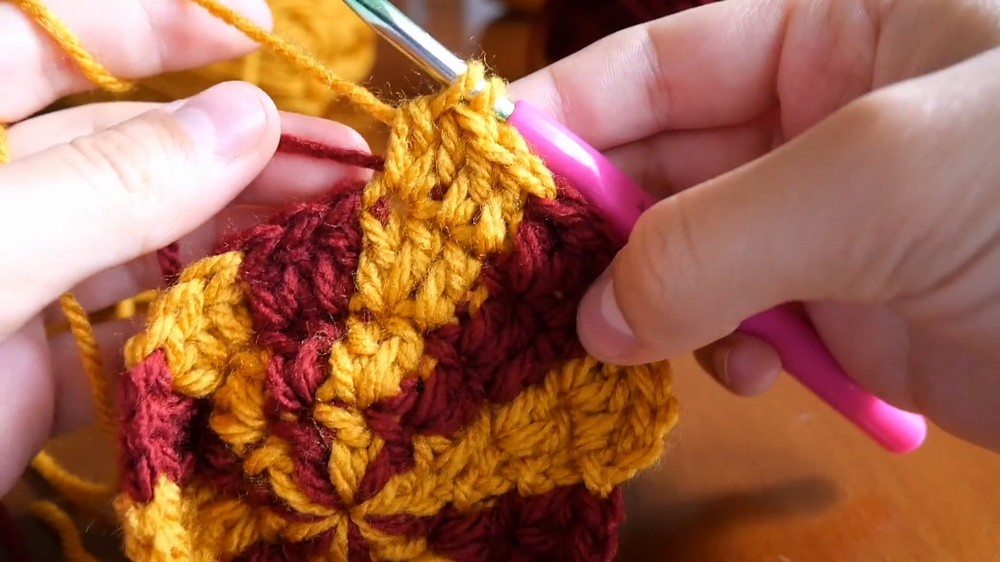
- Double Crochet (DC): Primary stitch for the hat.
- Front Loop Only (FLO): A technique where you crochet through the front loop of the stitches.
- Changing Colors: Switching yarn colors mid row to achieve a striped or checkered look.
Pattern Guide
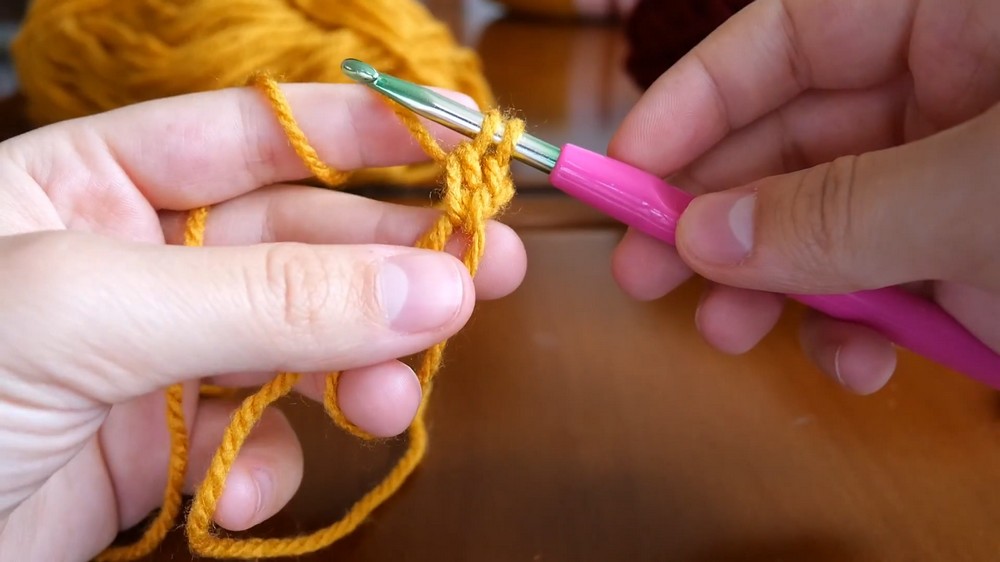
Step 1: Creating a Magic Ring
- Place the yarn over two fingers, ensuring you can create a ring shape.
- Insert your hook under the yarn furthest from you and grab the other yarn to pull through.
- Chain 1 to secure the ring. Chain another 1 to begin working into the ring.
Step 2: Row 1 (Foundation Row)
- Chain 2 (acts as the first stitch).
- Work 12 double crochets into the magic ring. Remember:
- Pull the yarn tight to close the loop once finished.
- On the last DC, switch colors by pulling through the tail of the second yarn (e.g., yellow).
Step 3: Row 2 (First Increase Row)
- Slip stitch to join the round in the 2nd chain from the starting chain 2.
- Chain 2 (counts as the first DC).
- Pattern:
- First stitch: 1 DC.
- Second stitch: 2 DCs (increase).
- Alternate between 1 DC and 2 DCs for the entire row.
- Change the yarn color as needed between sections.
Step 4: Row 3 (Second Increase Row)
- Chain 2 at the start of the row.
- Pattern:
- First stitch: 1 DC.
- Second stitch: 1 DC.
- Third stitch: Increase by working 2 DCs in the same stitch.
- Alternate this sequence (1 DC, 1 DC, 2 DCs) until completing the round.
- Change colors on the last DC and join with a slip stitch in the chain 2.
Step 5: Rows 4–7 (Continuation of Increases)
With each row:
- Start with Chain 2.
- Increase the number of consecutive DC stitches before each increase by 1 for every row.
- Row 4: 3 DC, then increase (2 DCs in one stitch).
- Row 5: 4 DC, then increase.
- Row 6: 5 DC, then increase.
- Row 7: 6 DC, then increase.
By the end of row 7:
- You should have 7 stitches of each color alternating around the hat.
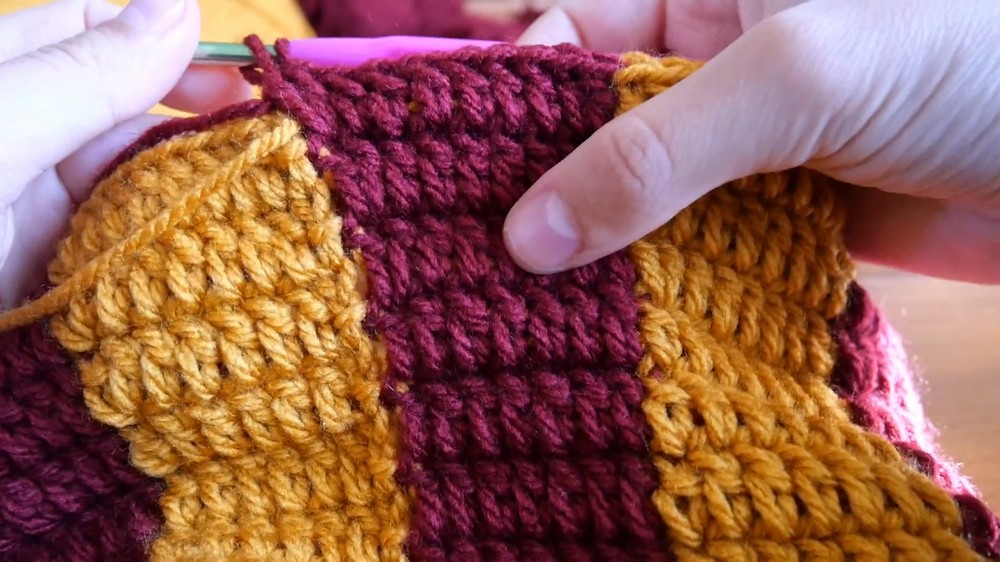
Step 6: Rows 8–13 (No Increase Rows)
- Work 1 DC into each stitch.
- For each section of color, ensure you have 7 stitches before changing to the next color.
- Continue alternating colors until you complete 6 rows, with no increases.
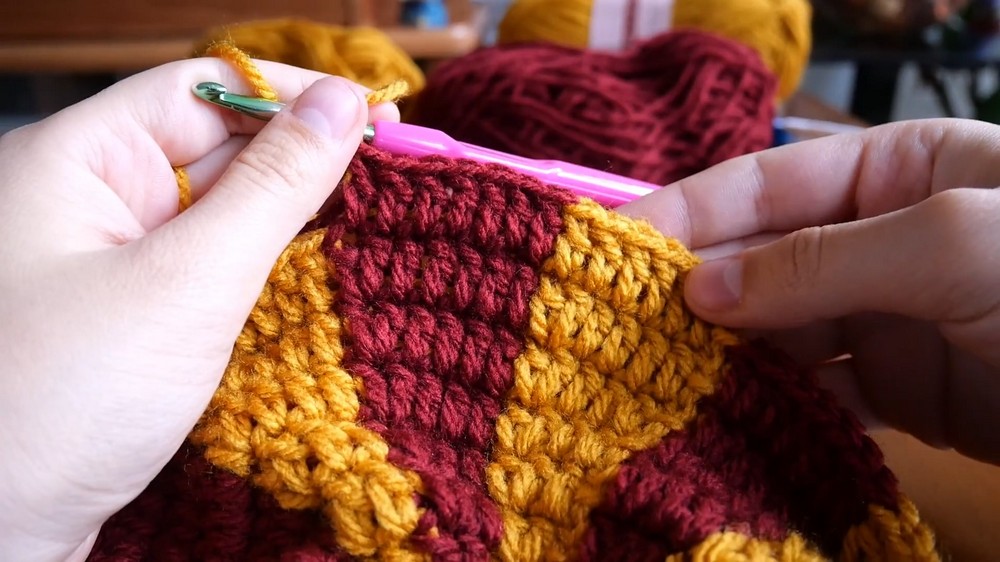
Step 7: Adding Front Loop Only (Optional)
For texture, work one row of front loop only double crochet:
- Chain 2 at the beginning of the row.
- Insert your hook only into the front loop of each stitch instead of the complete “braid” of the stitch.
- Complete the round without changing the stitch count.
Step 8: Final Increase Rows
For rows 14–16:
- Increase stitches by continuing the previous pattern:
- Row 14: 7 DC, then increase (2 DCs in the last stitch of the section).
- Row 15: 8 DC, then increase.
- Row 16: 9 DC, then increase.
- Alternate colors as required while maintaining 10 stitches per color section by the end of Row 16.
Finishing the Pattern
- After completing the final row, make sure to join with a slip stitch into the second chain of the starting chain.
- Chain 1, cut both yarns, leaving approximately 6–8 inches for weaving in.
- Tie the ends of the two yarns tightly together to secure them.
Weaving in Ends
- Use a tapestry needle to weave the yarn ends back through the stitches.
- Hide the ends securely within the project, ensuring durability.
Final Words
Congratulations, Your multi colored crochet hat is now complete. The striped design and alternating colors make the project look stylish and modern. This pattern is ideal for beginners and intermediate crocheters alike.
Tips to Maintain the Pattern
- Yarn Care: Always check the yarn’s washing instructions. For handmade projects, handwashing in cold water ensures longer durability.
- Storage: Store the hat flat or with mild stuffing to retain its shape.
- Adjustments: For a larger size, add more increase rows at the beginning. For a smaller size, reduce the increase rows.