Enjoy crocheting a comfy and stylish top using this crochet tank top pattern that’s perfect to wear for hangouts or weekend adventures.
Free Modern Crochet Tank Top Pattern for Women
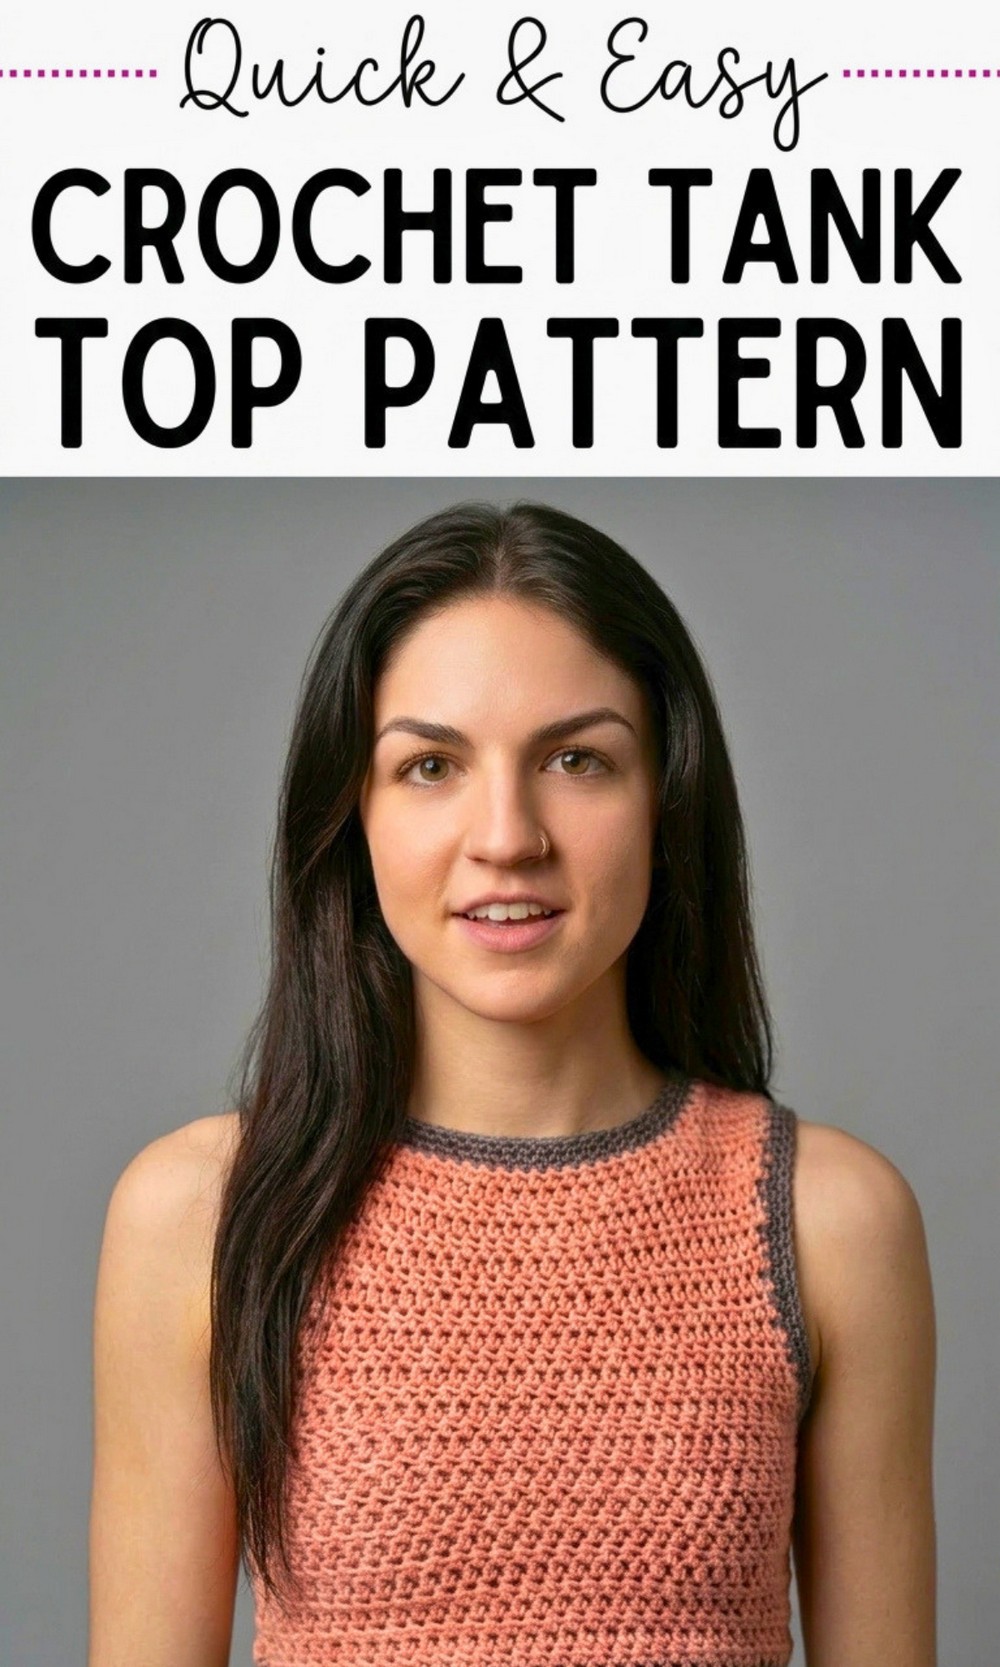
Adorable Free Crochet Tank Top Pattern For Woman
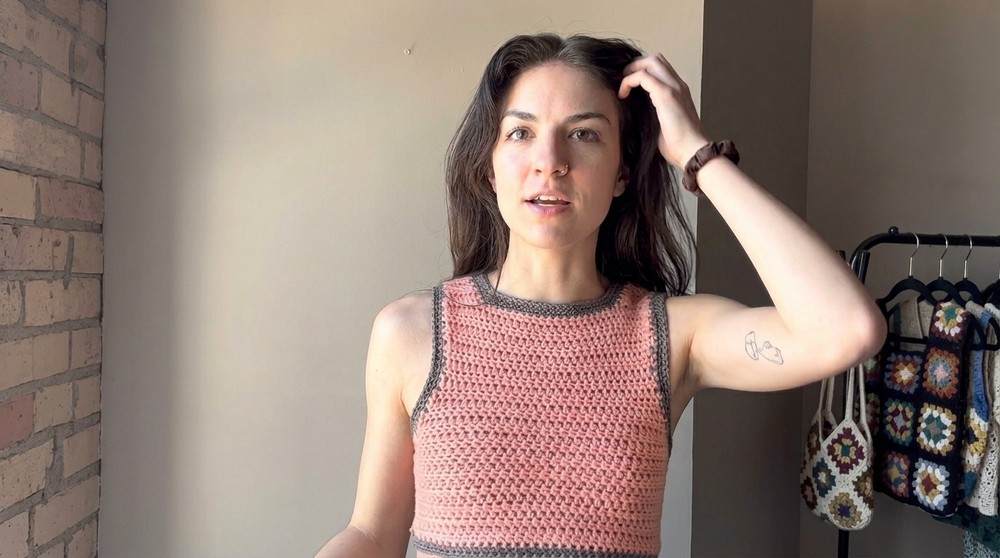
A free crochet tank top pattern is perfect for everyone who loves creating handmade clothing. This reversible crochet top is super beginner friendly and easy to follow, making it great for first time crocheters. It is light, stretchy, and comfortable, ideal for warm days or casual outfits. 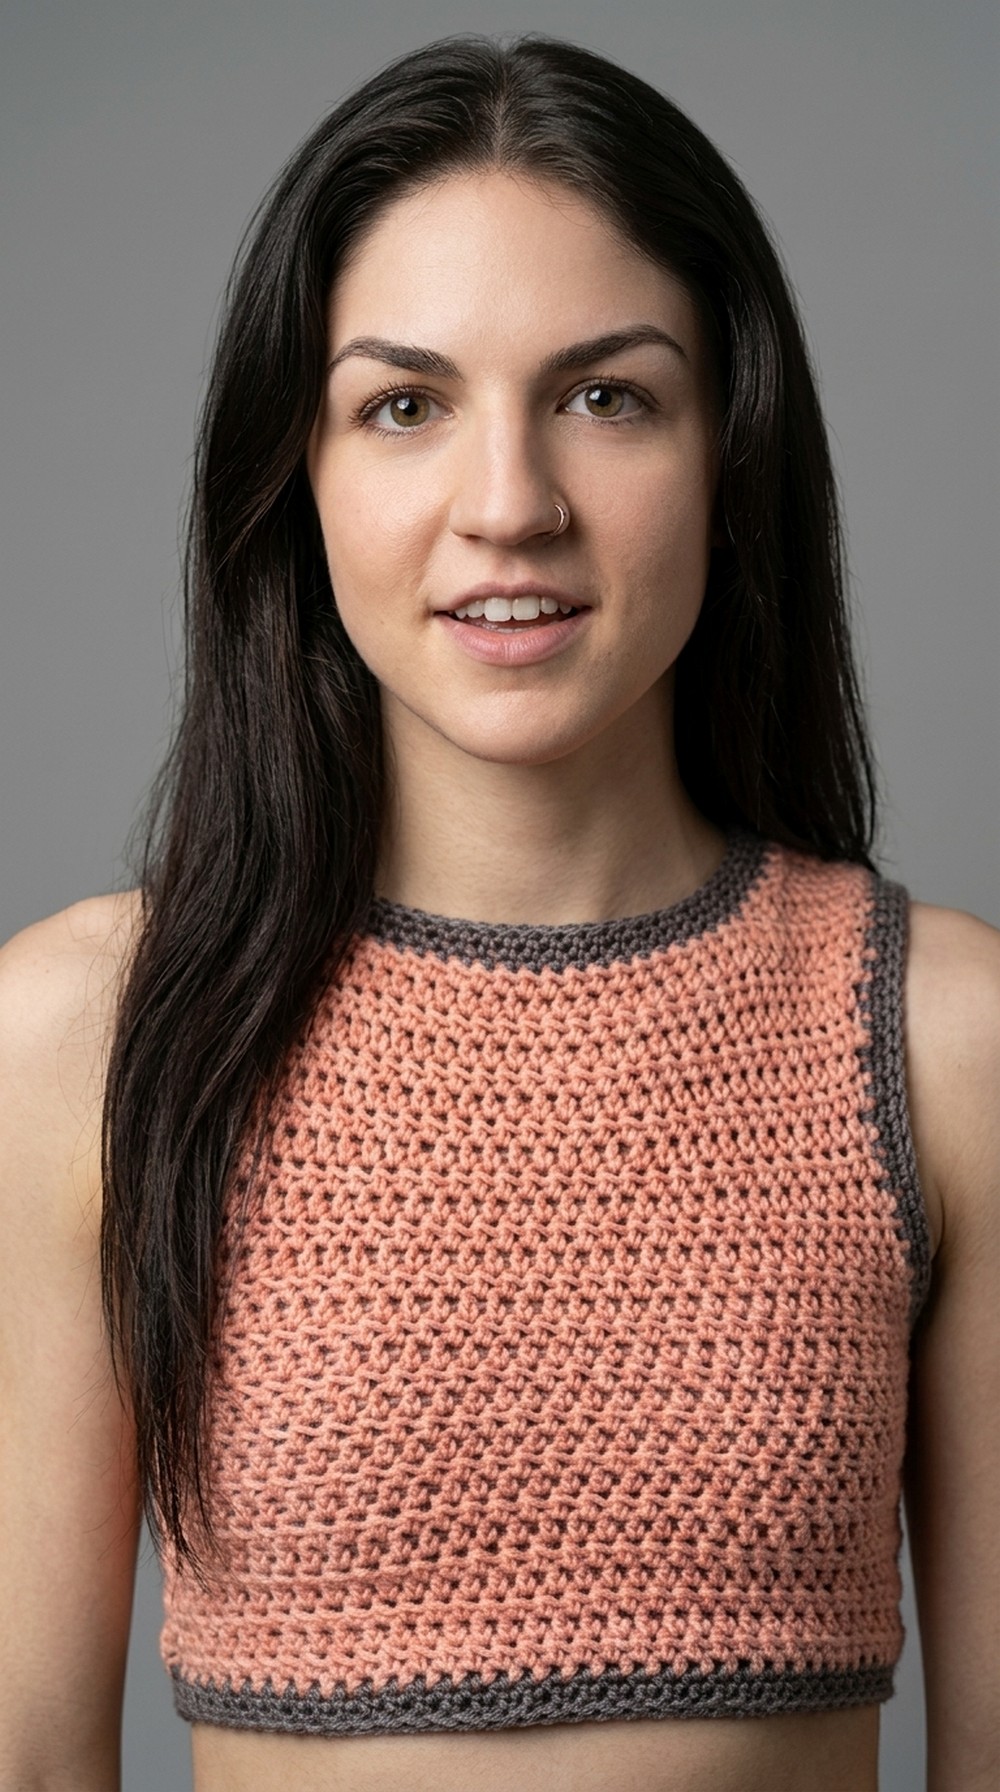
Made with soft cotton yarn and a simple 4.5mm crochet hook, this tank top can be customized to fit your body perfectly. The design includes beautiful shaping at the armpits and neckline, giving it a trendy and polished look.
You can use it as a cropped top, layer it under cardigans, or pair it with jeans or shorts for summer fun. Its versatility and style make it unique, while the borders and finishing touches ensure a neat and professional appearance.
Crochet Mesh Top Pattern
Materials Required
- Crochet Hook: 4.5mm crochet hook.
- Yarn: Medium weight (size 4) cotton yarn (approximately 300–400 yards).
- Other Tools: Tapestry needle for stitching and weaving in ends.
- Scissors: For trimming yarn.
Pattern Instructions
1. Front Panel
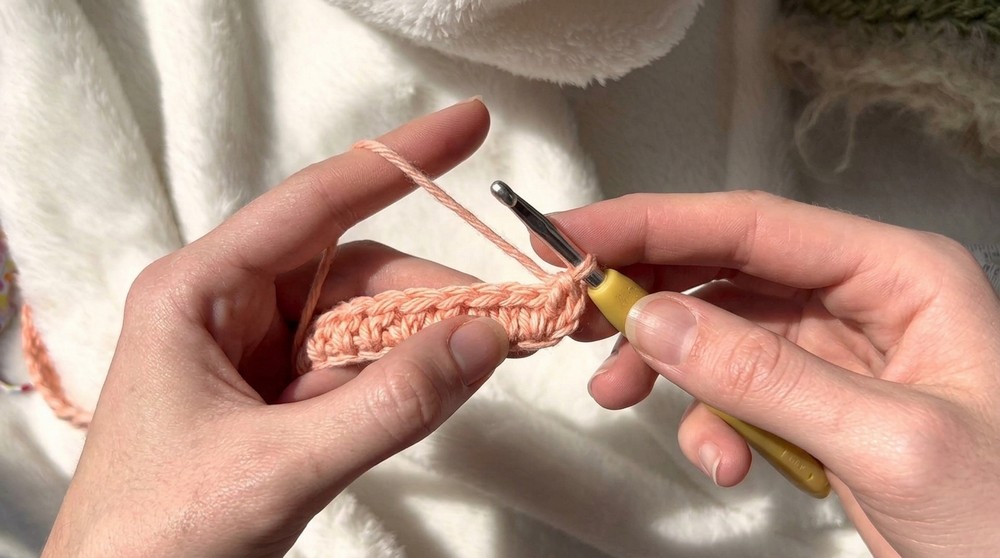
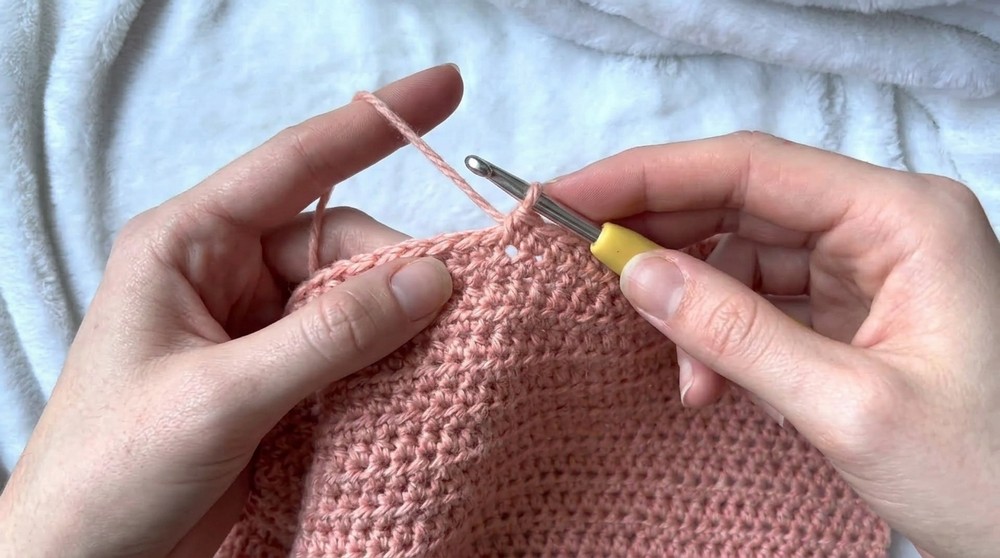
- Foundation Chain:
- Start with a slip knot and create a foundation chain instead of a regular chain.
- Begin by chaining 2 and work into the chain like single crochet: yarn over, pull through one loop, yarn over, pull through both loops. Continue until the chain length matches half your bust measurement minus a few inches (for stretchability).
Example: For a bust of 30 inches, create a chain length equivalent to about 13–14 inches.
- First Row:
- Chain 2 and start working half double crochets (HDC) into each loop of the foundation chain.
- Do not skip the first loop; this ensures the panel’s shape remains consistent.
- Continue HDC rows until the height reaches the lower edge of your bust (cropped length or preferred height). The pattern suggests approximately 15 rows.
- Armpit Shaping:
- Decreasing Row: Skip the first stitch and work HDC across. At the end of the row, decrease by pulling through two stitches together before finishing the stitch.
- Alternating Rows: Work a decrease row followed by a regular HDC row. Repeat this pattern for 6 rows.
- Additional Rows: After 6 rows, work 2 extra rows without any decreases.
- Increasing at the Top:
- Work an increase row by chaining 2 and adding 2 HDC stitches in the first stitch, followed by regular HDC across the row. At the end, work 2 HDC stitches into the last stitch.
- Alternate between increase rows and regular rows (no increases). Repeat for a total of 6 rows, finishing with one final row without increases at the top.
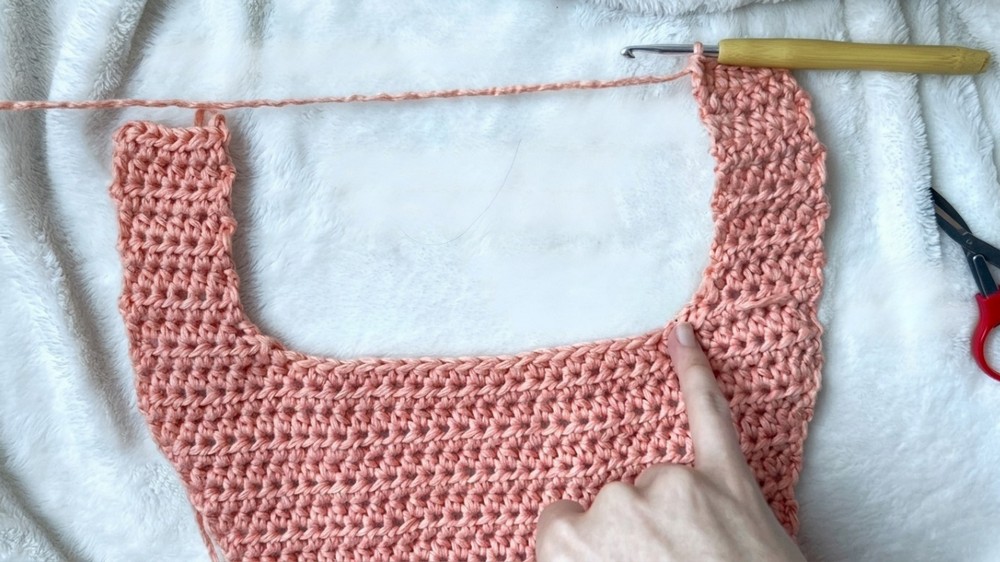
- Shoulder Shaping:
- Decide on the width for the shoulders and work 9 stitches along the first row. Perform decreases at the beginning and end of the first two rows, followed by regular HDC for the next 7 rows.
- Cut the yarn and secure the ends to complete the first side of the shoulder.
- Second Shoulder:
- Start on the inside edge of the top. Count 9 stitches from the neckline edge and begin the sequence for the second shoulder, repeating the process used for the first shoulder.
- Start on the inside edge of the top. Count 9 stitches from the neckline edge and begin the sequence for the second shoulder, repeating the process used for the first shoulder.
2. Back Panel
- The back panel mirrors the same process as the front panel. This includes shaping, decreasing, and increasing rows, along with shoulder shaping.
3. Connecting the Panels
- Once the front and back panels are complete, start working a tenth row from one shoulder to connect the two panels. Count the neckline stitches evenly and chain between the panels to join them using HDC stitches.
4. Side Stitching
- Use a tapestry needle to stitch the sides together. You can also use slip stitches if preferred. Ensure the side seams are even and secure.
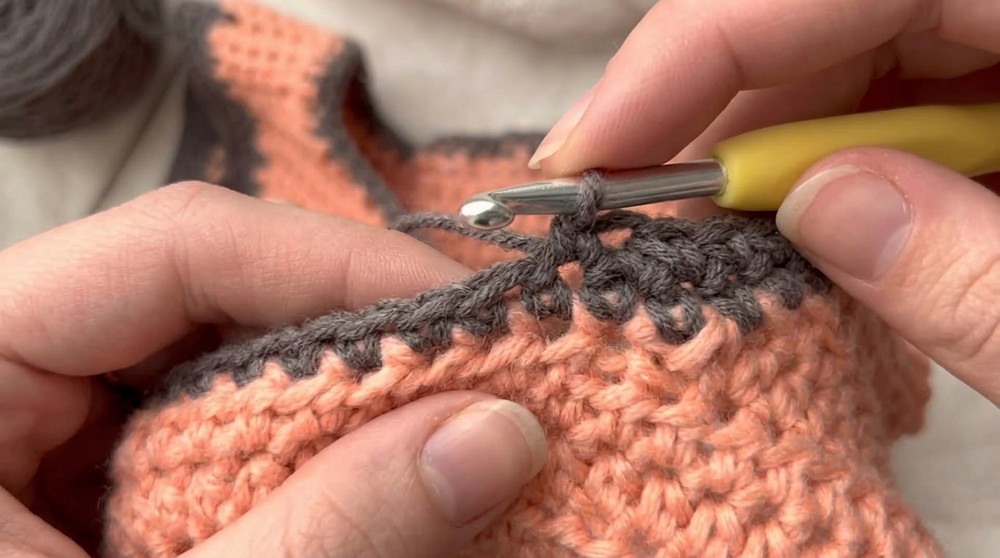
5. Adding Borders
- Armpit Border:
- Use a second color of yarn and begin in the armpit area. Work 3 rows of single crochets (SC). Place fewer stitches in this section to prevent the border from becoming bulky and misshapen.
- Perform decreases at curved areas to maintain the fit and shaping.
- Neckline and Bottom Borders:
- Repeat SC rows around the neckline and bottom of the top using the same color as the armpit border. Adjust the number of rows to suit your preference.
- Repeat SC rows around the neckline and bottom of the top using the same color as the armpit border. Adjust the number of rows to suit your preference.
Finishing
- Weave in all ends using a tapestry needle.
- Ensure all seams are secure, and trim any excess yarn.
- Block the garment if necessary to smooth out the stitches and give the final piece a polished look.
Final Words
Congratulations on completing your reversible crochet mesh top. The unique design makes it perfect for summer wear, casual outings, or even beach days. Its stretchy and customizable fit ensures a comfortable style.
Tips for Pattern Maintenance
- Yarn Care: Wash the cotton yarn gently in cold water to prevent shrinking or damage. Lay flat to dry.
- Storage: Fold and store in a cool, dry location to maintain its shape.
- Customization: Experiment with different colors and textures for the borders to create a personalized touch.
- Stretch: Over time, the top may stretch slightly due to the cotton yarn. Allow it to return to its original shape by lightly blocking or steaming.