Explore an easy crochet granny square bag pattern that is free, creative, and great for making fun and colorful bags for any use.
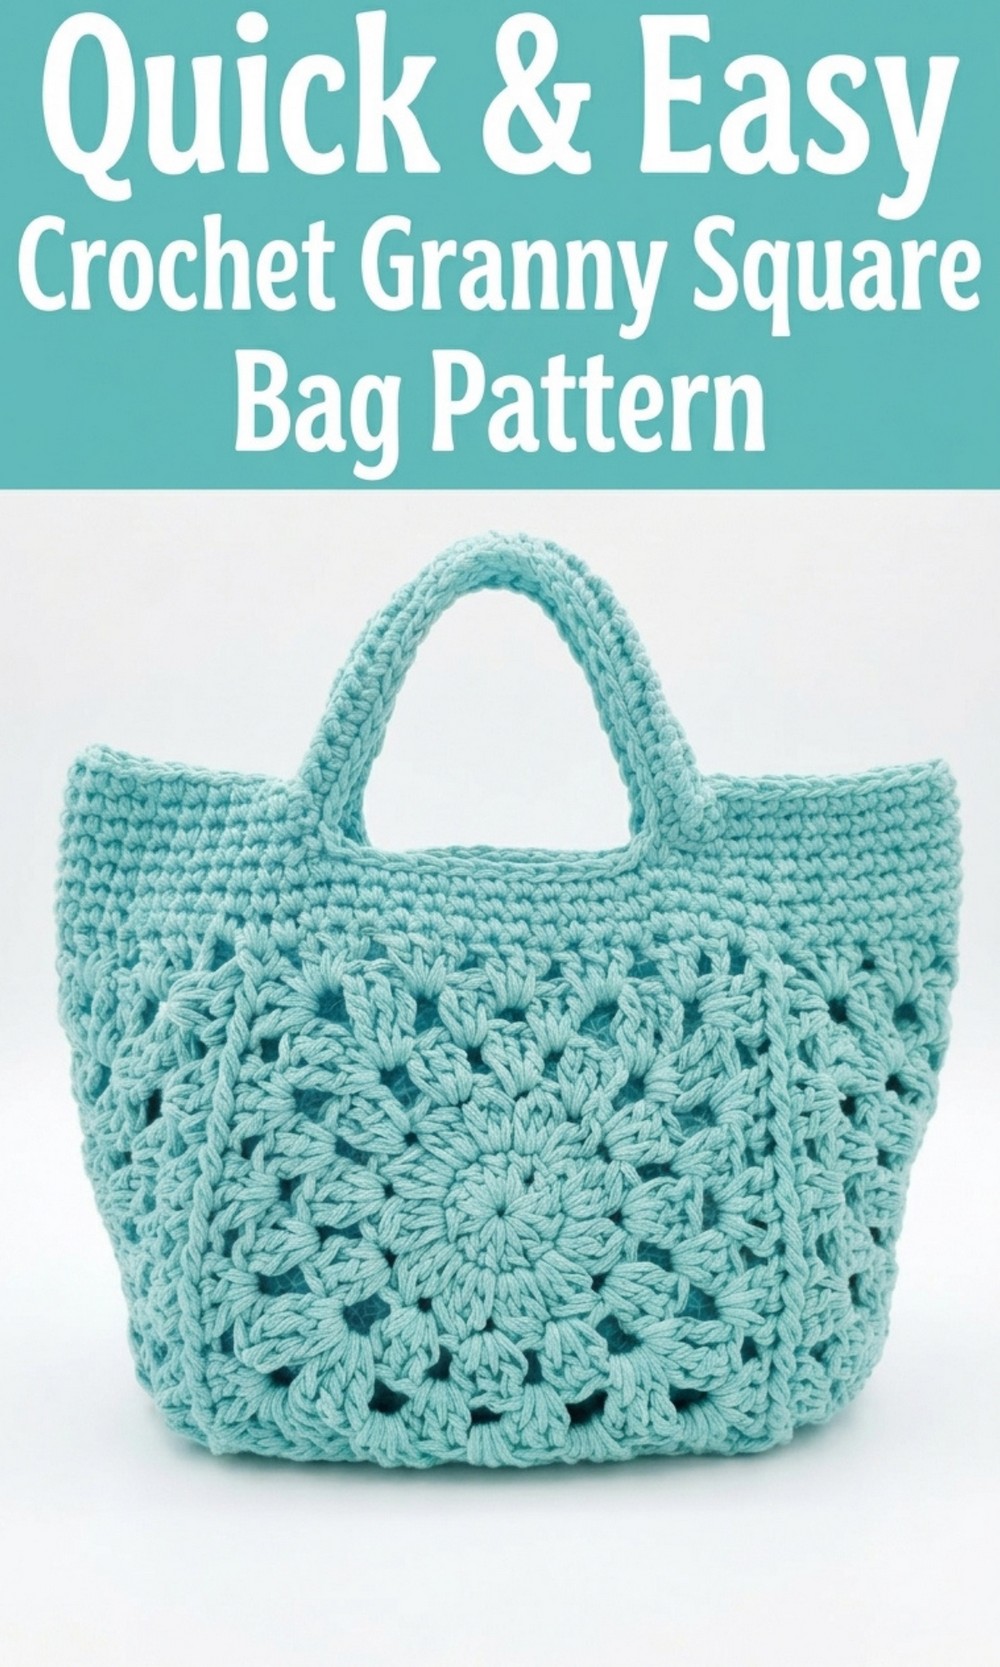
Use This Free Crochet Granny Square Bag Pattern for Your Next Project
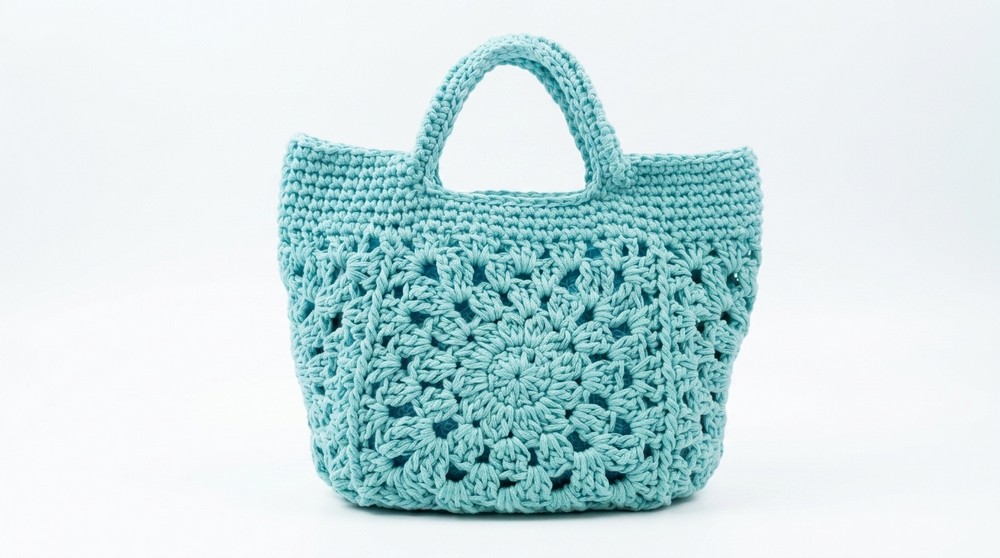
A crochet granny square bag is a beautiful and colorful handmade accessory that anyone can make. This bag is made from crocheted square patterns called granny squares, and you only need five squares to create a stylish bag. Granny squares are easy to crochet and are perfect for all seasons. The bag looks cute and trendy and can be made in any color, so you can match it to your favorite outfits. It is small yet practical, ideal for carrying everyday items like keys, wallets, or makeup.  The bag is strong because it uses firm yarn, like macramé cord, which makes it hold its shape perfectly. One special feature is its smooth handle, folded to look neat and unique. This easy design is great for beginners and can be finished in one sitting. Adding a fabric lining makes it even more durable and functional.
Crochet Granny Square Bag Pattern
Materials
- Yarn:
- Macramé cord or firm yarn with good structure, e.g.:
- Synthetic thick macramé (as in the video)
- Cotton macramé
- Raffia or paper yarn (for a stiffer, summer style bag)
- Approx. 250 g of yarn for a small bag.
- Note: Thicker yarn results in a larger bag, while thinner yarn will result in a smaller bag.
- Macramé cord or firm yarn with good structure, e.g.:
- Hook:
- Select a hook size suitable for your chosen yarn to create a firm, non stretchy texture.
- Example: A 3.5 to 4 mm hook for standard macramé yarn.
- Other Tools:
- Tapestry needle for sewing in ends and optional joining.
- Stitch markers or safety pins (to mark handle placement and assembly points).
- Scissors.
- Optional:
- Fabric for lining (e.g., cotton) and sewing supplies if desired.
Finished Measurements
- Each motif measures approximately 16 to 18 cm (variation depends on your yarn and tension).
- The bag forms a small cube like tote:
- 16 to 18 cm wide, tall, and deep with 5 motifs.
Special Techniques
- Slip Stitch (sl st): Used for joining rounds and creating smooth transitions.
- Double Crochet (dc): Forms the main fabric.
- Treble Crochet (tr): Used in the corners to turn a circular motif into a square.
- 3 dc Cluster: Creates a petal like effect for texture.
- Joining Motifs While Crocheting:
- Motifs are joined by removing the hook from the loop, inserting it through the corresponding stitch on the adjacent motif, and pulling the loop through.
- This creates a strong, seamless join.
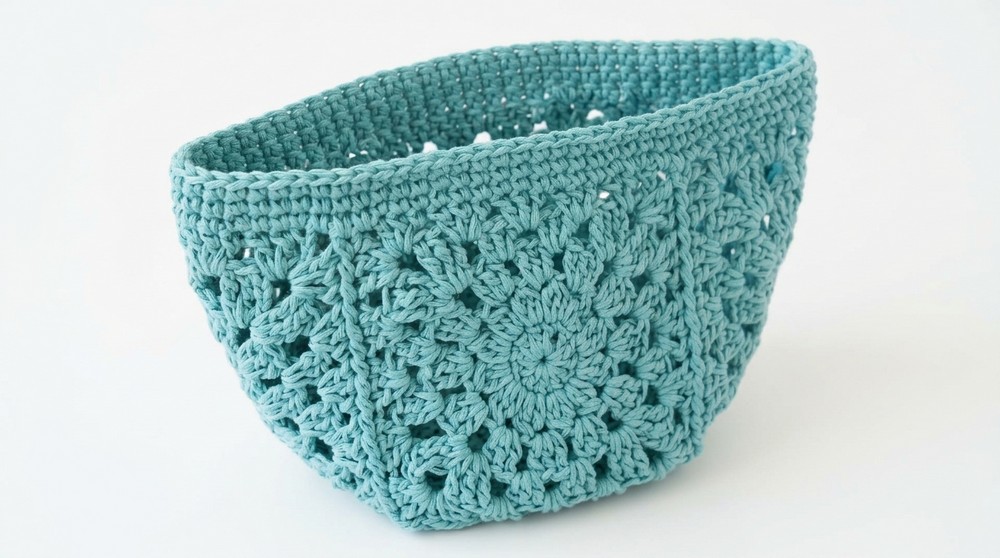
Bag Construction Overview
- The bag consists of 5 square motifs:
- 1 base motif (fully finished before joining).
- 4 side motifs, joined one at a time as you work the final rounds.
- After the motifs are joined into a cube, you add:
- A single crochet border to elevate the top.
- Handles, designed as wide strips folded into firm, rounded straps.
- Optionally, add fabric lining for structure and durability.
Step by Step Pattern
Motif Pattern (Base Square Motif)
Round 1 – Center Circle
- Chain (ch) 5.
- Join with a slip stitch (sl st) into the first ch to form a ring.
- Chain 3 (counts as the first double crochet [dc]).
- Work 11 dc into the ring (total = 12 dc, including the initial ch 3).
- Join with a sl st to the top of the ch 3.
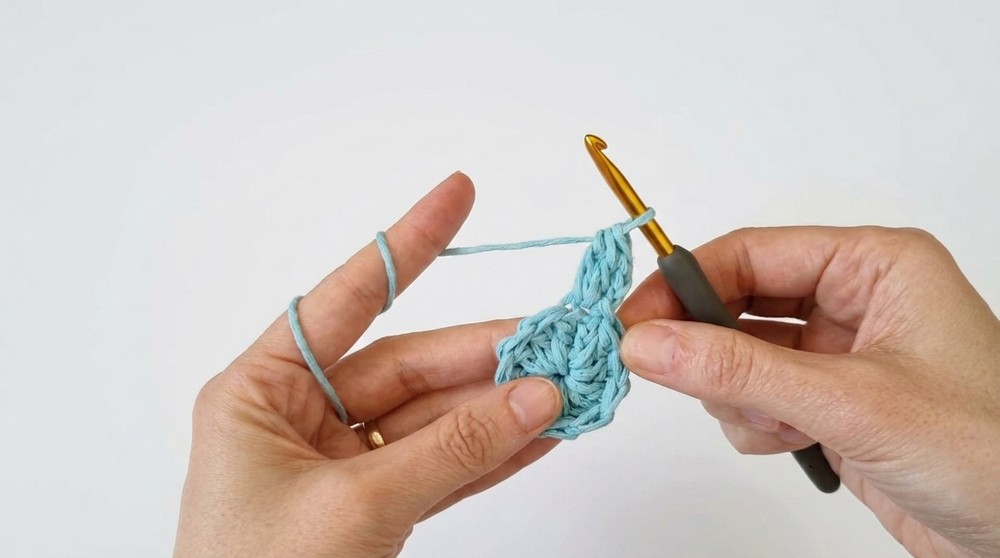
Round 2 – Petal Formation
This round creates 12 leaf like clusters for texture.
- Chain 3.
- In the same stitch: Work a 3 dc cluster as follows:
- Yarn over, insert hook into the same stitch, pull up a loop, yarn over, pull through 2 loops.
- Repeat 2 more times (there should be 3 half finished dc on the hook).
- Yarn over and pull through all loops on the hook to close the cluster.
- Chain 2.

- Repeat the 3 dc cluster into each of the remaining 11 dc from Round 1.
- At the end of the round: Chain 2 and sl st into the top of the first cluster to close.
Round 3 – Expanding the Circle
- Sl st into the next ch 2 space.
- Chain 3 (counts as the first dc). Work 2 more dc in the same space (total = 3 dc).
- Chain 2.
- Work 3 dc in each ch 2 space around the circle, separating groups with ch 2.
- At the end of the round, join with a sl st to the top of the initial ch 3.
Round 4 – Turning to a Square
- To start the round, do not finish with a ch 2 from the previous round. Instead:
- Work 1 dc into the top of the ch 3 from the last round to center your hook in the first corner space.
- Start the first corner:
- Work 3 treble crochet (tr) into the corner space.
- Chain 2.
- Work 3 tr into the same corner space again.
- For each side:
- In each subsequent ch 2 space, work 3 dc (no chaining between side groups).
- At each remaining corner:
- Work 3 tr, ch 2, 3 tr into the same corner space.
- At the end of the round, join to the top of the first ch 3.
Round 5 – Final Round
- Chain 3 (counts as dc).
- In each corner space:
- Work 3 dc, ch 2, 3 dc.
- In each side space:
- Work 3 dc (no chain spaces between groups).
- At the end of the round, join with a sl st to the top of the first ch 3 and fasten off.
Repeat this motif to create a total of 5 motifs.
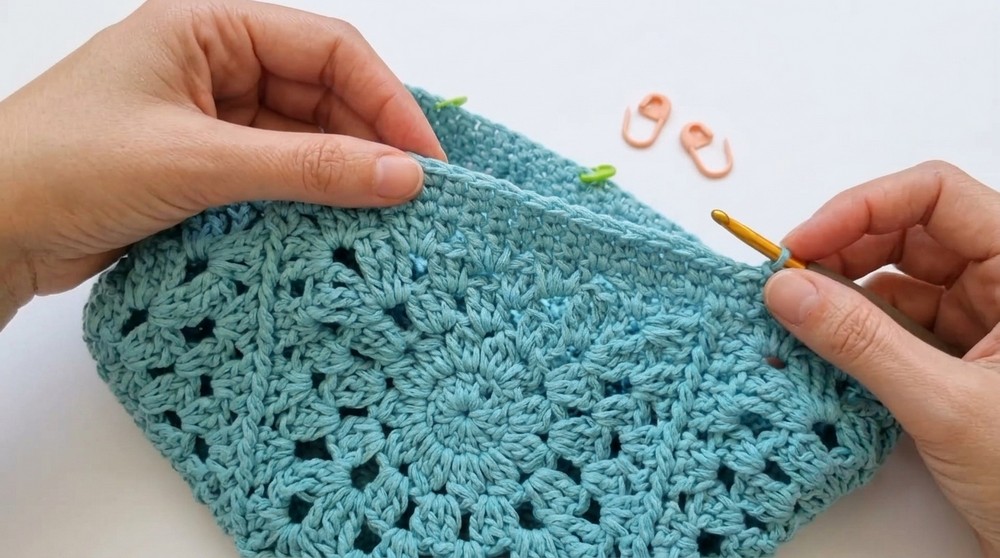
Joining the Motifs
- Join the second motif to one side of the base by crocheting its fifth round while working the dc-to-dc join technique:
- Remove your hook after completing each dc.
- Insert it into the corresponding dc of the base.
- Pull the loop through and continue.
- For the third and fourth motifs, repeat this process, joining motifs along two sides as you form the bag.
- The fifth motif is joined to three sides, closing the cube.
- At each corner, work 1 sc in the corner join point, ensuring alignment.
Single Crochet Border
Work 3 4 rounds of single crochet around the top edge of the cube:
- Begin at any side edge.
- Work 1 sc in each dc and 1 sc in each corner space.
- Join with a sl st at the end of each round.
Handles
The handles are worked as chain bridges reinforced with several rows of sc:
- Mark handle positions using stitch markers. Make sure they are symmetrical.
- Chain 27 (or the preferred number for handle length). Skip stitches in this section and join the chain further along the row.
- Work 3 to 4 rows of single crochet over the chains to form wide straps.
- To create a thick, cord like effect, fold the handle fabric in half lengthwise and use slip stitches to join its edges.
Finishing
- Weave in all loose ends using a tapestry needle.
- Optional: Add a fabric lining for rigidity. Cut the fabric into a square, sew the edges to create “pockets,” and hand sew or glue the lining into the bag.
- Block the bag lightly for shape (if using cotton or natural fibers).
Final Words and Maintenance Tips
- This bag is compact yet versatile. For a larger version, expand the motif’s final rounds or use thicker yarn.
- Use a sturdy yarn like macramé or raffia to create a durable accessory.
- Clean macramé bags by hand washing or spot cleaning. Avoid machine washing.
Your small motif bag is now complete – enjoy your stylish handmade accessory.