Follow this easy pattern to make a sturdy and large Crochet Granny Square Market Bag that is perfect for your trips to the market while you show off your talent.
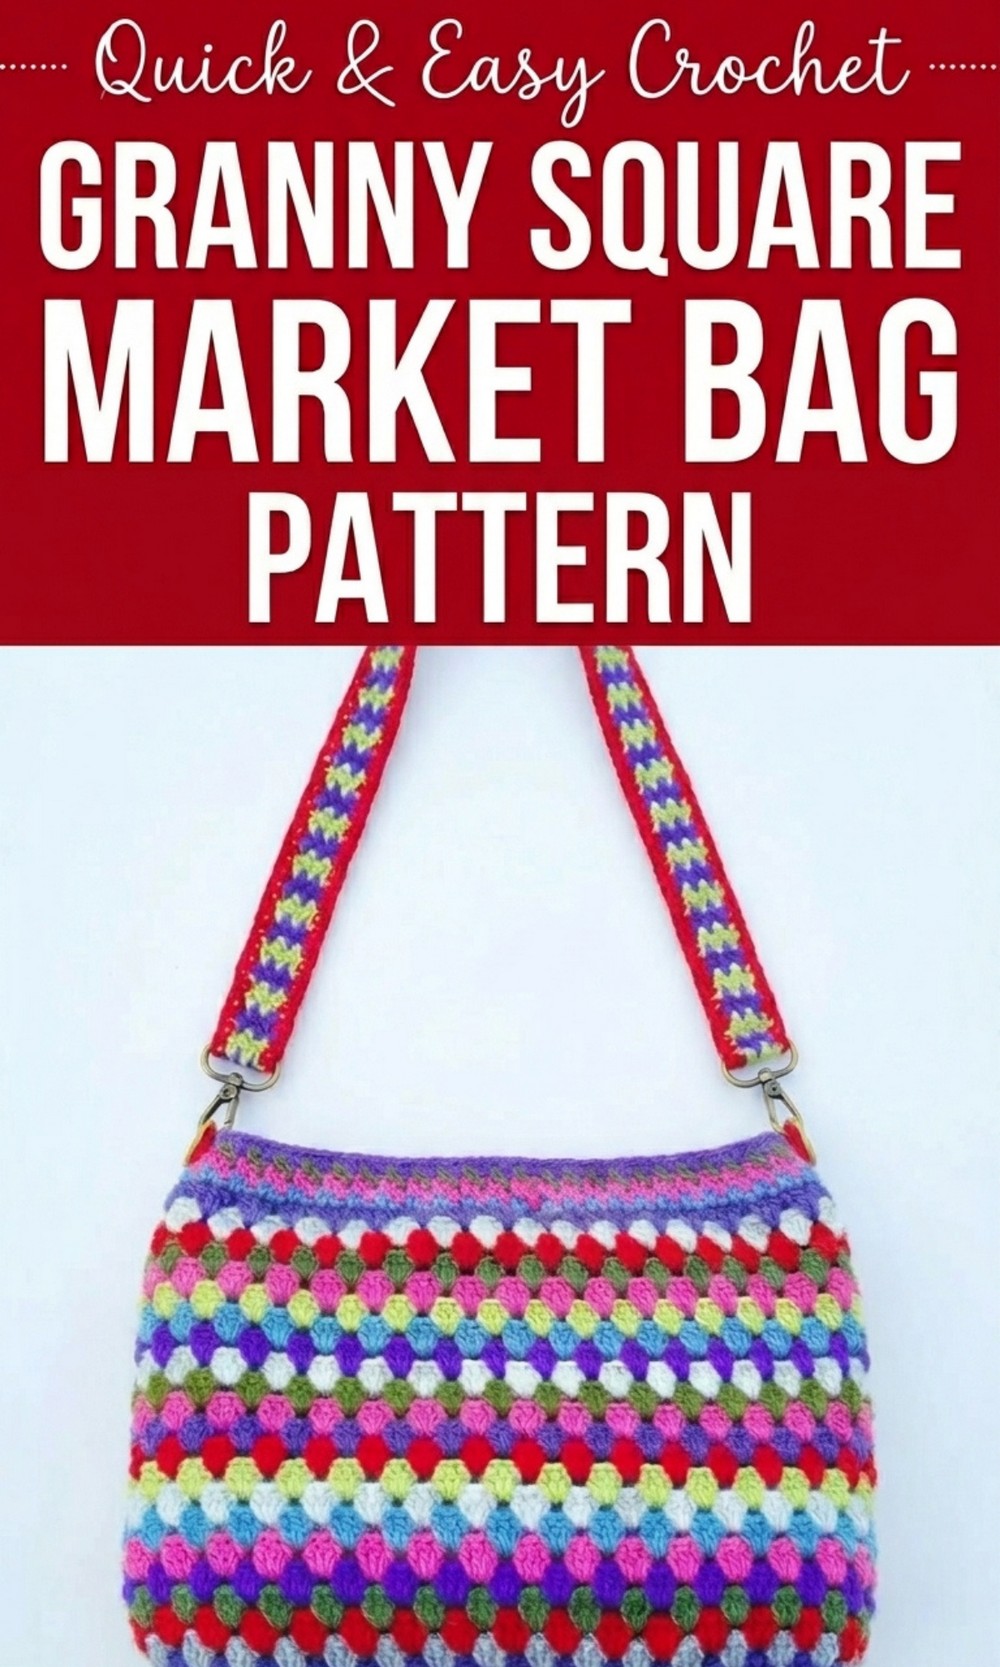
Practical Free Crochet Granny Square Market Bag Pattern
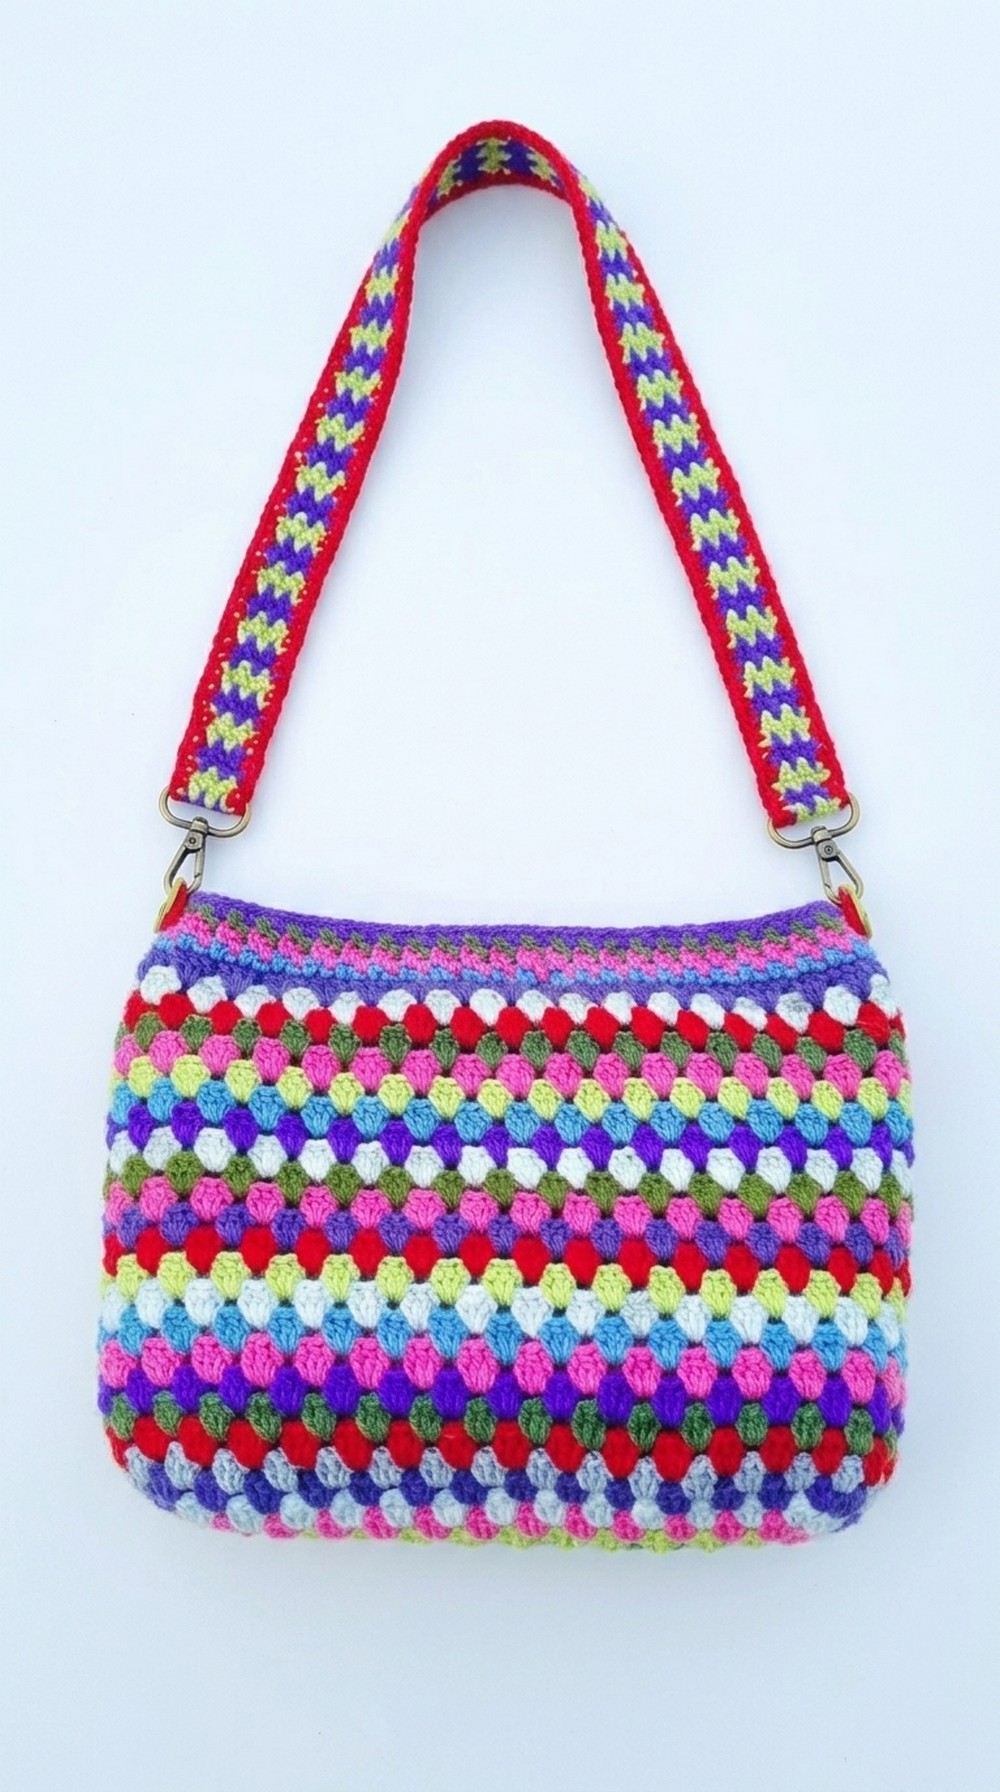
Crocheting a Granny Square Market Bag is simple, fun, and creative, even for beginners. This colorful bag is made from basic crochet techniques, making it easy to follow. The bag’s design uses beautiful granny squares that create a cheerful and stylish look. It’s perfect for daily use, whether you’re going shopping, heading to the beach, or just carrying essentials.
The multicolor pattern lets you use leftover yarn, turning scraps into something useful and eye catching. This bag is lightweight yet sturdy enough to hold your items and has a comfortable handle that’s easy to carry. The rectangular base ensures it stands well, and you can even add a lining for extra strength.
 Making this bag is a great way to relax, reuse yarn creatively, and make something practical for yourself or as a handmade gift. It’s all about combining beauty and function in one amazing project.
Wonderful Crochet Granny Square Market Bag Pattern
Materials Required
- Yarn: Assorted colors of yarn (preferably medium weight yarn) — You can mix and match leftovers from previous projects.
- Crochet Hook: 3.5 mm (E 4) crochet hook, ideal for medium weight yarns.
- Scissors
- Stitch Markers (optional): To mark the start/end of rounds.
- Tapestry Needle: For weaving in yarn ends and sewing the straps.
- Optional Lining Fabric: To add stability to the bag if desired.
- Tape Measure: To track the dimensions as you work.
Gauge
While gauge is not critical for this pattern, the stitches should form a dense and sturdy fabric. Ensure there are no large gaps in your crochet.
Finished Size
Bag Dimensions (approximate):
- Width (Base): 28 cm (11 inches)
- Height: 23 cm (9 inches)
- Depth: 11 cm (4.5 inches), tapering slightly toward the top.
The handle is approximately 59 cm (23 inches) but can be adjusted to your preference.
Important Tips
- Yarn Variety: Use yarns that are of a similar weight for consistency in stitch size. If using thinner yarn, you can double or triple the strands.
- Color Coordination: Experiment with complementary or contrasting colors for a fun, vibrant look.
- Handle Attachment: Attach handles securely as they will bear the weight of the bag.
- Lining (Optional): For added durability, line the bag with a sturdy fabric. This is particularly useful if you’re planning to carry heavier items.
Special Techniques
1. Magic Ring Technique:
- This pattern uses the magic ring for starting round projects. Beginners unfamiliar with this method can substitute with a chain ring (chain 4 and slip stitch to join into a circle).
2. Working in the Back Loop:
- For certain sections, stitches are worked in the back loop only, giving texture and flexibility to the crochet fabric.
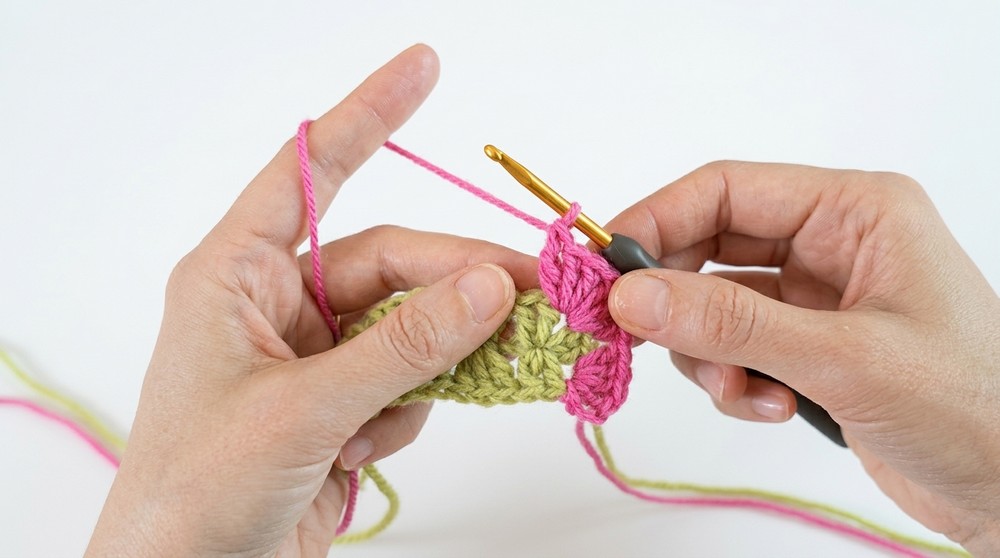
3. Color Changes:
- When switching colors, introduce the new color during the final yarn over of the last stitch in the old color for a seamless transition.
Pattern Instructions
1. Rectangular Base
The rectangular base is constructed by chaining and working in rows to create a sturdy foundation.
- Foundation Chain:
- Chain 33 loosely. If you want a larger or smaller bag, ensure the chain length is a multiple of 3.
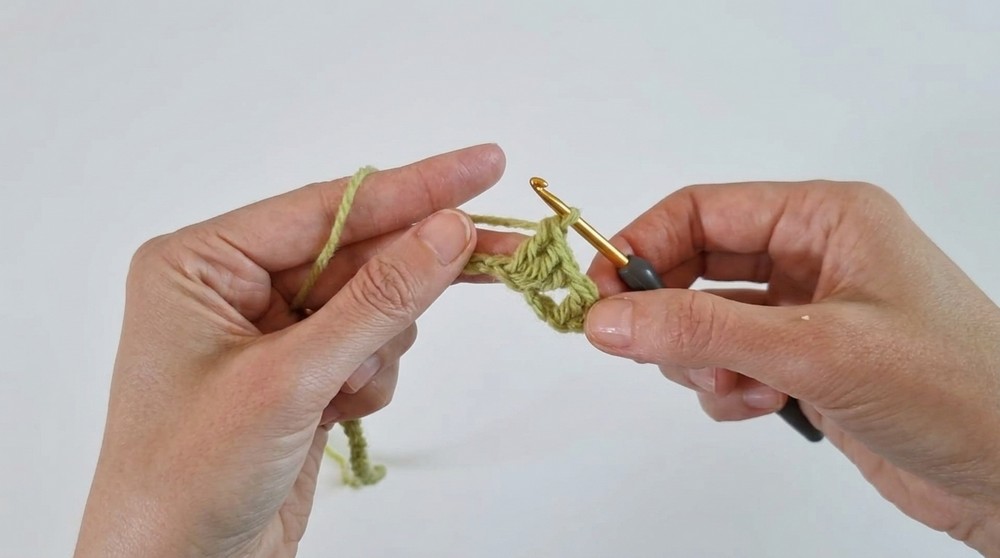
- Row 1:
- In the 3rd chain from the hook, work 1 double crochet (dc).
- Work 1 additional dc in the same stitch (you will have 2 dc in this stitch).
- Skip 2 stitches, then work 3 dc in the next stitch (a cluster).
- Repeat clusters across the row until the last stitch.
- Work 2 dc in the final stitch. Turn your work.
- Row 2:
- Chain 2 and turn. Work clusters into the centers of the clusters from the previous row.
- At the end of the row, work 2 dc in the last stitch.
- Repetition:
- Repeat Row 2 for a total of 4 rows, increasing slightly at the corners to maintain the rectangular shape.
- Repeat Row 2 for a total of 4 rows, increasing slightly at the corners to maintain the rectangular shape.
- Dimensions Check:
- Your rectangular base should measure 28 cm x 11 cm (11 inches x 4.5 inches). Modify the number of rows or chain length for different dimensions.
2. Body of the Bag
The body is crocheted in rounds without increasing, transitioning from the flat base into the sides of the bag.
- Round 1:
- After finishing the base, turn your work to start crocheting in the round. Work 3 dc clusters in each gap along the edges.
- At the corners, work an additional cluster to ensure the piece curves smoothly into a rectangular shape.
- Subsequent Rounds:
- Switch colors every 2 rounds to create a striped pattern.
- Continue working clusters in the gaps for a total of 21 rounds.
- This will form the cylindrical body of the bag.
Customization:
- Add extra rounds if you want a taller bag or reduce rounds for a shorter one.
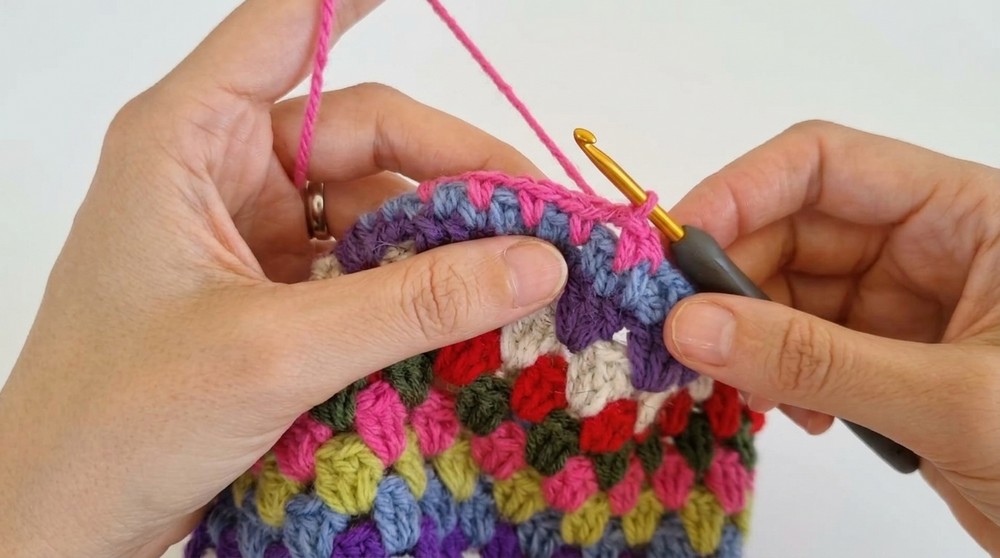
3. Top Edge Detailing
The detailing around the top edge tightens the opening slightly and adds a stylish touch.
- Round 22 (Shell Stitch Border):
- Begin with a standing single crochet stitch in any stitch of the last round.
- Work 1 single crochet, skip 1 stitch, and then in the next stitch, work 5 double crochets (shell stitch).
- Skip 1 stitch, and repeat: single crochet, skip 1, 5 dc in the next stitch. Continue this pattern around.
- Slip stitch to the first single crochet to join the round.
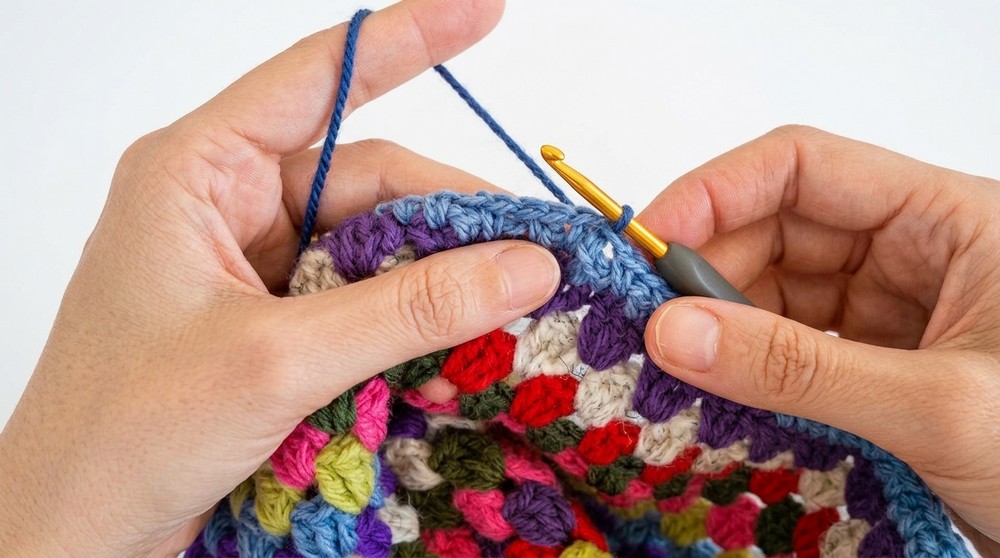
- Round 23:
- Repeat the same shell stitch border for a second round.
4. Crochet Handle
The sturdy handle is made by creating a thick strip and attaching it to the bag.
- Foundation:
- Chain 6. Turn your work.
- Row 1:
- In the 2nd chain from the hook, work 1 single crochet. Work single crochets across the chain (5 total).
- Chain 1, turn your work.
- Rows 2–140 (or desired length):
- Work 1 single crochet in each stitch across the row (5 total). Chain 1, turn.
- Adjust rows to your preferred handle length.
- Edge Detailing:
- Work single crochets evenly around the edges of the strap for a neat finish.
- Attachment:
- Use a tapestry needle to sew each end of the handle securely to the inside of the bag, aligning it symmetrically.
- Use a tapestry needle to sew each end of the handle securely to the inside of the bag, aligning it symmetrically.
Finishing Touches
- Weave in Ends: Ensure all loose ends are woven in using a tapestry needle for a clean finish.
- Optional Lining: Cut a rectangular piece of fabric matching the bag’s dimensions. Sew it to the inside of the bag for added durability.
- Block the Bag: Lightly steam or wet block the bag to set its shape.
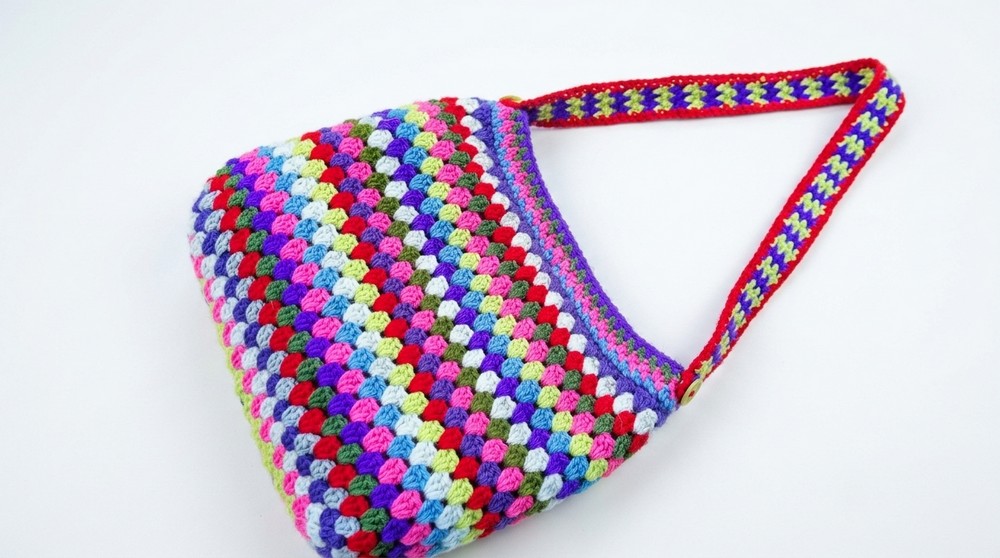
Conclusion
Your beautifully colorful crochet bag is now complete. This vibrant and practical accessory is perfect for any occasion, whether for casual outings, shopping, or as a thoughtful handmade gift. Adjust the colors, size, and handle style to make it uniquely yours.