Add bright star style to your look with this free crochet granny star shirt pattern that helps you make a fun and comfy shirt for daily wear and sunny days.
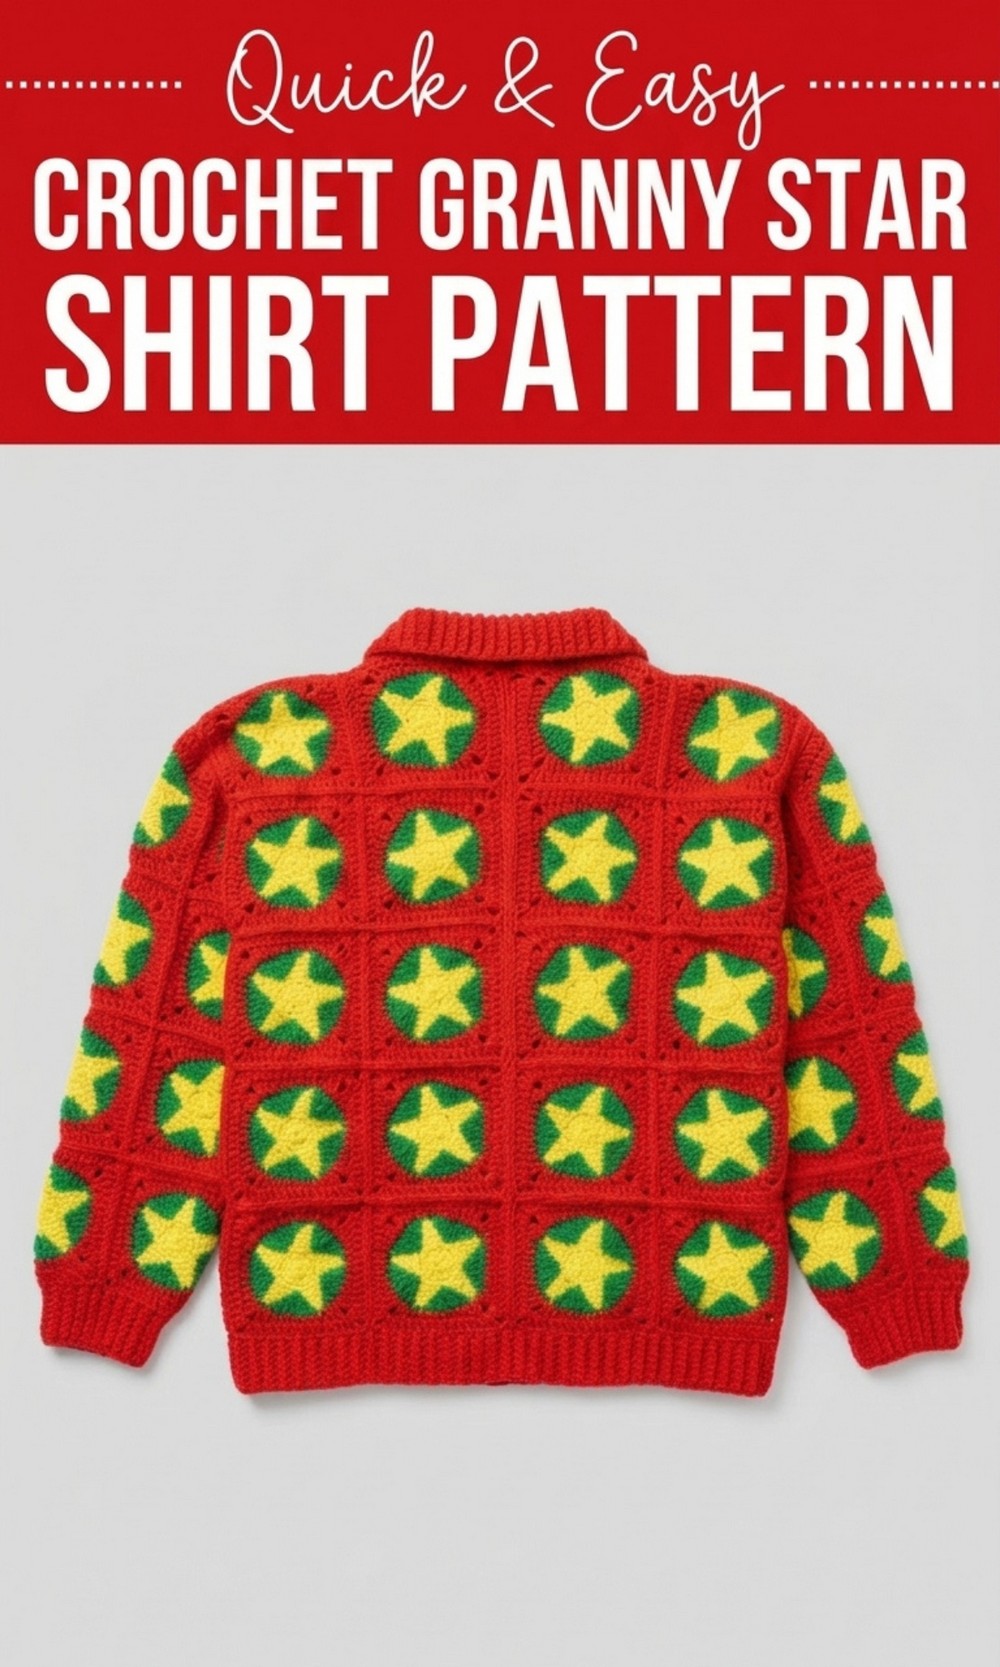
Step Up Your Game with this Free Crochet Granny Star Shirt Pattern
You can shine as bright as a star with this exciting and colorful project. Think crocheting your very own stylish piece that features a giant five pointed star, covering the front and back of your shirt—it’s truly something special. With this Free Crochet Granny Star Shirt Pattern, you can easily create a trendy, lightweight, and breezy piece that’s perfect for sunny days. Its classic granny stitches make it soft and playful while keeping you comfortable all day long. The wide neck and short sleeves add a cool and relaxed fit, making it the ultimate choice for a fun day at the park or a unique outfit for a birthday party. Whether you’re hanging out with friends at school or showing off at special events, this shirt feels and looks like high end boutique fashion. Completing this project is more than just crocheting—it’s a way to celebrate your creativity and walk out in a handmade treasure that’s absolutely stunning.
Free Crochet Granny Star Shirt Pattern
Finished Size
When completed, the shirt is designed to fit children aged 5–6 years. The front piece measures 4 cm collar width and each square measures 8 cm by 8 cm. Tips for adjusting the size are provided below.
Gauge
- 4 cm (width) x 4 cm (height) flat square in single crochet = 8 stitches x 10 rows.
Gauge is crucial to ensure proper fit, so check your swatch before proceeding with the project.
Materials
- Yarn: Approx. 400–500g of worsted weight yarn. Choose coordinating colors for the shirt and shorts (e.g., yellow for the main body and contrasting colors for edges).
- Crochet Hook: Size 4.5mm (US size 7) for the main body and 4 mm for tighter ribbing areas.
- Stitch Markers: To mark important points (e.g., neckline, shoulders, sleeves alignment).
- Scissors: For cutting yarn ends.
- Tapestry Needle: For weaving in ends and sewing smaller pieces.
Special Techniques
- Slip Stitch Method (recommended for beginners): Ideal for connecting squares seamlessly with minimal effort.
- Flat Slip Stitch Method (advanced): Provides a more polished and professional look. Use this technique to create smoother row transitions for a clean appearance.
Each square is joined carefully, ensuring front facing loops and edges align correctly for a durable seam.
Step by Step Pattern
1. Preparing Squares
Dimension: Each square measures 8 cm x 8 cm.
- Create multiple squares by chaining 25 stitches and working single crochet rows until you reach 8 cm height.
- Complete one round of single crochet around each square (edges smoothen the squares).
You will need to crochet the following:
- Front: 12 squares.
- Back: 12 squares.
- Sleeves: 6 squares each.
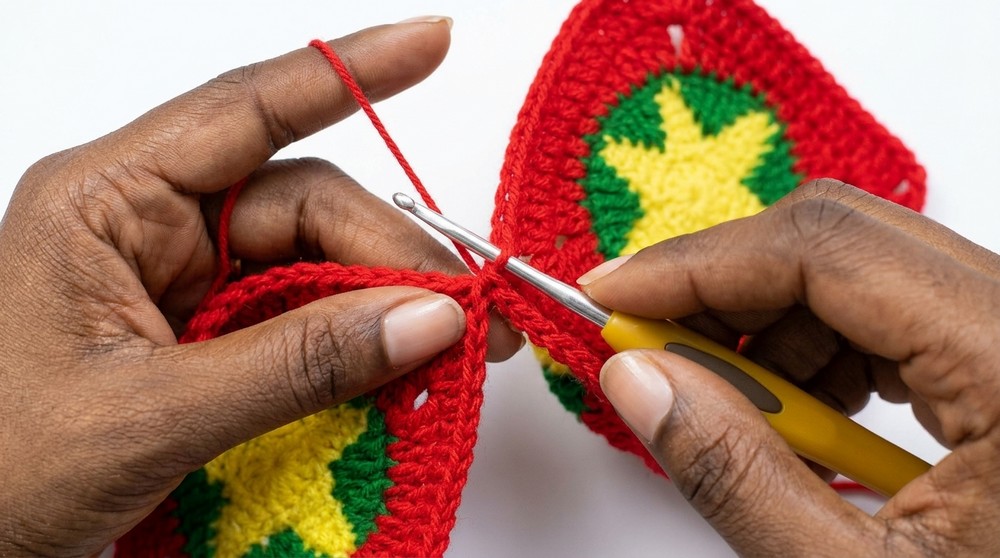
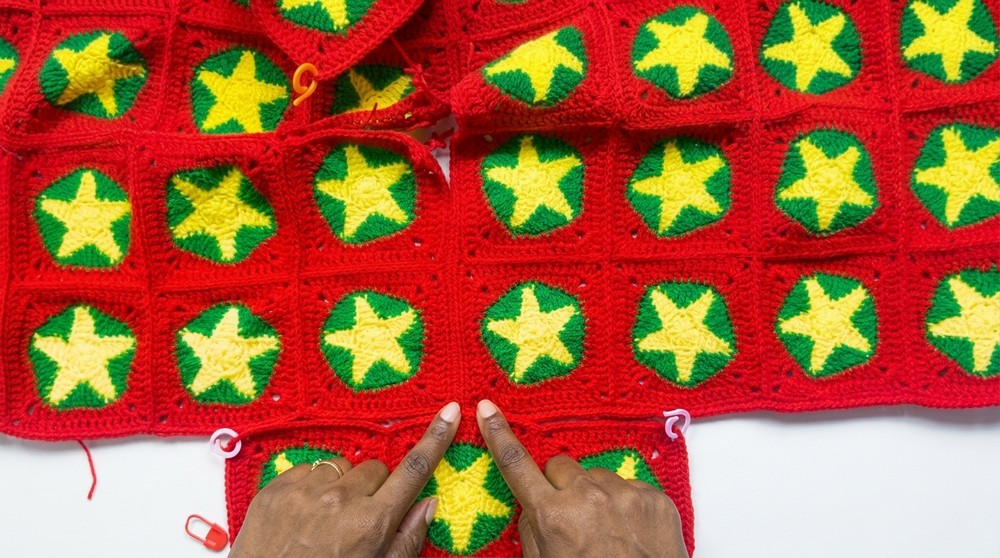
2. Joining Squares
Slip Stitch Method (for Beginners)
- Align squares next to each other, ensuring edges align correctly.
- Insert the hook into the outer loops of the last row of the adjacent square (first chain on both sides).
- Yarn over and perform a slip stitch to join the squares.
- Repeat the slip stitch sequence, progressing along the edge, ensuring stitches are even to avoid puckering.
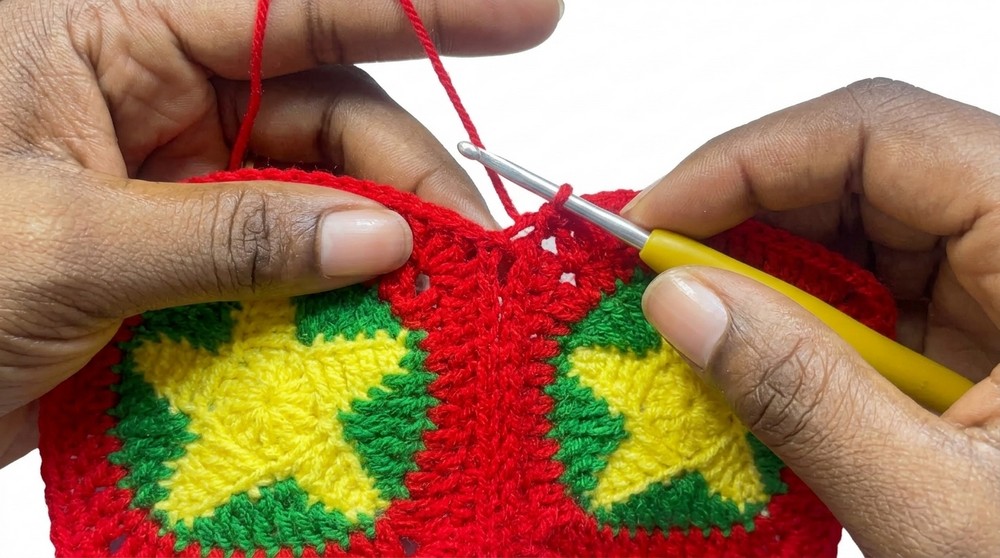
Flat Slip Stitch Method (Advanced):
- Work only on the back loops of chains and edges to create a smoother finish.
- Start slip stitching through the aligned squares and keep working along the seam edges.
Repeat this process for all rows until the front and back panels are completed.
3. Assembling Front and Back Pieces
- Align the panels: Place the front panel right side up and the back panel wrong side up facing each other.
- Mark Neckline: Ensure there are 31 stitches for the neckline with 28 stitches for the shoulder seams. Count precisely using stitch markers.
- Joining: Starting from the shoulder, work slip stitches across both panels until the neckline begins.
4. Creating Sleeves
- Mark Sleeve Alignment: Take your completed shirt and align sleeves evenly with stitch markers on both sides.
- Slip Stitch Sleeves: Follow the same slip stitching method as described earlier to connect sleeves to the shirt body.
- Add single crochet edging around the sleeve openings for neatness.

5. Joining Sides
- Align sides of the shirt starting from the sleeves and work slip stitches down the length of the shirt side seams.
- Repeat this on both sides.
6. Creating Ribbing
Ribbing Underarms and Sleeves:
- Attach yarn under an armhole and chain 8 stitches for ribbing length.
- Work single crochets into the back loops only, producing a ribbed texture.
- Slip stitch into the next two stitches of the edge, turn, and repeat until the entire armhole is ribbed.
Tips: Increase chain length for longer ribbing if desired.
Collar Ribbing:
- Attach yarn to the neckline, chain 5 stitches, and work single crochets (back loop only).
- Turn and repeat the ribbing process.
- Use stitch markers to ensure the alignment evenly overlaps where necessary.
7. Finishing Details
- Weaving Ends: Trim excess yarn and weave all ends into seams and edges using a tapestry needle.
- Stretch and Block: Stretch lightly and block your finished shirt for a polished look.
Customization Ideas
- Color Changes: Use contrasting yarn for specific squares or ribbing for a unique design.
- Buttons or Appliqué: Add decorative buttons or crochet flowers for embellishment.
- Length Adjustments: For larger sizes, increase square counts or stitch rows appropriately.
- Matching Shorts: Follow a similar process when creating shorts to match the shirt.
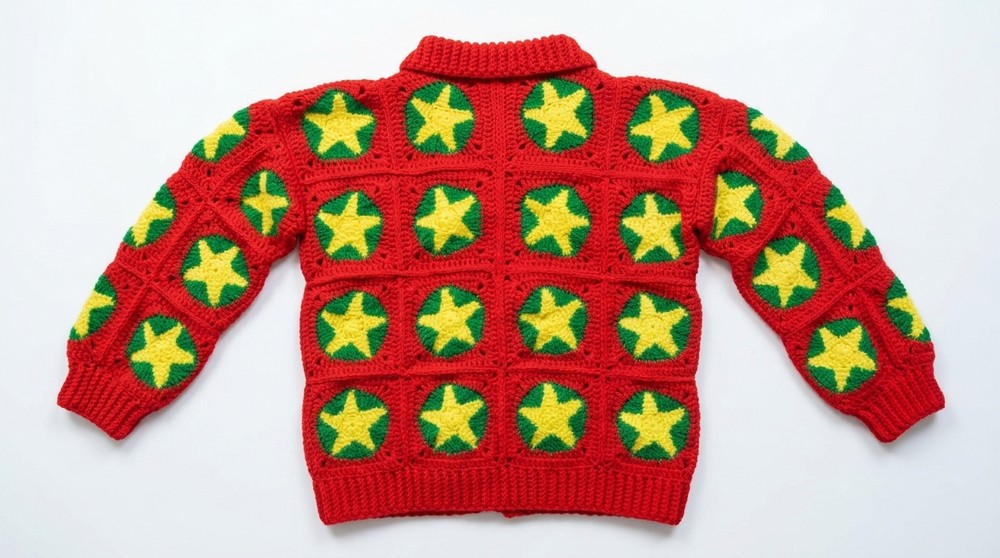
Conclusion
Your crochet shirt is complete! You now have a beautiful handmade shirt perfect for children aged 5–6 years. Congratulations on mastering slip stitch joining and ribbing techniques. Pair the shirt with the completed matching shorts to showcase your skills.
Important Remarks
- Always check your gauge before beginning the project.
- Keep joining edges loose to ensure flat seams.
- Double check stitch counts for symmetry and ease of assembly.
- Practice both slip stitch methods to determine your preference.