Master the crochet granny square pattern with this simple guide, perfect for creating cozy blankets, stylish bags, and one of a kind projects that showcase your creativity.
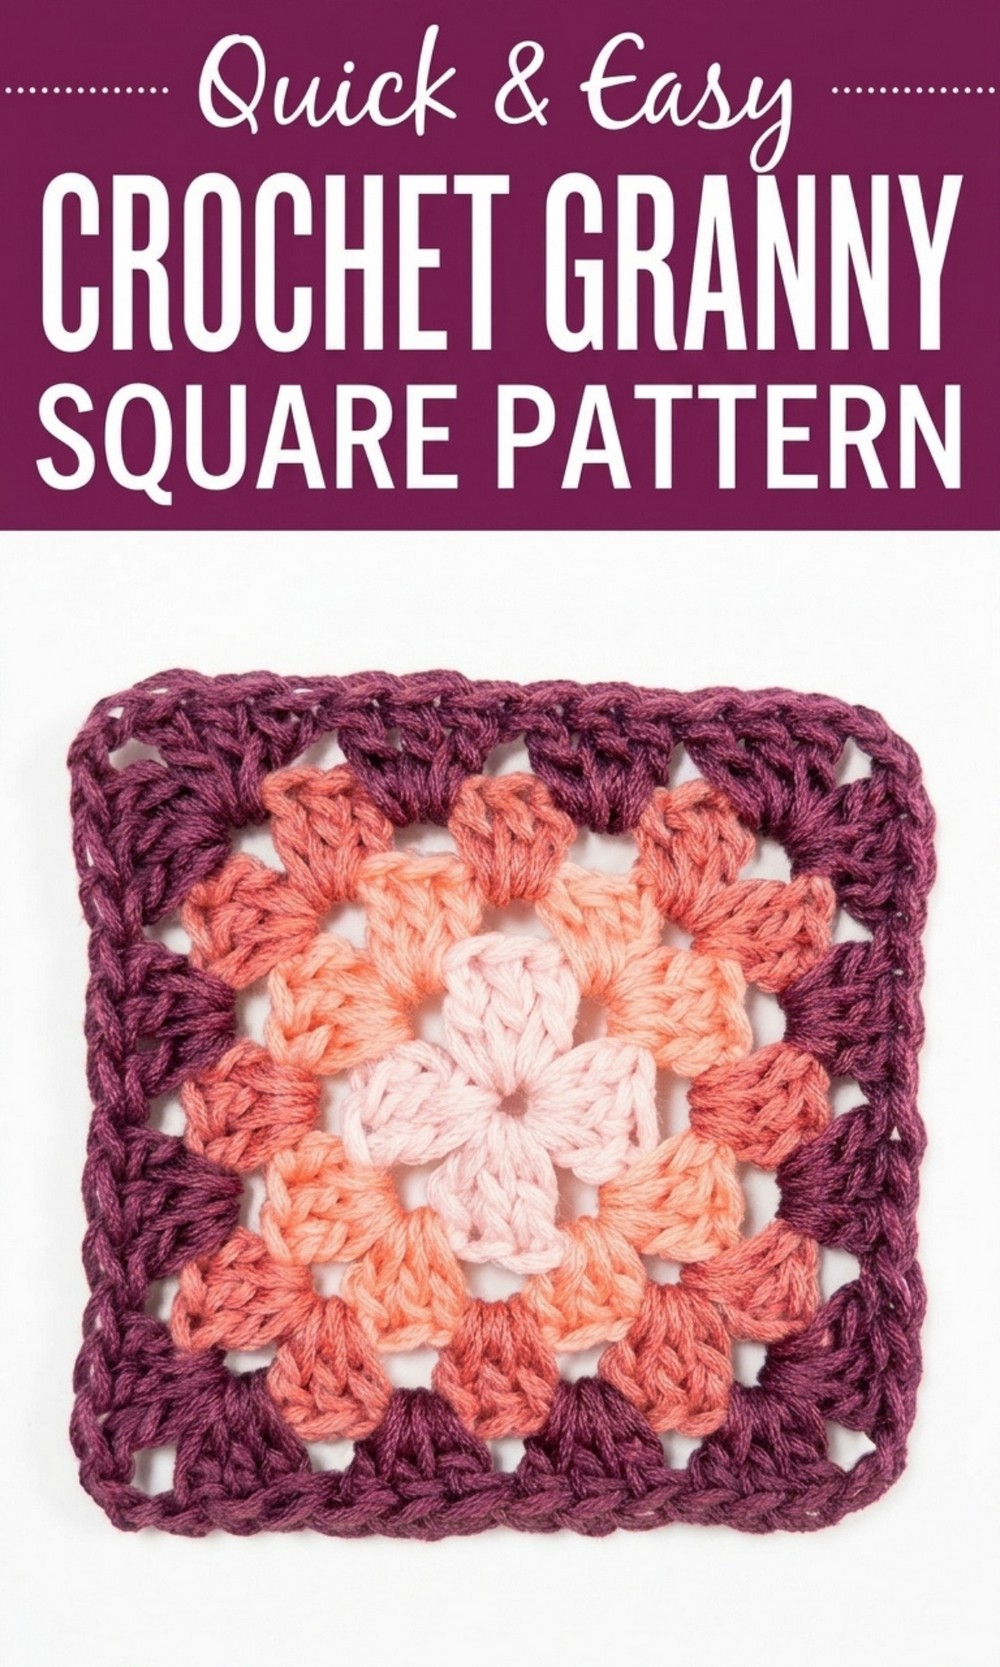
Explore Endless Creativity With This Free Crochet Granny Pattern
A Crochet Granny Square is fun and easy to make, perfect for anyone ready to try something creative. It’s a small, colorful square made with simple crochet stitches, and you can turn it into a stunning pattern by adding your favorite colors.
This timeless design is a joy to create, with its classic square shape, bright center, and pretty little openings that look like a vintage treasure, as if it came from a royal collection. Whether you prefer a solid color or a mix of bold, vibrant shades, each Granny Square becomes an eye catching, cozy masterpiece that brings happiness and warmth to crocheting.
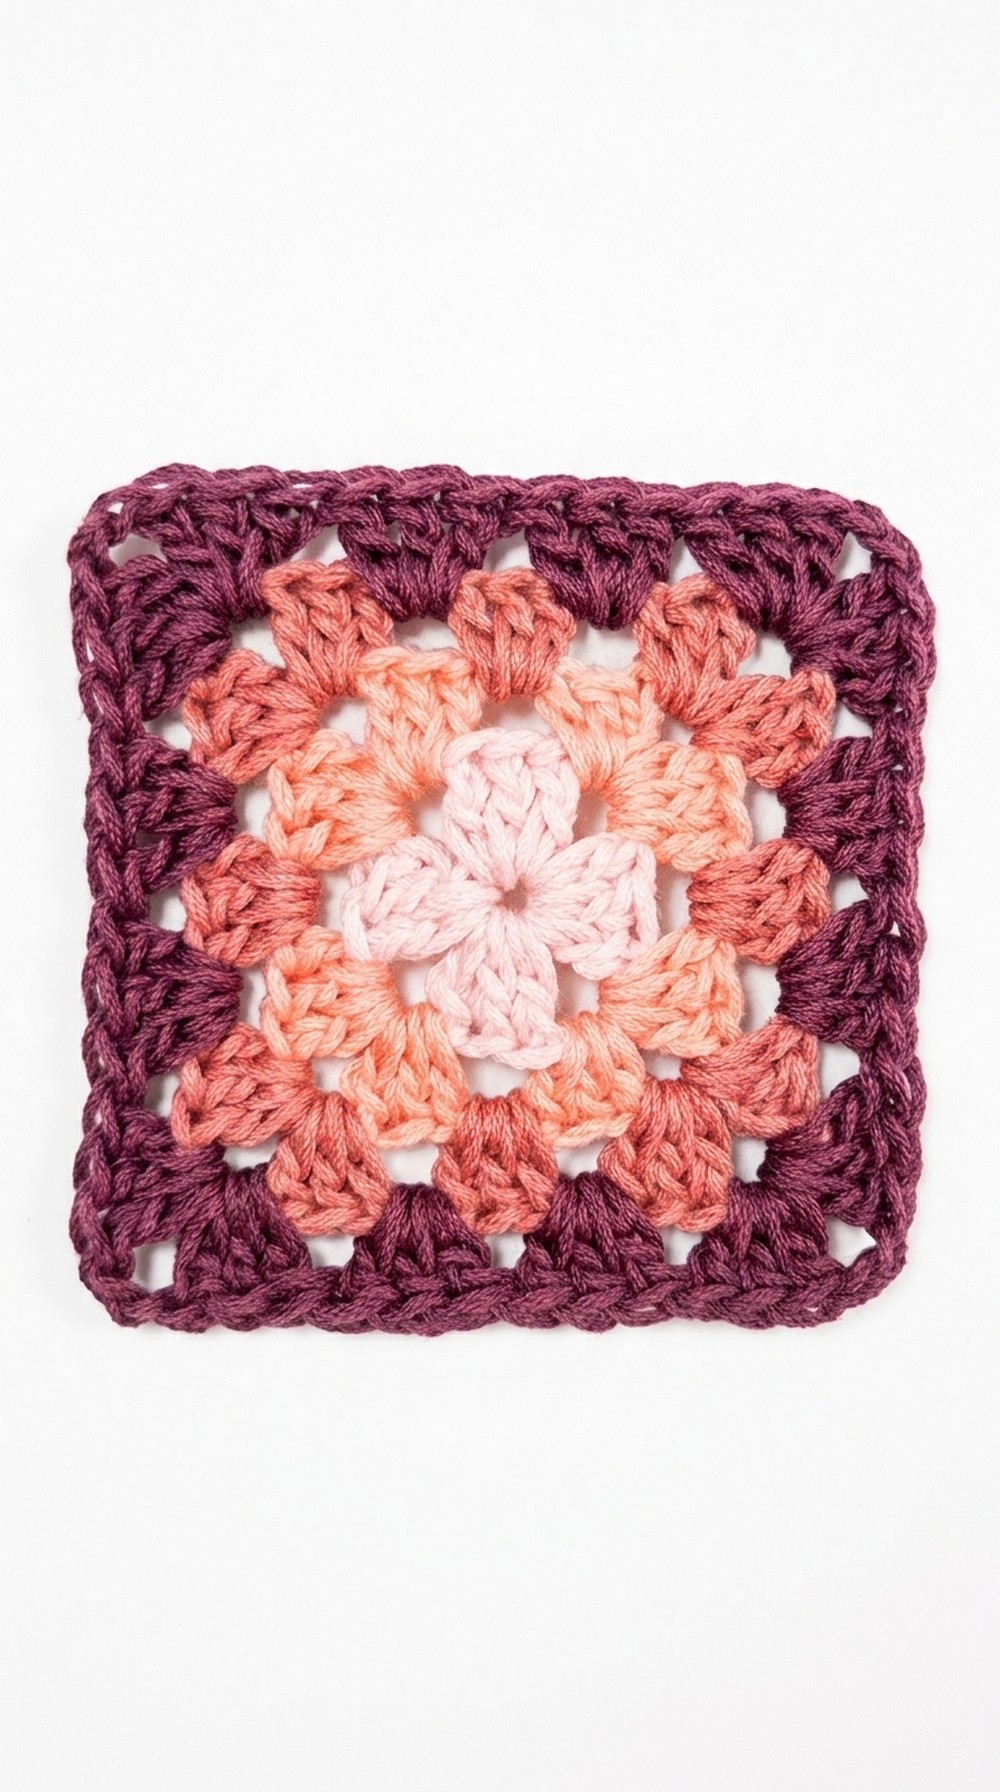
It can be joined with other squares to make blankets, cushions, bags, or even clothes. This design gives a cozy, traditional vibe, but it’s also perfect for modern crochet.
This free pattern teaches how to crochet a Granny Square, making it relaxing and fun. Start with one today and create something amazing.
Fun Crochet Granny Square Pattern
Materials Needed
- Yarn: Select your preferred yarn in multiple colors (optional) or a single color, depending on your design preference. Any medium weight acrylic yarn works well.
- Crochet Hook: Use a crochet hook size suitable for your chosen yarn, typically 4.0 mm (G hook) for medium weight yarn.
- Scissors: To trim the yarn.
- Tapestry Needle (Optional): For weaving in yarn ends.
Step 1: Forming the Base Ring
- Begin with a slip knot on your hook.
- Chain 4 loosely.
- Chain stitches: 1, 2, 3, 4.
- Insert the hook into the first chain to create a circle and close the chain with a slip stitch.
- Chain 3. This counts as the first double crochet stitch (dc). This forms the starting foundation for your Granny Square.

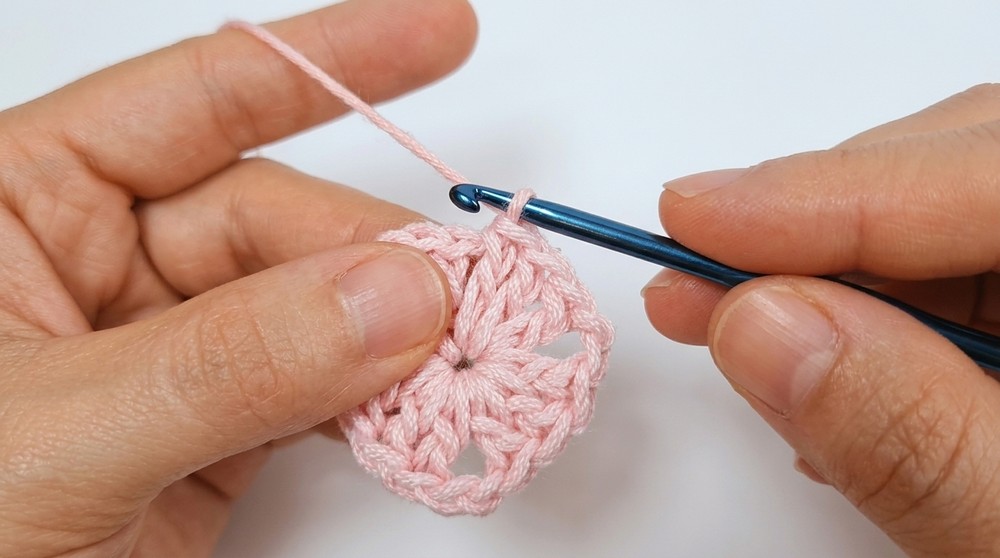
Step 2: First Round (Creating the Center of the Granny Square)
- Work 2 double crochet (dc) stitches into the center of the ring.
- You now have a group of 3 stitches (the starting chain 3 + these 2 double crochets).
- Chain 2 to form a corner.
- Work another group of 3 double crochet (dc) stitches into the center of the ring.
- Chain 2 to form the next corner.
- Repeat the steps above 2 more times:
- Work 3 dc into the circle, followed by 2 chain stitches for a corner.
- After completing the fourth group of 3 double crochet stitches, make 2 chains, then join to the starting chain with a slip stitch.
- At this point, you should see a small cross with four corner chain spaces.
Step 3: Changing Colors (Optional)
- If you’re switching colors, fasten off by chaining 1 more, cutting the yarn, and pulling it through.
- Attach the new color yarn at any corner by inserting the hook into a corner space.
- Pull up the new yarn and chain 3.
- This chain counts as your first double crochet stitch for the new round.
Step 4: Second Round (Expanding the Square)
- Continuing with your yarn, work into the first corner:
- Make 3 double crochets followed by 2 chains, then another 3 double crochets into that same corner space.
- This creates a “fan” shape or “granny cluster” in the corner.
- Move to the next corner space.
- Work 3 double crochets, 2 chains, and 3 more double crochets into the same space.
- Repeat this pattern around all corners.
- Join the round by slip stitching into the top of the starting chain 3 and fasten off if changing colors.
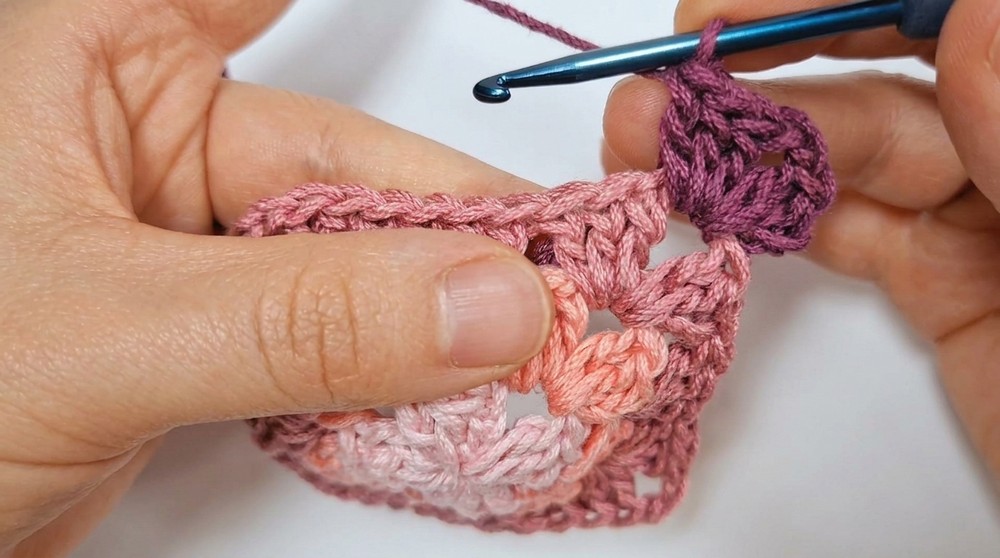
Step 5: Third Round and Beyond (Adding Layers)
- As you move to the third round, start again by attaching yarn in any corner if changing colors. Chain 3 to begin.
- In each corner, work:
- 3 double crochets, 2 chains, and 3 double crochets.
- For new side spaces that begin appearing between corners as the square expands:
- Work 3 double crochets into the space. There are no chain stitches in side spaces.
- Continue working all around following this pattern:
- Corners: 3 dc, 2 ch, 3 dc.
- Sides: 3 dc.
- Once you reach the start of the round, join with a slip stitch into the third chain of your starting chain.
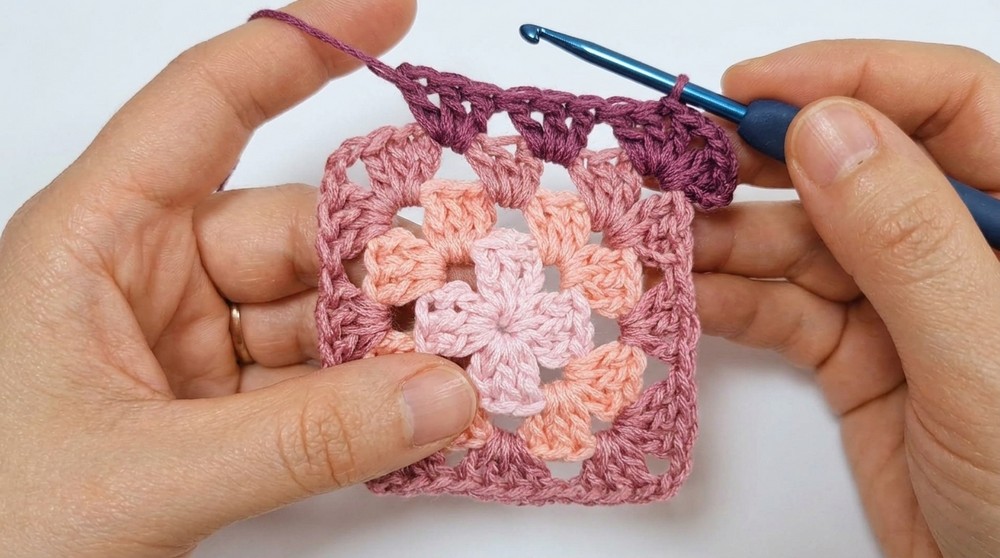
Step 6: Fourth Round (Final Round)
- The fourth round follows the same pattern as the third. Simply expand the square to the desired size by repeating the corner and side space stitches as described.
- Corners: 3 dc, 2 ch, 3 dc.
- Side spaces: 3 dc.
- If this is your final round, after completing the last corner, slip stitch into the third chain of your starting chain to close the round.
- Chain 1, cut the yarn, and pull it tightly to secure the end.
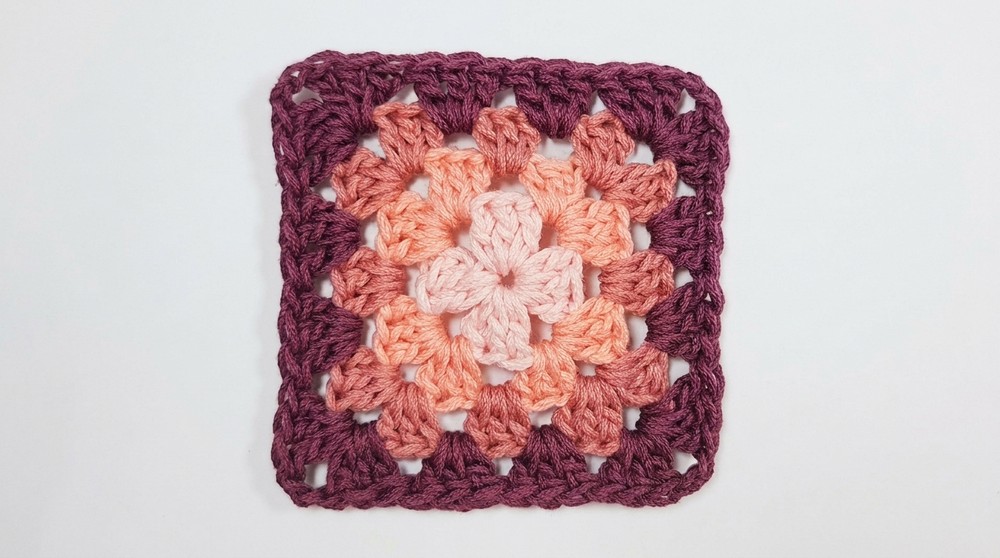
Step 7: Finishing the Granny Square
- Weaving Ends: Use a tapestry needle or your crochet hook to weave the yarn ends into the back of the stitches. This helps secure the ends and prevents unraveling. Trim any excess yarn.
- Blocking (Optional): Stretch the square gently to straighten the edges and flatten the center. Pin it down on a soft surface, spray lightly with water, and let it dry to hold its shape.
Final Words
Congratulations, You’ve completed a traditional Granny Square. This easy design is versatile and can be expanded indefinitely or combined with other squares to create blankets, pillows, bags, and more.
Tips for Maintaining Your Granny Squares
- Choose a consistent yarn weight for all squares if combining them into a larger project.
- Avoid tight chaining, which might make the square inflexible—keep your stitches relaxed.
- If you notice uneven tension, practice single color squares before adding color changes.
- For larger projects, periodically weave in ends as you go to avoid a pile up of finishing work.
- Wash instructions: Always follow yarn washing guidelines to preserve the texture and colors.
Feel free to customize your Granny Squares with additional colors and enjoy incorporating them into stunning creations.