Learn how to make a soft and cozy Crochet Baby Pullover Sweater with this pattern that is perfect for keeping little ones warm and stylish all year round.

Irresistibly Cute Free Crochet Baby Sweater Pattern for Your Next Project
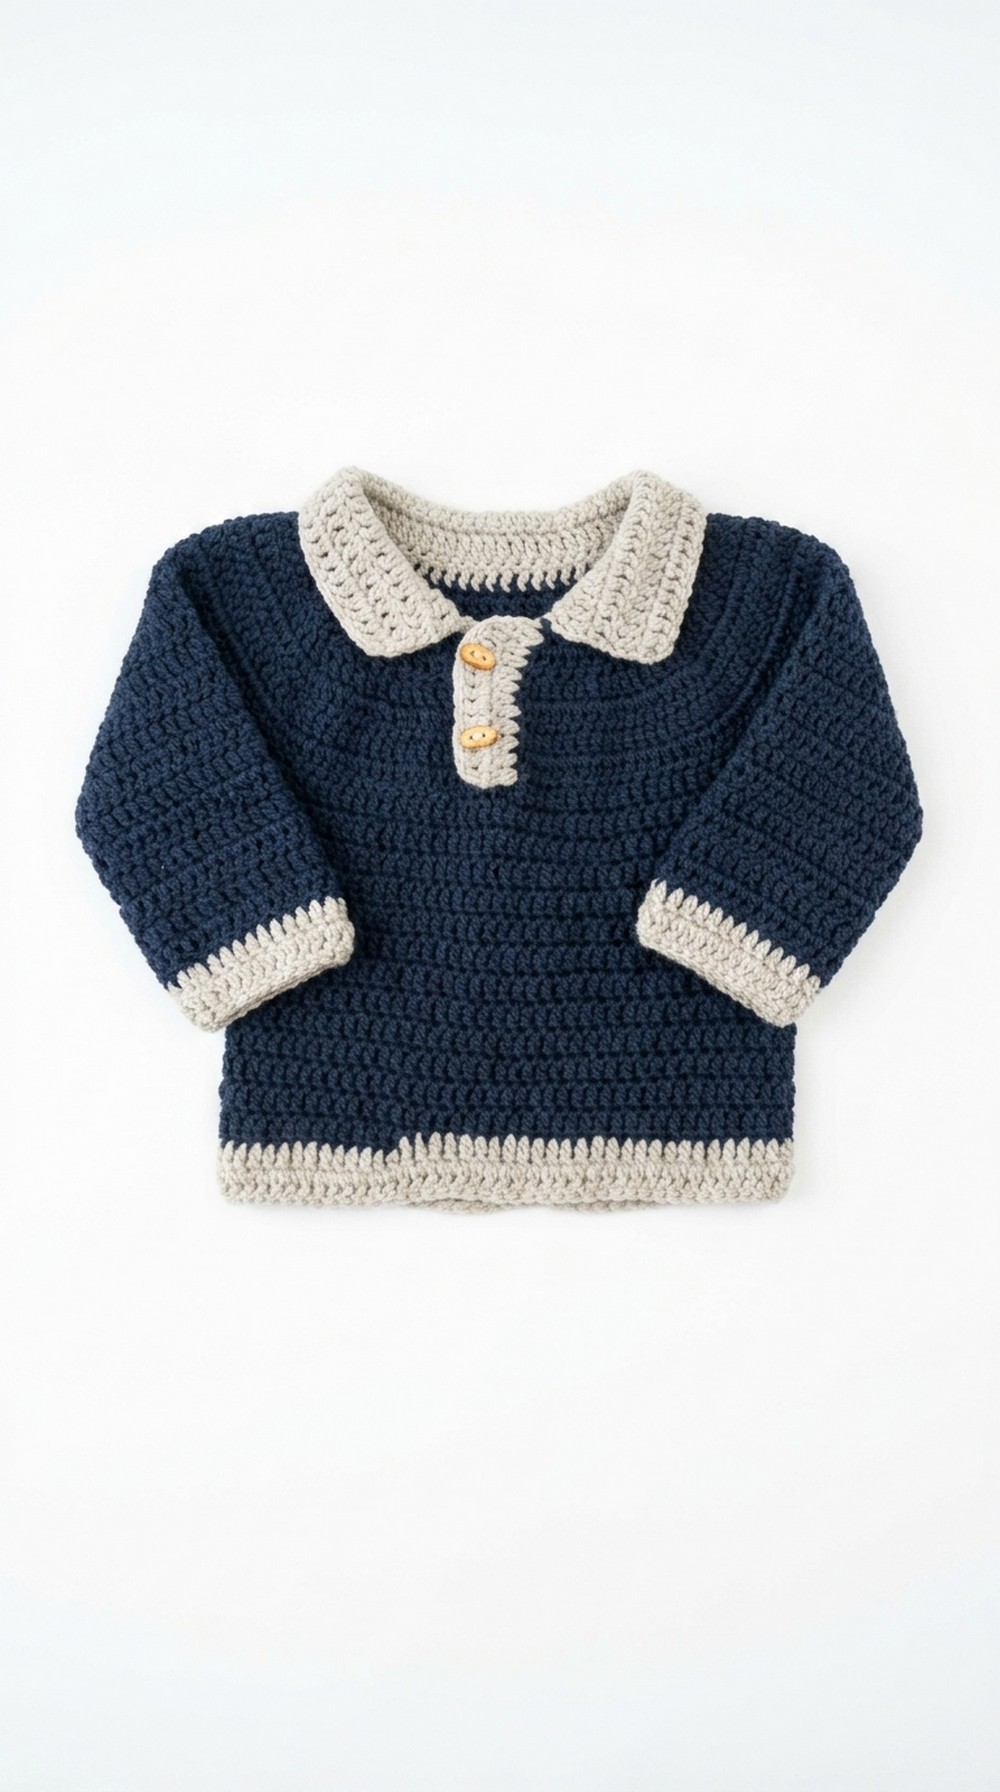
Who doesn’t love creating something cute and cozy for a little one? The “Free Crochet Baby Pullover Sweater Pattern” is a fun and straightforward project that will have you smiling from start to finish. This adorable sweater is designed to keep your baby warm, comfy, and looking super stylish without costing you a fortune.
The sweater is soft, stretchy, and perfect for babies of all sizes, from newborns to toddlers. You can make it in any color you like or even mix and match to add your own creative touch. 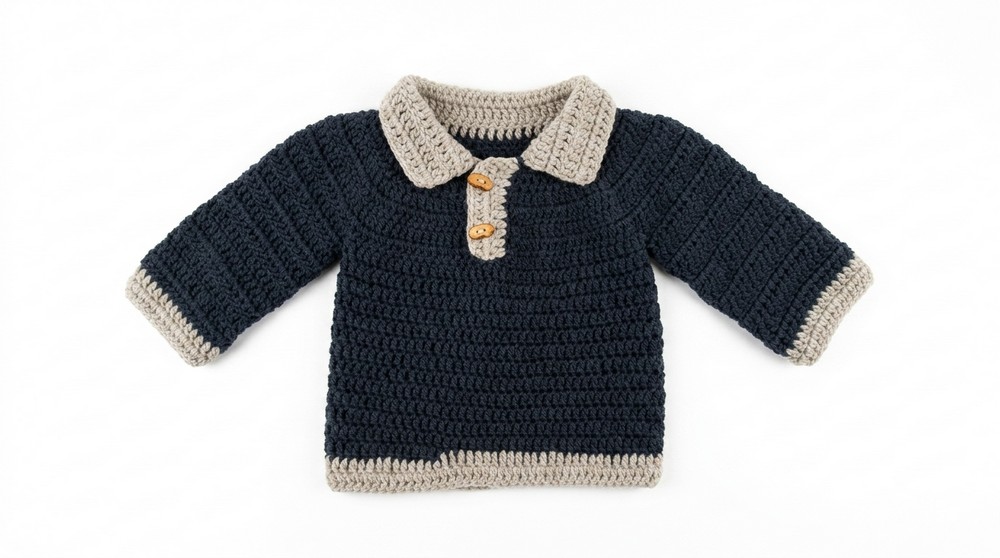 The neat and polished look of the sweater, with its simple design and cozy feel, makes it an ideal gift or a special handmade piece for your baby’s wardrobe.
Inviting Crochet Baby Pullover Sweater Pattern
Materials Needed:
- Yarn: Medium weight yarn (you can choose colors suitable for summer or winter)
- Crochet Hook: Suitable for your chosen yarn weight (check the yarn label for recommendations)
- Stitch Markers: Optional, but highly recommended for ensuring accuracy in rounds and when working in spirals
- Scissors: To cut yarn
- Darning Needle: For weaving in ends
- Buttons: If you decide to add a button closure (optional)
Pattern Overview
This crochet baby and toddler sweater pattern is versatile and suitable for multiple sizes with detailed steps. It begins with the foundation chain and builds seamlessly toward sleeves, length, and optional details like collars or button strips.
Special Techniques Used
- Slip Knot: To begin your chain.
- Double Crochet (DC): Used throughout the project.
- Working in a Spiral: Starting without slip stitches when rounds are formed ensures a seamless finish.
- Stitch Markers: Used to mark the first stitch in each round, making it easier to track spiral rounds.
- Increasing Stitches: Technique included to shape front, back, and armholes.
Pattern Instructions
Step 1: Foundation Chain
- Begin with a slip knot:
- Wrap yarn around your finger twice. Pull the first loop over the second loop and then pull the second loop over your finger. Insert your crochet hook into the loop and pull tight.
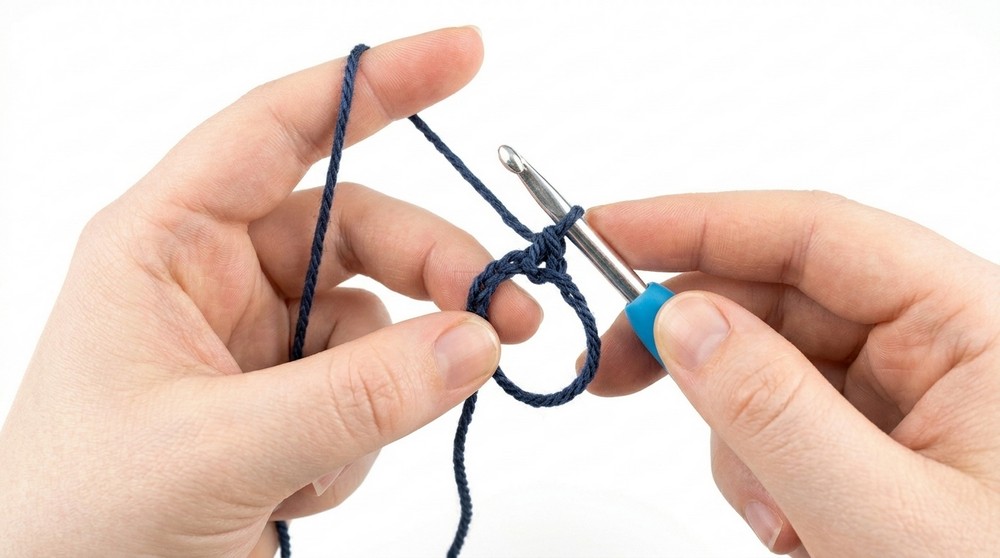
- Wrap yarn around your finger twice. Pull the first loop over the second loop and then pull the second loop over your finger. Insert your crochet hook into the loop and pull tight.
- Chain 57:
- Yarn over and pull through the loop on the hook to create 57 chains.
Step 2: Round 1 (Double Crochet Across)
- Work into the second chain from the hook:
- Yarn over, insert your hook into the second chain, yarn over, pull up a loop (3 loops on hook), yarn over, pull through 2 loops, yarn over, pull through the final 2 loops.
- Continue 1 Double Crochet into each chain across.
- At the end of this round, you should have 56 double crochets. Note that the skipped chain at the beginning does not count as a stitch.

Step 3: Round 2 (Increasing Rows for Shaping)
- Chain 1 and turn: The chain 1 does not count as a stitch.
- Work 2 double crochets in the first stitch, then 1 double crochet in the next stitch.
- Repeat the pattern: 2 double crochets in one stitch, 1 double crochet in the next.
- Continue until the end of the row (you should have 84 double crochets total).
Step 4: Round 3
- Chain 1 and turn.
- Repeat the increase pattern: 2 double crochets in one stitch, 1 double crochet in each of the next two stitches (2, 1, 1).
- At the end of this round, you should have 112 double crochets.
Step 5: Round 4
- Chain 1 and turn.
- Repeat the increase pattern: 2 double crochets in one stitch, 1 double crochet in each of the next three stitches (2, 1, 1, 1).
- At the end of this round, ensure you have 140 double crochets.
Step 6: Rounds 5 and 6 (No Increases)
- Work 1 double crochet into each stitch across for two rounds.
- Each round will have 140 double crochets.
Step 7: Attaching the Loop for Sweater Shape
- After Round 6, do not slip stitch. Instead, pull your project into a loop, ensuring it is not twisted.
- Slip stitch into the first double crochet of the round to secure the loop.
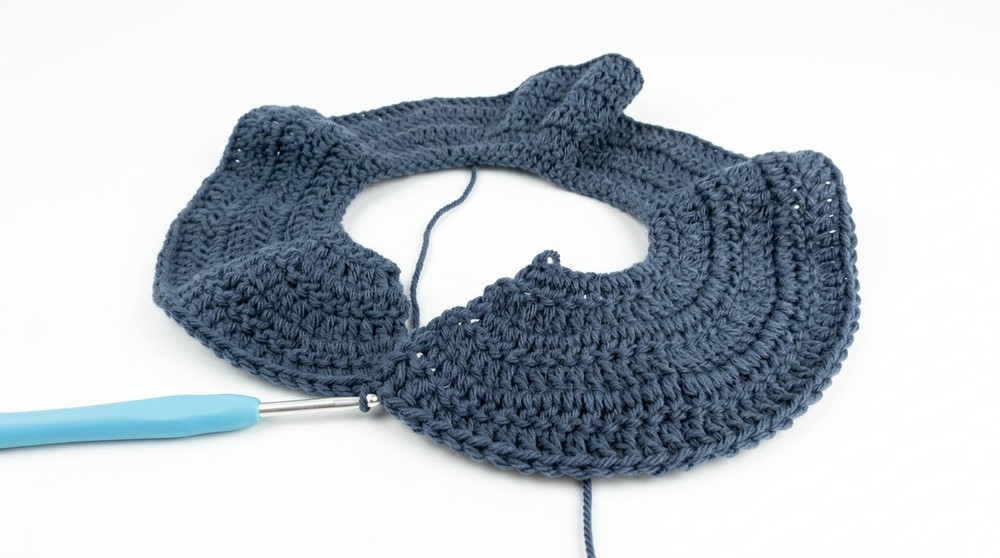
Step 8: Round 7 (Shaping Front, Back, and Armholes)
- Chain 1 and turn: (Chain 1 does not count as a stitch.)
- Work 20 double crochets to form the first half of the front section. Double check this count.
- Skip 30 stitches for the first armhole and work 1 double crochet into the 31st stitch.
- Work 40 double crochets for the back section. Verify the count.
- Skip another 30 stitches for the second armhole and work 1 double crochet into the 31st stitch.
- Work the remaining 20 double crochets for the second half of the front section.
Step 9: Rounds for Sweater Length
- From Round 8 onward, work 1 double crochet into each stitch around, continuing in a spiral and using a stitch marker.
- Do not slip stitch at the end of each round; simply continue working, moving the stitch marker to mark the first stitch of each new round.
- Work until your sweater is the desired length.
Step 10: Sleeves
- Left Sleeve:
- Attach your yarn to the first unworked stitch of the armhole.
- Work 30 double crochets into the armhole stitches and 3 additional double crochets along the bottom edge of the armhole (33 stitches total).
- Finish each round with a slip stitch, chain 1, and turn.
- Repeat rounds of 33 double crochets until the sleeve is the desired length.
- Right Sleeve:
- Turn the sweater inside out before starting to work.
- Attach yarn similarly to the left sleeve and follow the same instructions.
Step 11: Optional Collar
- Attach yarn to one corner of the neckline.
- Work 1 double crochet into each stitch (approximately 56 stitches).
- Chain 1 and turn for subsequent rounds, repeating the process until the collar reaches the desired height.
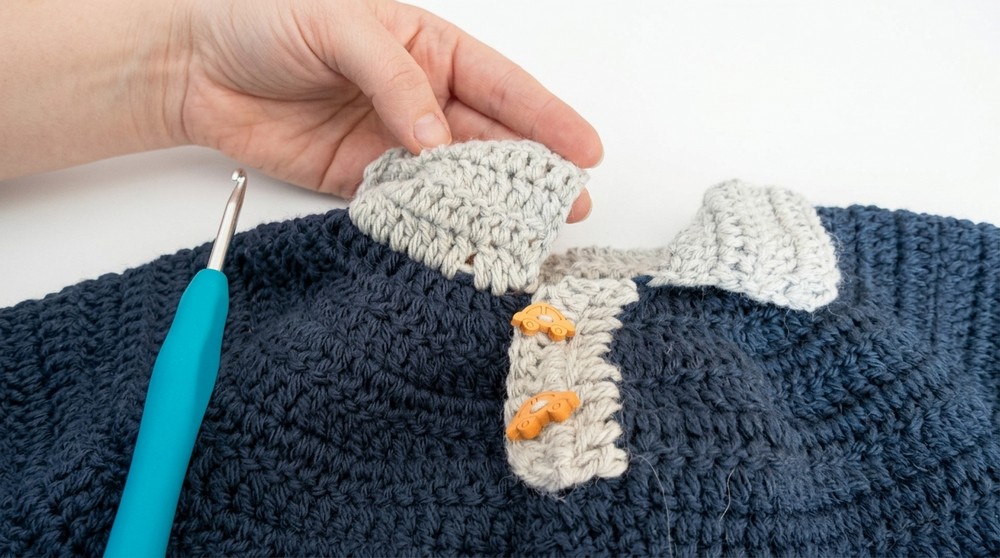
Step 12: Optional Button Strip
- Attach yarn along one side of the front opening.
- Work 1 double crochet into the side of each stitch along the edge.
- Repeat rows until the strip is wide enough to accommodate buttons.
Finishing the Sweater
- Weave in all ends: Use your darning needle to hide yarn tails securely inside the stitches.
- Block the sweater: Lightly wet or steam the finished sweater to ensure proper shape and drape.
- Add any finishing touches, such as buttons, embroidery, or appliques.
Final Words and Tips
- Checking Counts: Always count your stitches at the end of each round to ensure accuracy.
- Spiral Rounds: Utilize stitch markers to keep track of your beginning and ends of rounds while working in a spiral.
- Proportions: Work the sleeves in proportion to the sweater length for a balanced design.
- Customizing Sizes: To make the sweater larger or smaller, adjust your foundation chain and follow the shaping increases accordingly.
- Care Instructions: Hand wash or use gentle machine settings to preserve the sweater’s shape and integrity.
This detailed crochet pattern provides every step needed to create a beautiful baby and toddler sweater. Customize as you wish, and enjoy crafting a handmade garment full of love.