Try this fun and free crochet bear key holder pattern to make a tiny bear that’s too cute to resist and perfect for decorating your keys.
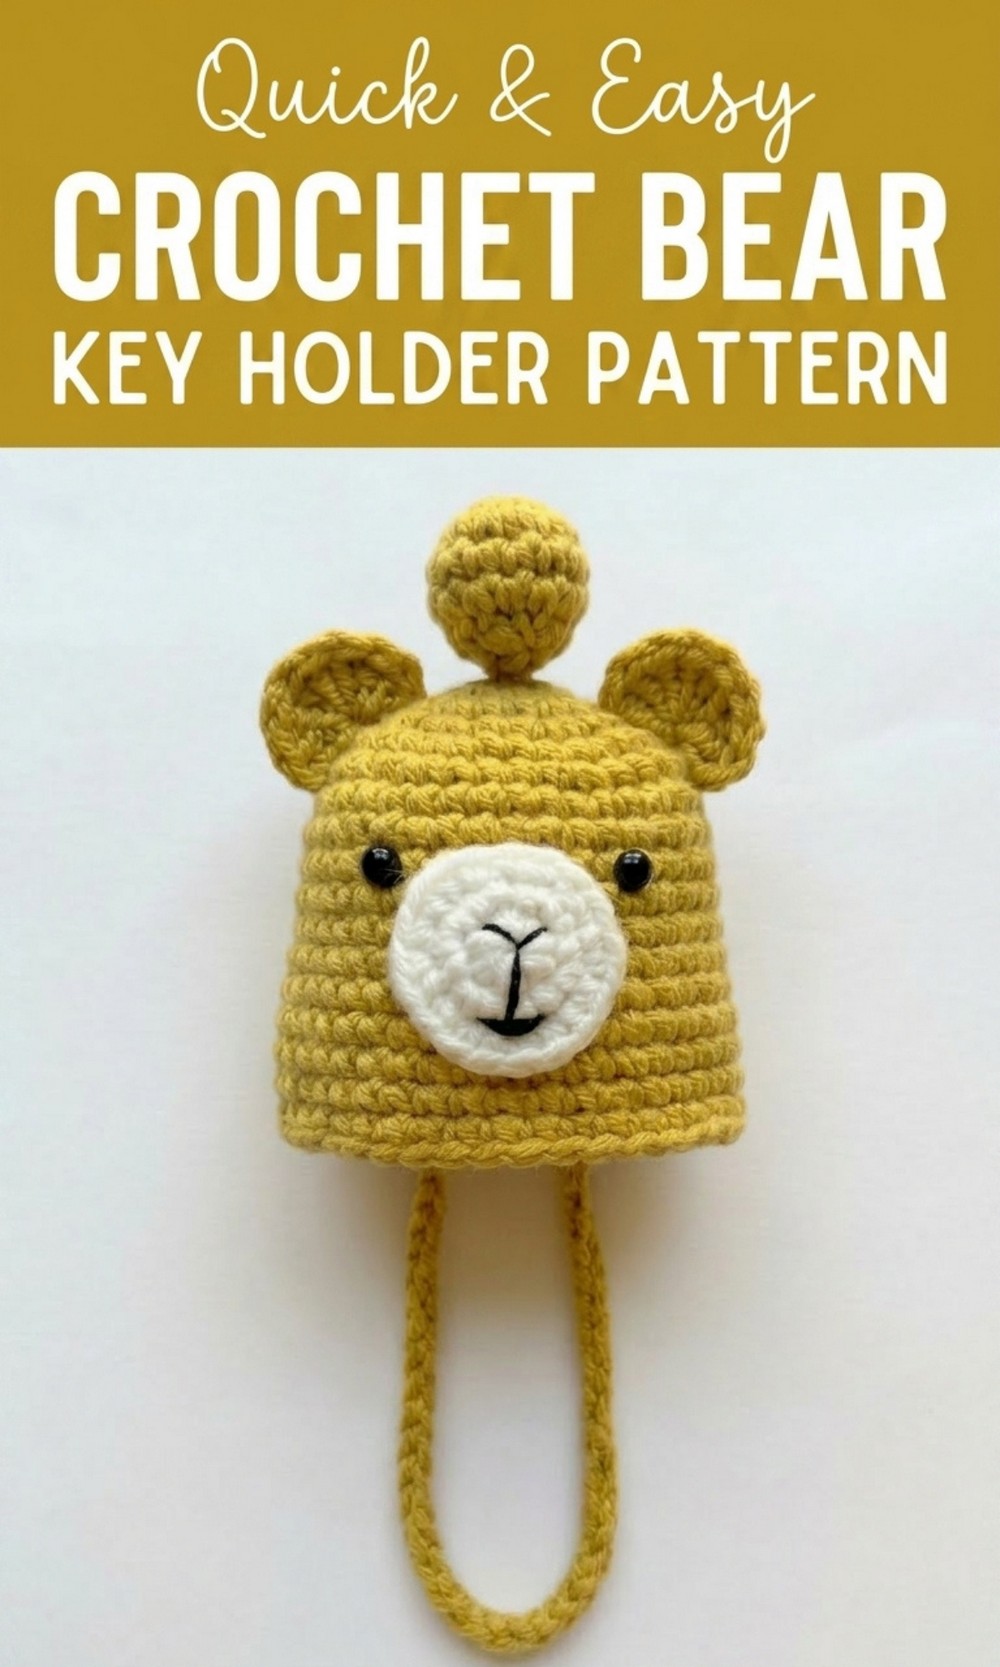
Fun Free Crochet Bear Key Holder That’s Perfect for Gifting
Who doesn’t love cute and useful things? The Free Crochet Bear Key Holder Pattern lets you combine both in one adorable little bear. This pattern shows you how to crochet a sweet bear that’s perfect for decorating your keys, bags, or even gifting to someone special. Made with soft cotton yarn and a tiny 2.5mm crochet hook, this tiny bear is both lightweight and super fun to make. It has a cute round head, tiny ears, and a lovable design that you can customize with colors, embroidery, or accessories.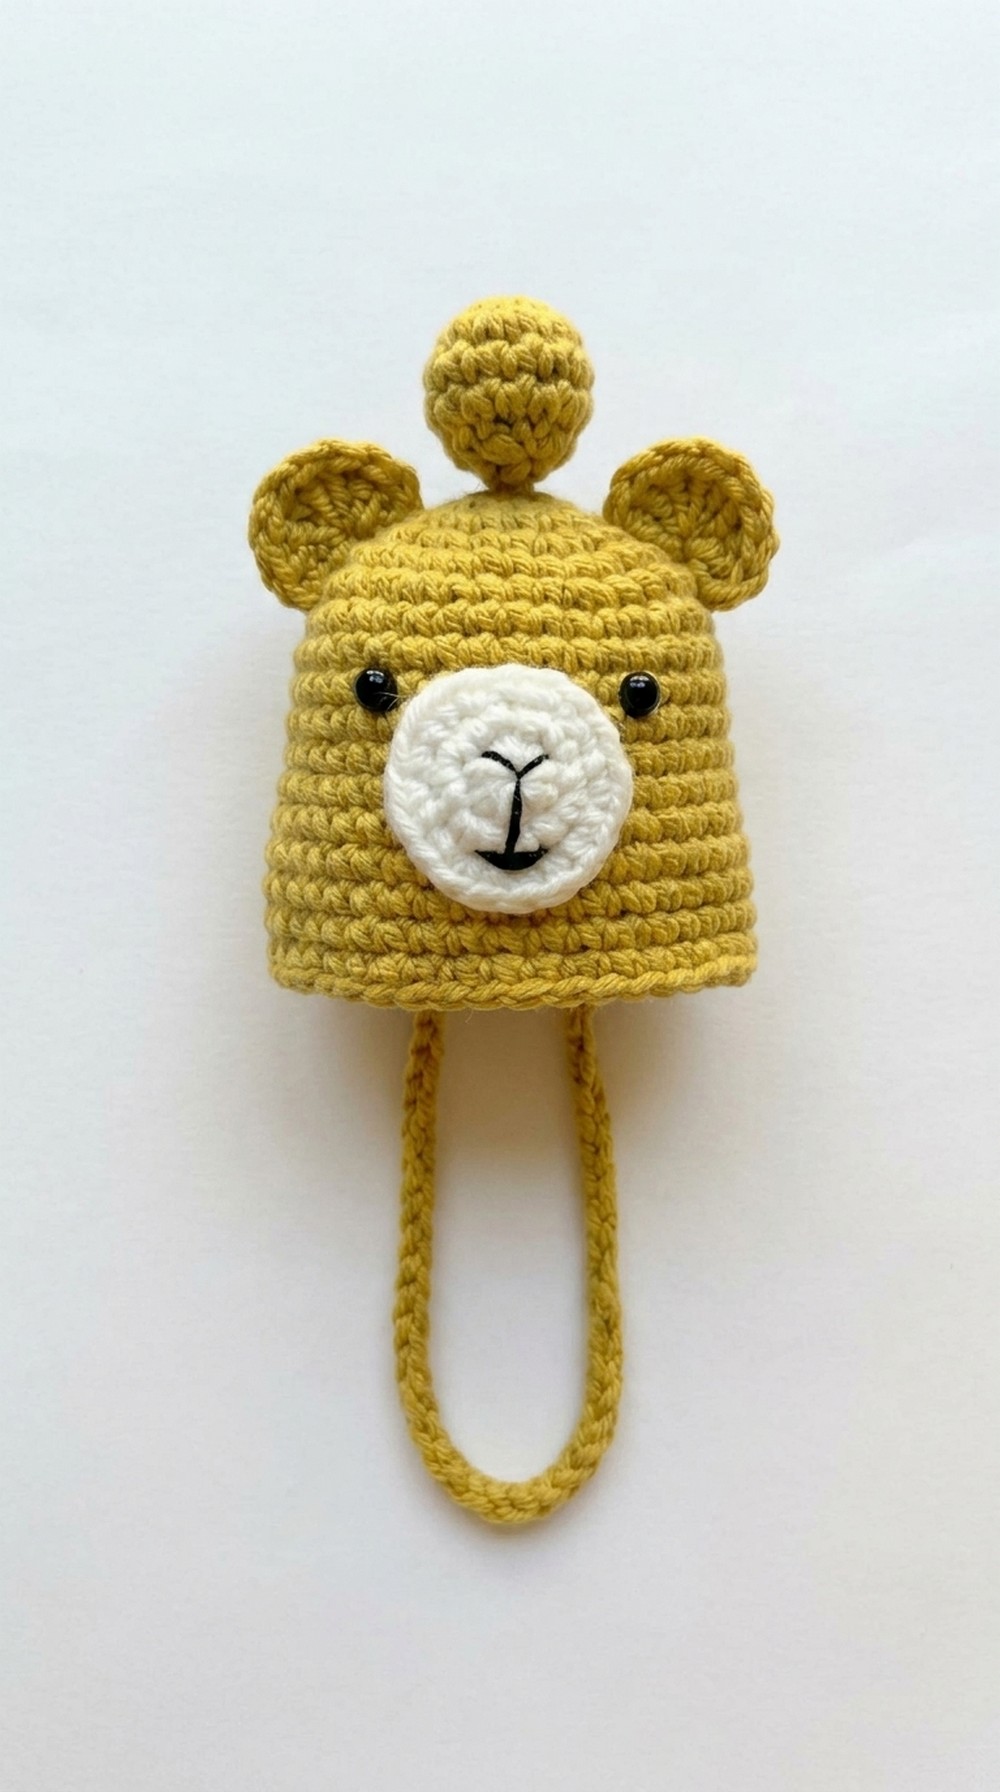 This crochet key holder not only looks amazing, but it’s also really practical, helping you keep your keys safe while adding a dash of charm to your everyday items. Add safety eyes, a bow, or even blush cheeks to give it personality.
Ideal Crochet Bear Key Holder Pattern
Materials Required
- Yarn:
- 4 ply cotton yarn (brown for the bear’s head, beige or white for the inner ears, optional black for nose decoration).
- You may substitute other colors depending on your customization preferences.
- Hook Size: 2.5mm crochet hook.
- Key Ring or Chain: To attach the finished bear to your keys.
- Scissors: For cutting yarn.
- Stitch Marker: To keep track of the beginning of each round (optional).
- Yarn Needle: For sewing and weaving in loose ends.
- Fiber Filling: Small quantity to stuff the head.
- Embroidery Thread: Black thread for stitching the nose and eyes (or optional safety eyes for convenience).
Gauge
The gauge is not critical for the bear key holder, but working with tight stitches is recommended to avoid gaps where stuffing shows. Aim for a compact fabric with consistent tension.
Finished Size
Using 4-ply cotton yarn and a 2.5mm hook, the finished bear head measures approximately 1.5–2 inches (4–5 cm) in length, perfect for a key holder.
Tips for Crocheting
- Use a Stitch Marker: Mark the first stitch of each round to avoid confusion while working in continuous spirals.
- Work Tight Stitches: This ensures that the stuffing doesn’t poke through the stitches.
- Seamlessly Join Pieces: Use the invisible slip stitch and needle weaving techniques wherever possible for a professional finish.
- Customizing the Bear: Add colors for stripes, blush cheeks, or crochet accessories (such as a bow or hat) to give your bear a unique personality.
Pattern Instructions
Abbreviations
- ch: Chain
- sc: Single crochet
- inc: Increase (two single crochet stitches in one stitch)
- dec: Decrease (crochet two stitches together)
- sl st: Slip stitch
- (x): Repeat the instructions inside the parentheses
- FO: Finish off
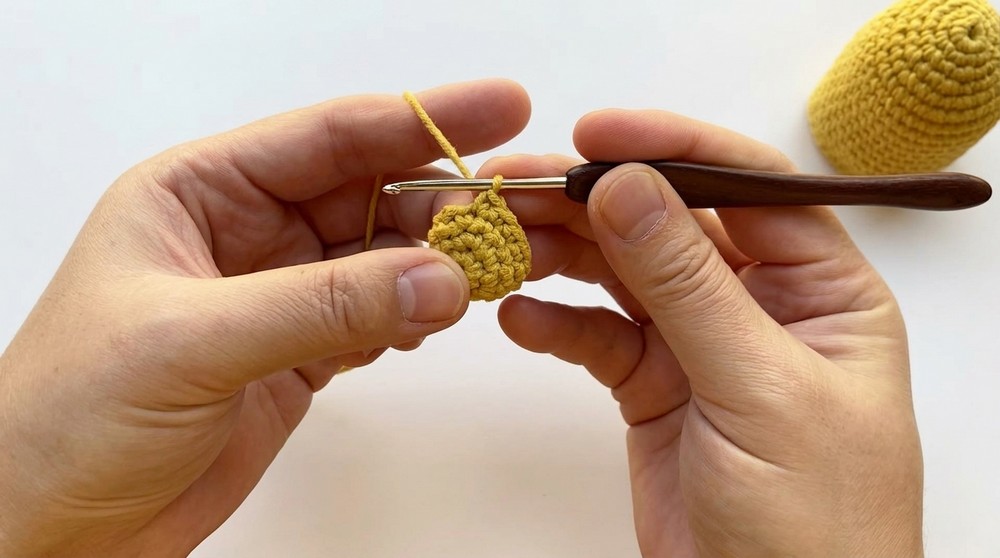
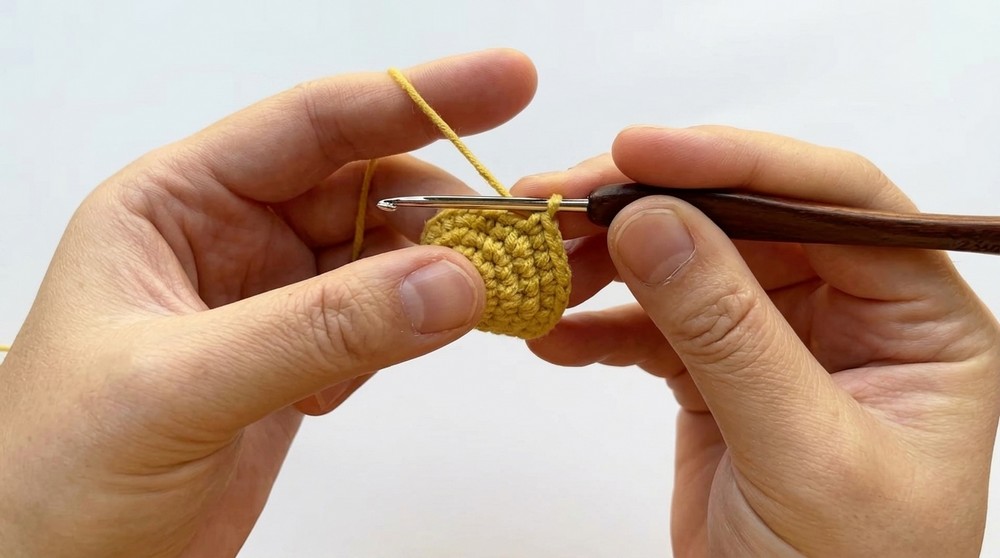
Step by Step Instructions
Part 1: Bear Head
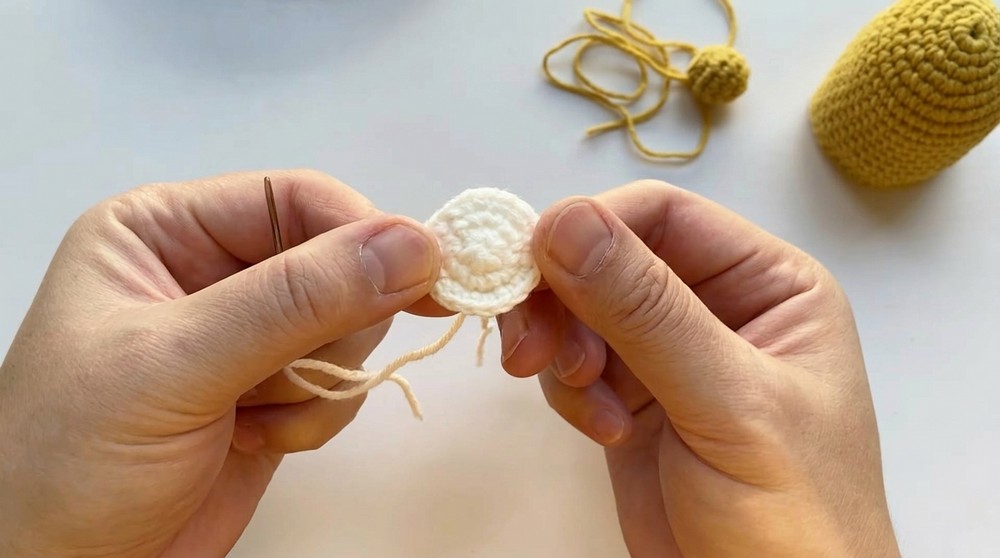
- Start with a Magic Ring:
Alternatively, chain 4, slip stitch into the first chain to form a loop. Chain 1. - Round 1 (R1): Work 6 single crochets (sc) into the magic ring. (6 sc)
- Slip stitch into the first stitch. Chain 1.

- Slip stitch into the first stitch. Chain 1.
- Round 2 (R2): Increase in each stitch (inc × 6). (12 sc)
- Slip stitch into the first stitch. Chain 1.
- Round 3 (R3): (sc, inc) × 6. (18 sc)
- Slip stitch into the first stitch. Chain 1.
- Round 4 (R4): (sc, inc, sc) × 6. (24 sc)
- Slip stitch into the first stitch. Chain 1.
- Round 5 (R5): (3 sc, inc) × 6. (30 sc)
- Slip stitch into the first stitch. Chain 1.
- Slip stitch into the first stitch. Chain 1.
- Round 6 (R6): (2 sc, inc, 2 sc) × 6. (36 sc)
- Slip stitch into the first stitch. Chain 1.
- Slip stitch into the first stitch. Chain 1.
- Rounds 7–17: Work one single crochet (sc) in each stitch around. (36 sc per round)
- After completing Round 17, slip stitch into the first stitch and chain 1. Leave a small opening for stuffing at this stage.
- Stuff the Bear Head: Fill the head with fiber filling, pushing gently using your fingers or a crochet hook.
- Round 18 (Decrease Round): (4 sc, dec) × 6. (30 sc)
- Round 19: (3 sc, dec) × 6. (24 sc)
- Round 20: (2 sc, dec) × 6. (18 sc)
- Round 21: (sc, dec) × 6. (12 sc)
- Round 22: Dec × 6. (6 sc)
- Finish Off: Slip stitch into the first stitch, weave in the tail to close the hole securely.
Part 2: Ears
Make two identical ear pieces.
- Foundation: Create a magic ring, or chain 4 and join into a loop. Chain 1.
- Round 1 (R1): Work 6 sc into the ring. (6 sc)
- Slip stitch into the first stitch. Chain 1.
- Round 2 (R2): (sc, inc) × 3. (9 sc)
- Slip stitch into the first stitch and chain 1.
- Round 3: Work one single crochet in each stitch around. (9 sc)
- Finish Off: Leave a long tail for sewing.
Part 3: Assembly
- Attach the Ears:
Position the ears symmetrically on top of the bear head. Use the long tails from each ear to sew them securely into place. - Embroider the Face:
- Use black embroidery thread to stitch the bear’s nose and mouth in an inverted triangle shape.
- Add eyes with either black embroidery thread or small safety eyes.
- Attach to Key Chain:
Securely sew or attach a metal ring to the top of the bear’s head to create the key holder mechanism.
Special Techniques
- Invisible Slip Stitch: For a seamless finish, cut the yarn, pull it through the loop, and use a yarn needle to mimic the stitch’s path for an invisible join.
- Shaping: Firmly press fiber filling to shape the bear head before sewing the hole.
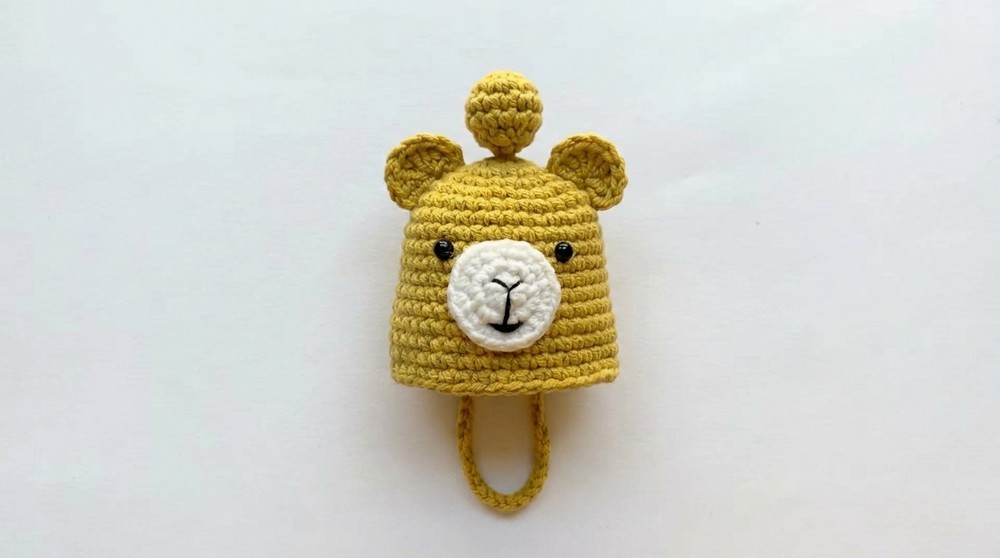
Conclusion
Upon completion, your crocheted bear key holder will be a small, adorable accessory that’s both practical and charming. The soft texture of the cotton yarn combined with the delicate details ensures the finished product looks professional and unique. You can customize the bear with accessories like bows, hats, or even small embroidered initials.
Important Remarks
- Test the attachment of the key ring before use to ensure it is securely sewn.
- Experiment with different yarn colors and face designs to create unique bears for gifting or personal use.
Enjoy crocheting your bear key holder, and let its charm add a personal touch to your keys.