Stay cozy and stylish with this free crochet bucket hat pattern that’s perfect for beginners and fun to make for sunny or casual days.
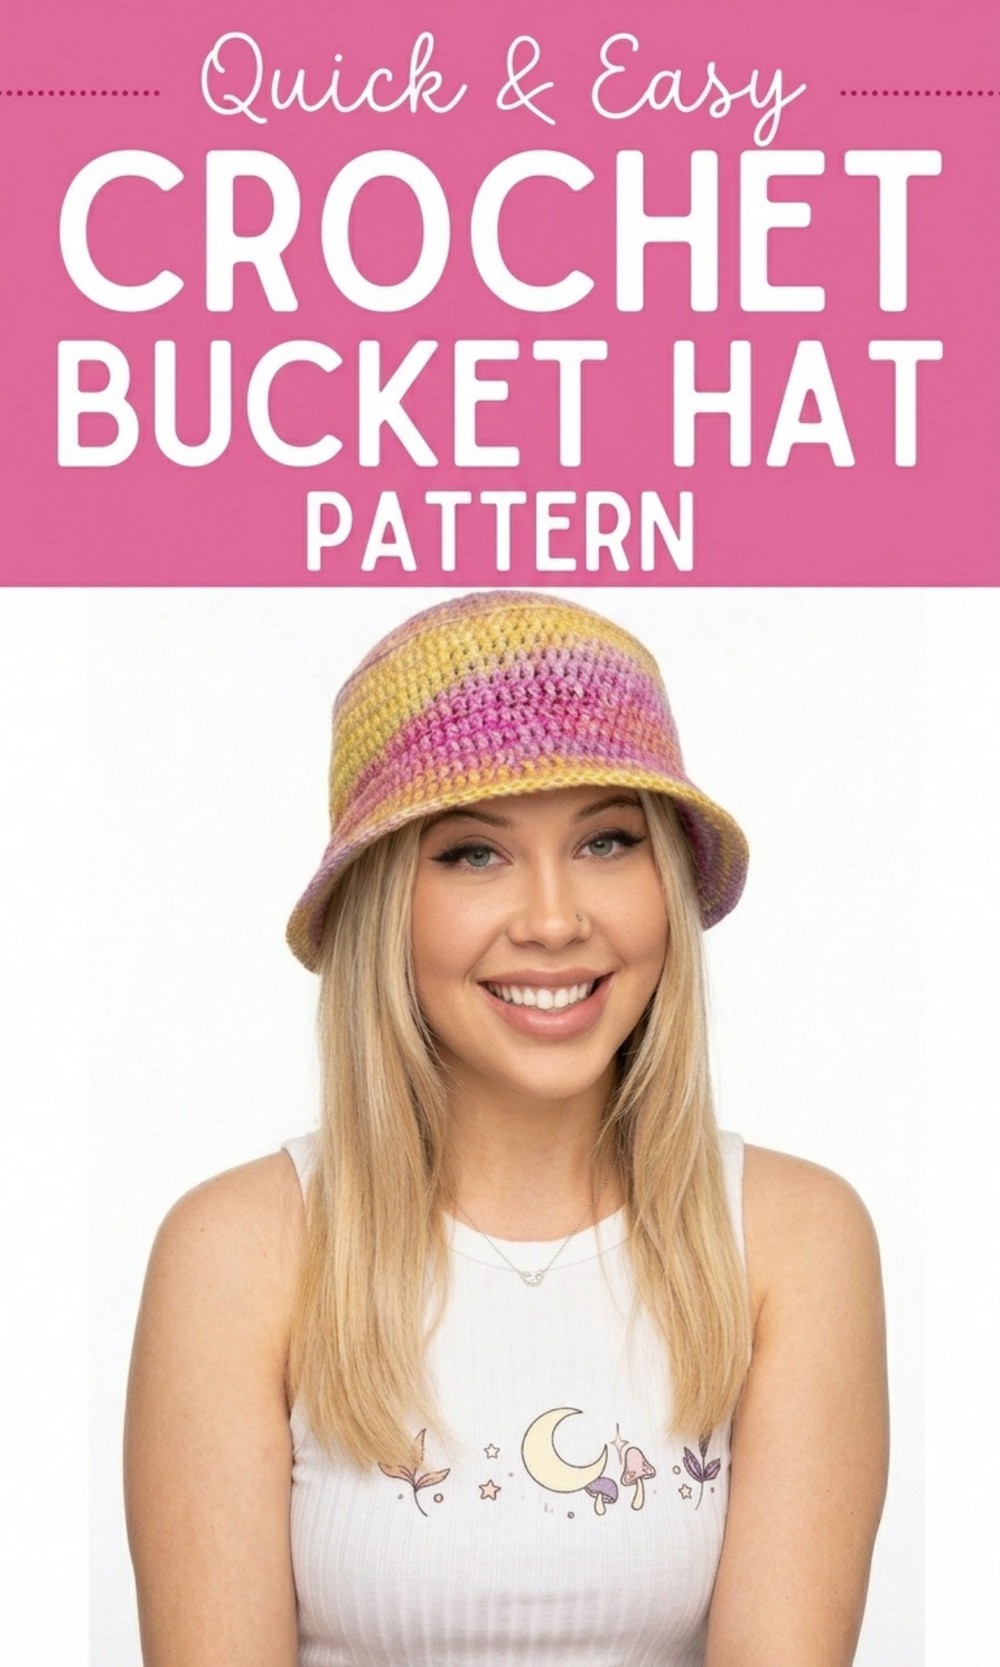
Chic Free Crochet Bucket Hat Pattern For Relaxed Weekend Use
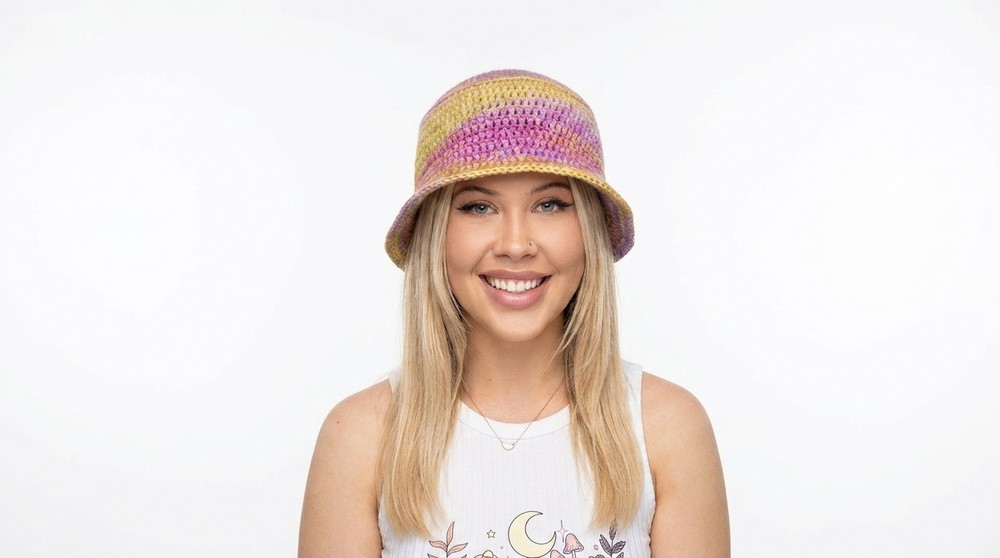
If you love fun and simple projects, this free crochet bucket hat pattern is just for you. This pattern is easy to follow, beginner friendly, and perfect for creating a stylish hat that’s both functional and fashionable. The bucket hat has a smooth, rounded top and a slightly flared brim that adds a fun touch to your look. Made with soft cotton-acrylic yarn, this hat feels lightweight and comfortable, yet sturdy enough to keep its shape.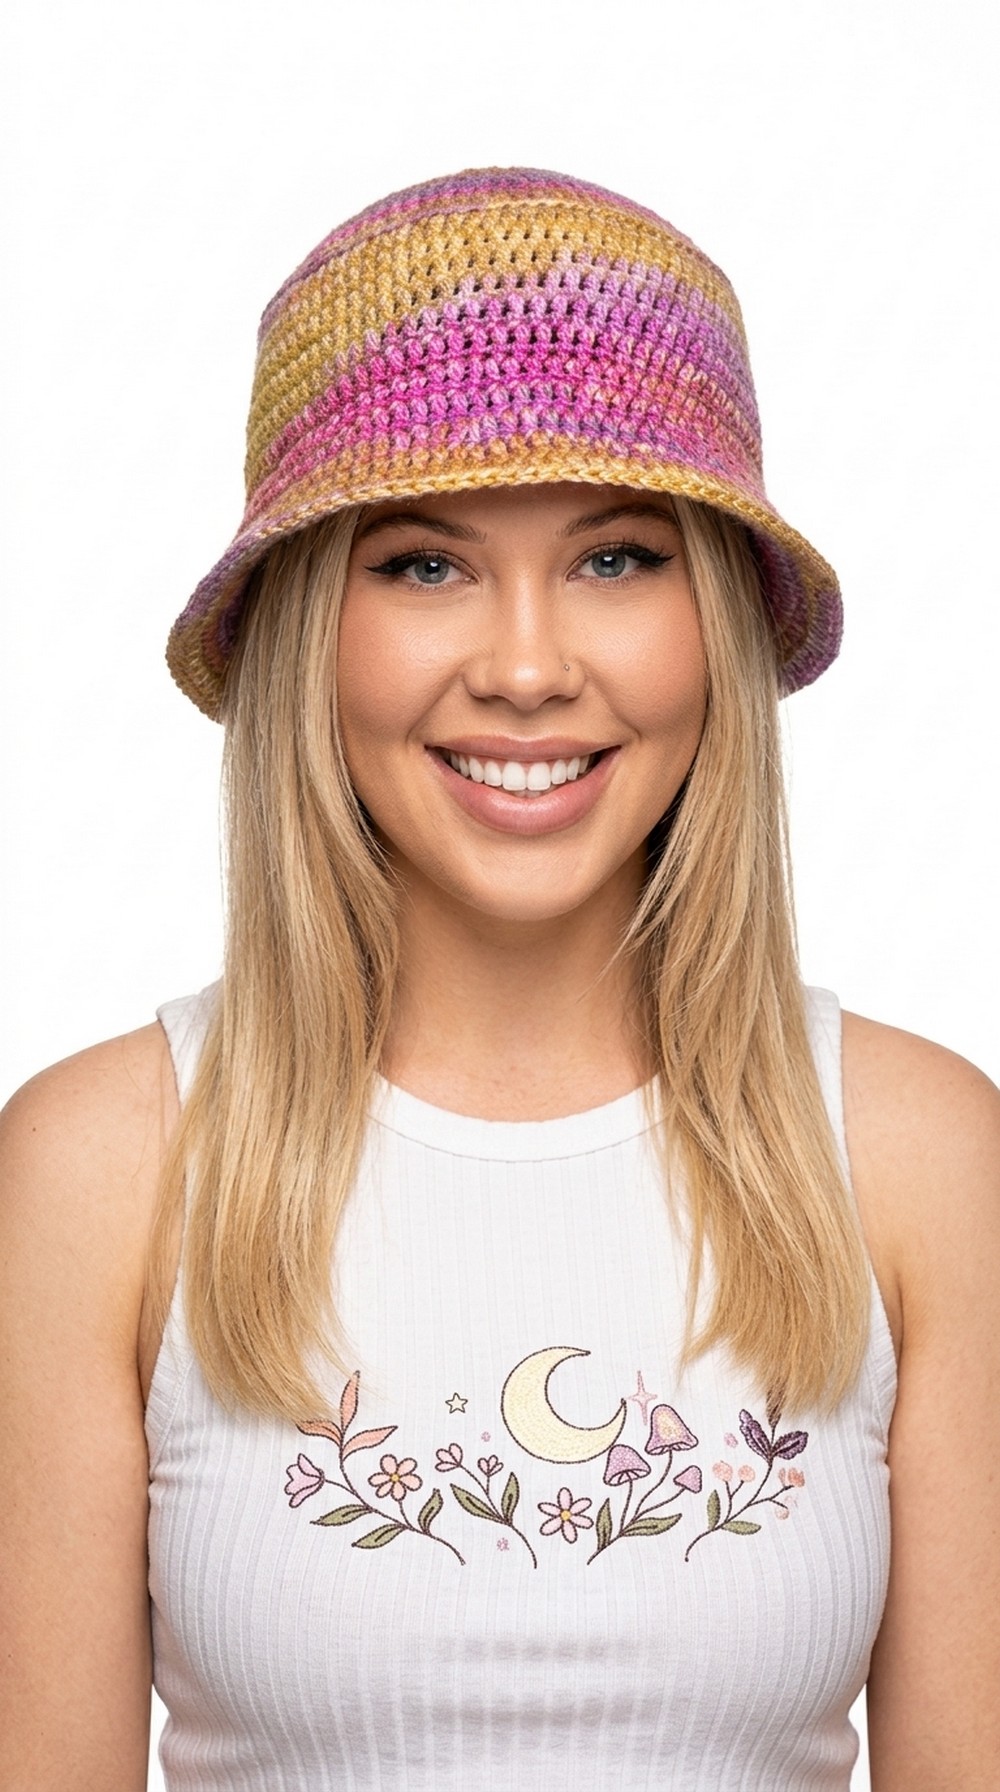 It’s a versatile piece that you can use for many occasions. Wear it on sunny days to protect your face from the sun or pair it with your favorite outfit to add a pop of handmade charm. You can easily adjust the pattern to make small, medium, or large sizes, so it’s a perfect fit for anyone.
With just a magic ring and some basic stitches like double crochet, you’ll see your hat take shape in no time. This pattern helps you learn and create something unique while having lots of fun. Give it a try and enjoy your beautiful handmade bucket hat.
Wonderful Crochet Bucket Hat Pattern
Materials Needed
- Yarn: Yarnspirations Blossom Cakes or any cotton acrylic blend. Choose lightweight yarn for better texture.
- Crochet Hook: 4 mm hook (adjust hook size based on personal tension; switch to 5 mm hook if you prefer looser stitches).
- Tapestry Needle: For weaving in ends.
- Scissors: To cut yarn neatly.
Special Techniques
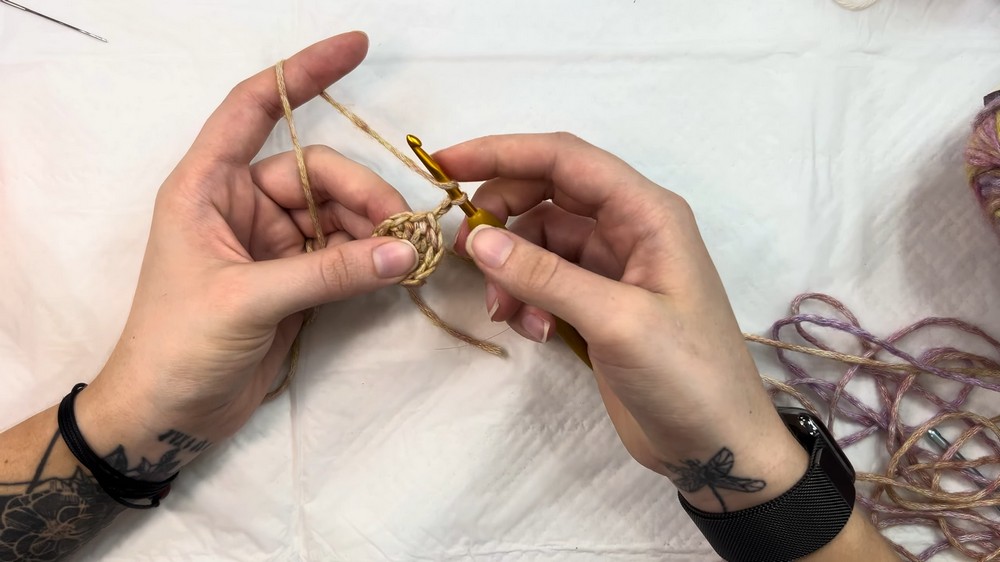
Magic Ring
Learn how to create a magic ring for the base of the hat:
- Lay the yarn flat. Wrap the yarn around two fingers to form an X shape.
- Hold the yarn securely with your fingers.
- Insert the hook under the lower strand, then pull the upper strand through.
- Twist the loop and chain two to secure and begin your first round.
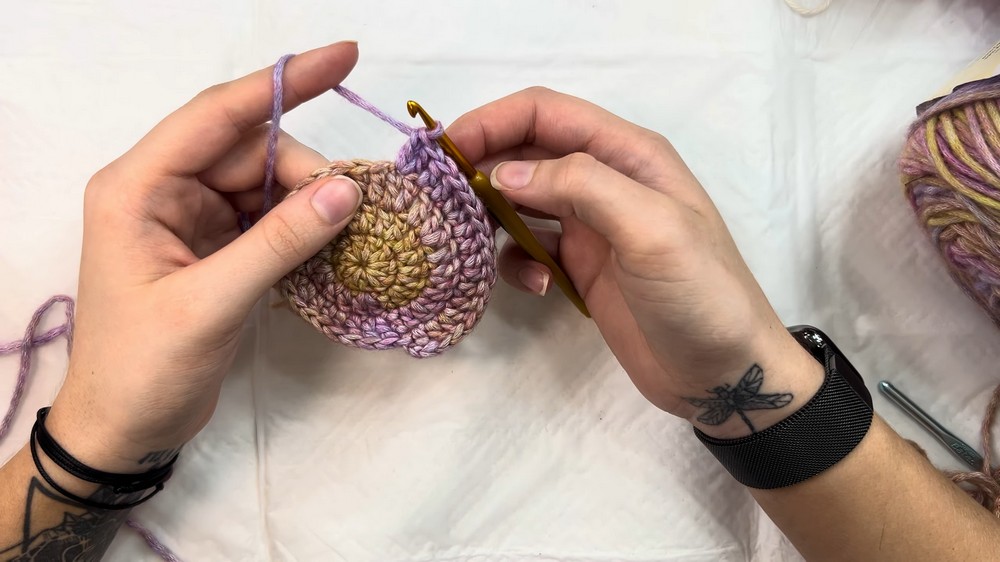
Step by Step Instructions
Top of the Hat
Round 1 (Magic Ring and Base)
- Begin with a magic ring.
- Chain two (does not count as a stitch).
- Work 10 double crochets into the magic ring.
- Tighten the ring by pulling the yarn tail.
- Slip stitch into the first stitch (not the chain 2) to close the round.
Round 2 (Increasing Round)
- Chain two.
- Work two double crochets into each stitch from the previous round.
- At the end of the round, you should have 20 double crochets.
- Slip stitch into the first stitch to close the round.
Round 3 (Increasing Every Other Stitch)
- Chain two.
- Work one double crochet into the first stitch.
- In the next stitch, work two double crochets (increase stitch).
- Repeat this pattern all around: one double crochet, increase.
- Finish with a total of 30 double crochets. Slip stitch to close the round.
Round 4 (Increase Every Third Stitch)
- Chain two.
- Work one double crochet into the first two stitches.
- In the third stitch, work two double crochets (increase stitch).
- Repeat this pattern all around: two single double crochets, increase.
- Finish with 40 double crochets. Slip stitch to close the round.

Round 5 to Round 7
Incrementally increase the number of stitches between increases:
- Round 5: Increase every 4 stitches.
- Round 6: Increase every 5 stitches.
- Round 7: Increase every 6 stitches.
Continue this pattern until the hat fits the crown of your head.
- Small: Stop after Round 7 (approximately 6 rows).
- Medium: Continue to Round 8 with increase every 7 stitches.
- Large: Proceed to Round 9 with increase every 8 stitches.
Side of the Hat
- Round 1 (Back Loop Only):
- Chain two.
- Work one double crochet into the back loop only of each stitch from the previous row. This creates a slight edge for the sides of the hat.
- Slip stitch into the first stitch to close the round.
- Round 2 to 7 (Both Loops):
- Chain two at the beginning of each round.
- Work one double crochet into both loops of each stitch. Continue stitching without increases to form the sides of the hat.
- Repeat for 6 additional rows (7 total for the sides). Measure as needed to ensure the side depth suits your preferences.
Brim of the Hat
Round 1 (Front Loop Only)
- Chain two.
- Work one double crochet into the front loop only of each stitch.

- Begin increasing in every 9th stitch (or one greater than the last row of increases for the crown).
- Finish with a slip stitch into the first stitch.
Remaining Rows of Brim
For subsequent rows, alternate between rows with and without increases:
- Odd numbered rows: Increase in every nth stitch (e.g., 10th stitch on Round 2, 11th stitch on Round 4, etc.).
- Even numbered rows: Work one double crochet in every stitch with no increases.
End on a row with increases to ensure the brim curves outward.
Finishing the Hat
- Weave in all loose ends with a tapestry needle:
- Thread the yarn through random stitches to secure it.
- Trim excess yarn after securing the ends.
- Check the hat’s fit and adjust any last stitches if necessary.
Final Words
Congratulations on completing your crochet bucket hat! This beginner friendly project is a wonderful way to practice fundamental techniques and experiment with customization.
Tips for Maintaining the Hat
- Washing: Use cold water and gentle detergent. Hand wash or use a delicate machine setting.
- Drying: Block the hat by gently reshaping it and allowing it to air dry. Avoid direct sunlight to prevent fading.
- Storage: Keep it clean and folded in a cool, dry place to retain shape and texture.
https://youtu.be/4R4Mq2RI8FE