Your baby will stay cool and adorable all season with this free crochet summer baby hat pattern that’s, offering a breathable, and stylish design ideal for sunny days.
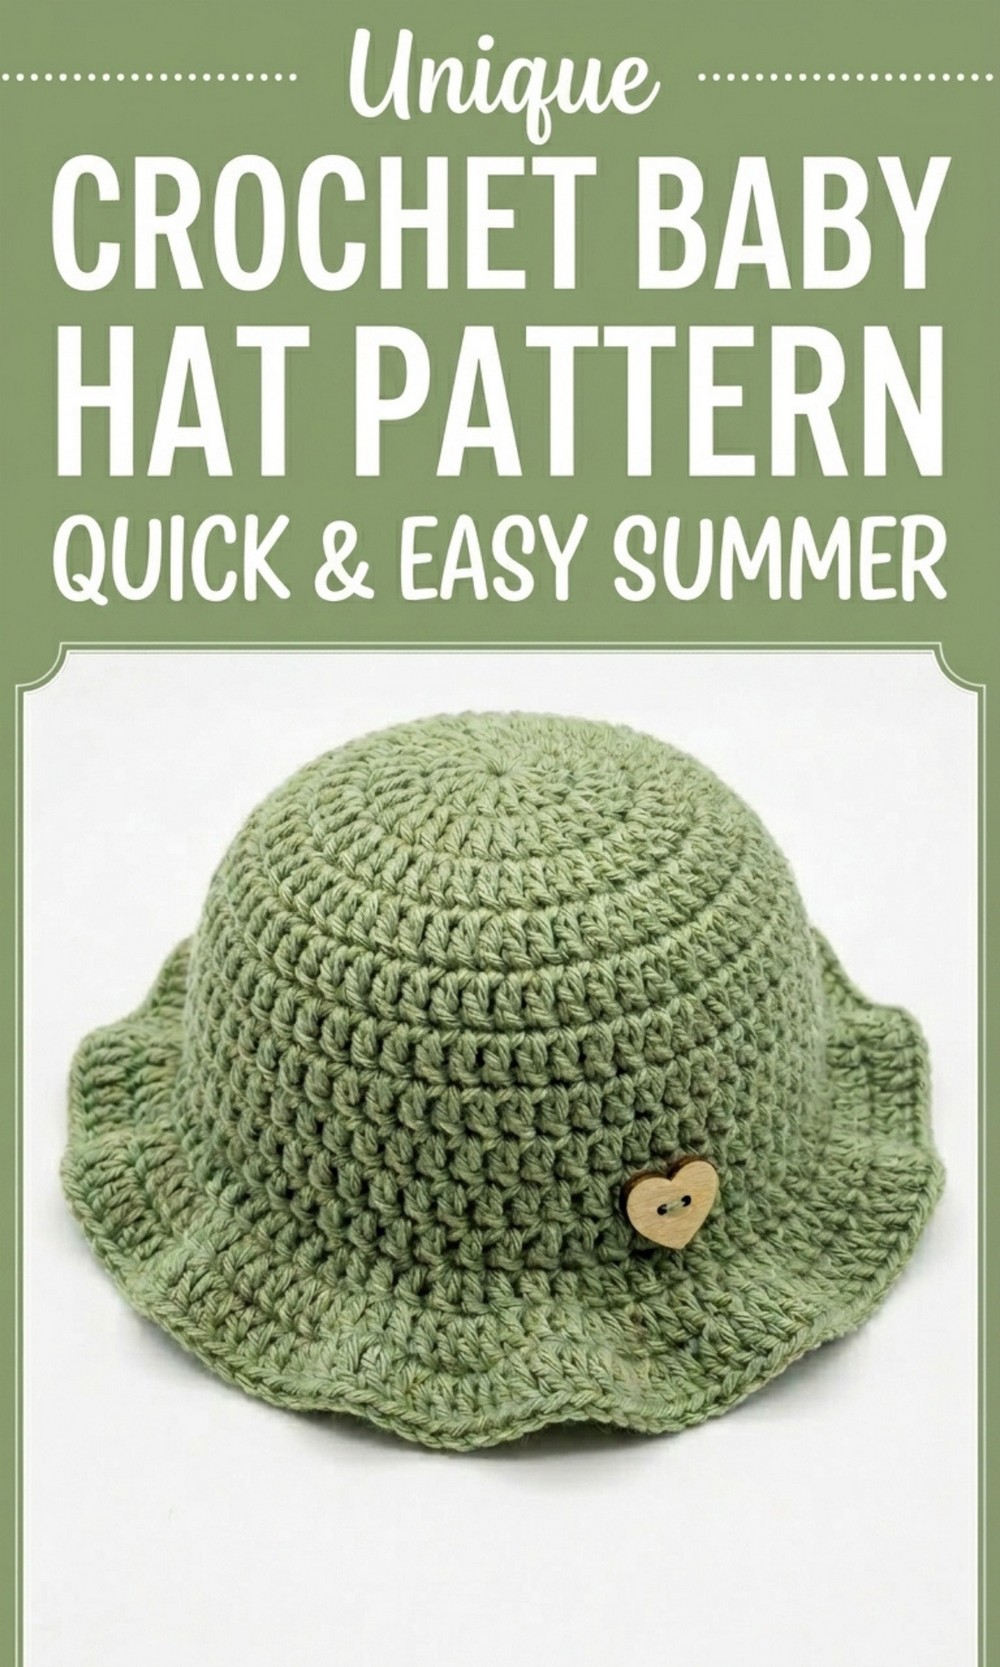
Free Crochet Baby Hat Pattern for Fun Newborn Photos
Hook something soft, cozy, and oh so cute with just a hook and yarn. This free crochet baby hat pattern is the perfect way to level up your crocheting skills while making an adorable gift. The hat is designed with a seamless and stylish look, starting with a magic circle technique that keeps things neat and tidy. Made with lightweight stitches, it’s ideal for all weather—keeping your baby comfy in summer and warm in winter.
Its gentle flare at the edge adds a unique touch, making it stand out from traditional hats. You can customize this hat in different sizes, ensuring a perfect fit for newborns, playful toddlers, and even preschoolers. Plus, you can add buttons, bows, or ribbons to personalize it even further. Whether for a baby shower, photoshoot, or everyday wear, this crochet baby hat is a fun project that wraps your little one in handmade love.
Comfortable Crochet Baby Hat Pattern
Materials Needed
- Yarn: Light weight (Category 3) yarn or any baby friendly yarn.
- Crochet hook: Size suitable for your chosen yarn (e.g. 4mm/G hook).
- Scissors: For cutting yarn ends neatly.
- Yarn needle: To weave in ends.
Gauge Information
Gauge varies depending on yarn and tension. To maintain consistency:
- Work 4×4 inches in double crochet stitches (approximately 16 stitches x 8 rows).
Finished Size
This pattern can be customized for multiple sizes. Specifically for a summer baby hat:
- Circumference: Approx. 16 to 17 inches.
- Height: Approx. 6 to 7 inches.
For detailed sizing instructions, adjust yarn weight and rounds to achieve larger or smaller sizes.
Special Techniques
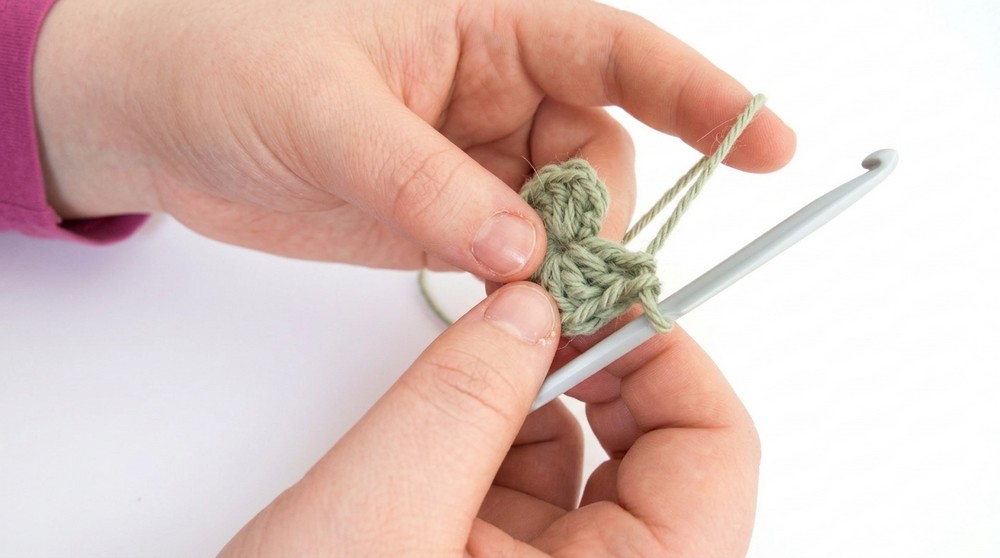
Magic Circle
A magic circle is used to create a tight and seamless beginning for the hat. Follow these steps:
- Wrap the yarn around your index finger, creating a cross.
- Insert the crochet hook under the first loop, pull up the second loop of the cross, and remove the finger.
- Chain one to lock the magic circle into place.
Pattern Instructions
Round 1: Creating the Base
- Magic Circle: Start with a magic circle and ensure it is tight.
- Chain 1: This chain does not count as a stitch; it locks the circle in place.
- 13 Double Crochets (DC): Work 13 DC into the magic circle.
- Yarn over, insert hook into the circle, yarn over, pull up a loop.
- Yarn over, pull through 2 loops. Yarn over, pull through remaining 2 loops.
- Closing the Round: Pull the yarn tail to tighten the magic circle. Slip stitch into the top of the first DC to complete the round.
Round 2: Increasing Base
- Chain 3: Counts as first DC.
- Two DC in Each Stitch: Work 2 DC into each stitch from the previous round.
- Completion: At the end of this round, you should have 26 stitches. Slip stitch to the top of the chain-3.

Round 3: Alternating Increase
- Chain 3: Counts as first DC.
- Pattern: Alternate between:
- 2 DC into one stitch.
- 1 DC into the next stitch.
- Total Stitches: End with 39 stitches. Slip stitch to the top of the chain 3.
Round 4: Expanding the Hat
- Chain 3: Counts as first DC.
- Pattern: Alternate between:
- 2 DC into one stitch.
- 1 DC into the next two stitches.
- Total Stitches: Finish with 52 stitches. Slip stitch to the chain 3.
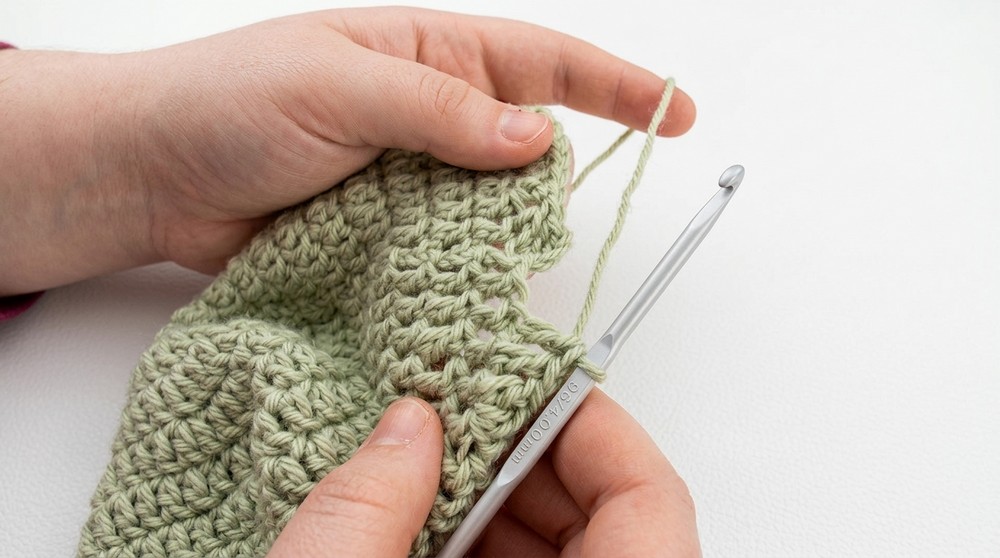
Rounds 5-10: Building the Hat’s Height
- Chain 3 (at the start of each round): Counts as first DC.
- One DC in Each Stitch: Work 1 DC into every stitch without any increases.
- Completion: Repeat this round for six total rounds.
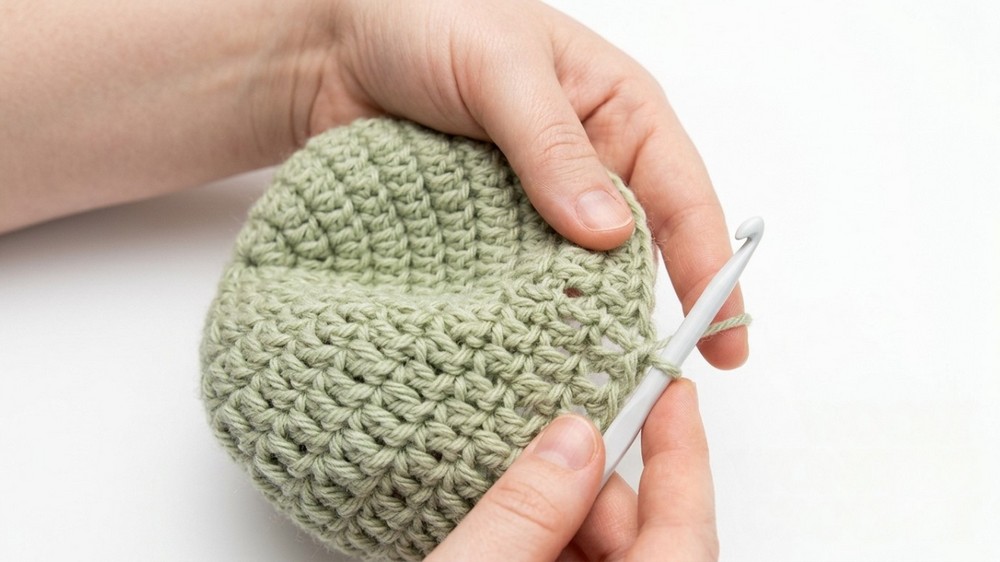
Round 11: Edging/Trim
- Chain 3: Counts as first DC.
- Pattern: Alternate between:
- 2 DC into one stitch.
- 1 DC into the next two stitches.
- Special Note: Work only into the front loop of each stitch in this round for a decorative edging effect.
Round 12: Final Trim
- Chain 3: Counts as first DC.
- Pattern: Work as in Round 11, alternating between 2 DC and 1 DC in the next two stitches.
- Modification: Work into both loops of each stitch (return to regular stitch handling).
Round 13: Finishing the Trim
- Chain 3: Counts as first DC.
- Repeat Pattern: Same as Round 12 (2 DC into one stitch, followed by 1 DC in the next two).
- Finishing: Slip stitch into the chain 3 and complete the round.
Conclusion and Finishing
- Fasten Off: Cut the yarn and secure it by tying a knot.
- Weaving Ends: Use a yarn needle to weave in the tail ends neatly on the inside of the hat.
- Optional Embellishments: For added flair, sew on decorative buttons, ribbons, or appliqués.
Customization Ideas
- Changing Colors: Create stripes by alternating colors every few rounds.
- Adding a Brim: Add additional rounds with front loop stitches to widen the brim for a sunhat effect.
- Textured Stitches: Replace double crochet for rounds 5 to 10 with half double crochet for a denser fabric.
- Size Adjustments: Increase or decrease the number of rounds at the base for smaller/larger sizes.
Important Remarks
- Consistency Matters: Ensure stitch tension remains consistent throughout.
- Experiment: Play with colors and yarn types, but ensure baby safe, soft yarn is used.
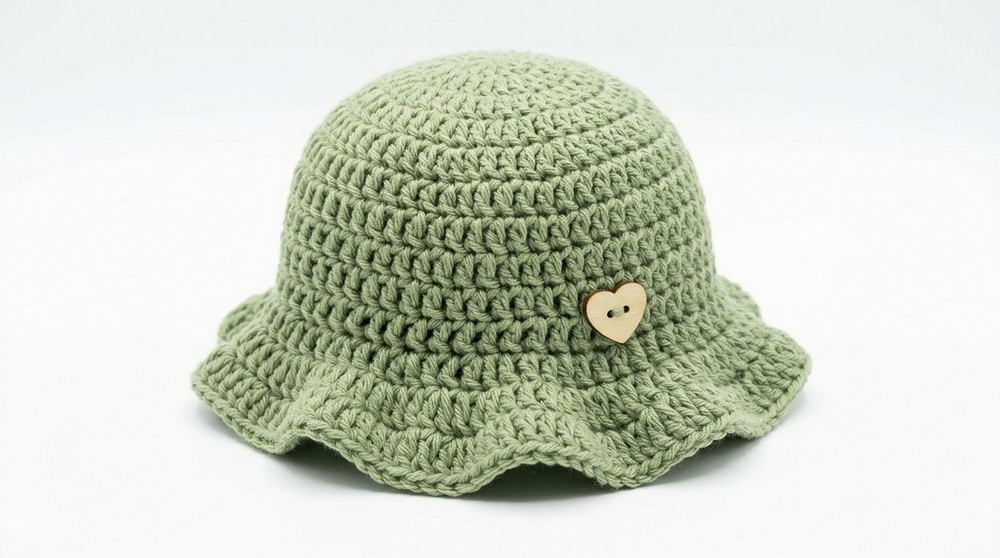
- Final Look: The finished hat should feature a neat trim that flares slightly outward for a cute summer ready finish.
With this detailed pattern, you can crochet a beautiful and adorable summer baby hat while enjoying a fulfilling crochet experience.