
Try this beautiful and festive Crochet Christmas Ball that adds charm to your holiday decorations and make perfect handmade gifts for friends and family.
This written pattern is based on the original YouTube tutorial by Zhielle’s Creation, giving full credit to the talented creator. The Cute Crochet Christmas Ball is a charming holiday ornament that adds a warm touch to your seasonal decorations. To follow the steps clearly, consider watching the full tutorial and supporting Zhielle’s Creation channel.
Free Cute Crochet Christmas Ball Pattern for Holiday Home Decor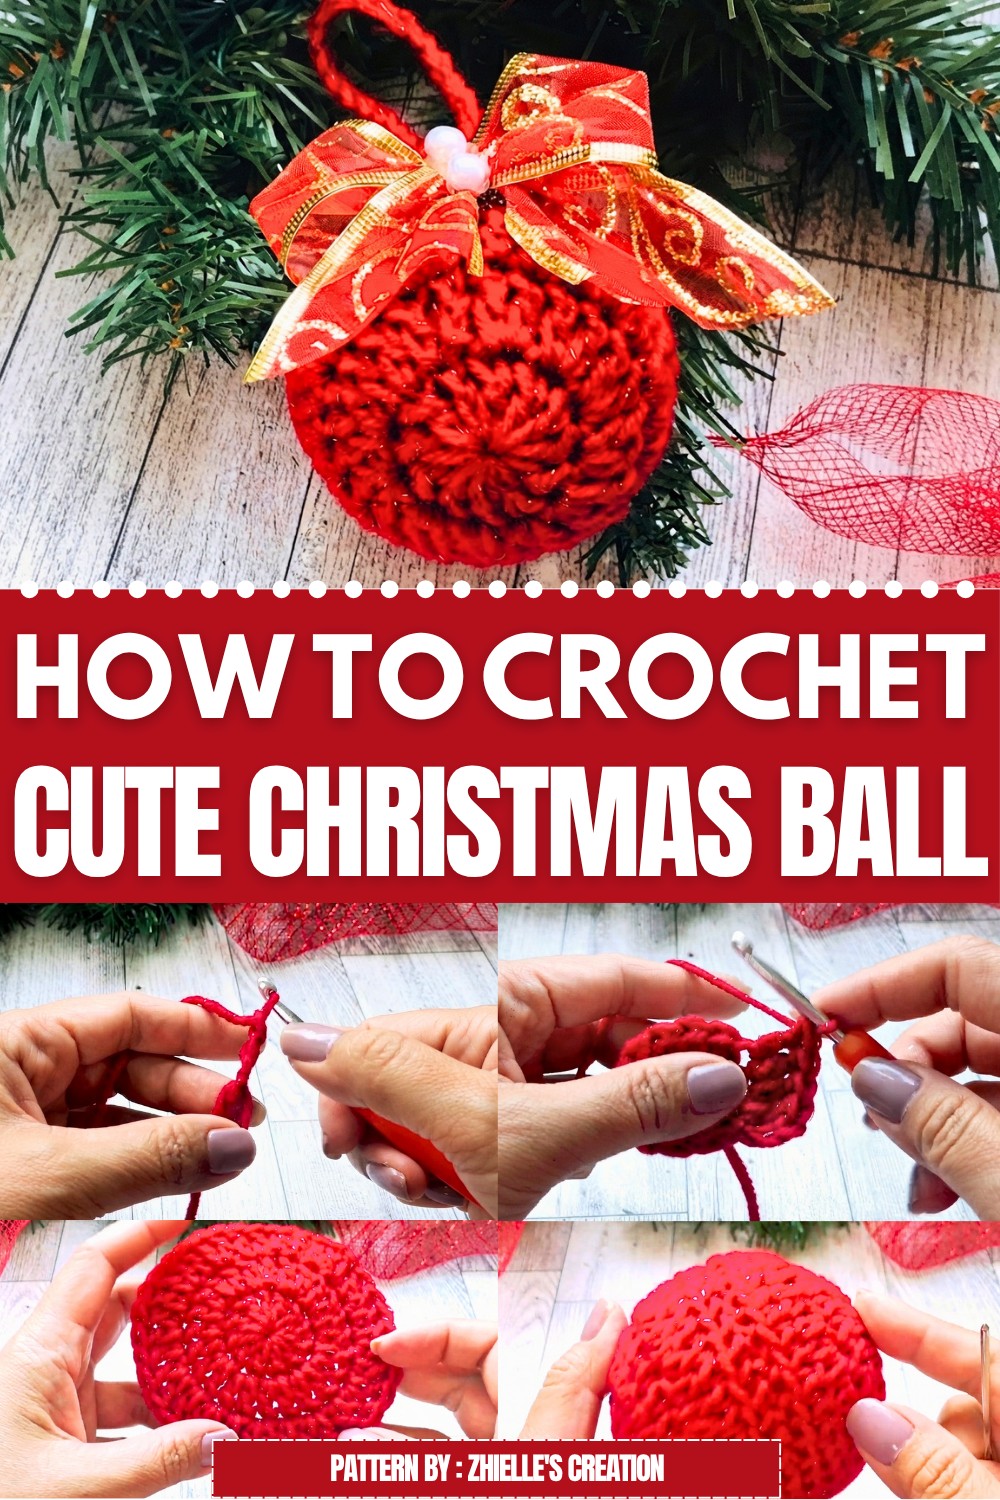

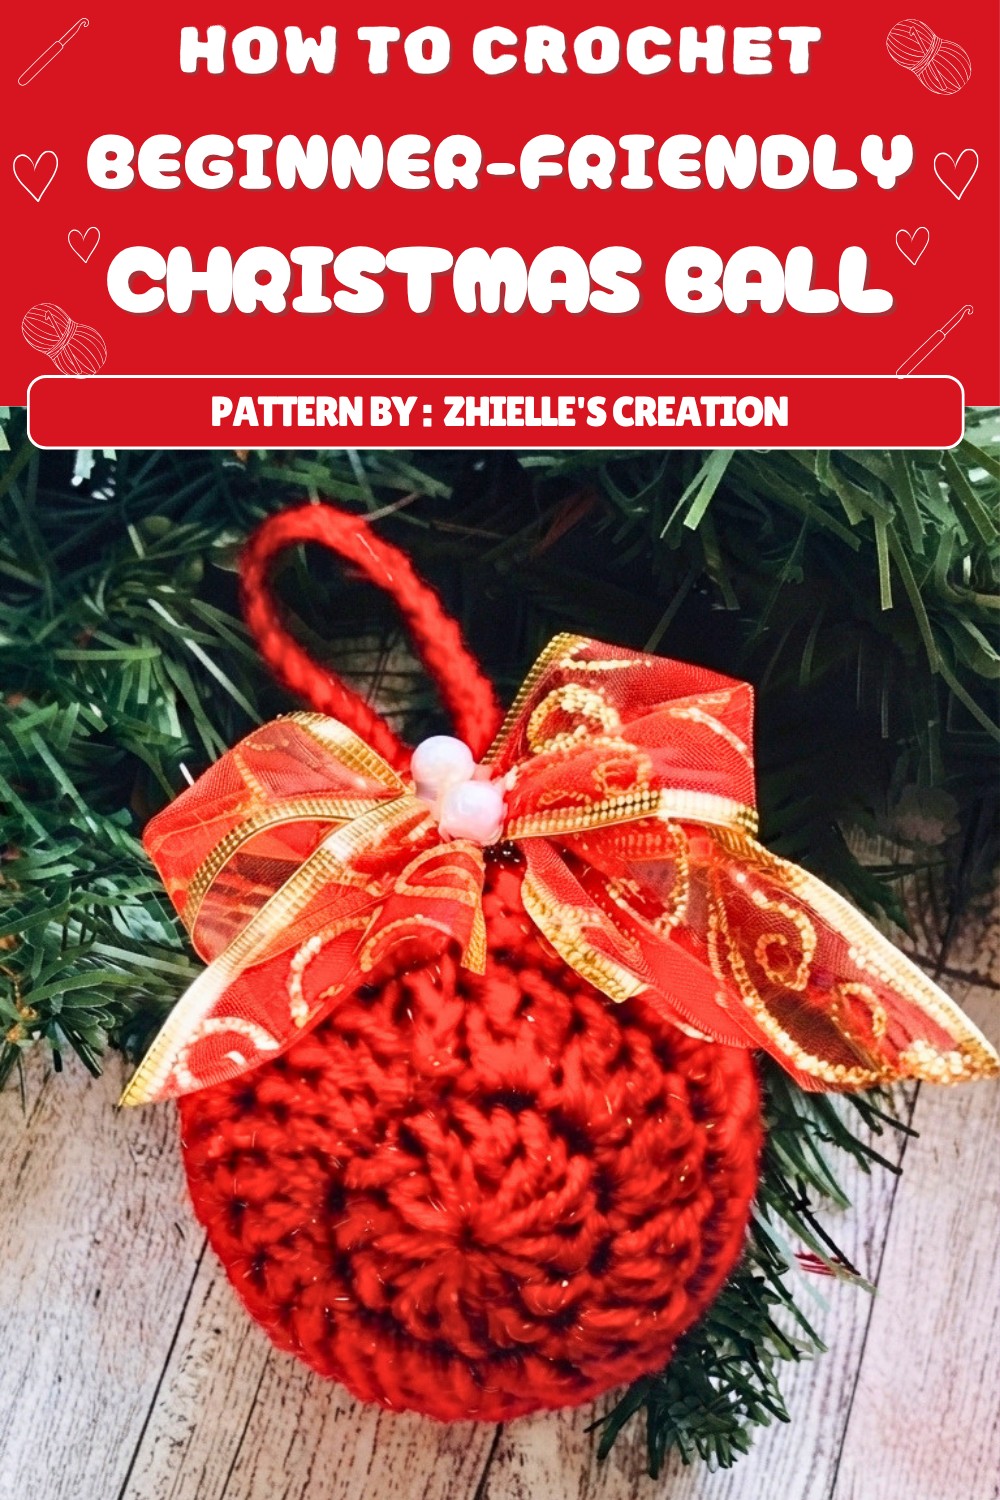
The Crochet Christmas Ball is small and light, usually about 3 inches in diameter, making it suitable to hang on a Christmas tree or use in other festive displays. This project uses simple materials like yarn and a crochet hook, which makes it accessible for beginners who know basic stitches. The finished ball has a smooth, round shape with bright colors such as red, green, and white, adding a cheerful look to your home during the holidays.
 This project is great because it is straightforward and quick to complete. It offers an opportunity to add a personal and friendly touch to holiday decorations. Also, these cute crochet balls work well as thoughtful gifts or keepsakes for friends and family. Whether for decorating your own space or giving to others, the Cute Crochet Christmas Ball brings a joyful spirit to the season.
Yarn Ball Christmas Ornament Crochet Pattern
This festive yarn ball Christmas ornament is both charming and highly customizable, making it a delightful addition to any holiday décor. The project features two crocheted domes sewn around a plastic ball, then accented with a chain hanger, a decorative ribbon, and beads for a sparkling touch. Quick to make and requiring minimal materials, these ornaments work well for mass production or as special gifts. The finished bauble blends traditional colorwork with modern shine, elevating any tree, garland, or gift wrapping.
Pattern Basic Points
Key Features
- Two crocheted domes seamlessly sewn around a plastic ball insert
- Easy increases for perfect roundness
- Integrated chain hanging loop
- Customizable decoration with ribbon and bead arrangement
- Metallic yarn for festive sparkle
- Secure fastening to ensure longevity and durability on the tree
Special Notes
- Choose a plastic ball whose size matches your crochet pieces for best fit (7 cm recommended).
- Domes should fit snugly but not be overly stretched or loose—adjust your tension if needed.
- Use hot glue cautiously to attach decorative elements only, not the crocheted body itself; this preserves the texture and flexibility of the yarn.
- Hiding yarn ends inside the ornament’s assembly makes for a neat and professional finish.
- Experiment with different colored ribbons and beads for unique ornament variations.
Skill Level
Beginner
Only basic crochet techniques (double crochet, slip stitch) and simple sewing are required. This pattern is beginner-friendly and designed for crafters with basic crochet experience but is also satisfying for those seeking a quick, relaxing project.
Materials
- Worsted weight (size 4/medium) metallic yarn in festive red or color of choice
- 5 mm crochet hook
- Yarn needle
- Scissors
- Plastic ball (7 cm diameter, clear or colored)
- Decorative beads (suggested: 3, but up to 5 may be used)
- Ribbon (for top bow)
- Hot glue gun and glue stick
Measurements / Sizing
- Crocheted dome diameter (before assembly): ~7 cm
- Finished ornament diameter: 7 cm (matches ball insert)
- Length of chain hanger: 15–25 chains, or preferred length
Gauge
- Not critical due to assembly flexibility.
- Each dome should measure just under 7 cm when slightly stretched.
- Check fit on your ball insert after finishing the second round, adjusting hook or tension as needed.
Stitch Abbreviations
- ch = chain
- dc = double crochet
- sl st = slip stitch
- st(s) = stitch(es)
- MR = magic ring
Special Stitches
- Assembly slip stitch (decorative invisible join): Join with seamless effect by sewing final round tail through top chain, then back to back loop of last st.
Detailed Pattern Instructions
Make Two Domes
Round 1: Magic Ring Start
- With red yarn and 5 mm hook, make a magic ring.
- Ch 3 (counts as first dc).
- 11 dc into ring (total 12 dc including initial chain).
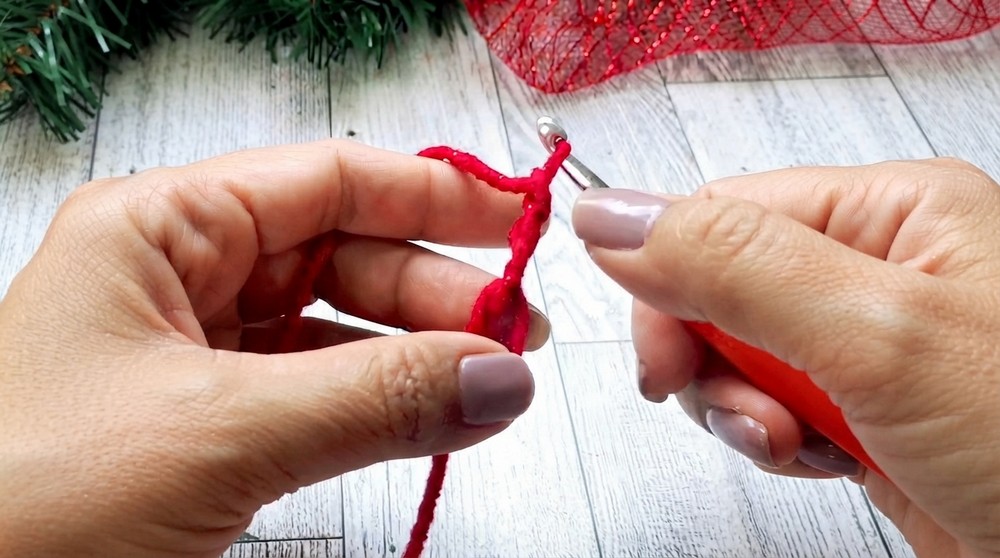
- Sl st in the 3rd chain of starting ch-3 to join.
- Pull yarn tail to tighten magic ring.
Round 2: Begin Increasing
- Ch 3 (counts as first dc).
- 1 dc in same st (increase made).
- 2 dc in next st, repeat all the way around (total 24 dc).
- Sl st in 3rd ch of starting ch-3 to join.
Round 3: Final Increase Round
- Ch 3 (counts as first dc).
- 1 dc in same st.
- 1 dc in next st, 2 dc in next st—repeat pattern (increase in every other st).
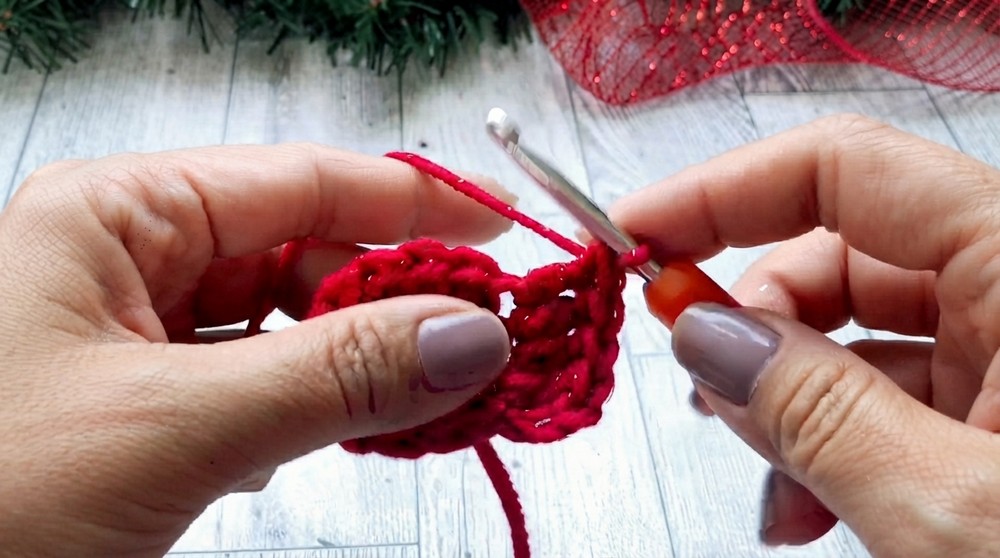
- Continue this sequence all the way around, ending with 36 dc total.
- Sl st in 3rd ch of starting ch-3 to join.
Finish and Prepare for Sewing
- Cut yarn, leaving a long tail (about 30–40 cm) for sewing.
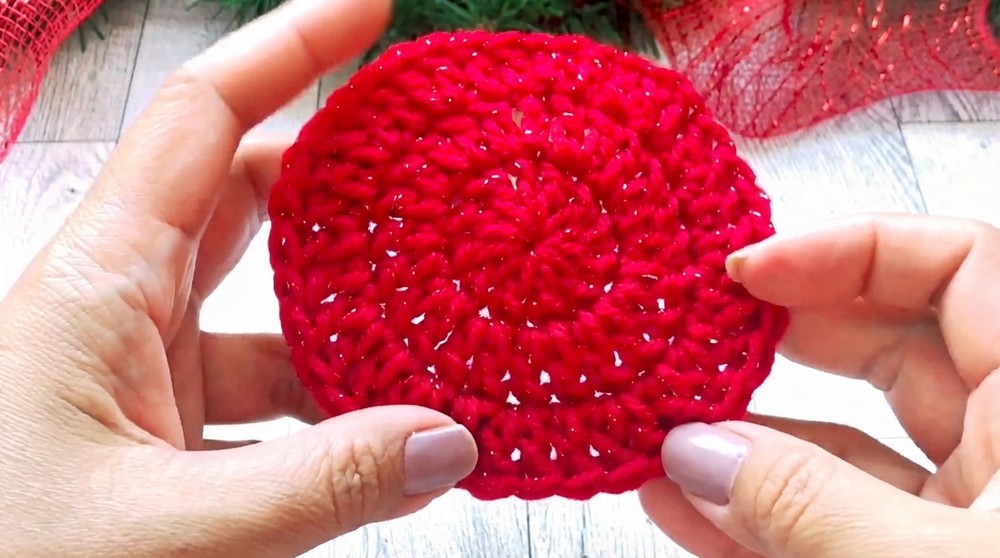
- With needle, perform a seamless slip stitch:
- Thread tail, insert from front to back of third chain from starting ch.
- Return through the back loop of the last dc made, forming an invisible join.
- Secure and weave in the short starting end on the inside; reserve long tail for assembly.
- Repeat for second dome.
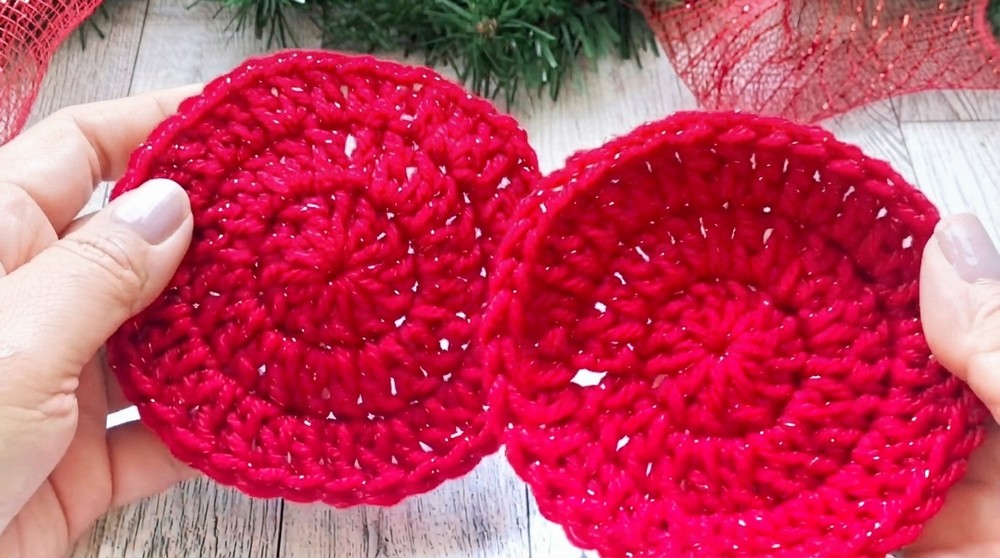
Assembly Around the Ball
- Position Domes
- Place plastic ball between two domes (right side out).
- Ensure even alignment—seams and chains matching up if possible.
- Sew Domes Together
- With yarn needle threaded with long tail from one dome, begin whip-stitching through the inside loops of the last round of each dome.
- Stitch all the way around, matching each st for an even seam.
- Pause sewing when about one-quarter remains to allow space for ball insertion.
- Insert Ball and Complete Assembly
- Insert the plastic ball fully, aligning domes around ball.
- Continue sewing domes together to completely enclose ball.
- Tie off securely, hide and trim yarn tails inside.
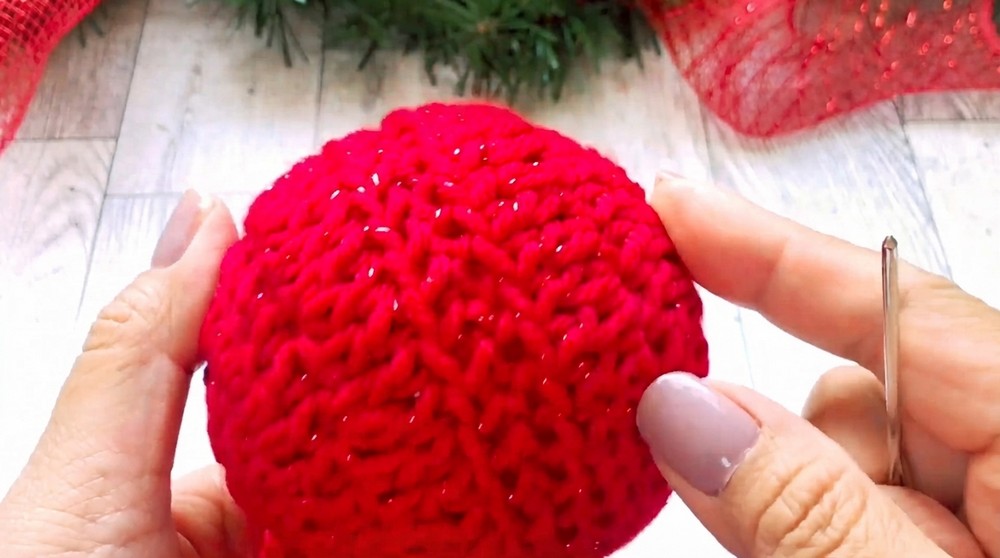
Hanger and Decoration
Chain Hanger
- Attach yarn to seam at the top (or choose central stitch).
- Ch 25 (adjust for desired hanging length).
- Sl st back into same point to form loop.
- Secure and fasten off. Weave in ends.
Decorative Bow
- Form a bow with ribbon; trim ends at an angle for polish.
- With hot glue, attach bow securely at hanger base or the ornament’s top.
Attach Beads
- Apply hot glue to each bead and position at the top to cover hanger join and embellish.
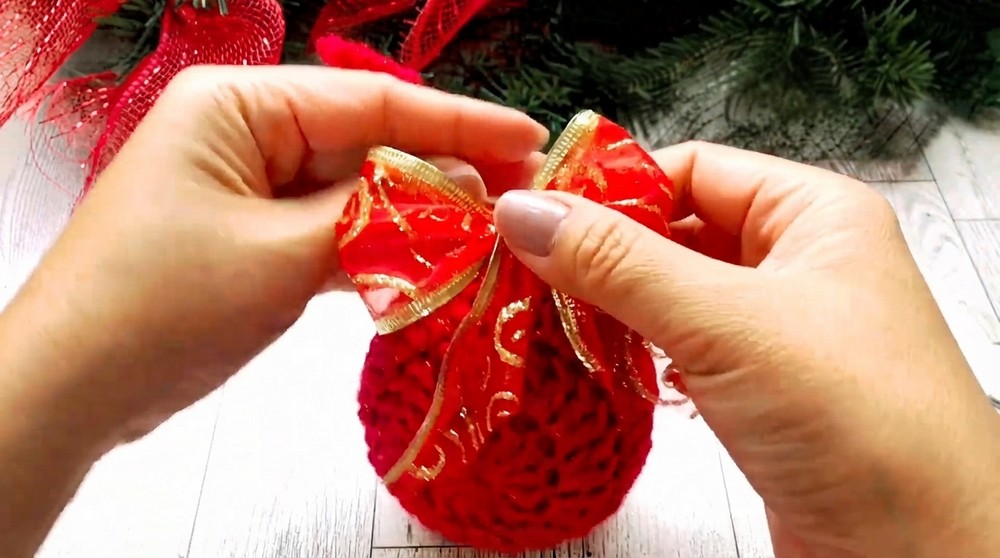
- Use 3–5 beads based on size/stat preference, arranging as a small clustered accent.
Assembly & Finished Size
- Ornament diameter: 7 cm (will match ball insert)
- Chain hanger: 10–15 cm loop, or as desired
- Top decoration: Ribbon bow and bead cluster fixed with hot glue
- All yarn ends hidden within seam or under decorations for a tidy look
Conclusion
Creating a yarn ball Christmas ornament offers an engaging introduction to 3D crochet construction and holiday decoration. The pattern’s basic rounds, deliberate increases, and neat seaming create a harmonious spherical form—perfect for jazzing up any seasonal arrangement. Decorating with a variety of ribbons and beads personalizes each bauble, ensuring that every ornament brings unique festive character. Proper sewing, tension control, and careful placement of embellishments result in a polished accessory to cherish for years, whether as a keepsake or a thoughtful gift. Choosing shiny or metallic yarns increases the ornament’s visual impact, making it a standout on any Christmas tree or display.