
Brighten gifts, decorations, and projects with a Crochet Heart that adds charm and meaning, perfect for special touches that show care and creativity.
This Valentine, I decided to give my girlfriend a gift that shows how much she means to me. A Crochet Heart Amigurumi is a small, soft treasure that carries warmth and love. Divine Crochets made this design so it feels cozy and charming, a sweet reminder she can keep close.
Adorable Crochet Heart Amigurumi Free Pattern For Sweet Gifts
The Crochet Heart Amigurumi is a little heart that fits in the palm of your hand. It’s simple and cute, serving as a keychain, a decoration, or a tiny surprise to brighten her day. Because of its size and soft texture, it is easy to carry and always ready to bring a smile.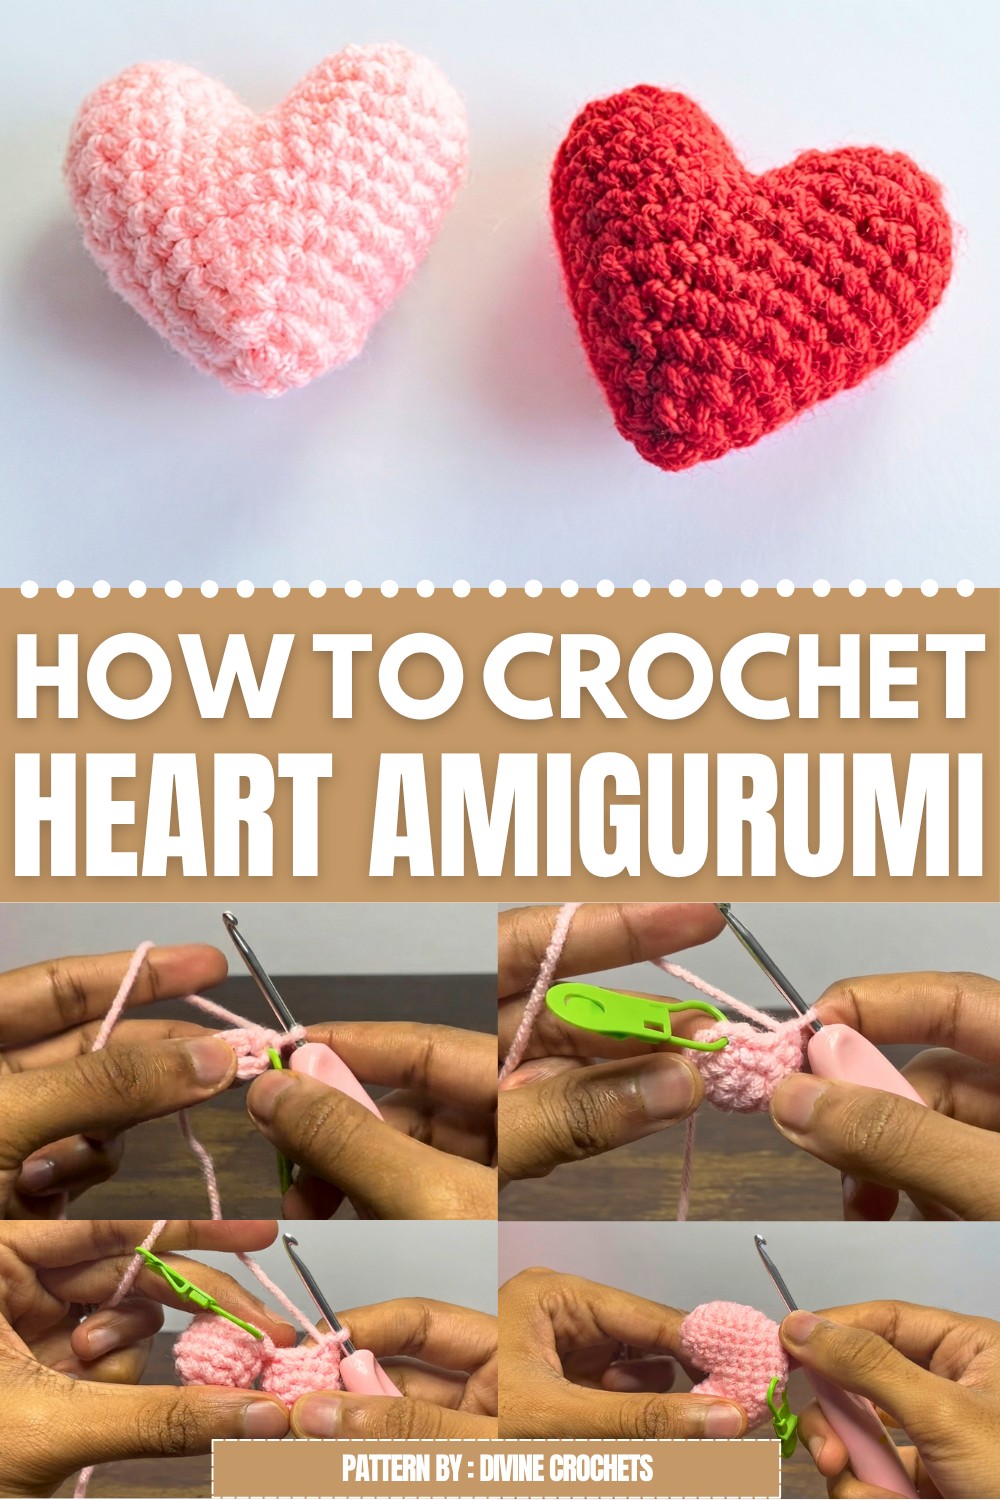 What’s special about this heart is how each stitch grows into a kind, meaningful gesture. The pattern from Divine Crochets guides you through making something that carries feelings more than just looks. Sewing this together is a gentle way to show someone you care deeply.
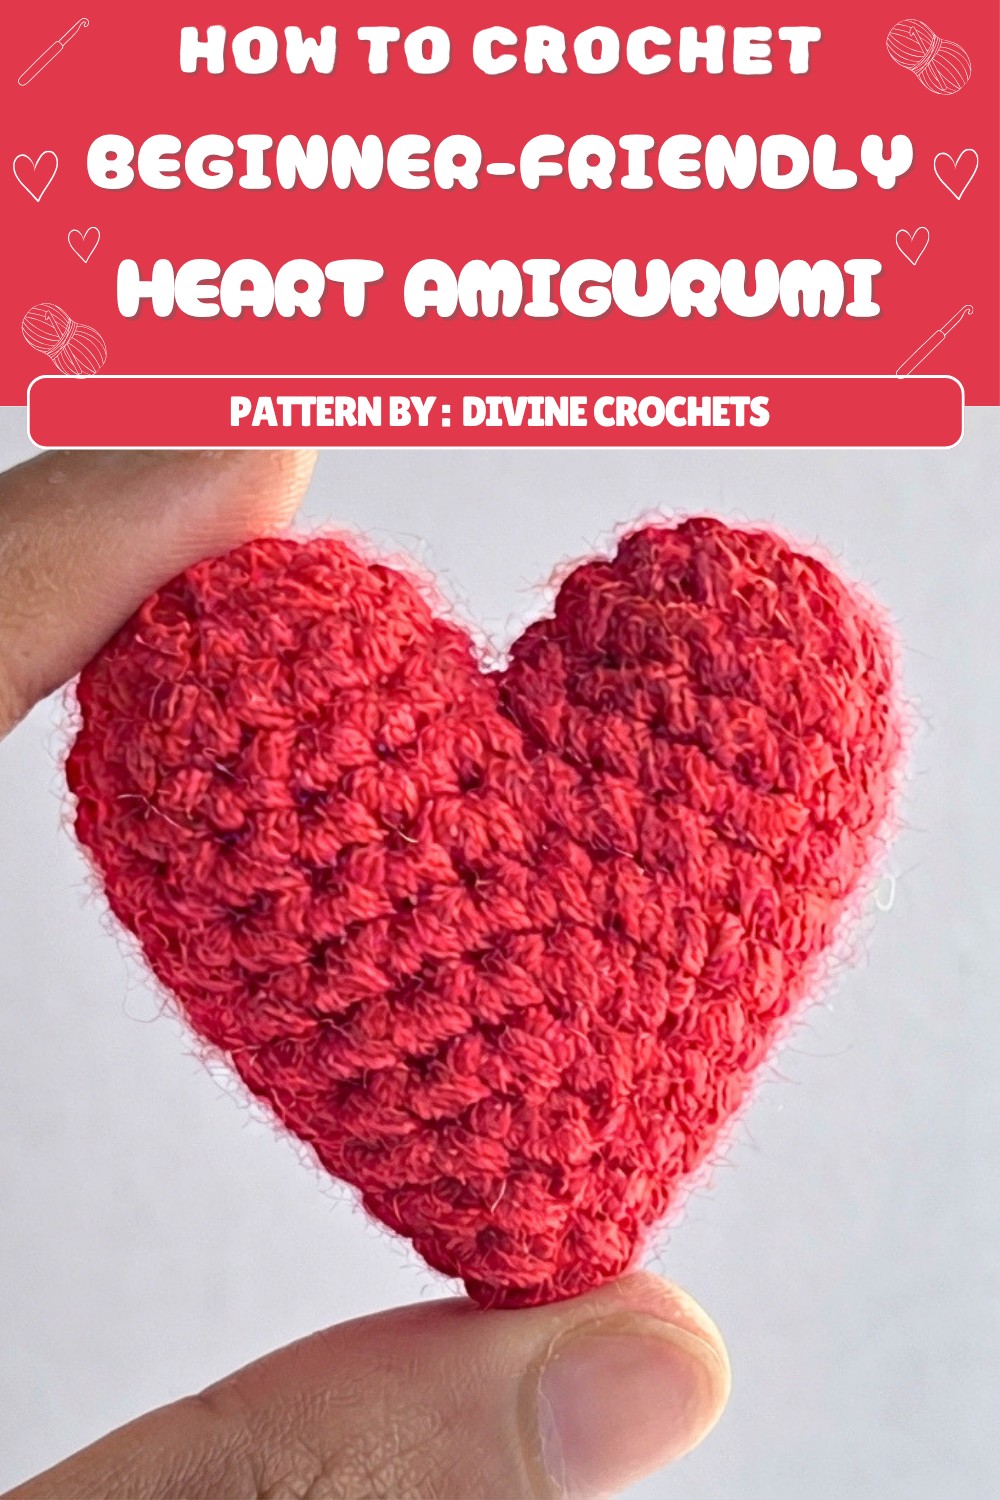 For anyone wanting to give a gift with a personal touch this Valentine’s Day, the Crochet Heart Amigurumi is an excellent choice. The free pattern is available to guide you step by step. Try it and offer a special heart that speaks simply and truly.
Amigurumi Crochet Heart Pattern
A small, plush crochet heart is a timeless project, perfect for gifts, keychains, decorations, and personal keepsakes. With its classic amigurumi construction, this design focuses on clear step-by-step work suitable for absolute beginners while also being satisfying for seasoned crocheters who want a quick, charming make. This detailed pattern supports you through the process of forming two heart arches, joining them, creating a three-dimensional heart, and structuring perfect decreases to sculpt the finished piece.
Pattern Basic Points
Key Features
- Worked in continuous rounds for seamless shaping
- Simple amigurumi increases and decreases to create a 3D heart
- Constructed in two arches joined together for realistic dimensional effect
- Easy invisible decrease method for smooth, clean edges
- Customizable in size and color
- Stuffed for a plush, squeezable finish
Special Notes
- Always use your stitch marker to mark the beginning of each new round, moving it up as you proceed.
- Keep your stitches relatively tight to ensure stuffing doesn’t show through the gaps.
- When joining the arches, ensure the top of the heart is smooth and seams align.
- Stuff the heart before final closing rounds for optimal fullness and shape.
- Invisible decrease is recommended for best results; instructions are included.
- Adjust hook size if needed for different yarns to achieve consistent amigurumi tension.
Skill Level
Beginner
This pattern covers fundamental amigurumi techniques and is suitable for anyone new to crochet or amigurumi, but it still creates an impressive and useful final result.
Materials
- Worsted weight yarn (size 4) – any color; solid or variegated recommended for best stitch visibility
- 3.5 mm crochet hook
- Stitch marker (paperclip or bobby pin is fine)
- Scissors
- Yarn needle
- Polyester stuffing (or clean yarn scraps)
Measurements / Sizing
- Heart size: Approximately 5–7 cm across and 1.5–2 cm thick (varies by yarn and stuffing)
- Yarn usage: Small scraps, less than 20g per heart
Gauge
- Not critical due to stuffing and small project size
- For best results, ensure your single crochets are dense but not stiff; adjust hook if needed
Stitch Abbreviations
- ch = chain
- sc = single crochet
- sl st = slip stitch
- st(s) = stitch(es)
- R = round/row
Special Stitches
- Invisible decrease (inv dec): Insert hook into front loop of next two stitches, yarn over and draw up a loop (three loops on hook), yarn over and pull through all three.
Detailed Pattern Instructions
Slip Knot and Yarn Hold
- Make a slip knot on your hook as described (wrap tail around finger, pull first loop over second, tighten).
- Hold yarn comfortably with either the knife or pencil grip, as preferred.
Easy Magic Ring (Alternative Start)
- Ch 4, sl st into first ch to form a ring (counts as magic ring here).
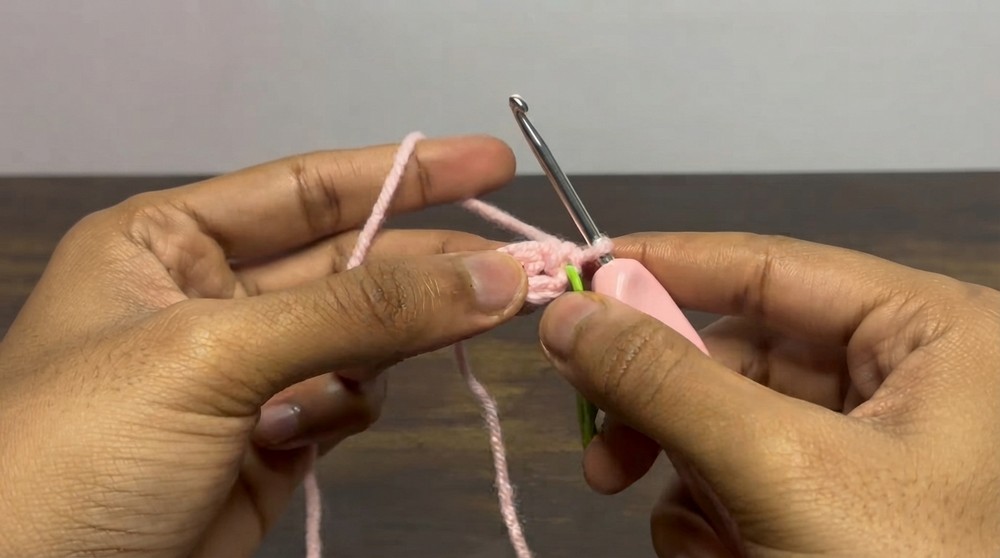
R1 (First Heart Arch):
- Into the center of the ring, work 6 sc.
- Use stitch marker to mark first sc.
- Join with sl st to first sc, ch 1.
- Pull starting tail to tighten the ring.
R2:
- In each st around, 2 sc in same st (increase in every st around) – 12 sc at end of round.
- Join with sl st to first st, ch 1.
R3-R4:
- Work 1 sc in each st around – 12 sc.
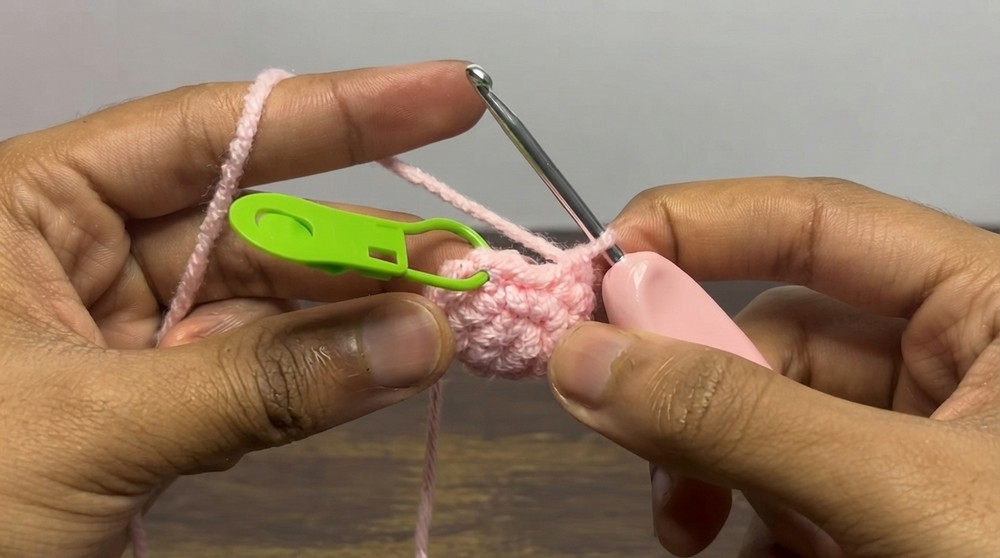
- At end of each round, sl st to first st, ch 1.
- After R4, finish off with moderate tail (for joining later).
Repeat R1–R4 for second arch.
- After completing the second arch, do not cut yarn.
Joining the Heart Arches
- Arrange arches side by side; both should have 12 sc.
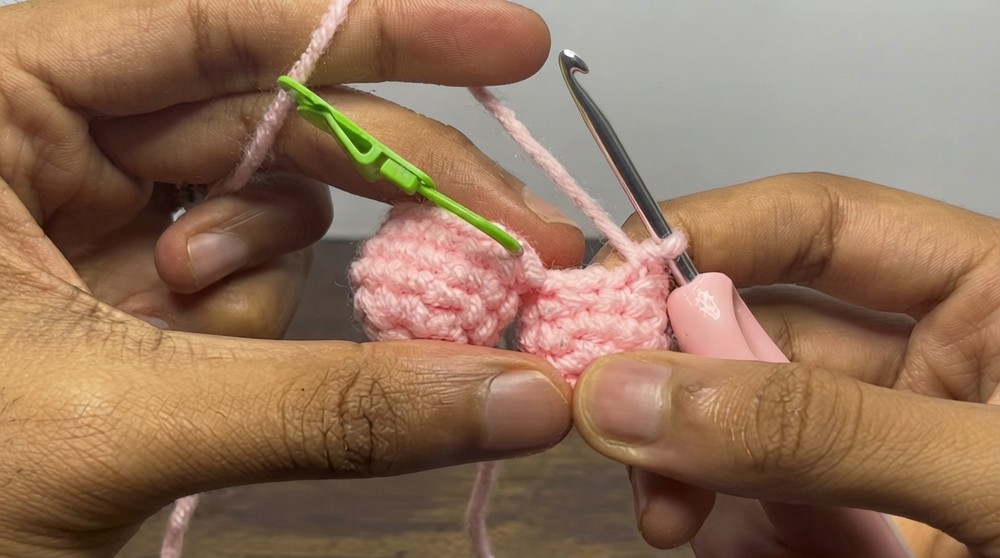
- Sl st to join in the same st as last st, ch 1.
- Continue with working yarn.
R5:
- Work 1 sc in each st all the way around the tops of both arches (24 sc total: 12 for each arch).
- Place marker in first st.
- Join last st to first with sl st, ch 1.
R6:
- Work 1 sc in each st around (24 sc).
- Join with sl st to first st, ch 1.
R7:
- Work in pattern: 6 sc, inv dec around, repeat 3 times (total 21 sts).
- (sc in next 6, inv dec, repeat x3).
- Join with sl st to first st, ch 1.
R8:
- 5 sc, inv dec around, repeat 3 times (total 18 sts).
- Join with sl st to first st, ch 1.
R9:
- 4 sc, inv dec around, repeat 3 times (total 15 sts).
- Join with sl st to first st, ch 1.
R10:
- 3 sc, inv dec around, repeat 3 times (12 sts).
- Join with sl st to first st, ch 1.
Stuff Heart
- Pull up loop and remove hook.
- Gently stuff heart to desired firmness, tucking stuffing into both arches and tip.
R11:
- 2 sc, inv dec around, repeat 3 times (9 sts).
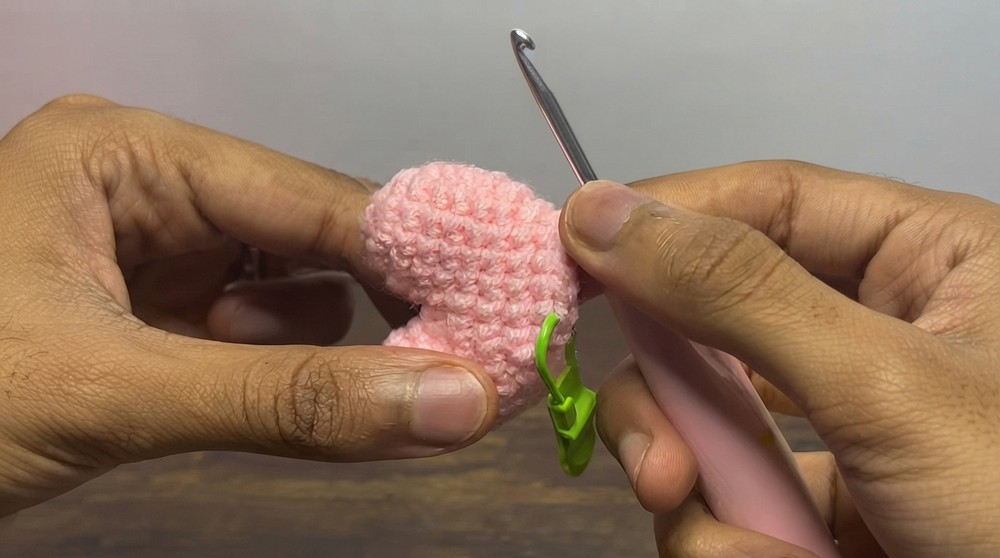
- Join with sl st to first st, ch 1.
Finish Stuffing
- Add additional stuffing, especially to the tip of the heart if needed.
R12:
- 1 sc, inv dec around, repeat 3 times (6 sts).
- Join with sl st to first st, ch 1.
- Cut yarn, leaving a long enough tail for closing.
Closing the Heart
- Thread yarn needle with leftover tail.
- Go through the front loop only of each of the 6 remaining sts, pull tightly to close.
- Weave needle through finished nearby stitches to hide the end and secure close.
- Trim and hide/lose all remaining yarn tails inside the heart.
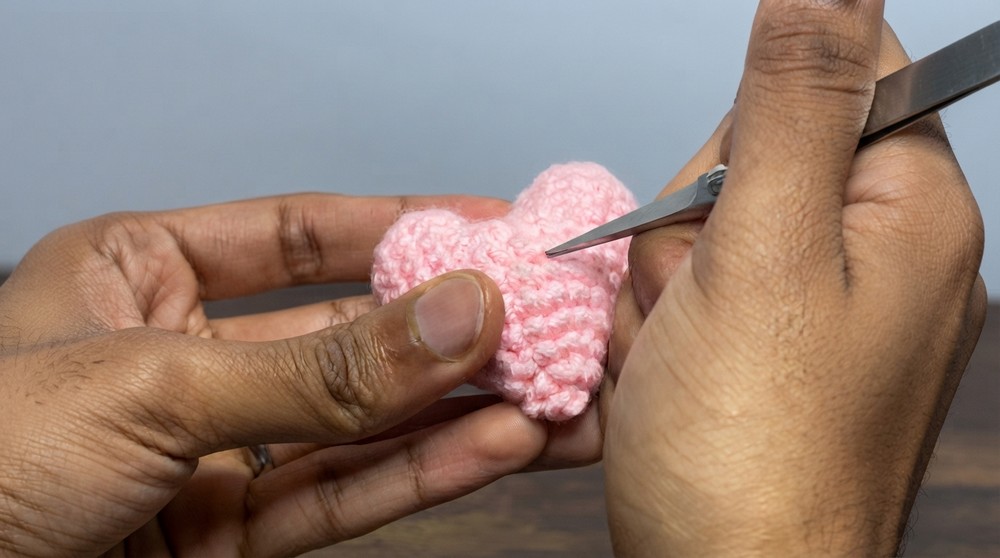
Assembly & Finished Size
- Finished heart should be plush, evenly shaped, and close firmly with no stuffing visible.
- Size is compact—perfect for keychains, hanging, or giving as a small token.
- Optionally, attach a hanger loop or ribbon to turn into a bag charm or ornament.
Conclusion
This plush crochet heart is a rewarding, beginner-friendly amigurumi project that emphasizes mastery of core techniques: working in the round, invisible decreases, and creating flawless shaping with two joined arches. The heart’s simplicity allows it to be finished quickly while maintaining a delightful form that is perfect for gifts, charity, or home decor. The approachable directions and clear structure provide accessible guidance while leaving room for creativity in color and finishing, ensuring each heart carries a truly personal touch. Through careful stuffing, clean decreases, and seamless joining, the project offers a quick sense of accomplishment alongside lasting utility and expressive charm.
