
Make a cute crochet mini heart plushie quickly using simple stitches to add a charming handmade touch to your gifts or home decor today.
When I first tried making small, sweet gifts by hand, I came across Heart Plushie, a simple and charming project that anyone can try. The clear and friendly tutorial from Crochet with Katie shows exactly how to crochet this soft and cuddly heart.
Easy Crochet Mini Heart Plushie Free Pattern to Add Charm to Any Gift
This Crochet Mini Heart Plushie is soft and shaped like a heart, with a cheerful look that suits any space. It can decorate your desk, add a special touch to a gift box, or even be carried as a small keepsake. Its bright colors and cute style make it a sweet little item to have around.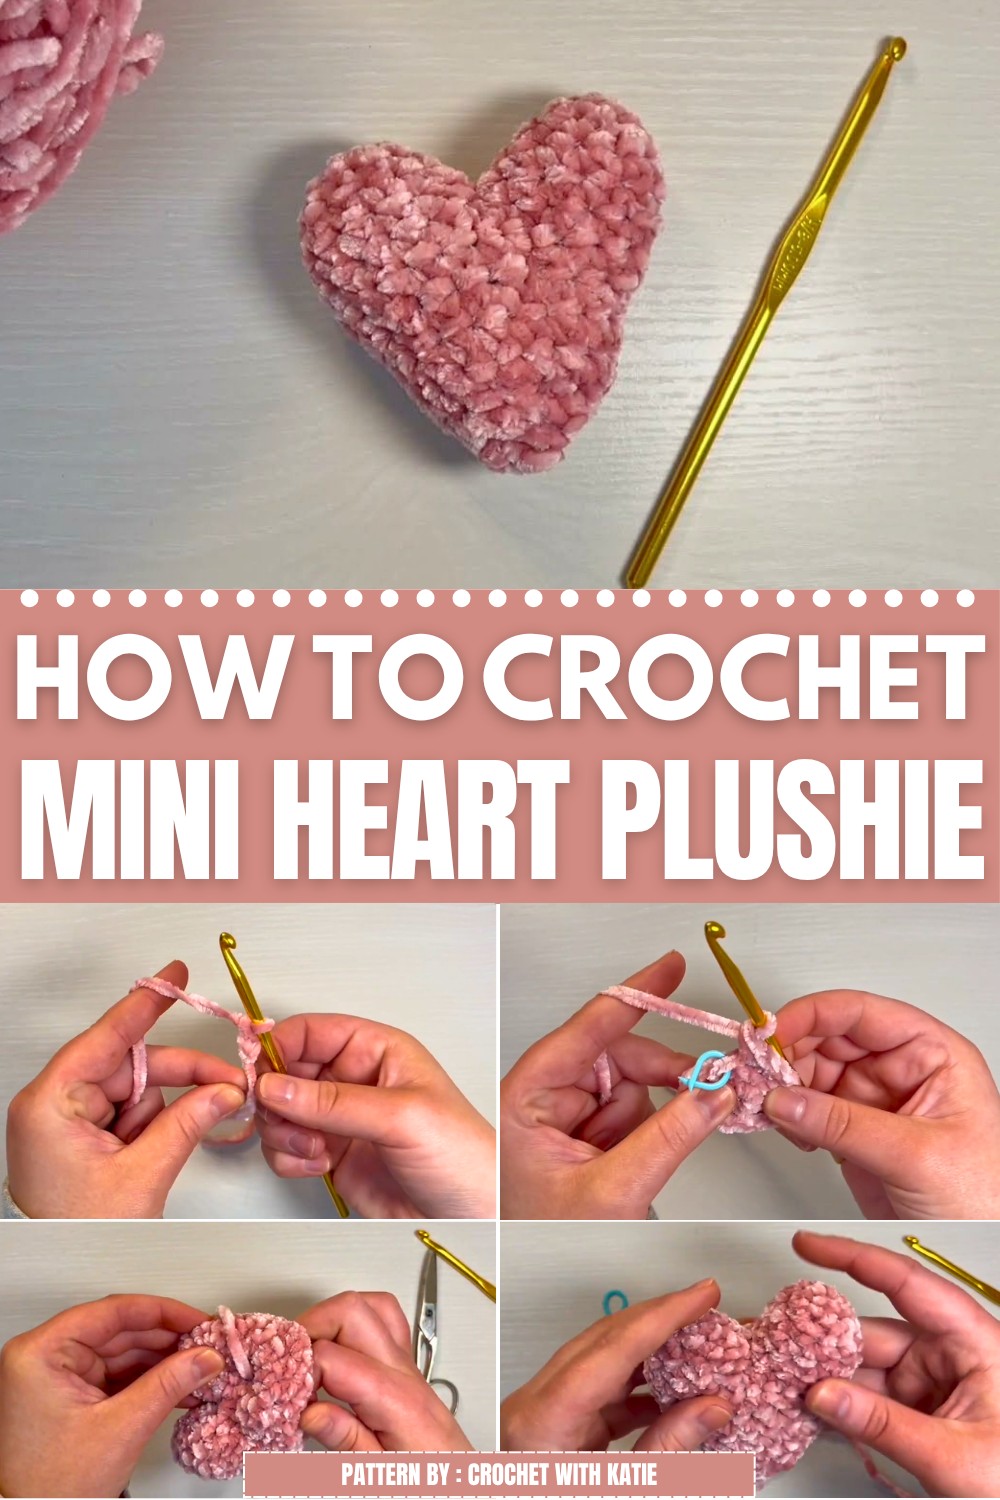 What I found helpful is how quickly this project can be finished, making it great for those who want something lovely but don’t have much time. You can use your favorite yarn colors or add a small face to give it more personality.
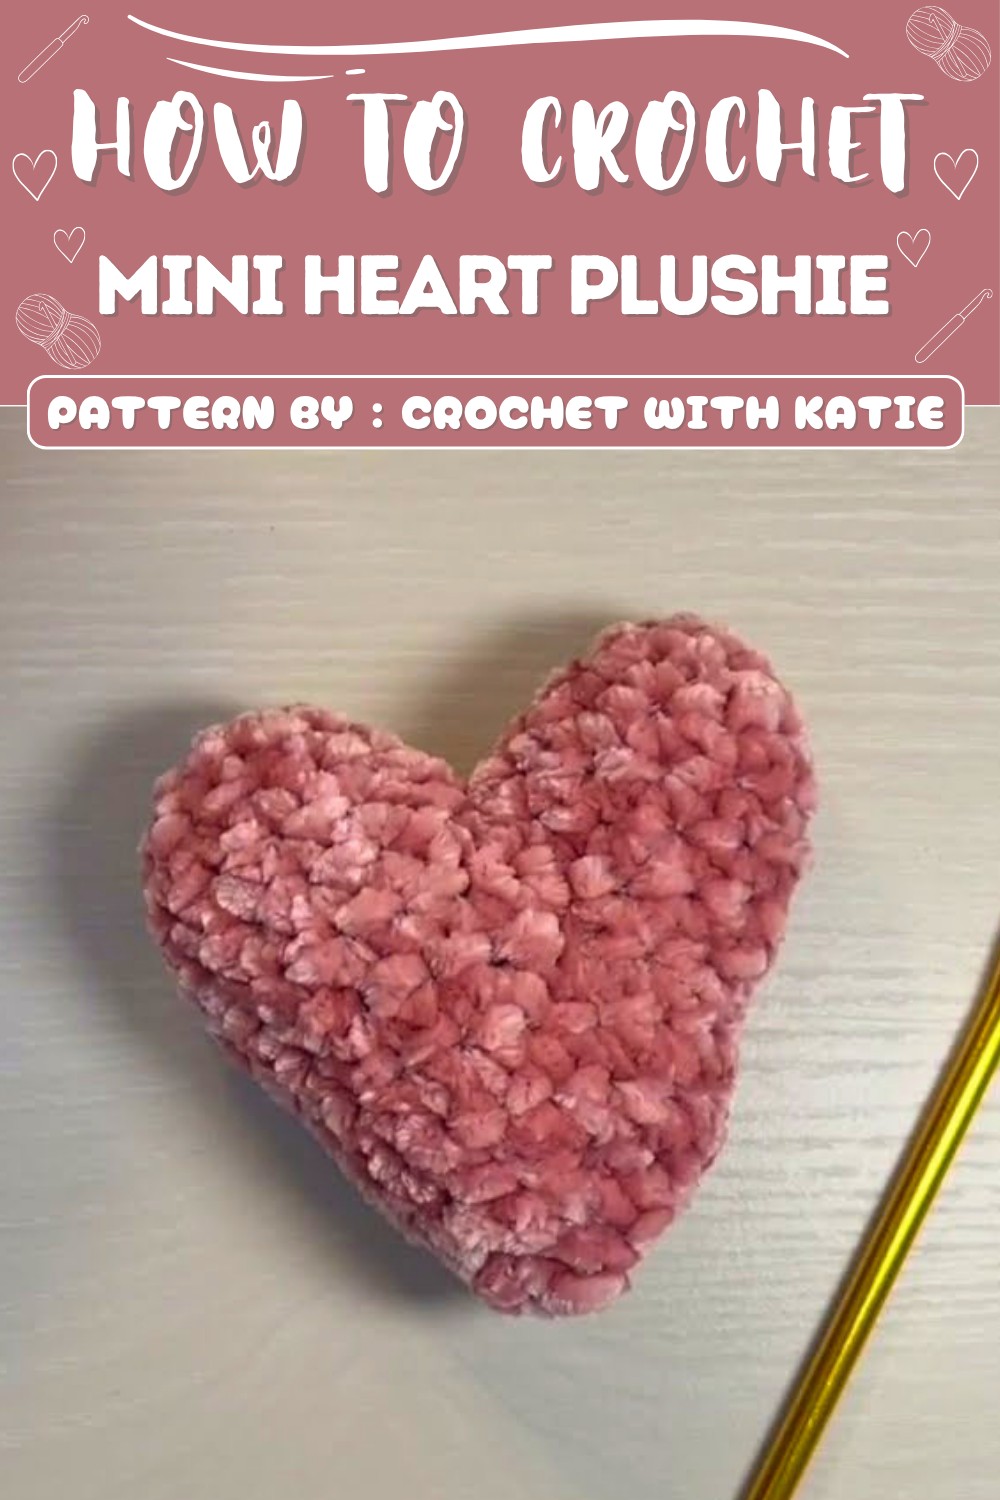 For anyone looking for a warm and simple handmade item, check out Crochet with Katie’s free pattern. It’s a nice way to add a little heart-shaped charm to your day!
Mini Plushy Heart Crochet Pattern
This tutorial presents instructions for creating a soft and adorable mini plushy heart. This heart amigurumi works up quickly—usually within 10–20 minutes—and is designed to be beginner-friendly. Steps are guided carefully for those new to crochet, making this a great introductory project for practicing essential skills and shaping.
Pattern Highlights
– Two-Sided Construction:
The heart is made of two identical rounded lobes, crocheted individually and then joined together to form the complete heart shape.
– Seamless Join:
The sides are joined with single crochet stitches, giving the plushy a three-dimensional and seamless appearance.
– Shaping Through Increases and Decreases:
Increases are used for the round top of each lobe, while coordinated decreases after joining shape the pointed bottom.
– Minimal Sewing:
Only one long end is needed for final gap coverage after decreasing, with other ends tucked into the stuffing.
Notes
- Use a stitch marker to identify the start of each round—essential for tracking stitches, especially for amigurumi.
- When instructed to stuff, do so gradually to give your plushy heart a smooth, even shape without stretching the fabric.
- Take care during the joining round to insert your hook through both sides evenly, ensuring a neat connection.
- If any gap remains at the bottom after decreasing, use the long yarn end and a tapestry needle to close it invisibly.
Skill Level
Beginner
This straightforward pattern assumes familiarity with chaining, working in the round, single crochet, increases (two single crochet in one stitch), and invisible or regular single crochet decreases. Step-by-step guidance is provided for the join.
Materials
- Worsted weight or plushy yarn in color of your choice
- Crochet hook (size suitable for your yarn, typically 3.5–5 mm)
- Tapestry/yarn needle
- Scissors
- Stuffing
- Stitch marker
Measurements / Sizing
- Approximate finished size: 2–3 inches (5–7.5 cm) tall and wide
- Size will vary depending on gauge and yarn/hook choice
Gauge (and Stitch Pattern if applicable)
- Gauge is not critical for this project.
- Make sure stitches are tight enough to prevent stuffing from showing through.
- Stitch pattern: single crochet (sc) in the round.
Stitch Abbreviations
| Abbreviation | Meaning |
|---|---|
| ch | chain |
| sc | single crochet |
| inc | 2 sc in same stitch |
| dec | decrease (sc2tog) |
| st | stitch |
| sl st | slip stitch |
Special Stitches
- Invisible Decrease: Insert hook in front loop of each of next two stitches, yarn over, pull up a loop (2 loops on hook), yarn over, pull through both.
- Increase (inc): Two single crochet in the same stitch.
Free Pattern
First Lobe (Make 2, DO NOT cut yarn after 2nd lobe):
-
Round 1:
Make a magic ring, ch 1, place 6 sc in ring (6)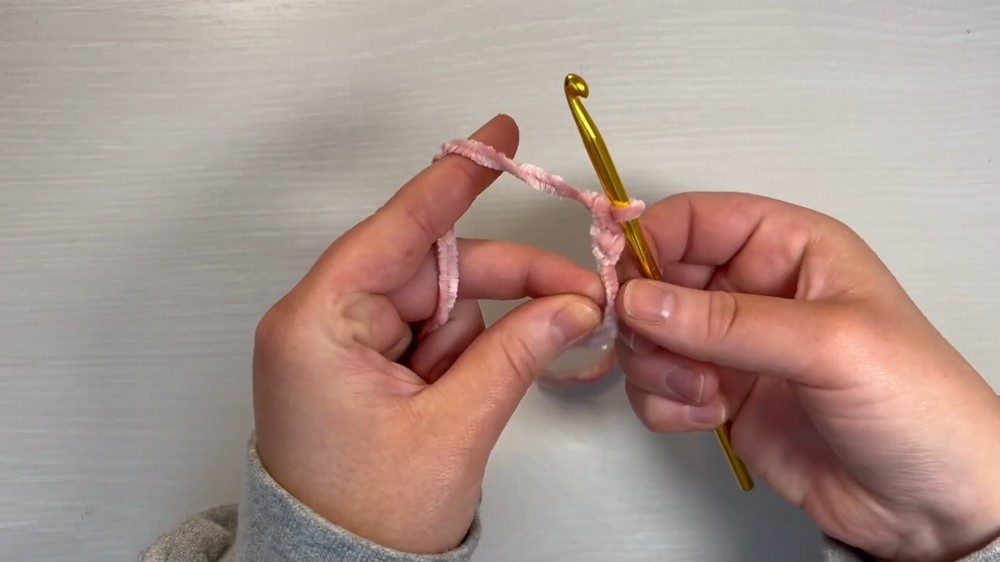
- Round 2:
Place a stitch marker. Sc in next st, inc in next st—repeat 3 times (9) - Round 3:
Sc in next 2 st, inc in next st—repeat 3 times (12)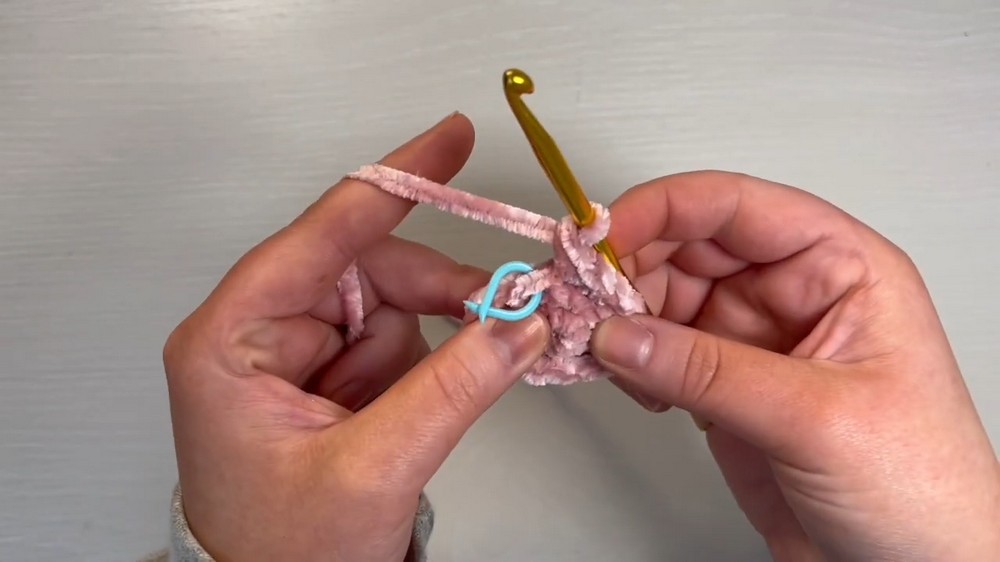
-
Round 4:
Sc in each st around (12) - Fasten off first lobe, leaving a short tail to tuck inside. For the second lobe, do NOT cut yarn.
Joining Both Lobes (Round 5):
- Position the first lobe next to the working lobe. Insert the hook into the next st of the working lobe AND into any st on the other lobe (try to go into the next logical st as if continuing the circle).
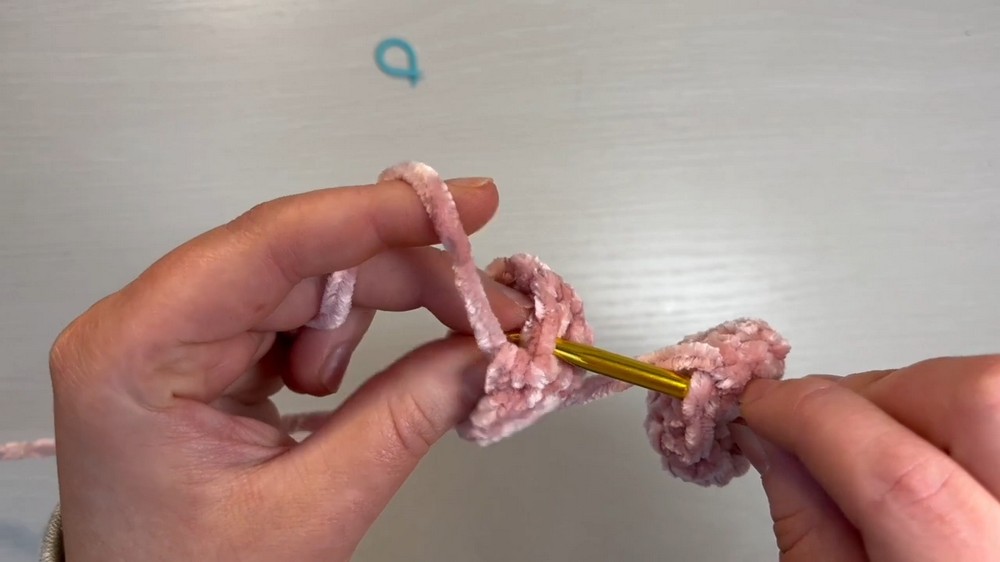
- Yarn over and pull through both, completing a sc. This is the first st, so replace your stitch marker.
- Sc in the next 10 st around current lobe.
- Join with sc into the corresponding st on the next lobe (as above); you have connected the two tops.
- Continue working 11 sc on the other lobe, going all the way around (to the marker). (24 total around both)
- Ensure you have 24 sc in this round.
Round 6:
- Sc in each st around (24).
Round 7:
- Sc in next 2 st, dec over next 2 st—repeat 6 times (18).
Round 8:
- Sc in each st around (18).
Round 9:
- Sc in each st around (18).
Round 10:
- Sc in next st, dec over next 2 st—repeat 6 times (12).
- Begin stuffing your plushy. (Insert stuffing through opening; do not overstuff.)
Round 11:
- Dec over every 2 st—repeat 6 times (6).
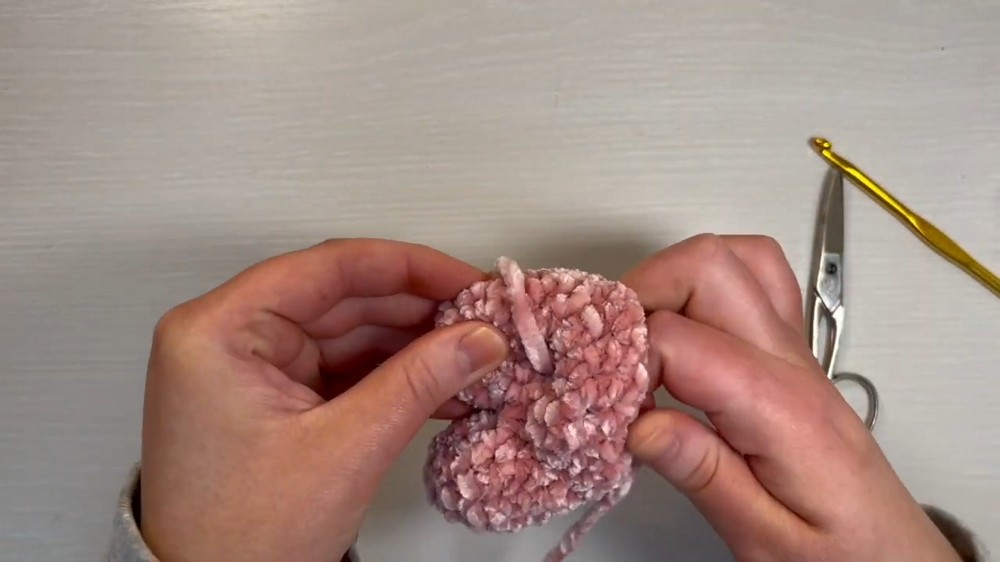
- Continue stuffing firmly, shaping your heart as you go.
Round 12:
- Dec over every 2 st—repeat 3 times (3).
- Fasten off, leaving a long tail for sewing any gap at the tip.
- Use a tapestry needle to weave through the remaining stitches.
- Pull tight to close. Stitch across any gaps, weave tail inside the heart, and trim excess.
Assembly & Finished Size
- Push all yarn ends into the stuffing so nothing shows.
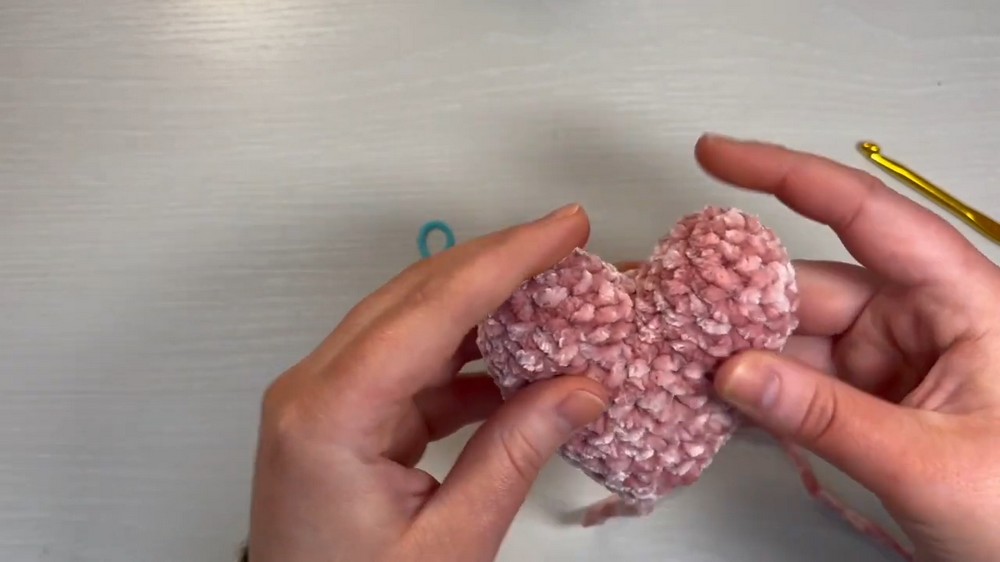
- Shape the heart by pressing and rounding the sides.
- Optionally, attach your plushy to a keychain, string, or add embellishments.
- Finished heart should be plump, neatly finished, and symmetrical.
Conclusion
This plushy heart pattern is a simple, quick project ideal for beginners and experienced crafters alike. With its straightforward instructions, it enables even new crocheters to create a charming heart, perfect as a gift, keychain, or desk accessory. The construction demonstrates foundational amigurumi techniques and offers functional practice in joining, shaping, and closing small three-dimensional items. Experiment with various colors and yarn weights to create a variety of looks and sizes.
