
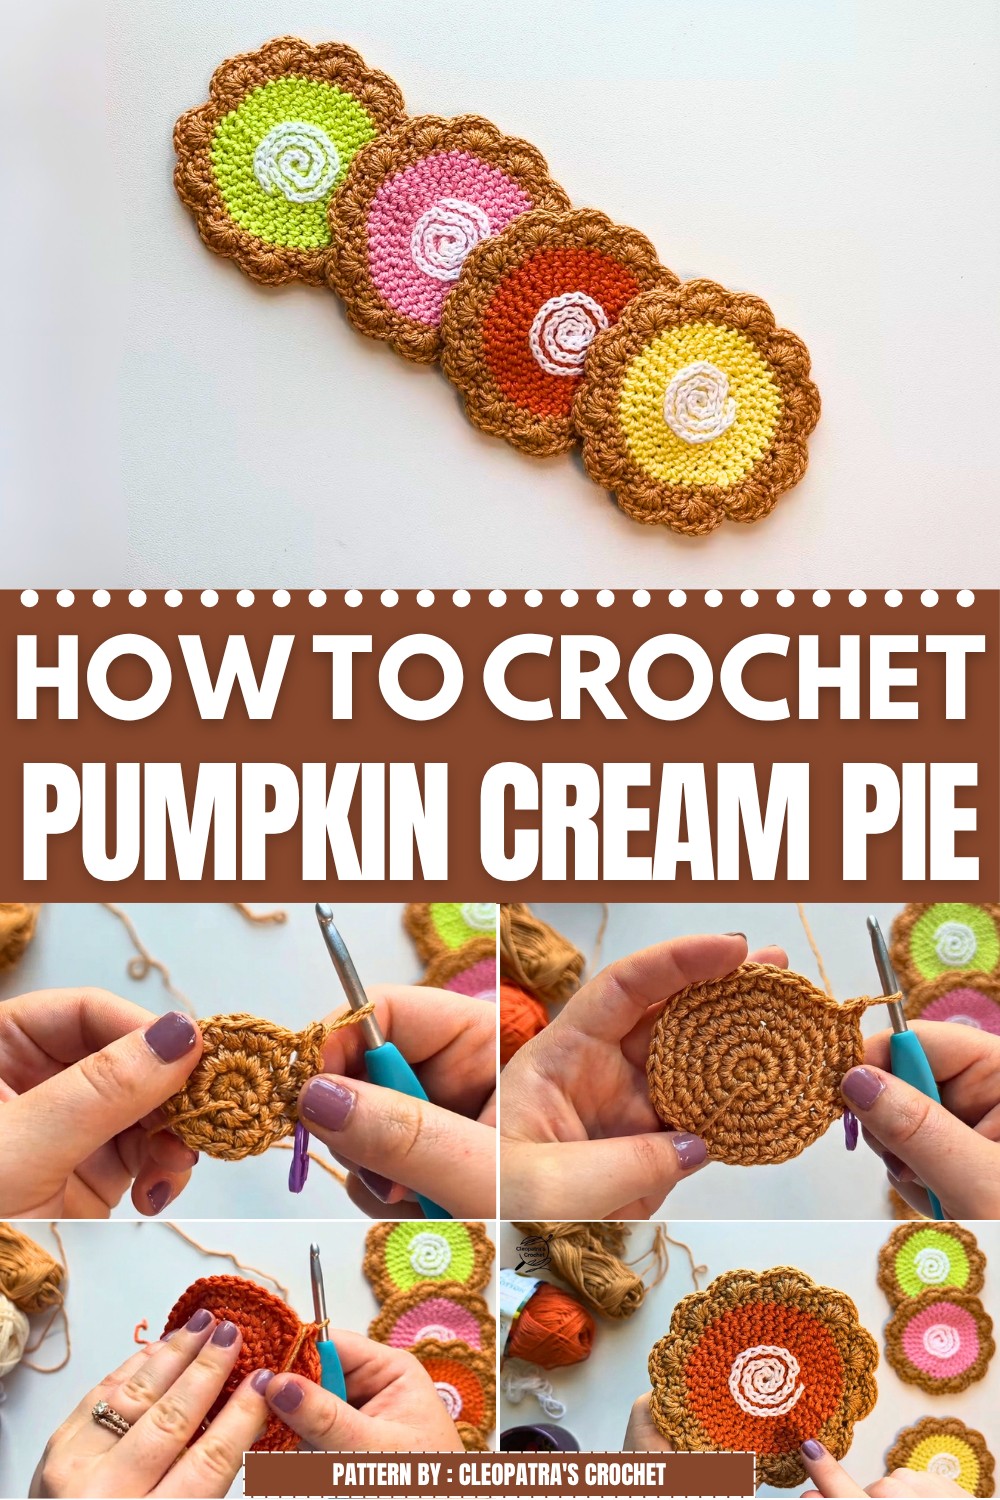
Many people love this little pie because it adds a warm and welcoming touch without taking up much space. It fits perfectly with pumpkins, leaves, and other fall decorations, making your home feel ready for the season. You can display one by itself or make several to create a fun bakery-themed collection. Every finished pie has its own handmade charm, giving each piece a special look that feels full of love and care.
This adorable pumpkin cream pie also makes a thoughtful gift for birthdays, housewarmings, Thanksgiving, or anyone who enjoys cute seasonal decorations. It is a keepsake that can be displayed year after year and always brings back happy autumn memories. If you enjoy crochet projects that are colorful, playful, and full of cozy fall style, the Free Crochet Pumpkin Cream Pie Pattern is a wonderful choice for your handmade collection.
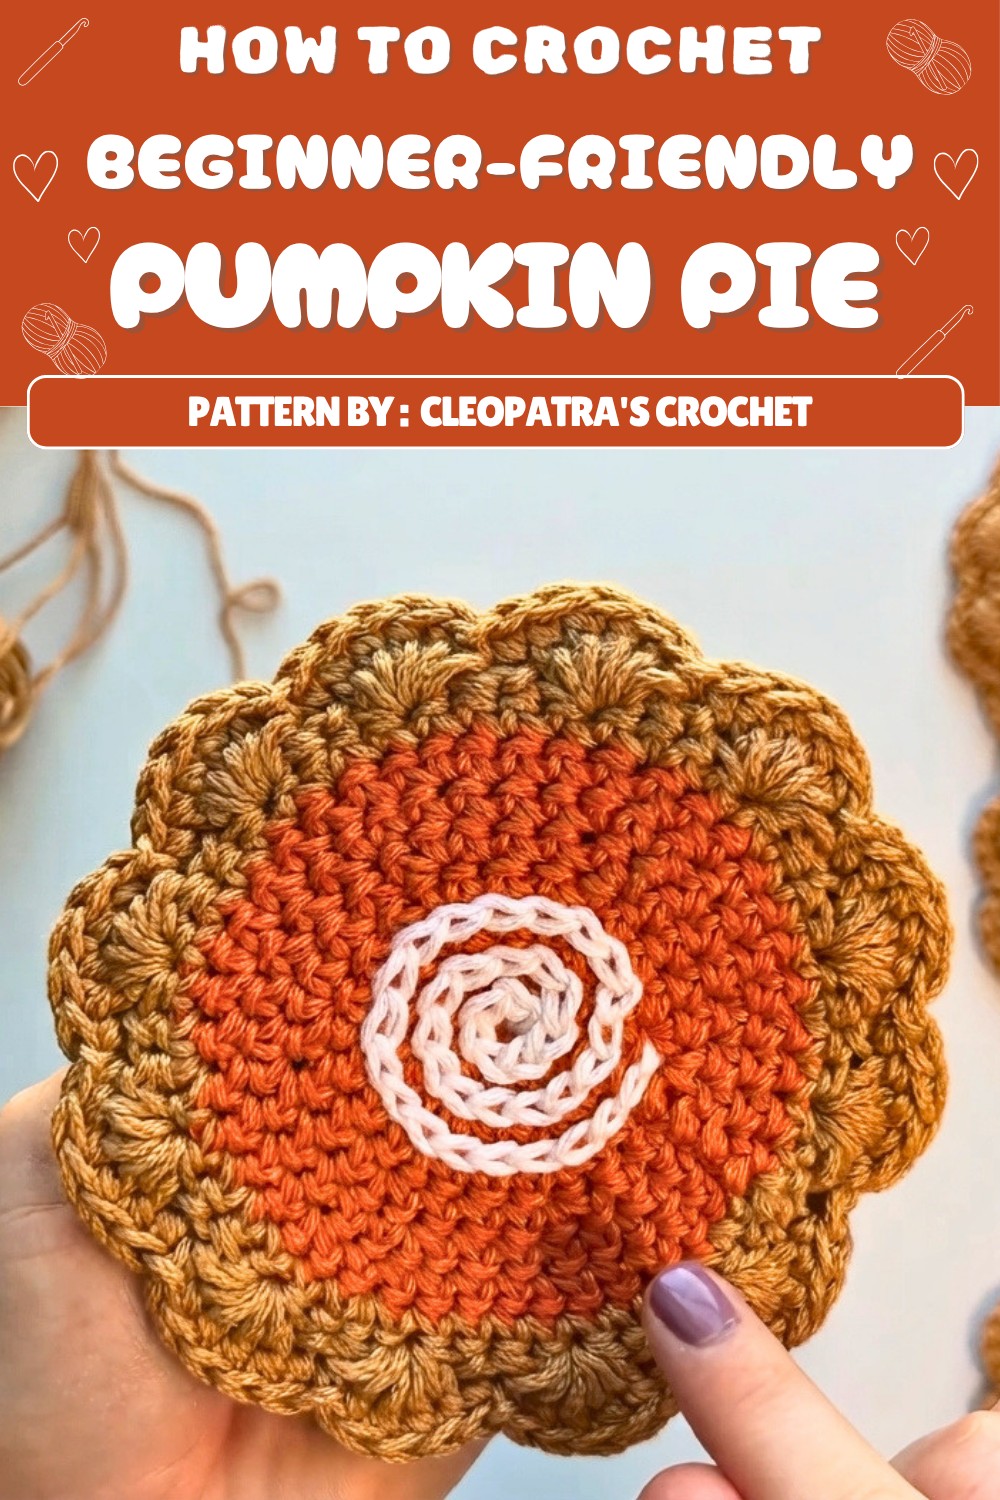
Cream Pie Coaster Crochet Pattern
This charming crochet pattern creates a reversible Cream Pie Coaster, featuring a realistic crust on one side and a whipped cream-filled “filling” on the other. The project consists of making two identical circular pieces — the back (crust) and the front (filling) — embellished with scalloped edges and surface crochet for a textured whipped cream effect. This coaster is both practical and decorative, showcasing a fun dessert-themed accessory for your home.
Quick Overview of the Pattern
- Crochet two identical circular pieces using single crochet (sc) and increases to shape a flat circle.
- Apply a scalloped edge to the “filling” piece only to simulate cream dollops.
- Use surface crochet techniques with white yarn to create a spiral whipped cream effect on the filling piece.
- Join both pieces together by single crocheting through both layers for a durable, neat finish.
Notes
- The pattern uses medium-weight (4) mercerized cotton yarn for durability and absorbency, essential for coasters.
- Use cotton yarns for good heat resistance and surface protection.
- Maintain consistent tension and stitch counts for smooth, flat circles.
- Mark rounds carefully with a stitch marker to track your progress.
- Surface crochet is done on the right side of the filling piece to add texture — instructions for this are included.
- The scalloped edges add beautifully to the aesthetic while helping define the coaster’s border.
- Join the two halves with the wrong sides together for a clean, reversible finish.
Skill Level
Beginner to Intermediate
The pattern is approachable for crocheters familiar with:
- Magic ring starts
- Single crochet (sc)
- Half-double crochet (hdc)
- Increases (two stitches in one)
- Slip stitches (sl st)
- Surface crochet basics
Materials Needed
- Medium-weight (4) mercerized cotton yarn in 3 colors:
- Brown (crust color)
- White (whipped cream color)
- A filling color such as orange or your choice (e.g., for pumpkin, lemon, or fruit flavor)
- Crochet hook: 4.5 mm (US G)
- Stitch marker
- Tapestry needle
- Scissors
Measurements / Sizing
- Each circular piece measures approximately 12–13 cm (4.7–5.1 inches) in diameter before assembly.
- After joining, the finished coaster is approx. 12 cm (4.7 inches) across, with a pleasant thickness to protect surfaces from moisture or heat.
Gauge and Stitch Pattern
- Gauge is approximate; tension consistency is key for even circles.
- Worked mainly in single crochet (sc) stitches in rounds, with increases to shape the circle.
- Scalloped edges are crafted using half-double crochet (hdc) and slip stitches (sl st).
- Surface crochet is worked as surface slip stitches to add raised texture.
Stitch Abbreviations
| Abbreviation | Term | Description |
|---|---|---|
| ch | Chain | Yarn over, pull loop through |
| sc | Single Crochet | Insert hook, yarn over, pull through both loops |
| hdc | Half-Double Crochet | Yarn over, insert hook, yarn over, pull 3 loops through |
| inc | Increase | Work 2 single crochet stitches in the same stitch |
| sl st | Slip Stitch | Insert hook, yarn over, pull through both loops |
| magic ring | Adjustable Ring | Circular start with adjustable tension to close holes |
Special Stitches
- Magic Ring: Provides a tight, hole-free center when starting rounds in the round.
- Scalloped Edge: Created with groups of 5 half-double crochets (hdc) separated by slip stitches to create “bumps.”
- Surface Crochet / Surface Slip Stitches: Working slip stitches on the surface of the fabric to form a decorative raised spiral that represents whipped cream swirls.
The Crochet Pattern: Step-by-Step Instructions
Phase 1: The Base (Make Two Identical Circles)
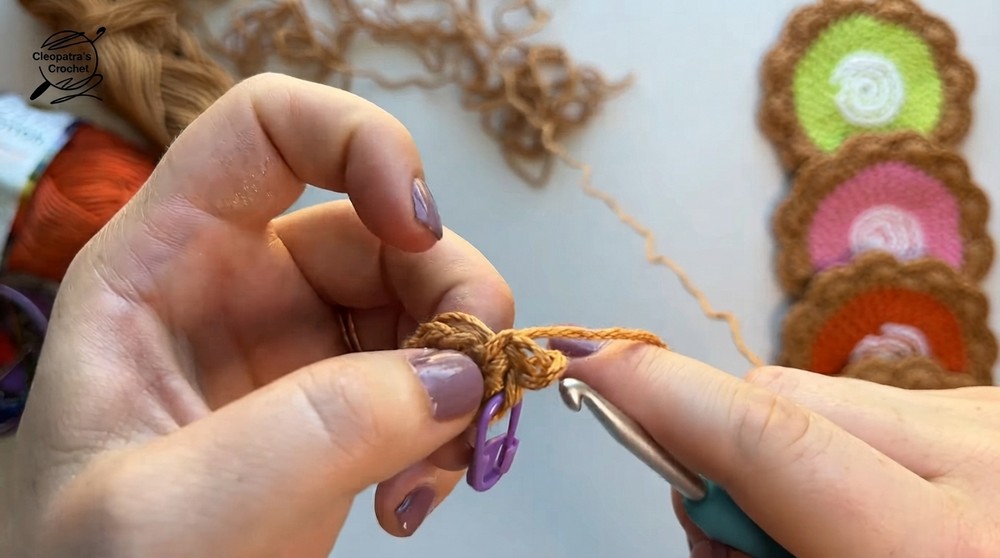
Round 1:
- Start with a magic ring.
- Work 6 single crochet (sc) stitches into the ring.
- Slip stitch (sl st) to join, chain 1.
Round 2:
- Work 6 increases (inc) — 2 sc in each stitch around.
- Total stitches: 12.
- Slip stitch to join, chain 1.
Round 3:
- (1 sc, 1 inc) repeated 6 times.
- Total stitches: 18.
- Slip stitch to join, chain 1.
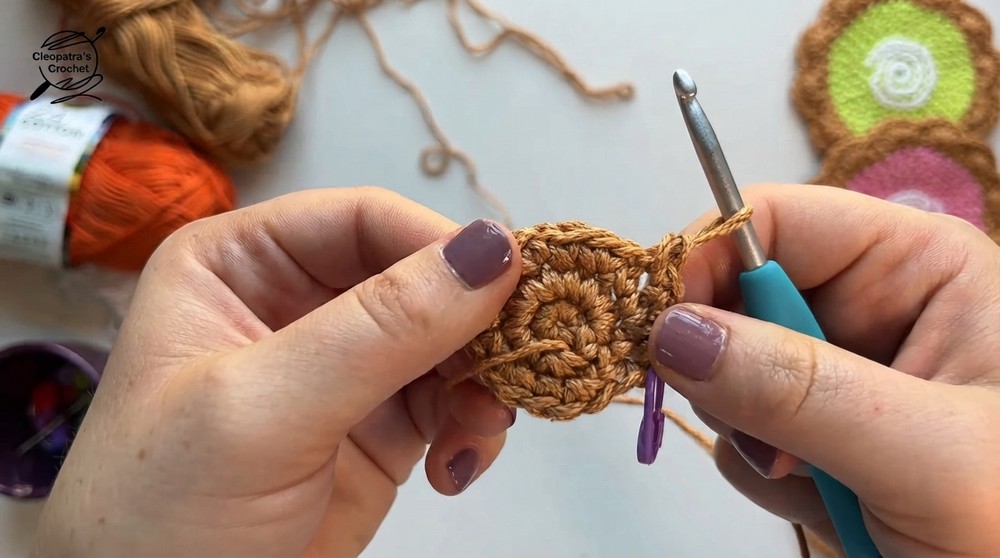
Round 4:
- (2 sc, 1 inc) repeated 6 times.
- Total stitches: 24.
- Slip stitch to join, chain 1.
Round 5:
- (3 sc, 1 inc) repeated 6 times.
- Total stitches: 30.
- Slip stitch to join, chain 1.
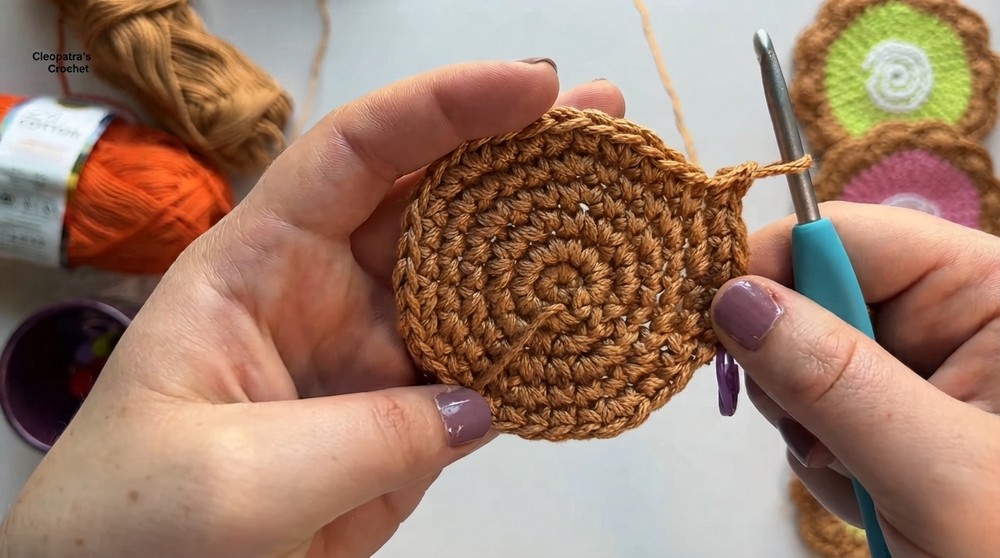
Round 6:
- (2 sc, 1 inc, 2 sc) repeated 6 times.
- Total stitches: 36.
- Slip stitch to join, chain 1.
Round 7:
- (5 sc, 1 inc) repeated 6 times.
- Total stitches: 42.
- Slip stitch to join.
- Note: For the second piece (the filling), switch to your chosen filling color (e.g., orange) after completing Round 7.
Phase 2: Finishing the Filling Piece
Round 8: Using brown yarn:
- (3 sc, 1 inc, 3 sc) repeated 6 times.
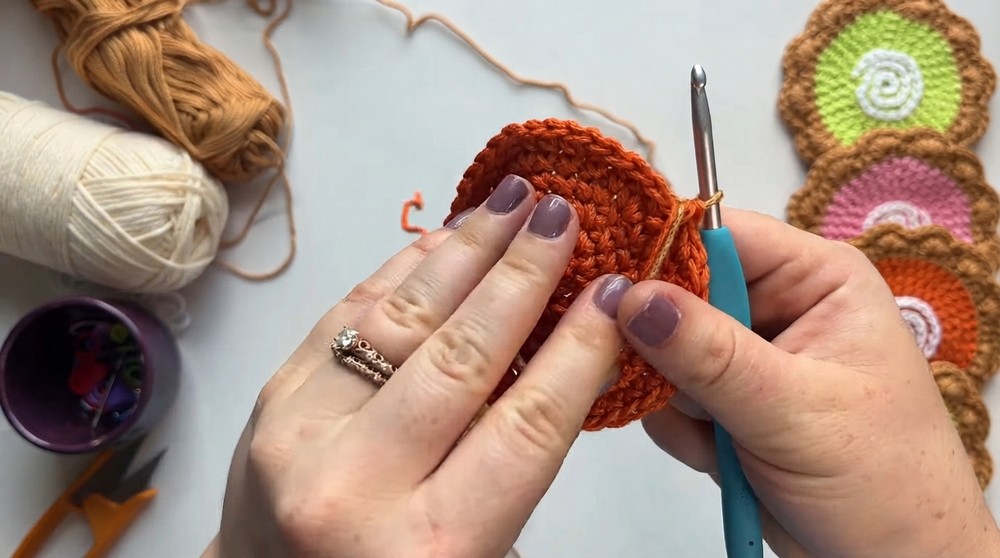
- Total stitches: 48.
- Slip stitch to join, chain 1.
Round 9: Scalloped Edge
- Skip 1 stitch, work 5 half-double crochets (hdc) into the next stitch, skip 1 stitch, slip stitch (sl st) into the next stitch.
- Repeat this sequence 12 times to form scallops all around the edge.
- Join with slip stitch to finish this border.
Phase 3: Surface Crochet Whipped Cream
Materials: Use white yarn for these steps.
Technique: Surface slip stitches form a swirling spiral that mimics whipped cream swirls.
- Starting just outside the center of the filling piece:
- Pull up a loop on the surface between Round 1 and Round 2.
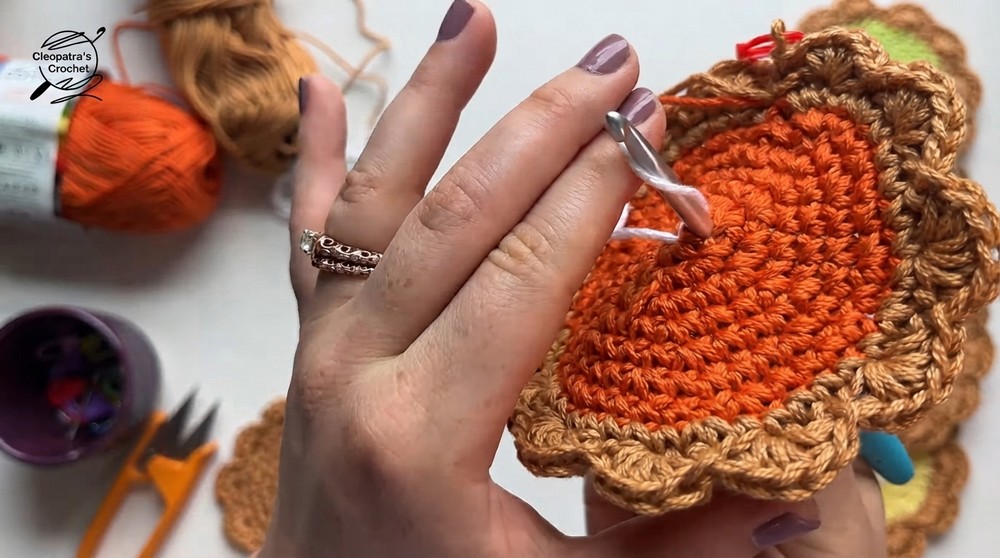
- Work surface slip stitches in a spiral moving outward between Round 1 and Round 2 (Spiral 1).
- Pull up a loop on the surface between Round 1 and Round 2.
- Continue surface slip stitches in the next spiral circle between Round 2 and Round 3 (Spiral 2).
- Add one last loop of surface slip stitches around the outer edge of the spiral to finalize the whipped cream texture (Spiral 3).
All surface stitches remain low profile and enhance the tactile look of whipped cream.
Phase 4: Assembly
Step 1: Positioning Pieces
- Place the wrong sides (inside) of both pieces facing each other.
- Line up the scalloped edges on the two layers.
Step 2: Joining Around Edge
- Using the working yarn attached to the filling piece, join the two layers by crocheting single crochet (sc) stitches through both pieces stitch for stitch.
- At the end of each scallop, finish the join with a slip stitch (sl st) to maintain the scalloped shape.
- Work all around the coaster’s edges.
Step 3: Finishing
- Complete the final stitch around the join.
- Cut yarn and pull through to secure.
- Weave in all yarn tails using a tapestry needle for a neat finish.
Assembly & Finished Size
- Your coaster measures approximately 12 cm (4.7 inches) in diameter after joining.
- The double-layer construction creates a thick, durable piece that protects surfaces from heat and moisture.
- The scalloped edge and whipped cream swirl give an elegant, dessert-inspired look.
Conclusion
Congratulations on completing your Cream Pie Coaster! This project blends simple crochet fundamentals with decorative details like a scalloped border and surface crochet to create a charming, reversible coaster perfect for any kitchen. It’s a perfect gift or addition to your home décor, showcasing your skills in increasing, shaping, color changes, and advanced surface techniques.