
Looking for a cute and fun project start making a Crochet Baby Chick Keychain that brightens your keys or bags with a charming handmade touch today.
Ochy Crochet shares a fun video (Link is below) that inspired this written pattern. This Crochet Baby Chick Keychain is a small and adorable accessory, measuring about 2 to 3 inches tall. It features a tiny baby chick with wings, a beak, and bright eyes, making it a charming decoration for keys, backpacks, or bags.
Mini Crochet Baby Chick Keychain Free Pattern for Keys
To create this keychain, you only need basic materials such as yarn, fiberfill stuffing, a small crochet hook, and a keyring. The pattern is simple enough for beginners but still enjoyable for those with some crochet experience. It’s a perfect project to practice your skills or to make a quick, cute gift.
The keychain is lightweight and portable, so you can carry your cheerful little chick wherever you go. Making these keychains can also be a fun way to create personalized presents for friends and family.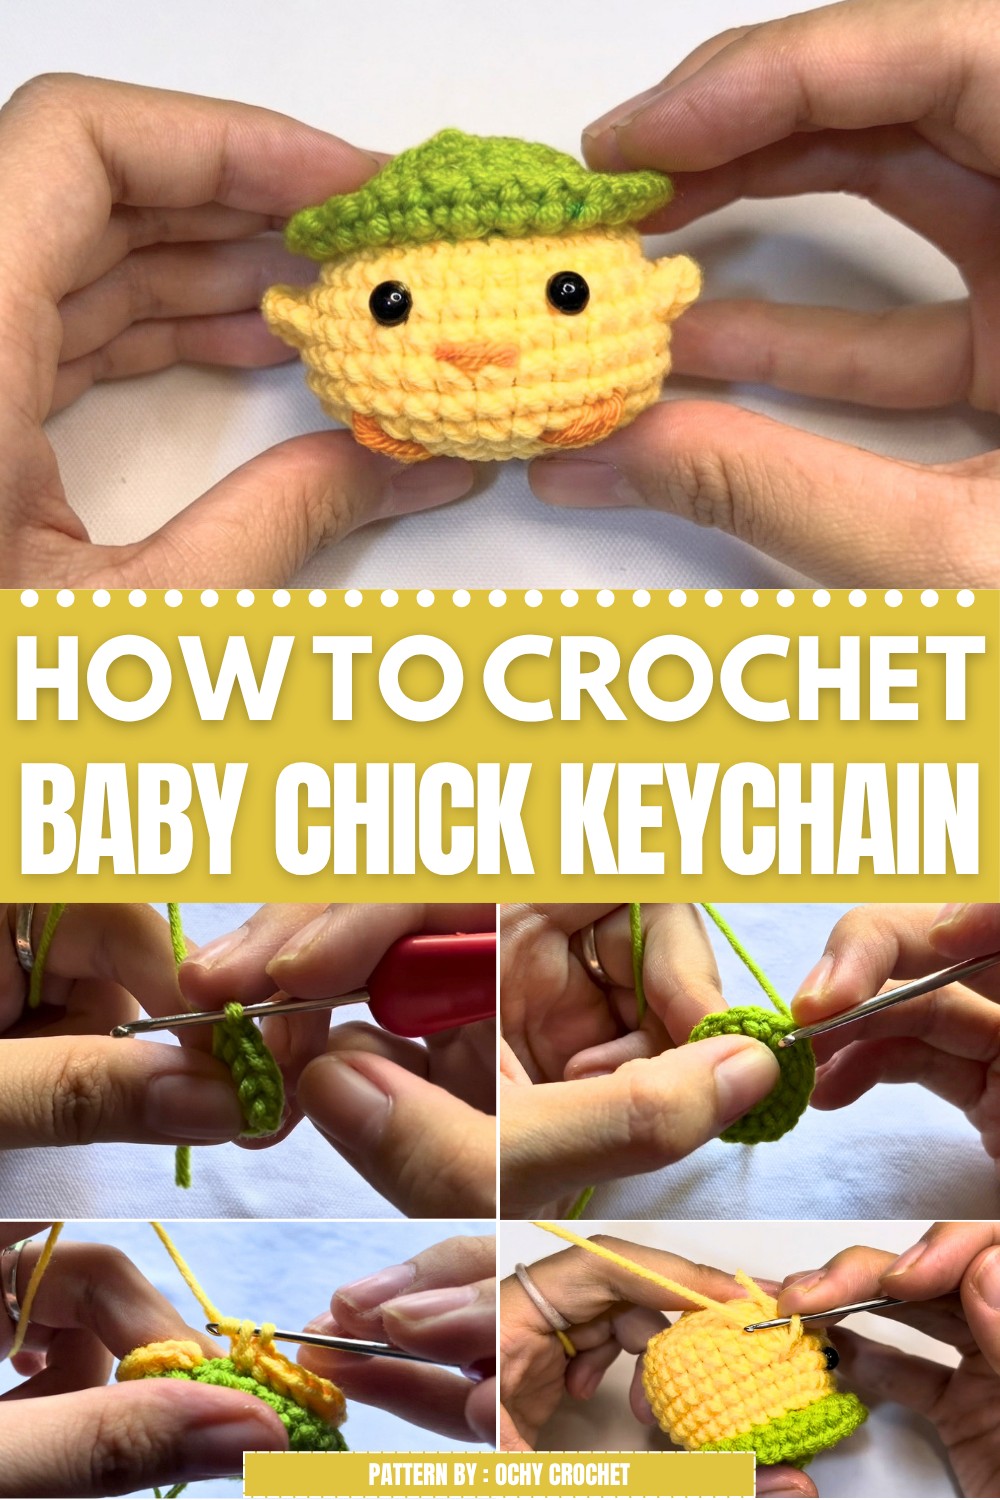
Overall, the Crochet Baby Chick Keychain is an easy, enjoyable, and practical project. Following Ochy Crochet’s tutorial will help you make this sweet little chick with clear and helpful steps. This project combines creativity and simplicity, providing a delightful result that you can proudly show off or gift to someone special.
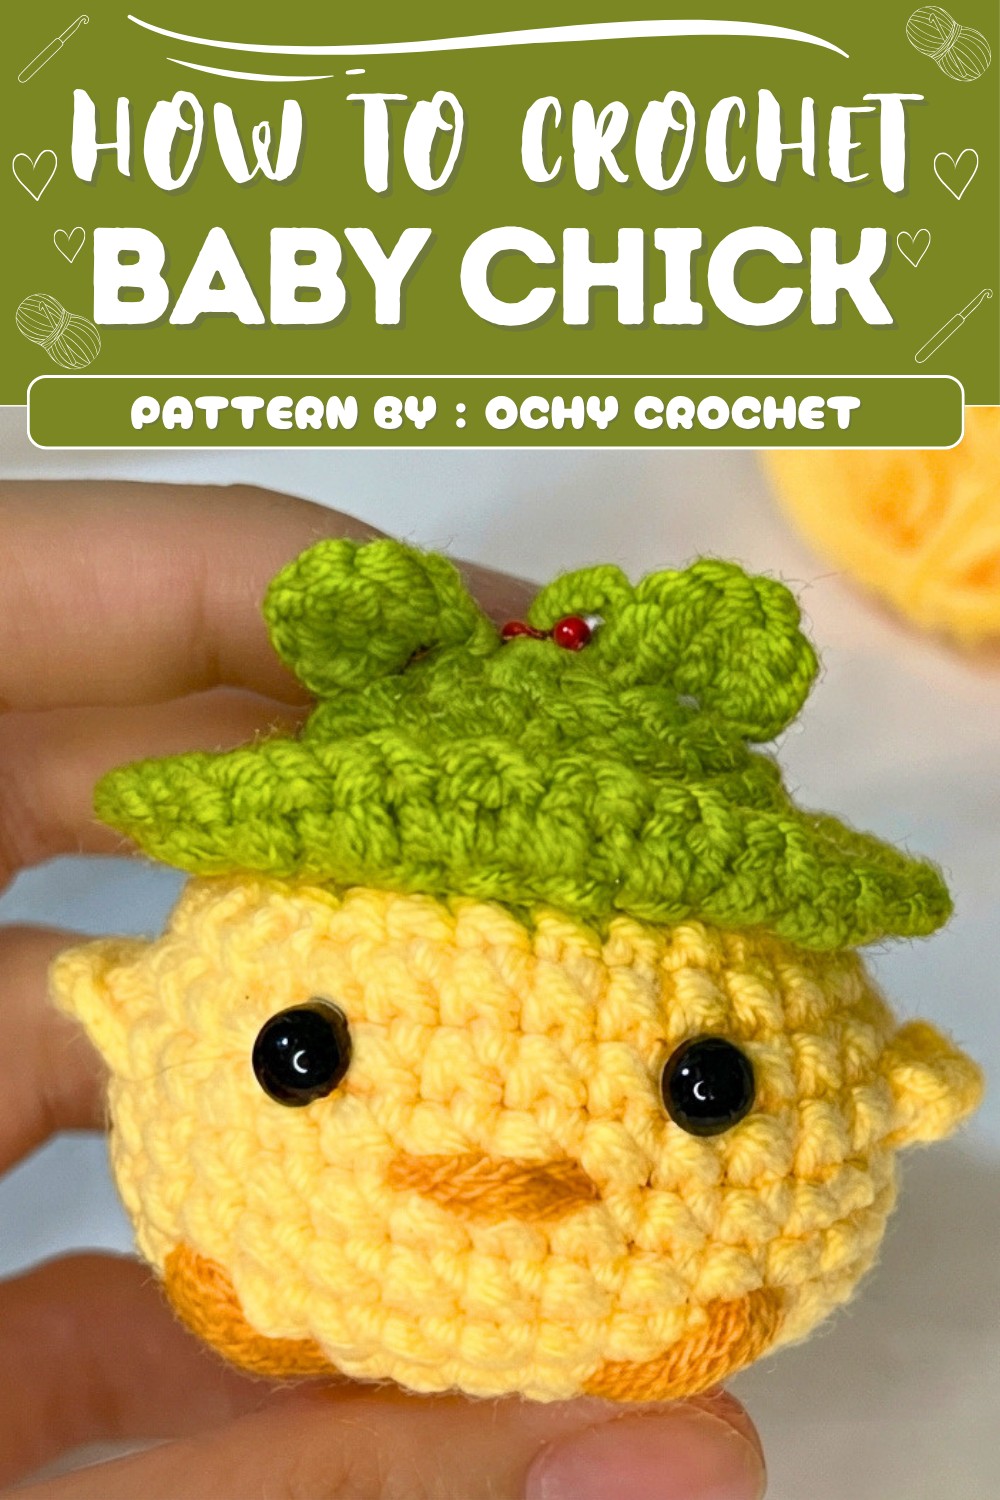
Cute Little Chick Crochet Pattern
Pattern Highlights
Chick Body and Head
- Start with a magic circle and basic amigurumi increases for round shape.
- Consistent single crochet rounds build the body.
- Decrease rounds shape the top for a neat finish.
- Stuff as you go for a plump chick.
Hat
- Crochet separately in basic rounds, using front and back loops for texture.
- Fits snugly over the head, adding adorable character.
Wings
- Simple surface crochet directly onto the body.
- Mark wing positions; use short rows and basic increases for cute, defined wings.
Details
- Use hot glue to attach 6mm safety eyes.
- Add orange paint for beak and legs for finishing touches.
Notes
- Use a stitch marker to track the first stitch in each round.
- Stuff body firmly for stability, but don’t overfill to avoid distorting the shape.
- The hat is worked in the front loops, and the body begins again from the back loops for clean attachment.
- Surface crochet wings after assembling the chick, following marked positions.
- Beak and legs are added with orange paint for an authentic look.
Skill Level
Beginner-Friendly / Easy Amigurumi
Materials
- Cotton yarn (yellow, and desired hat color)
- Cotton stuffing (fiberfill)
- 1.9mm copper crochet hook
- 6mm safety eyes
- Hot glue gun and sticks
- Sewing needle
- Scissors
- Orange paint (for beak and legs)
- Stitch marker
Measurements / Sizing
- Finished chick measures approx. 8 cm tall, 7 cm wide.
- Hat diameter: approx. 4 cm
- Wing span: approx. 2 cm
Gauge
Gauge is not critical for amigurumi, but for reference:
- Magic circle, 6 sc = approx. 1.5 cm diameter (with 1.9mm hook and cotton yarn)
Stitch Abbreviations
- ch – chain
- sc – single crochet (“x” in pattern shorthand)
- sl st – slip stitch
- inc (V) – increase (2 sc in same stitch)
- dec (A) – decrease (sc2tog, usually over front loops only)
- st(s) – stitch(es)
- magic circle – adjustable ring
Special Stitches
Magic Circle
Wrap yarn around fingers, insert hook, draw up loop, ch 1 to secure, sc stitches into the center.
Increase (V stitch)
The V stitch is a popular crochet technique that creates a beautiful, open pattern resembling the letter “V.” It’s made by working a double crochet, chain one, and another double crochet into the same stitch or space. This stitch adds texture and flexibility to projects, making it perfect for blankets, scarves, and shawls. The V stitch is easy to learn and creates a lovely, airy fabric that works well for both beginner and experienced crocheters.
Decrease (A, sc2tog)
Insert hook into front loop of next stitch, then into front loop of the following stitch, yarn over and pull through both, yarn over and pull through remaining loops.
Surface Crochet/Attaching Wings
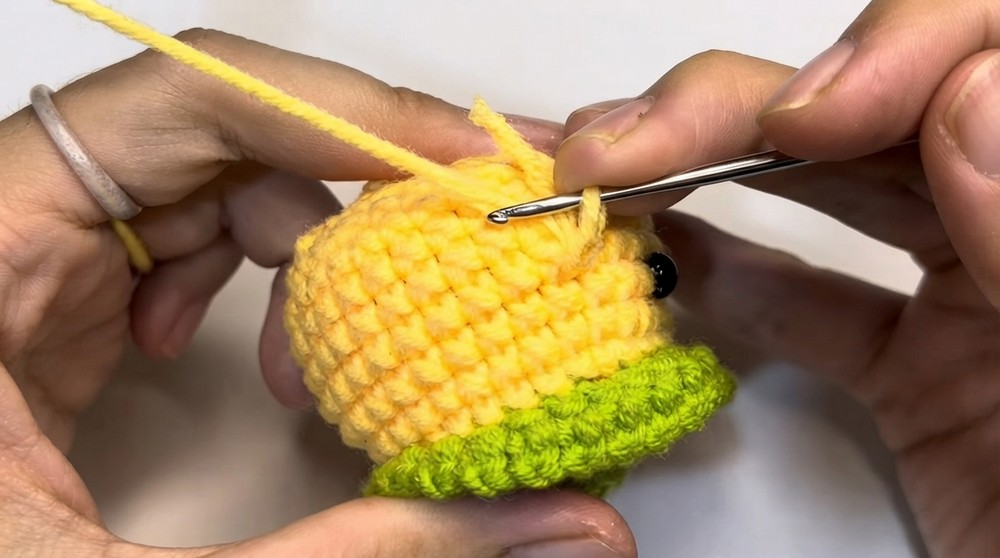
Mark the wing area and crochet into the body surface following image guidance, creating small “bumps” for wings.
Chick Hat
Hat Rounds (Worked in Separate Color):
Round 1:
- Magic circle, 6 sc.
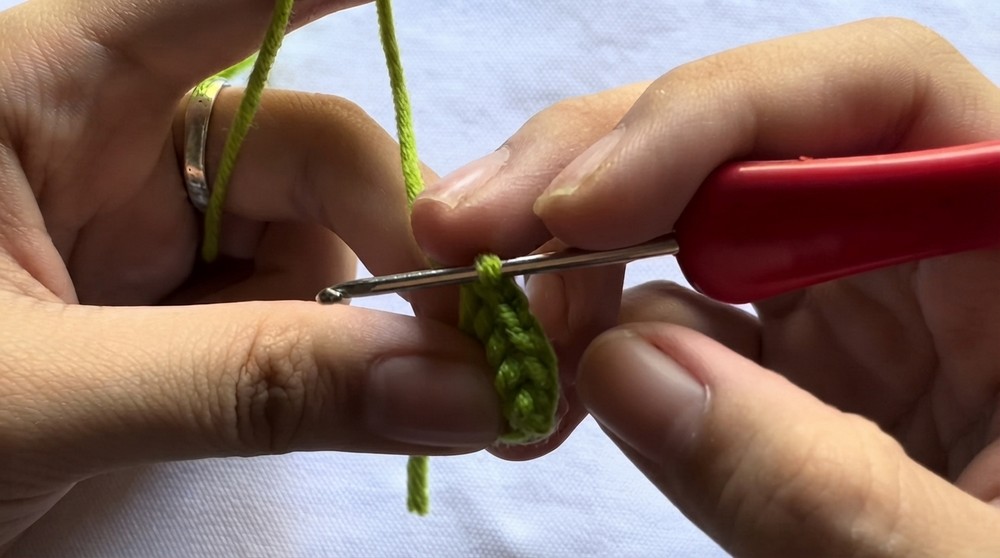
Round 2:
- 2 sc in each stitch (V stitch) – 12 sc.
Round 3:
- 1 sc, 1 inc (V) around – 18 sc.
Round 4:
- x-v-x pattern: sc in first st, inc in second, sc in third; repeat to end – 24 sc.
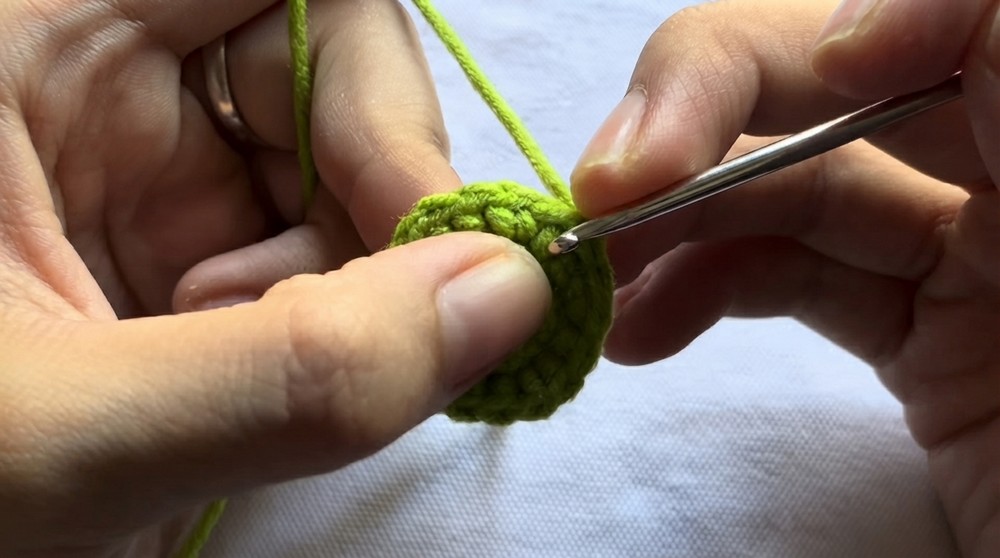
Round 5:
- 1 sc in each stitch – 24 sc.
Round 6:
- Work in front loops only: 1 sc in each st – 24 sc.
Round 7:
- 1 sc in first st, ch 1, 1 sc in next st, repeat to end.
- Finish round with a sl st and cut yarn.
- Hide excess yarn inside.
Chick Body
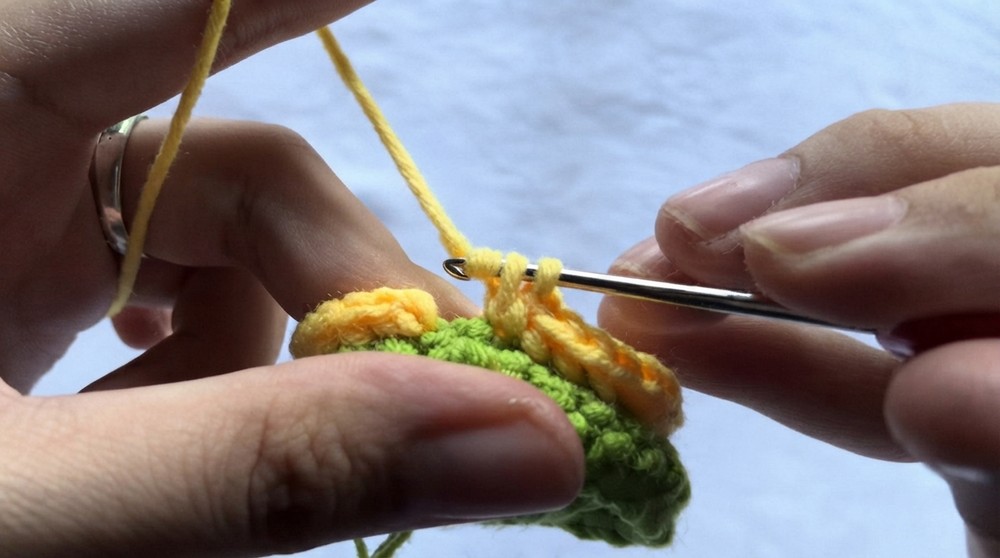
With Yellow Yarn, working into the back loops from Hat’s Round 5:
Round 1:
- Join yellow yarn into back loop.
- 1 sc in each of first 4 st, 3×1 V pattern: (3 sc in next st, inc in following); repeat to end – 30 sc.
Round 2–7:
- 1 sc in each st – 30 sc per round.
Round 8:
- 1 sc in each st – 30 sc.
Rounds 9–12:
- 1 sc in each st, one round at a time – 30 sc.
Round 13:
- 3 sc, 1 dec (A) pattern to end – 24 sc.
Finish round with a slip stitch.
Stuff lightly with cotton fiberfill.
Closing the Body
Round 14:
- 1 sc in first st, dec in next – continue as “XA” pattern to end.
Round 15:
- Repeat decrease clusters for shaping.
Round 16:
- Crochet decrease stitches throughout to close.
Cut yarn, use sewing needle to sew up excess fabric and close the top completely.
Wings
Surface Crochet, Mark Positions:
- Use yellow yarn; thread through marked position on body.
- Make 2 sc in same st, moving horizontally out from marker.
- Continue with 1 sc in next st for length of wing.
- Finish with a slip stitch and cut/extract excess yarn inside.
- Repeat for other side.
Chick Details
- Attach 6mm safety eyes with hot glue. Press firmly into place.
- Use orange paint for beak and legs. Paint tiny dots/lines as shown.
Assembly & Finished Size
- Securely attach hat to top of head.
- Attach wings using surface crochet for symmetry.
- Attach eyes with hot glue.
- Paint beak and legs for finishing touches.
- Finished chick stands approx. 8 cm tall, 7 cm wide.
Conclusion
Your cute little chick is now complete! With basic stitches, smooth rounds, and surface finishing, this amigurumi chick is fun and easy for beginners. Attach eyes and paint details for added character.
