
Brighten your purse with the Crochet Amigurumi Teddy Bear Keychain Free Pattern, a cuddly toy that adds warmth to your daily accessories.
TejeAdicta shares this lovely crochet idea for people who like small, useful yarn projects with cute animal designs. The Crochet Teddy Bear Keychain is a tiny bear that adds a fun touch to things you carry every day. Its little size and friendly appearance turn a regular keychain into something more interesting.
Tiny Crochet Teddy Bear Keychain Free Pattern With Cute Details
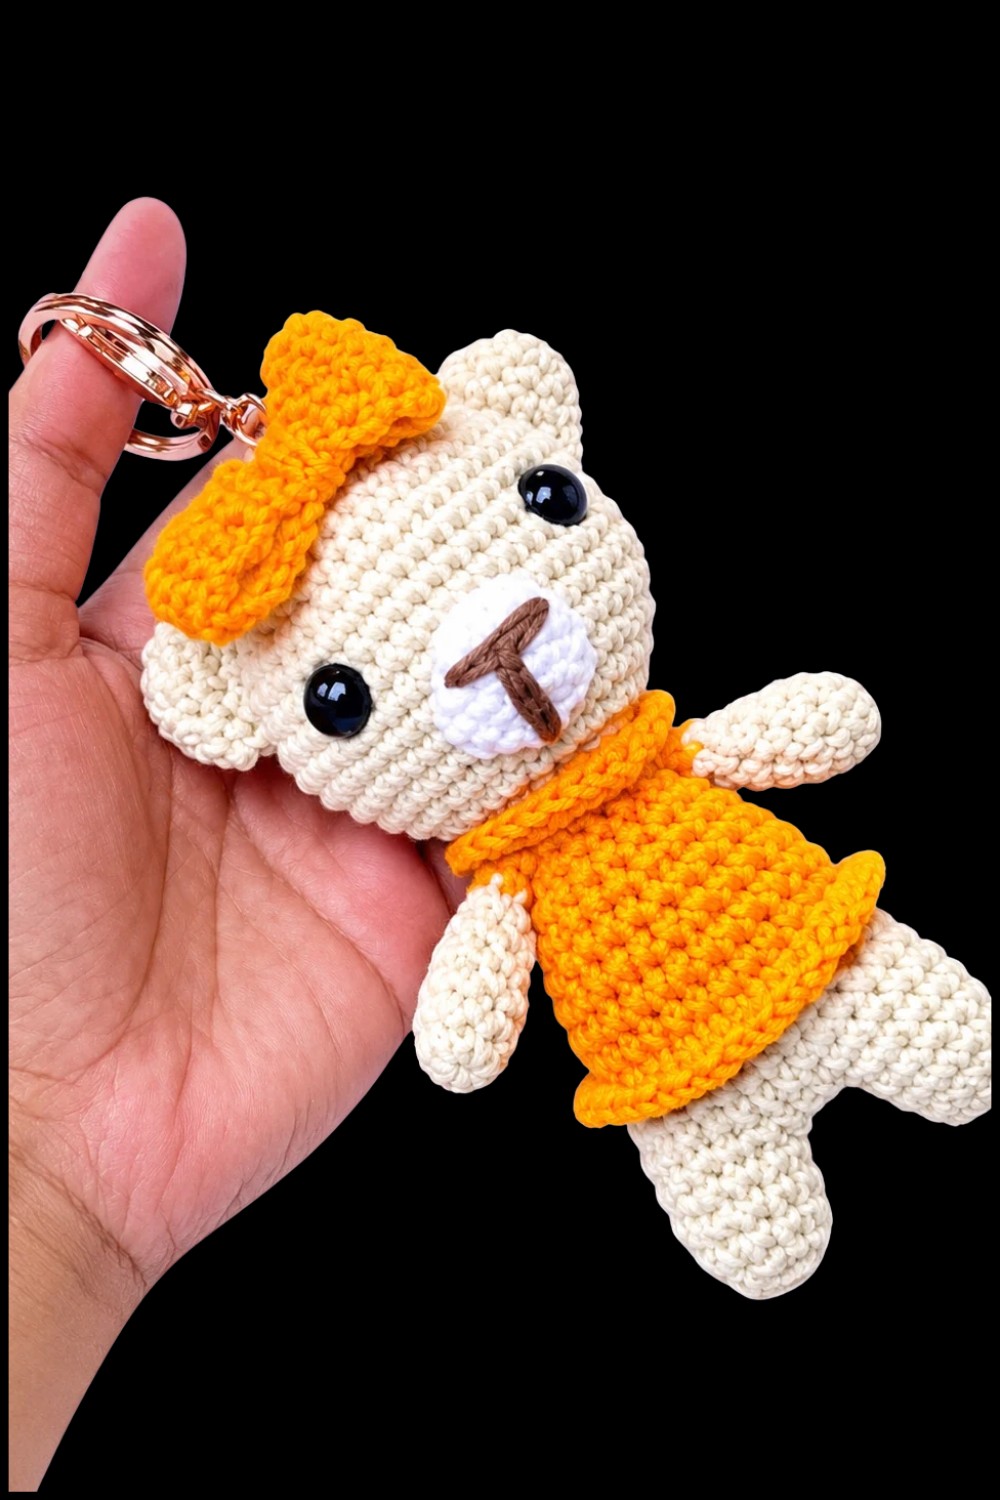
The bear has a small head, round ears, and a little body that gives it a sweet appearance. Its short arms and feet add to its tiny size, while the nose and eyes help give it a friendly face. You can use coffee brown, soft yellow, or white yarn to give the bear different looks. Its small size also helps it hang easily without taking up much room.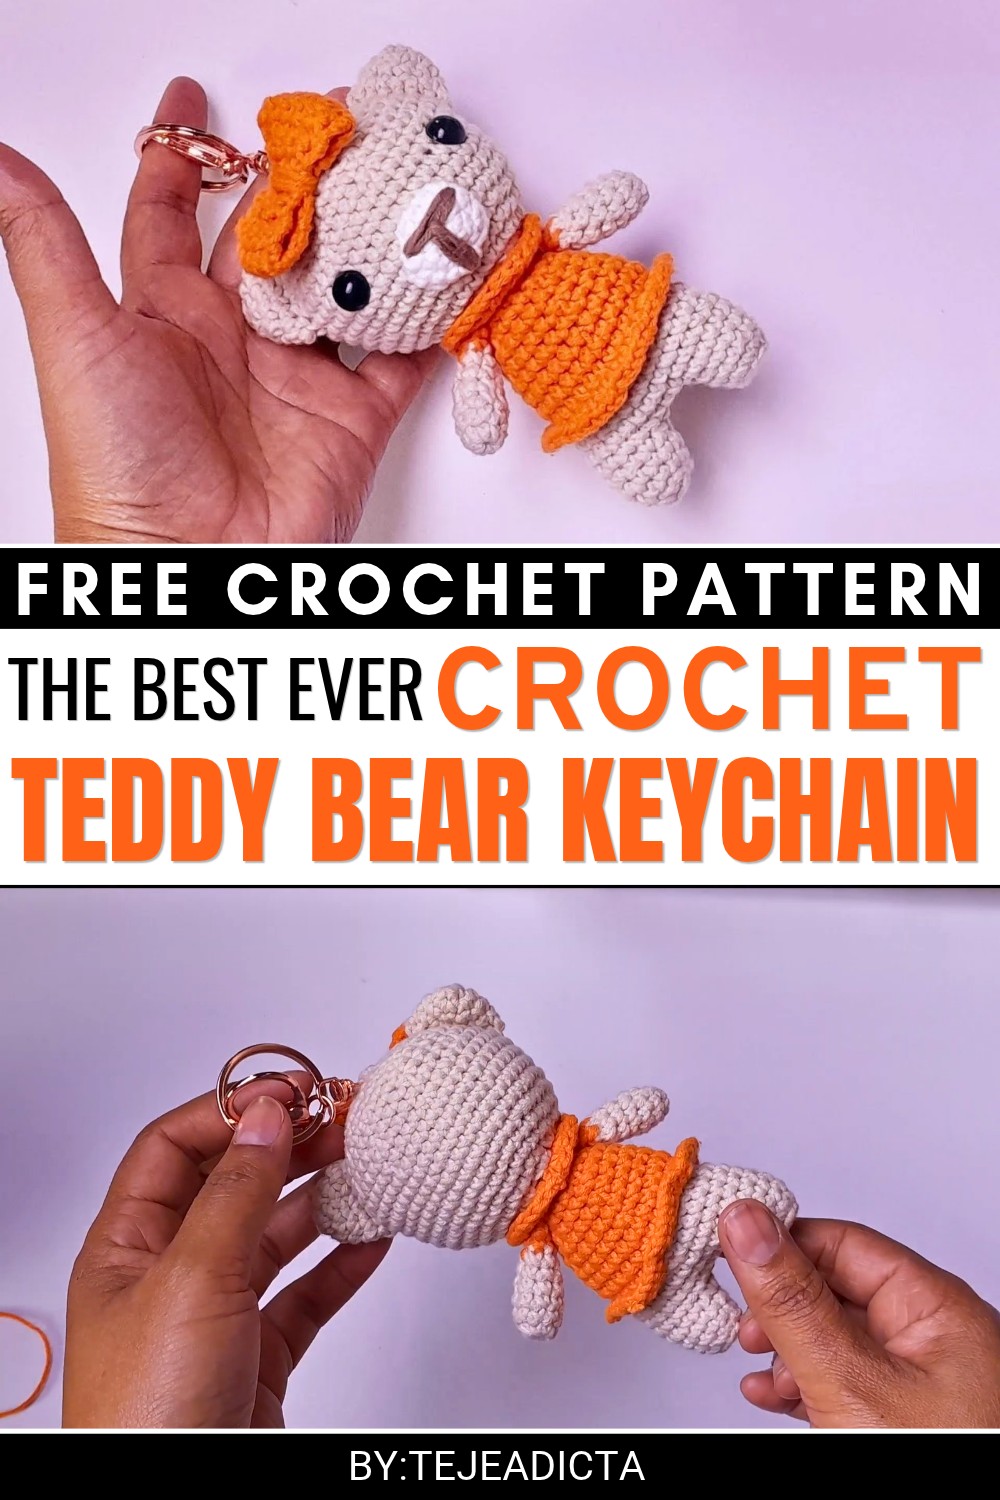 The bear can be worked using simple crochet stitches. The head and body are shaped into small sections, and the other parts are attached carefully. A little stuffing helps the bear keep its shape. Once finished, a metal keychain ring can be added so you can carry it easily.
You can attach this bear to your bike keys, a school pencil case, or a small purse. It is also a nice gift for a classmate, a little thank-you present, or a matching accessory for two close friends.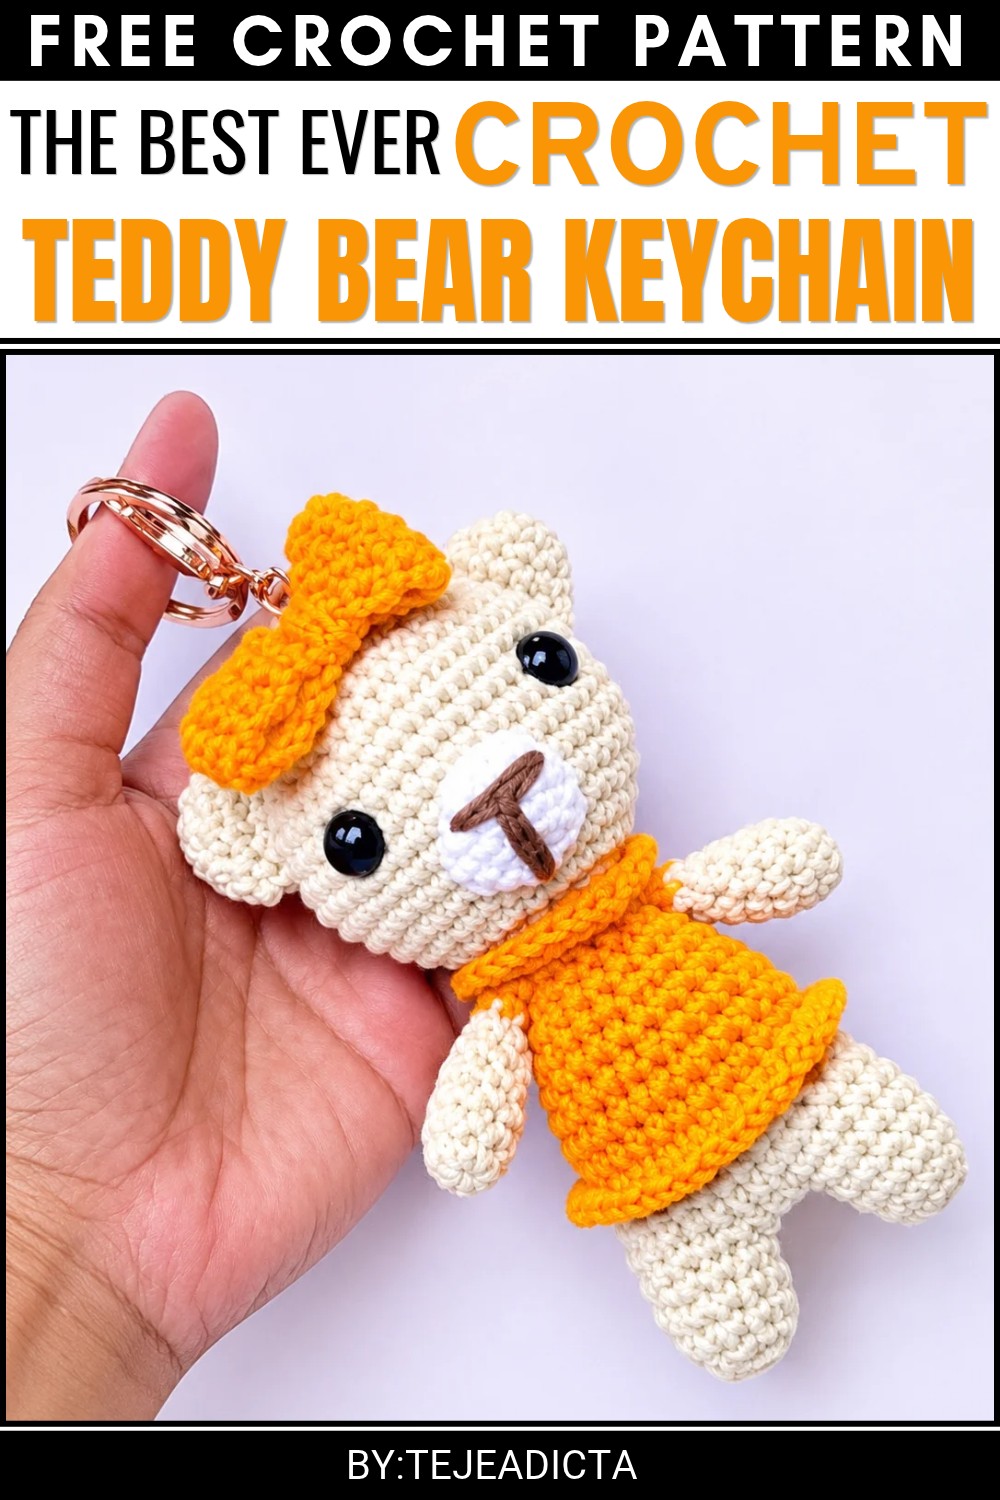 This tiny bear is a fun way to add something personal to your daily items. Its small body and simple details give it a cute look that people of different ages can appreciate.
Amigurumi Bear Keychain Pattern
About the Pattern
Miniature amigurumi bear keychains provide both a charming project and a practical accessory. This pattern produces a bear measuring approximately 10–12 cm in height, featuring detailed shaping for the body, head, arms, legs, and a small dress with collar and bow. Crocheted in small, portable rounds, each element is designed for a proportional, finished result perfect for a quick handmade gift.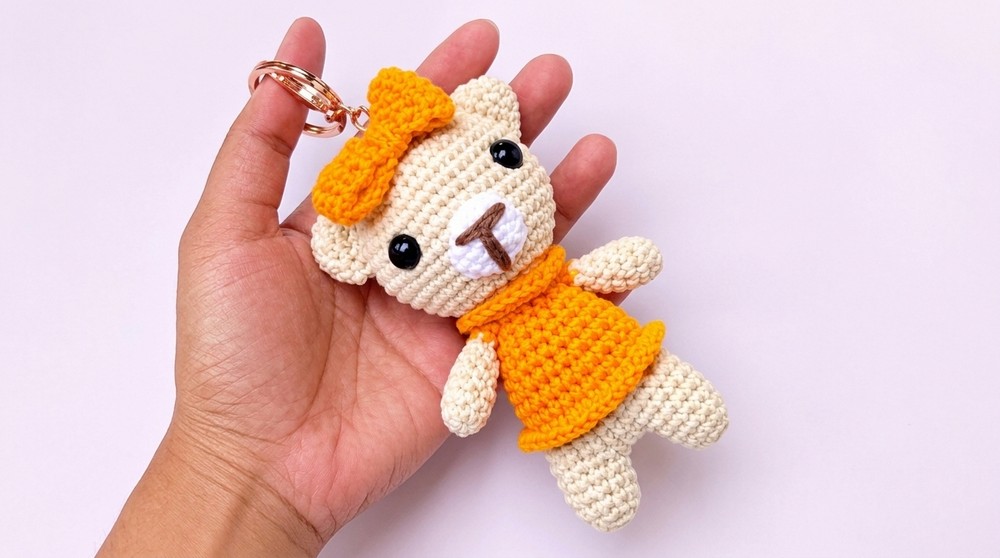
Pattern at a Glance
- Technique: Amigurumi crocheting in the round, spiral construction, shaping, color changes, and assembly.
- Key elements: Head, body/dress, arms, legs, ears, embroidered or crocheted details, and a bow.
- Finishing: Assembly and attachment to a metal keyring for functionality.
Important Notes
- Maintain tight stitches, especially for stuffing and shape retention.
- Mark the first stitch of each round using a stitch marker; rounds are generally continuous (spiral amigurumi style).
- Adjust stitch count or yarn/hook size to alter the finished size.
- Secure all sewn parts well, especially if the project is intended for regular handling.
Difficulty Level
- Confident Beginner to Intermediate: Suitable for those who have practiced amigurumi, with basic knowledge of working in the round, increases, decreases, color change, and simple embroidery.
Supplies Needed
- Balo yarn (cotton/acrylic blend, recommended for 3.5 mm hook) or similar amigurumi yarn in base (body), dress, accent (nose, details), and white
- 2.5 mm crochet hook (for tighter fabric)
- Tapestry needle (for assembly, details)
- Stitch marker
- Stuffing (acrylic/cotton/polyfill)
- 7 mm safety eyes (or preferred size)
- Small keychain ring
- Small scissors
Size & Measurements
- Height: 10–12 cm finished, excluding keyring
- Proportions can be adjusted with yarn weight and hook size
Gauge & Stitch Details
- Amigurumi is gauge-flexible; focus on tight stitches for no gaps.
- Major stitch: single crochet (sc)
- Use increases (2 sc in 1 st) and invisible decreases (sc2tog in front loops only) as directed.
Crochet Abbreviations
- mr — magic ring
- sc — single crochet
- inc — increase (2 sc in next stitch)
- dec — decrease (sc2tog)
- ch — chain
- sl st — slip stitch
- hdc — half double crochet
- st(s) — stitch(es)
Special Stitch Guide
- Magic ring (mr): Adjustable loop to start rounds with minimal hole.
- Invisible decrease: Insert hook in front loops of next two stitches, yarn over, draw through, yarn over, draw through 2 loops.
- Back loop only (blo): Insert hook under back loop of stitch for subtle texture.
- Color change: Work last yarn-over of previous stitch with the new color.
Complete Crochet Pattern
Ears (Make 2)
Round 1:
- With base color, make a mr, ch 1, work 5 sc into ring. Pull tight.
Round 2:
- Inc in each stitch around (10 sc).
Round 3:
- Sc in each stitch (10 sc).
Round 4:
- (Sc 1, inc in next st), repeat around. Place marker in first stitch. (15 sc).
Cut yarn leaving a long tail for sewing. Make two ears.
Arms (Make 2)
Round 1:
- With base color, mr, ch 1, 8 sc into ring.
Rounds 2–4:
- Sc in each stitch (8 sc per round).
Round 5:
- Dec over first two stitches, sc in remaining stitches (7 sc).
Round 6:
- Sc in each stitch (7 sc).
Lightly stuff the arm.
Round 7:
- Change to dress color. Sc in 2, dec, sc in remaining (6 sc).
Round 8:
- Sc in each stitch (6 sc).
Finish, fasten off, do not stuff further. Leave tail for sewing.
Legs (Make 2)
Round 1:
- With base color, mr, ch 1, 11 sc into ring.
Round 2:
- Sc blo in each stitch (11 sc).
Rounds 3–4:
- Sc in each (11 sc per round).
For first leg, cut yarn. For second leg, do not cut yarn—continue to body.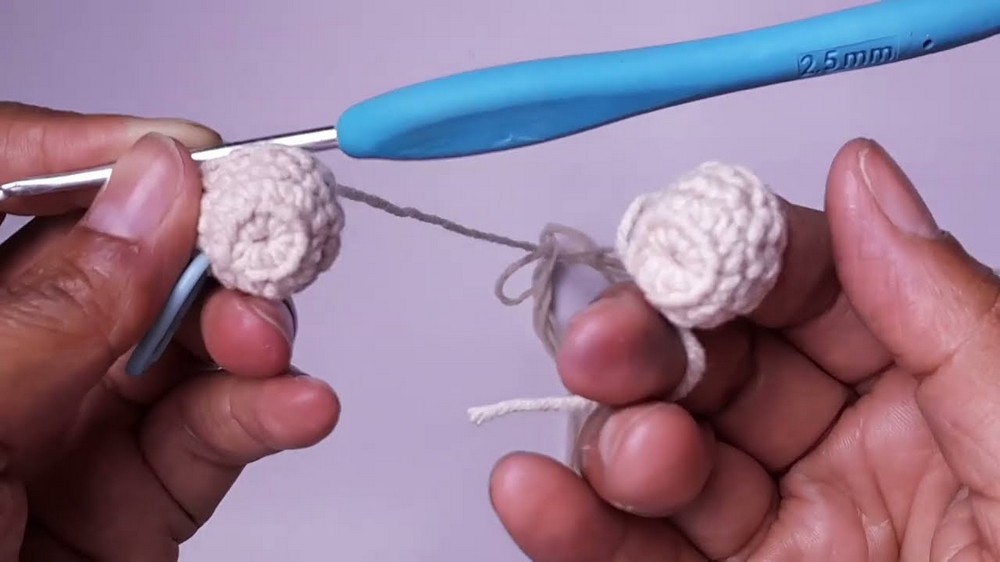
Body & Dress
Round 1:
- From second leg, ch 3 and join to first leg with a single crochet in any stitch. Sc around leg (11 sc), sc in each of the 3 chains, sc around other leg (11 sc), sc into 3 chains on the opposite side. (Total 28 sc).
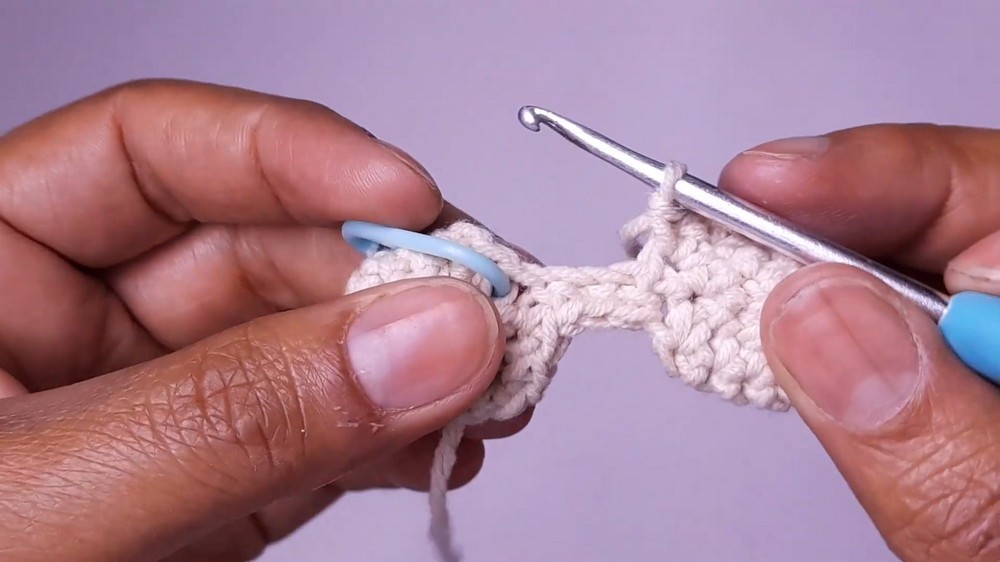
Rounds 2–4:
- Sc in each stitch (28 sc per round).
Round 5:
- Change to dress color. On each stitch: insert hook, yarn over with base color, finish stitch with new color.
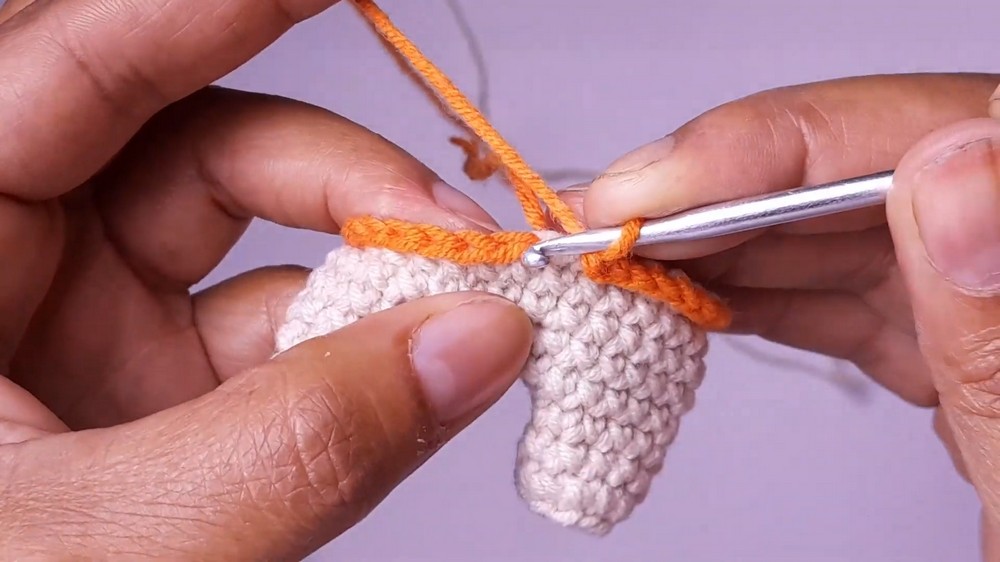
- Sc in each stitch (28 sc). Secure base yarn; continue with dress color.
Round 6:
- Sc blo in each stitch (28 sc).
Round 7:
- Sc in each stitch (28 sc).
Round 8:
- (Sc 5, dec) around (24 sc).
Round 9:
- Sc in each stitch (24 sc).
Round 10:
- (Sc 4, dec) around (20 sc).
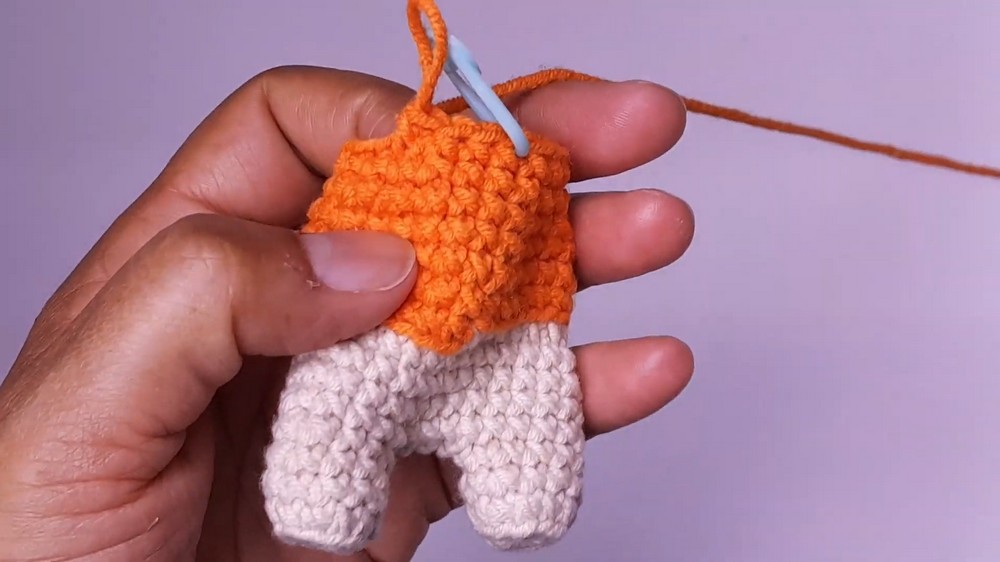
Round 11:
- Sc in each stitch (20 sc).
Round 12:
- (Sc 3, dec) around (16 sc).
Round 13:
- Sc in each stitch (16 sc).
Round 14:
- (Do not count first stitch, for centering)
- Begin with dec, then sc in next 3 stitches, attach arm over next 3 stitches (insert hook through both arm and body, work sc), dec, sc, dec, attach second arm over next 3 stitches, dec, sc in remaining, end round. Use only front loop for next round. Leave back loops for neck/collar.
Dress Collar:
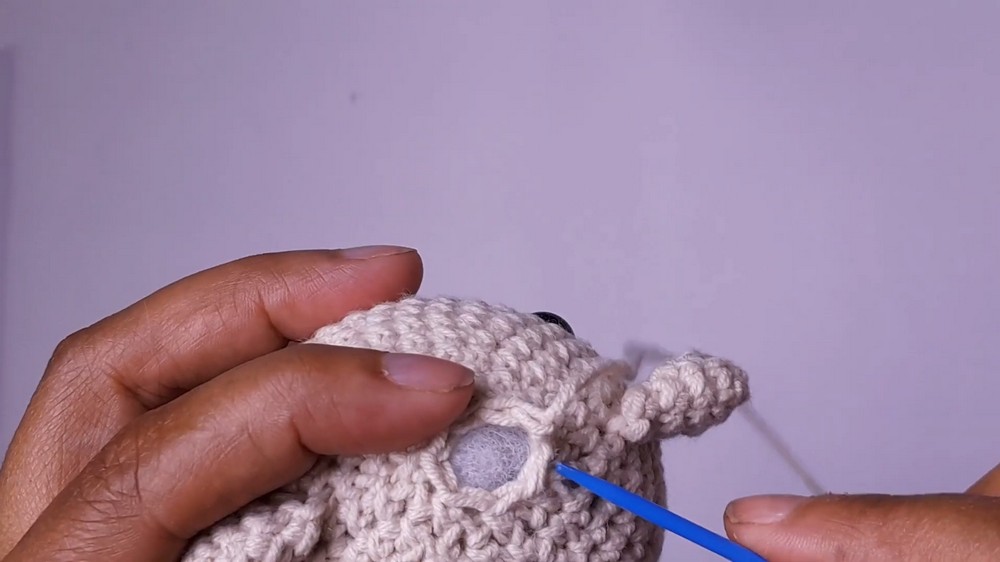
- With dress color, join to front loop of round 14.
- (Ch 2, 2 hdc in same st) at edge, (2 hdc in next st) around, except at the central front stitch where 4 hdc are made. End with sl st, fasten off.
Dress Hem (optional):
- With dress color, pick up base round at the bottom of the dress, (2 sc in each stitch) around for a slight ruffle.
Stuff the body.
Head
Round 1:
- Attach base color yarn to the 12 reserved neck back loops. Ch 1, (2 sc in each stitch) around (24 sc).
Round 2:
- (Sc 1, inc) around (36 sc).
Round 3:
- Sc in each stitch (36 sc).
Round 4:
- (Sc 2, inc) around (48 sc).
Rounds 5–10:
- Sc in each stitch (48 sc per round).
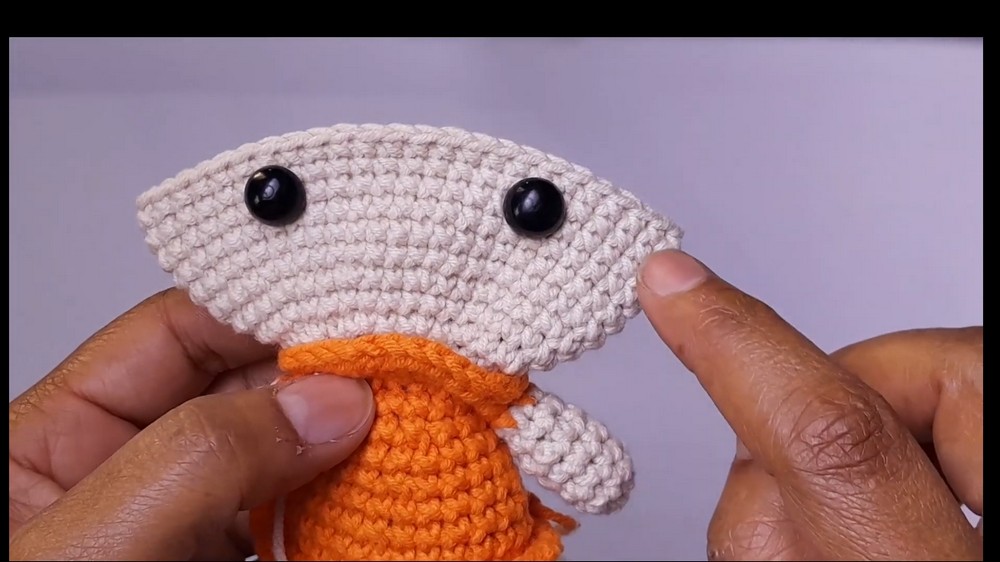
At this stage, insert safety eyes between round 8–9, spaced evenly opposite the nose placement. Begin stuffing the head.
Round 11:
- (Sc 4, dec) around (40 sc).
Round 12:
- Sc in each stitch (40 sc).
Round 13:
- (Sc 3, dec) around (32 sc).
Round 14:
- Sc in each stitch (32 sc).
Round 15:
- (Sc 2, dec) around (24 sc).
Round 16:
- Sc in each stitch (24 sc).
Pause to sew on the ears symmetrically, then finish stuffing the head.
Round 17:
- (Sc 1, dec) around (16 sc).
Round 18:
- Dec around (8 sc).
Cut yarn, thread end through remaining 8 sc and pull tight to close.
Nose
Round 1:
- With white yarn, mr, ch 1, 5 sc in ring.
Round 2:
- Inc in each stitch (10 sc).
Round 3:
- (Sc 1, inc) around (15 sc).
Cut yarn, leave extra length for sewing. Sew nose centered between eyes. Embroider mouth or nose line with brown yarn as shown.
Bow
Row 1:
- With dress color, ch 4.
Row 2:
- Sc in next 3 ch (turning chain left unworked). 3 sc.
Rows 3:
- At start of each row, inc in first st (2 sc in first st), then one sc in each st. Repeat until you reach 6 sc per row.
- Work 4 rows even (6 sc each).
- Decrease one st at the start of each row until 3 sc remain.
- Work 2 rows even (3 sc).
- Increase at start of each row back up to 6 sc, working 4 rows even at 6 sc.
- Decrease as before to 3 sc.
- Cut a long tail and use to sew edges together, then wrap around center for a bow shape.
Assembly & Finished Size
- Attach arms and legs at marked points; reinforce for durability.
- Sew ears on top sides of head, nose as described, and embroider facial features as desired.
- Attach bow at base of one ear or in front as shown.
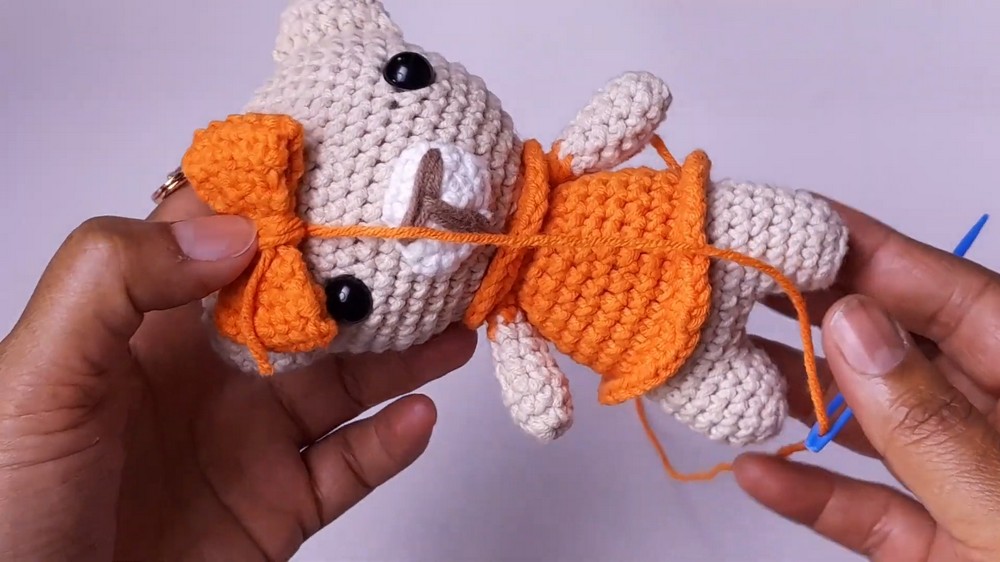
- Attach keychain ring securely using a length of yarn to loop through the head.

- Final height: 10–12 cm. Refer to original measurements for size checks.
Conclusion
This amigurumi bear keychain is created with thoughtfully shaped components for a delightful and expressive miniature companion. Adapt the color palette for endless customization, and enjoy the efficient, portable construction—great for gifting or personal keepsakes. The careful shaping and sturdy assembly ensure the finished keychain bears up to everyday use while showcasing your creativity and skill.
