
Add a sweet little friend to your toy collection with this Crochet Teddy Bear Free Pattern and stitch an adorable bear for birthdays and gifts.
A soft bear with a friendly face can become a favorite toy for children and a special keepsake for adults. Its warm appearance and cuddly shape give it a comforting feel. Hooks & Needles By Mita shares the original tutorial for this lovable animal, offering a fun project for crochet lovers.
Heartfelt Crochet Teddy Bear Free Pattern For Little Toy Lovers
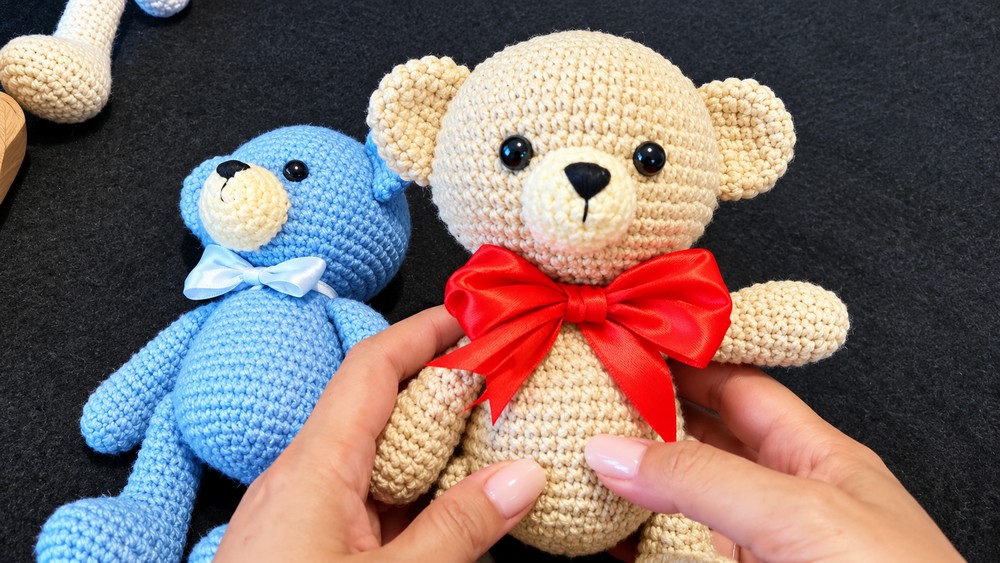
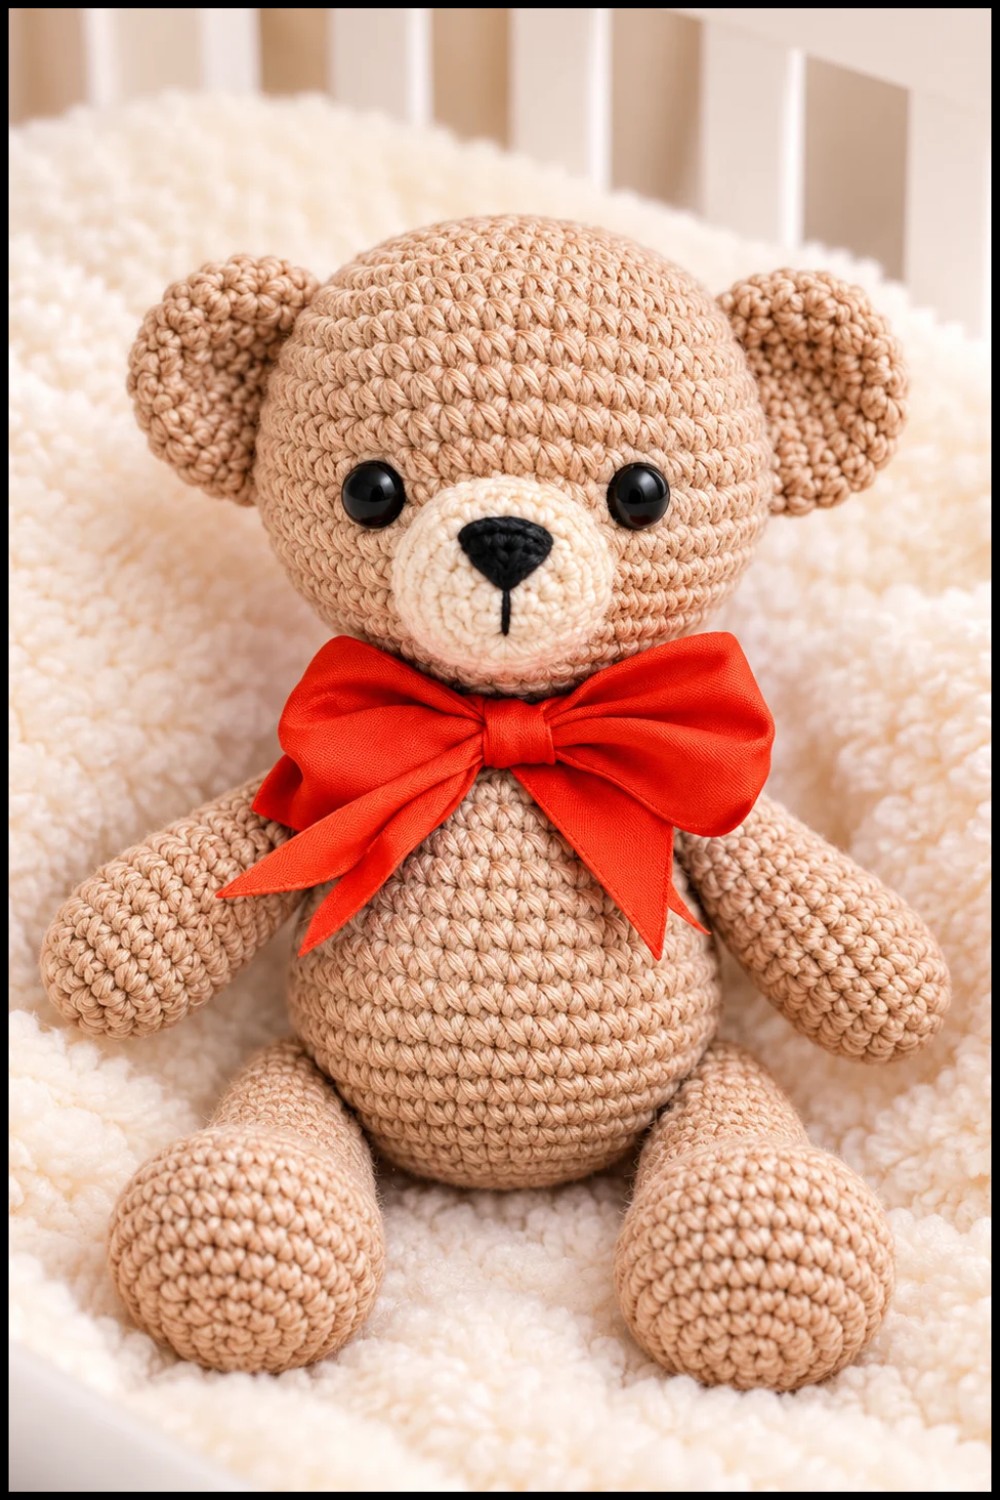
This Crochet Teddy Bear is a stuffed toy with a round head, small ears, short arms, and a plump belly. Its tiny nose, gentle eyes, and rounded paws give it a sweet expression. The close crochet stitches form a smooth surface, while the soft filling helps the bear keep its shape. The teddy’s simple style is one of its best features. Brown yarn gives it a traditional look, while beige, cream, or light pink can offer a different finish. A small bow or colorful scarf can also add a personal detail.
You can place this bear on a bedroom shelf, beside pillows, or in a nursery as a room decoration. It is also a thoughtful handmade gift for birthdays, baby showers, and other happy occasions.
Making the bear involves crocheting the body and head in rounds, adding stuffing, and preparing the smaller parts. The ears, arms, and legs are then attached, followed by the facial details.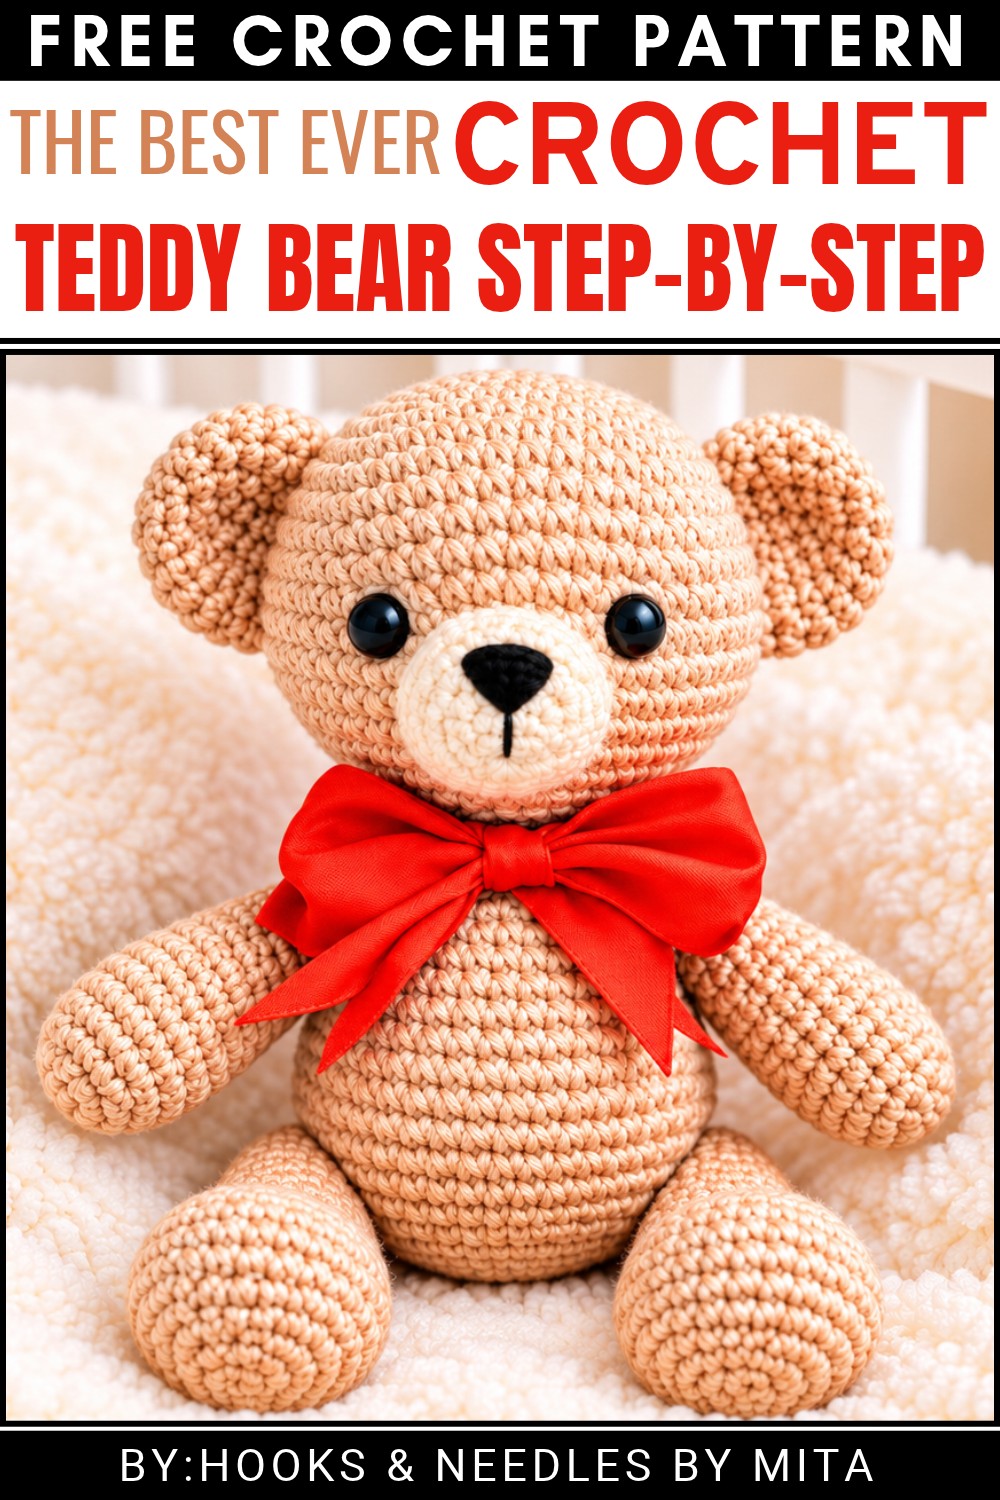 This free teddy bear pattern is a nice choice for your next crochet project, especially when you want something useful, easy to love, and fun to finish!
About the Pattern
This crochet teddy bear pattern utilizes classic amigurumi techniques to create a fully three-dimensional plush companion. The pattern includes detailed instructions for separate construction of the head, ears, limbs, muzzle, and body, ensuring realistic shaping and strong proportions. Safety eyes and precise assembly achieve a lively and child-friendly expression. Each component is worked in the round, joined sequentially, and finished with secure sewing for durability. The bear is designed as a huggable keepsake as well as a display collectible.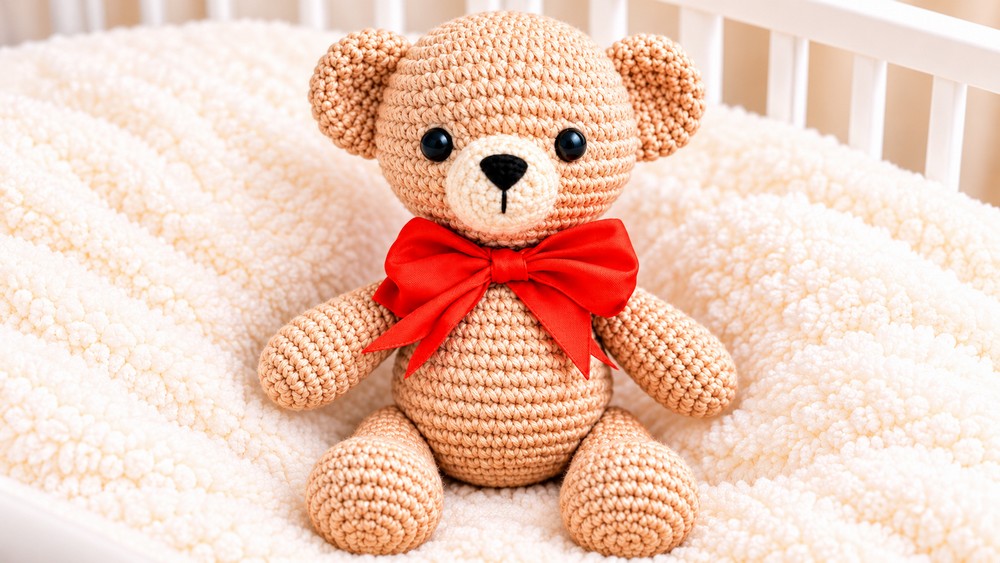
Pattern at a Glance
This teddy bear pattern features:
- Curved, sculpted head with inset safety eyes.
- Rounded ears and symmetrical muzzle for authentic bear features.
- Sturdy legs and arms, positioned for maximum stability and poseability.
- Seamless body increases and decreases for a tight, professional finish.
- Stepwise attachment for the limbs, ears, and muzzle; final assembly creates a cohesive teddy bear.
- Adaptability of sizes based on yarn and hook choice; the construction is suited to beginners and advanced crafters alike.
Important Notes
- Work all rounds in a spiral—do not join unless specified.
- Use stitch markers to accurately track beginnings of rounds.
- Stuff each piece firmly before closing, particularly the head and limbs.
- Safety eyes should be placed before final stuffing and closing of the head.
- Carefully count stitches as increases and decreases are frequent and essential for correct shaping.
- All assembly steps must be followed for balanced positioning and a finished professional look.
Difficulty Level
This project is rated as intermediate. Key skills include:
- Magic ring technique
- Precise increasing and decreasing
- Working in both loops and back loops
- Attaching parts accurately
- Sewing muzzle and ears for symmetry
- Familiarity with join-as-you-go for limb and arm attachment
Supplies Needed
- 2.5mm or 3mm crochet hook (according to yarn weight)
- Worsted or DK weight yarn: Main bear color, contrasting color for muzzle
- Safety eyes (8mm)
- Polyester fiberfill stuffing
- Stitch markers
- Yarn needle (for sewing and weaving ends)
- Scissors
Size & Measurements
- Finished teddy bear height: Approximately 15–20cm, depending on yarn weight and tension
- Head diameter: About 7–8cm
- Body height: Approx. 8–10cm
- Limbs: Each arm and leg, approx. 6–7cm in length
Gauge & Stitch Details
- Tight, dense stitches are recommended for amigurumi to prevent stuffing from showing through.
- Gauge (optional): 10 SC x 10 rows = 4cm x 4cm.
- Alter hook size to achieve appropriate gauge and texture.
Crochet Abbreviations
- SC – Single Crochet
- INC – Increase (2 SC in one stitch)
- DEC – Decrease (crochet two stitches together)
- CH – Chain
- Sl St – Slip Stitch
Special Stitch Guide
- Magic Ring: Create a loop and work SC into the center, allowing the ring to be pulled tight—essential for round, closed shapes.
- Increase (INC): Work two SC in one stitch for shaping.
- Decrease (DEC): Crochet two stitches together for narrowing forms.
- Back Loop Only (BLO): Work into back loop only for levelling or shaping.
Complete Crochet Pattern
Head
- Round 1:
- Magic ring, 6 SC
- [6]
- Round 2:
- 6 INC (2 SC in each)
- [12]
- Round 3:
- (1 SC, 1 INC) x6
- [18]
- Round 4:
- (2 SC, 1 INC) x6
- [24]
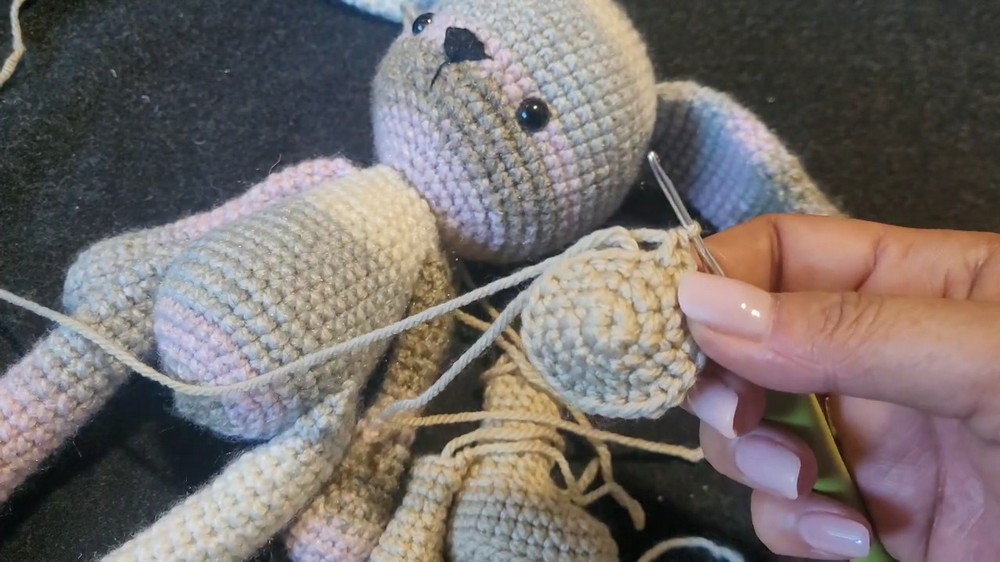
- Round 5:
- (3 SC, 1 INC) x6
- [30]
- Round 6:
- (4 SC, 1 INC) x6
- [36]
- Round 7:
- (5 SC, 1 INC) x6
- [42]
- Round 8:
- (6 SC, 1 INC) x6
- [48]
- Round 9:
- (15 SC, 1 INC) x3
- [51]
- Round 10:
- (16 SC, 1 INC) x3
- [54]
- Rounds 11–18:
- 54 SC each round
- [54]
- Round 19:
- (7 SC, 1 DEC) x6
- [48]
- Round 20:
- (6 SC, 1 DEC) x6
- [42]
- Round 21:
- (5 SC, 1 DEC) x6
- [36]
- Round 22:
- (4 SC, 1 DEC) x6
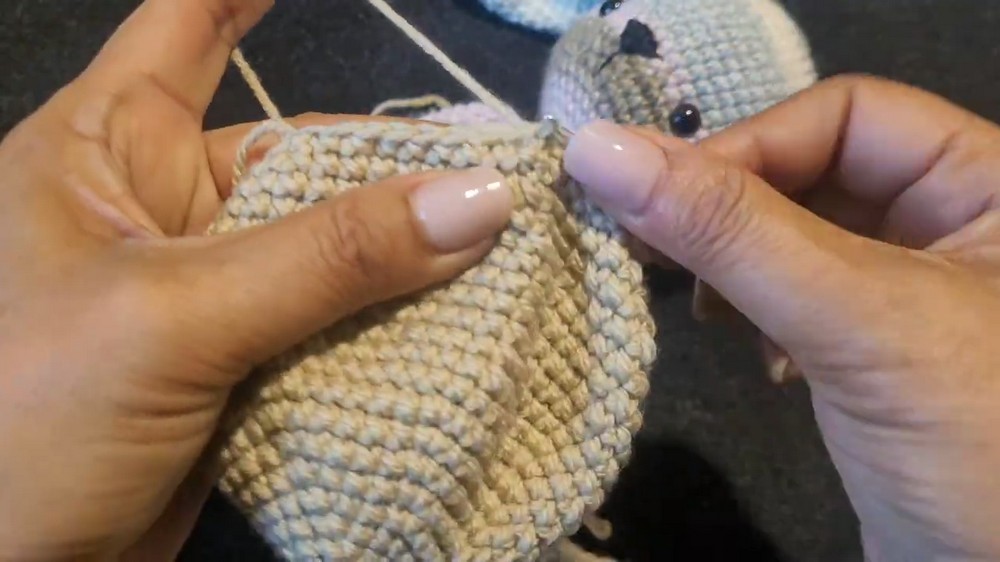
- [30]
- (4 SC, 1 DEC) x6
- Round 23:
- (3 SC, 1 DEC) x6
- [24]
- Round 24:
- (2 SC, 1 DEC) x6
- [18]
- Round 25:
- (1 SC, 1 DEC) x6
- [12]
- Round 26:
- 6 DEC
- [6]
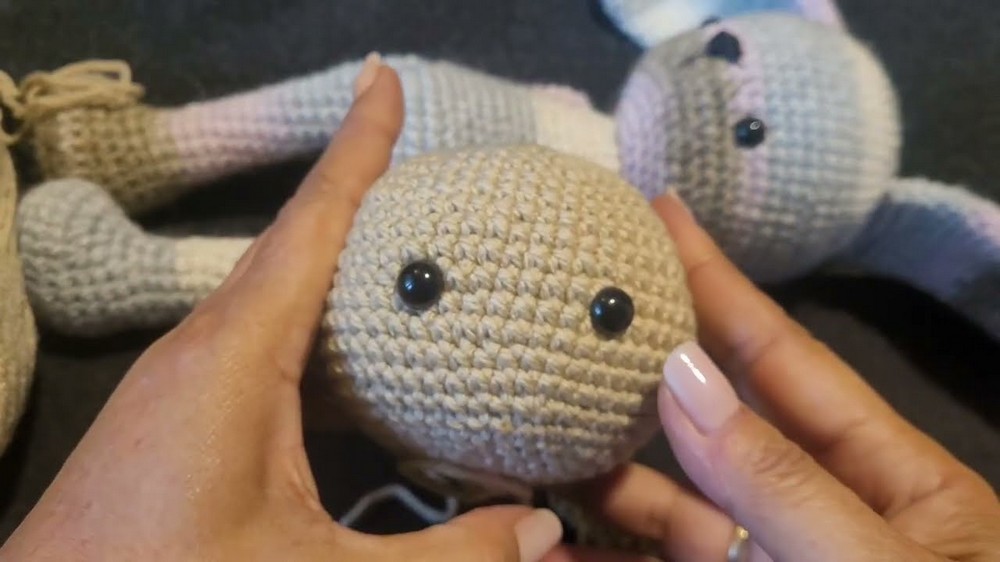
- Eyes Placement: Insert safety eyes between rows 13 and 14, spaced 7 stitches apart
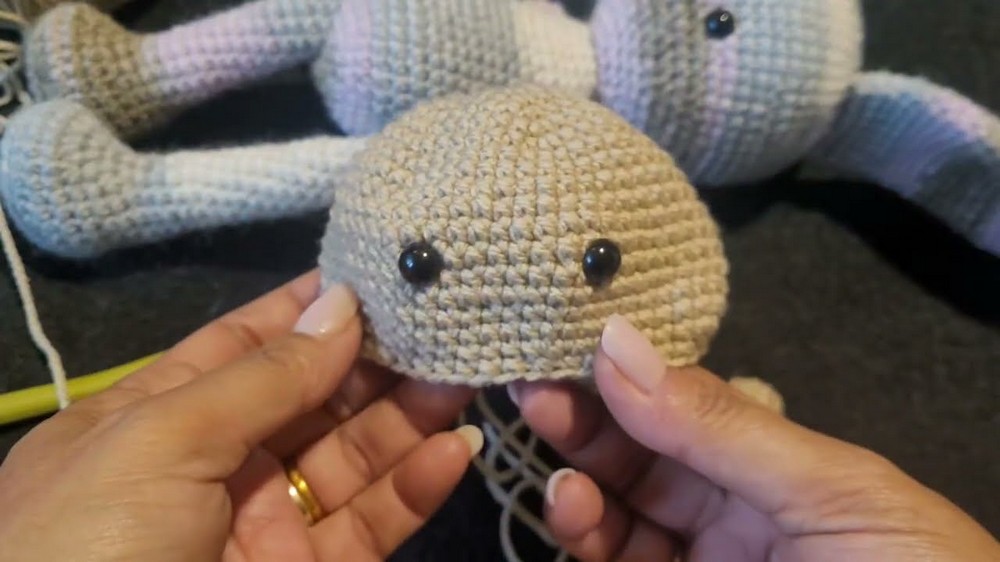 .
Ears (Make 2)
- Round 1:
- Magic ring with 6 SC
- [6]
- Round 2:
- 6 INC
- [12]
- Round 3:
- (1 SC, 1 INC) x6
- [18]
- Rounds 4–6:
- 18 SC (each round)
- [18]
Legs (Make 2)
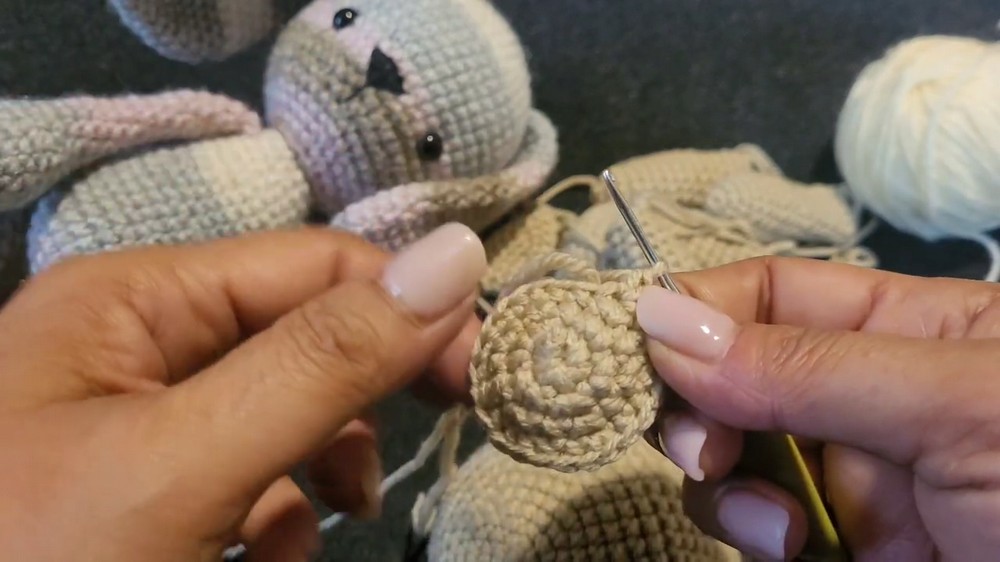
- Rounds 1–3:
- Start with 7 chains
- Increase around to achieve 28 stitches total by working around both sides of the chain (standard oval amigurumi technique)
- Round 4:
- 28 SC in back loops only
- Round 5:
- 28 SC
- Round 6:
- 1 SC, 1 DEC, 25 SC
- [27]
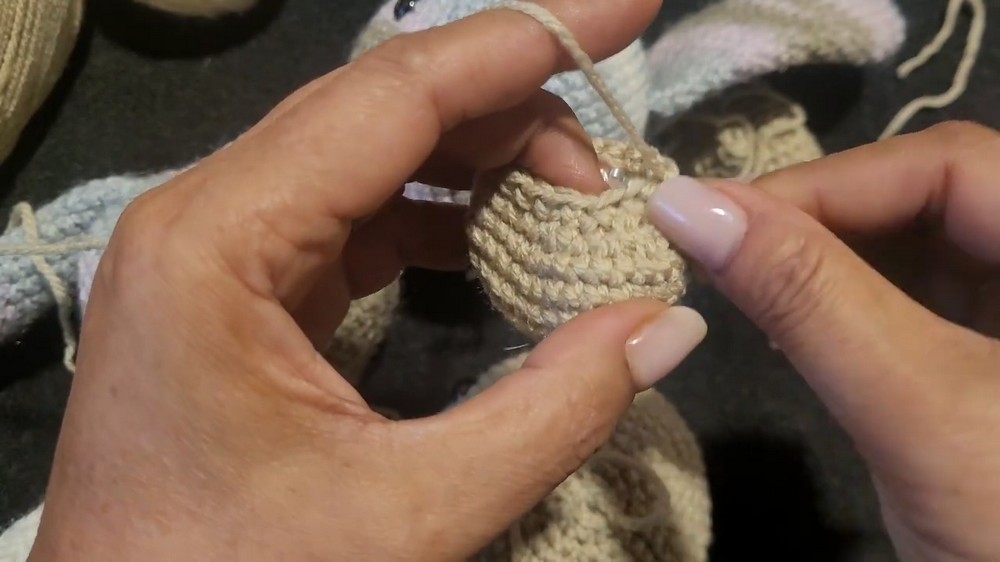
- Rounds 7–10:
- Continue decreases, ending at 12 stitches
- Continue decreases, ending at 12 stitches
- Rounds 11–18:
- 12 SC each round
Arms (Make 2)
- Round 1:
- Magic ring with 6 SC
- [6]
- Round 2:
- 6 INC
- [12]
- Round 3:
- (1 SC, 1 INC) x3
- [15]
- Rounds 4–8:
- 15 SC each round
- Rounds 9–12:
- Decrease rounds
- Rounds 13–14:
- 12 SC each round
Muzzle
Round 1:
-
- Magic ring with 6 SC
- [6]
- Round 2:
- 6 INC
- [12]
- Round 3:
- (1 SC, 1 INC) x6
- [18]
- Round 4:
- 18 SC
- Round 5:
- (1 SC, 1 INC), (2 SC, 1 INC), (5 SC, 1 INC), (2 SC, 1 INC), 4 SC (see tutorial for placement, maintaining oval shape)
Body
- Rounds 1–9:
- Begin with a magic ring, increase to 42 SC across rounds (standard oval amigurumi increases)
- Round 10:
- Attach legs as you crochet around
- Rounds 11–12:
- 42 SC each round
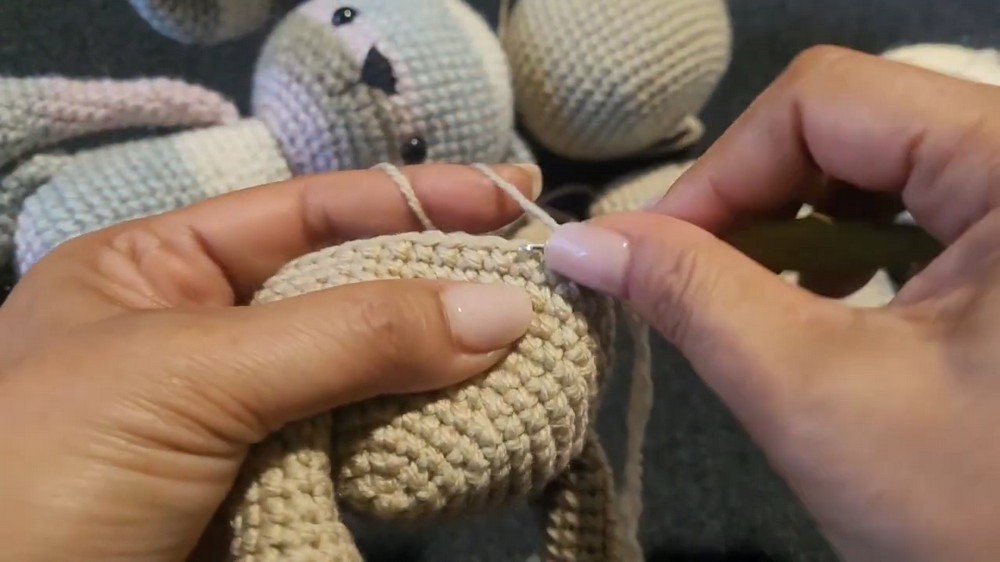
- Rounds 13–17:
- Decrease rounds down to 33 stitches
- Decrease rounds down to 33 stitches
- Round 18:
- Attach arms—work as join-as-you-go, securing arms into body round
- Rounds 19–21:
- Final decreases down to 24 stitches
Assembly & Finished Size
- Muzzle: Sew the muzzle onto the center of the head, below the eyes, aligning for symmetry.
- Ears: Sew ears onto each side/top of the head.
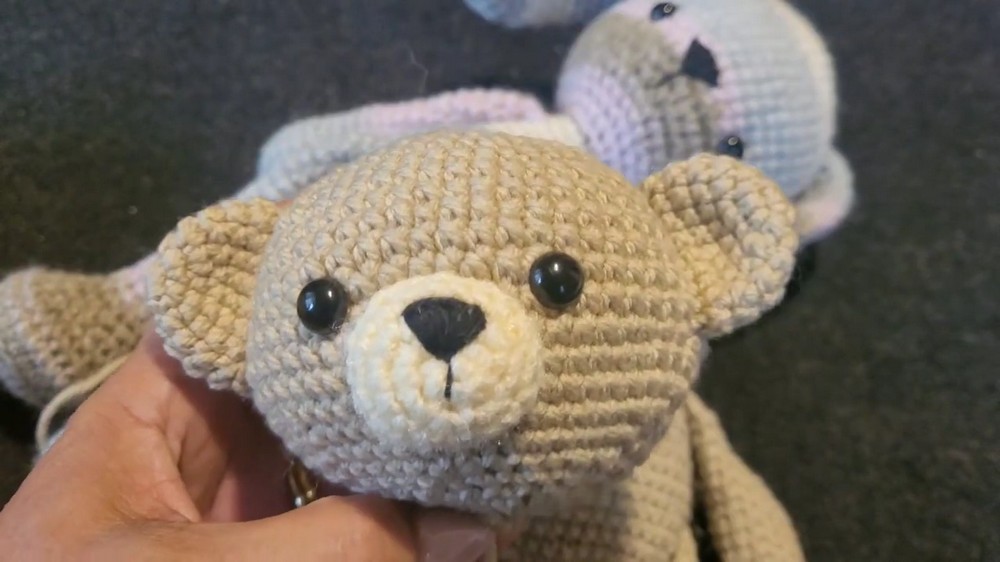
- Head: Attach head securely to the body, ensuring central placement.
- Legs/Arms: Legs are joined during body round 10, arms during round 18. Adjust for stable, symmetrical pose.
- Finishing: Weave in all ends and lightly stuff and shape each piece for definition and stability.
- Finished Bear Size: Approx. 15–20cm in height, ideal as a plush toy or keepsake.
Conclusion and Ending Words
This teddy bear crochet pattern combines structured increases, careful shaping, and sequential assembly for a classic amigurumi toy with lasting charm. Each detailed segment, from the magic ring foundation to the precisely placed facial features, forms a balanced, friendly bear. Stitch density, limb joining, and muzzle placement contribute to authenticity and durability. Following each round and assembly step allows the creation of a beautifully proportioned, handcrafted teddy bear, suitable for gifting, collection, or playful enjoyment. The methods used ensure consistent results and an enduringly appealing finished product.
