
Style your bookshelf with the Crochet Little Mushroom Free Pattern, a small yarn decoration that adds a playful woodland touch to your home.
Alina Froggy shares a lovely little mushroom idea that shows how something found in nature can become a cute yarn decoration. The Crochet Little Mushroom has a tiny stem and a wide cap that gives it the familiar look of a forest mushroom. Its small size and lovely colors make it an interesting project for people who like simple crochet designs.
Mini Crochet Little Mushroom Free Pattern For Home Decor
The mushroom has a beautiful cap that spreads out above its short stem. Red yarn with little white spots can give it a classic mushroom look, while the lower part can be worked in a light cream color. The curved cap adds a nice shape, and the narrow stem helps the mushroom stand out. Its simple design looks lovely without needing many extra details.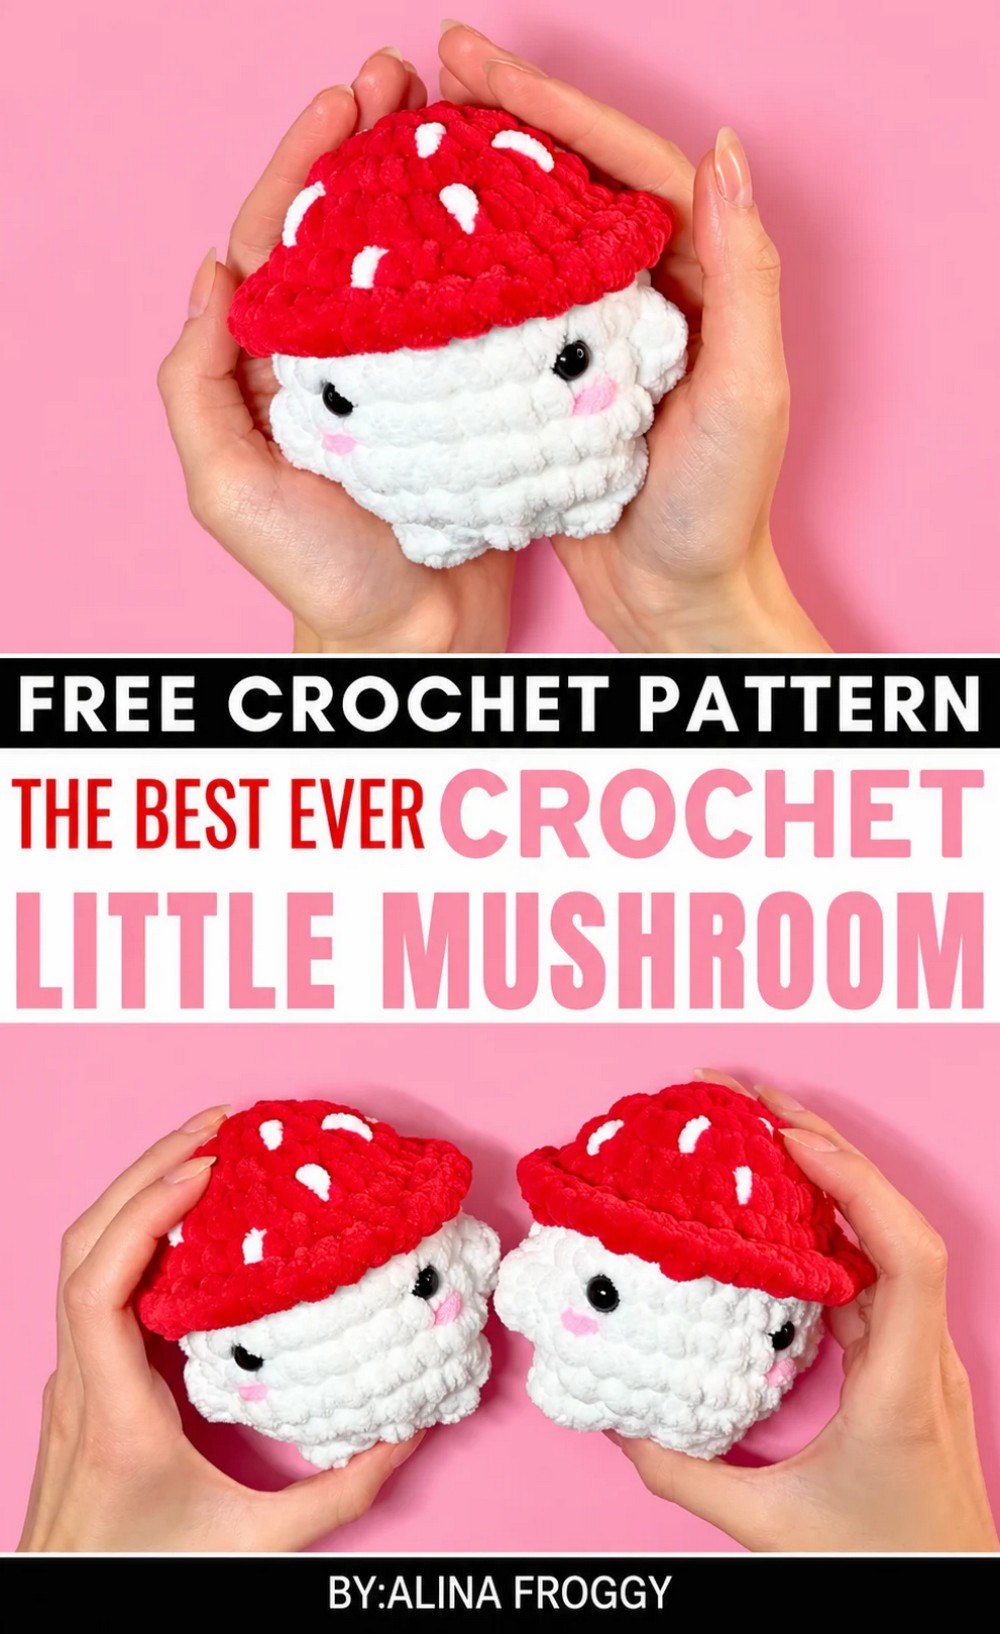 You can crochet this mushroom using basic stitches. The cap and stem can be worked separately and then joined together. Small white spots can be added to the top for decoration. A little stuffing helps the mushroom keep its shape, and neat stitching gives it a clean finish.
This little mushroom can be used to decorate a flower pot, brighten a small wall shelf, or add color to a bedroom. It is also a nice gift for a friend who loves nature. You can use several mushrooms to decorate a wooden tray or arrange them in a small basket.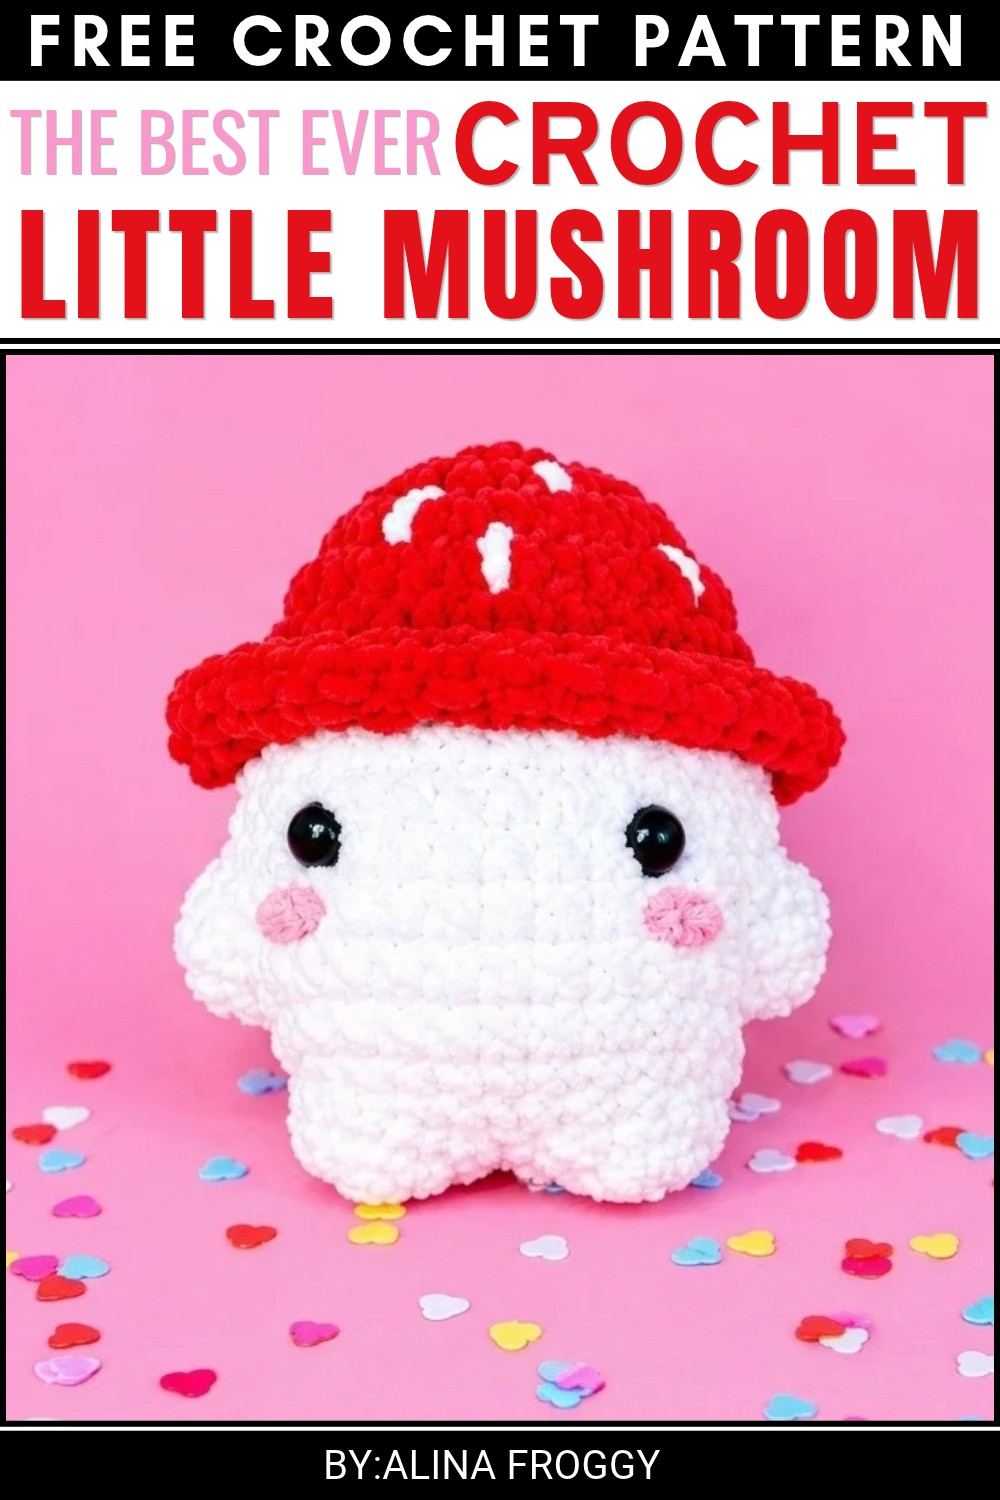 The little mushroom has a natural look that feels fresh and simple. Its pretty cap, short stem, and cheerful colors make it a lovely decoration for any small space.
Baby Mushroom Amigurumi Pattern
About the Pattern
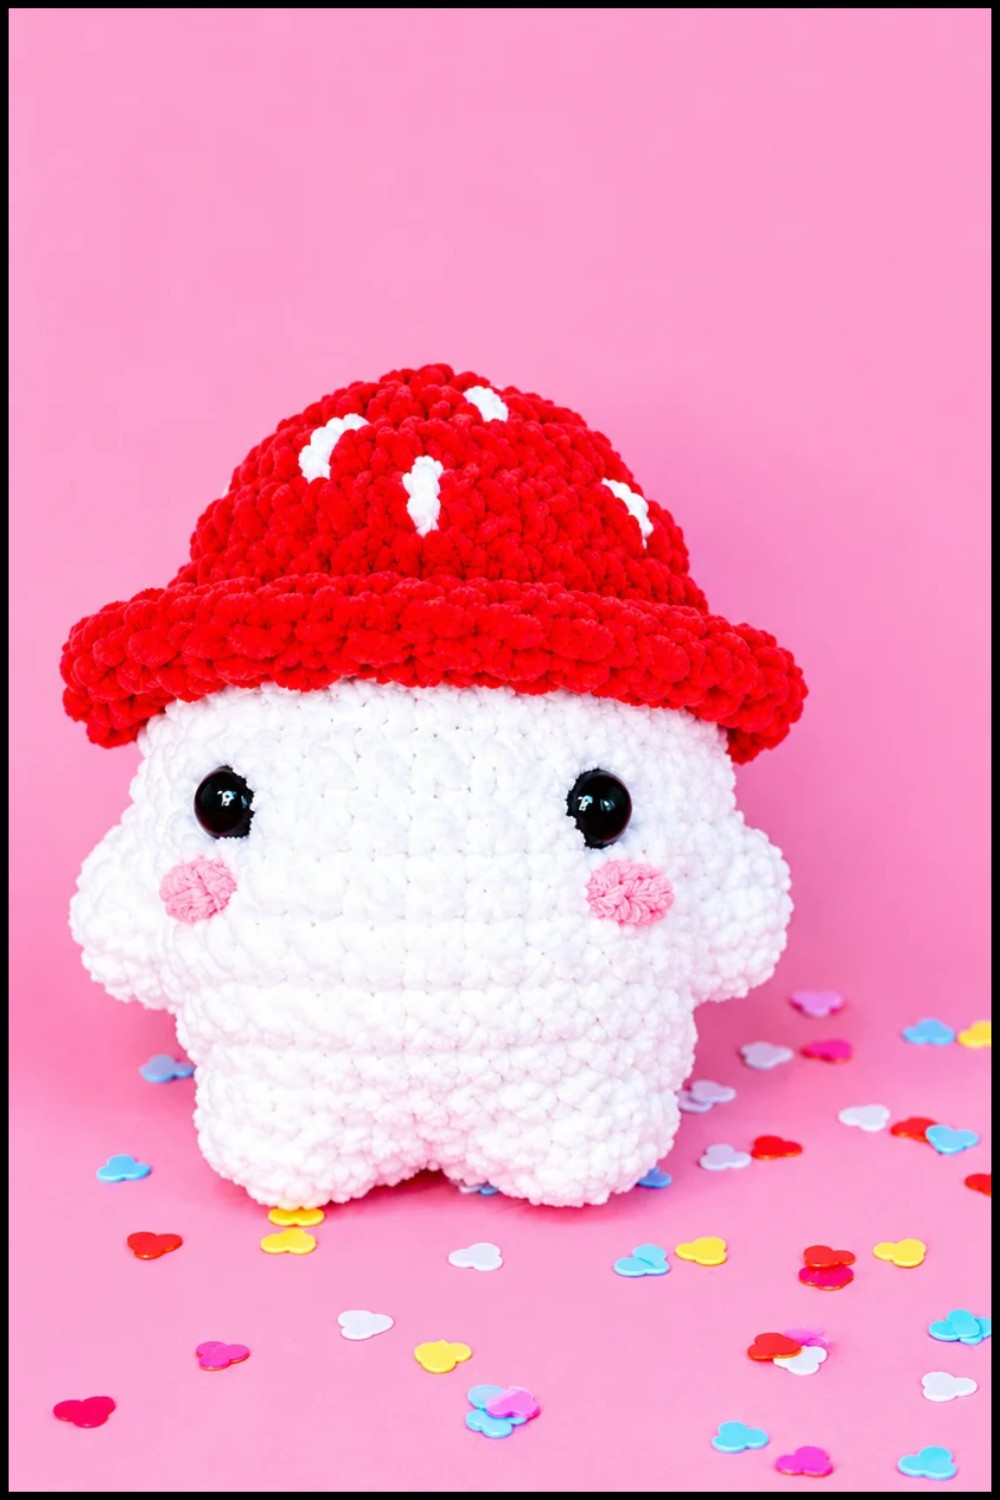
The baby mushroom amigurumi stands out for its endearing design and plush texture, created by working in joined rounds and rows using plush yarn. The cap showcases vivid two-tone detail and a ruffled “skirt” effect, while the stem offers an inviting hand-feel. Presented with four small limbs, embroidered cheeks, and expressive safety eyes, this mushroom is perfect for baby toys, gifts, or decor.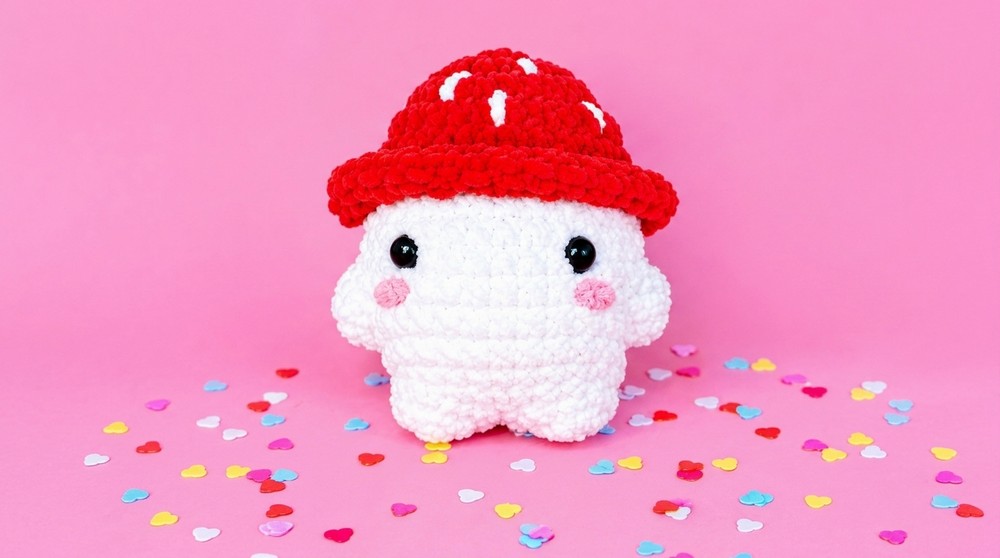
Pattern at a Glance
- Core Features: Seamless, worked-in-the-round construction, plush yarn for a cuddly texture, simple shaping for all parts.
- Colorwork: Cap, ruffle/skirt, and stem utilize color changes; plush white for stem and limbs, vibrant red for the cap and edging.
- Details: Safety eyes, pink thread embroidery, and sewn-on limbs complete the character.
Important Notes
- Each round is joined with a slip stitch. Place a stitch marker if needed to keep track of your beginning stitch.
- For neat color changes, join the new yarn at the slip stitch before proceeding.
- Rounds using back loops only create a visible “ridge” for attaching a ruffle/skirt.
- Firmly stuff before closing to maintain shape and softness.
- Embroider cheeks and attach limbs securely to ensure child safety if using as a toy.
Difficulty Level
- Beginner-friendly with basic knowledge of single crochet, increases, decreases, working in the round, and simple color change.
Supplies Needed
- Plush yarn, such as Alize (red and white)
- 3.5 mm crochet hook
- Fiberfill stuffing
- 6–8 mm safety eyes
- Pink embroidery thread for cheeks
- Tapestry/yarn needle
- Small scissors
- Stitch marker (optional)
Size & Measurements
- Finished height: 10–13 cm (depending on yarn, tension, and stuffing)
- Cap diameter: approx. 5–7 cm
Gauge & Stitch Details
- Plush amigurumi is gauge-flexible; aim for a dense fabric to prevent stuffing from showing.
- Gauge sample: 8–9 sc per 5 cm (un-stretched, plush yarn with 3.5 mm hook)
- Rounds are joined with slip stitch at the end of each round unless stated otherwise.
Crochet Abbreviations
- sc – single crochet
- inc – increase (2 sc in one stitch)
- dec – decrease (sc2tog over two stitches)
- sl st – slip stitch
- MR – magic ring
- blo – back loop only
- st(s) – stitch(es)
Special Stitch Guide
- Magic Ring (MR): Adjustable ring for beginning rounds with a closed center.
- Back Loop Only (blo): Insert hook only under the back loop for a subtle ridge, leaving front loops accessible for further detail.
- Invisible Decrease: Insert hook in front loops of next two stitches, yarn over, pull through, yarn over, pull through two.
- Joined Rounds: After the last stitch of each round, join with a sl st to first sc, then proceed to next round.
Complete Crochet Pattern
Cap (Red Yarn)
R1:
- Start with a MR, work 6 sc into ring, close with sl st to first sc. (6 sts)
R2:
- 6 inc: (2 sc in next st) x6; join with sl st. (12 sts)
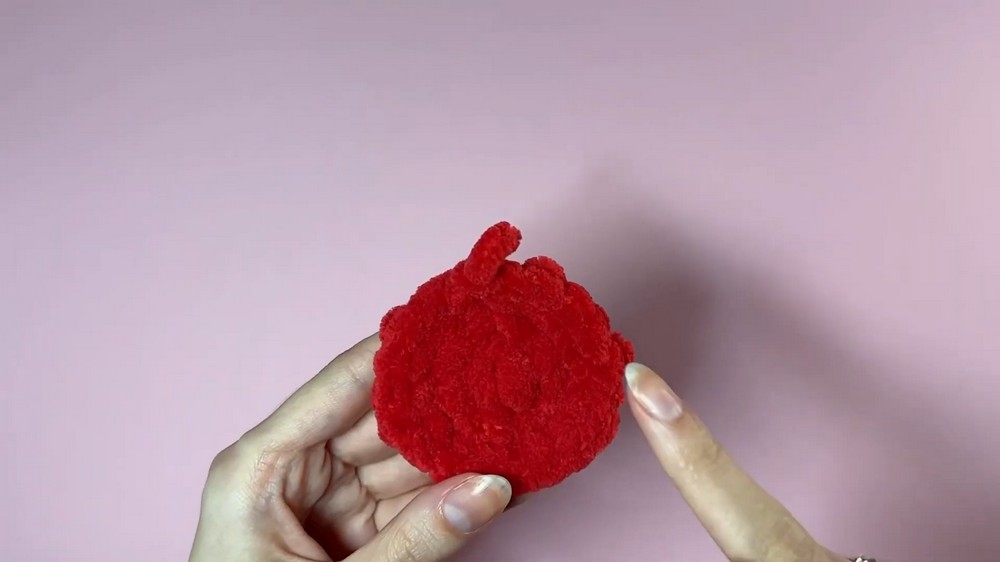
R3:
- (1 sc, inc in next st) x6; join with sl st. (18 sts)
R4:
- (2 sc, inc in next st) x6; join with sl st. (24 sts)
R5:
- 24 sc (one in each st across); at sl st, switch to white yarn for next round. (24 sts)
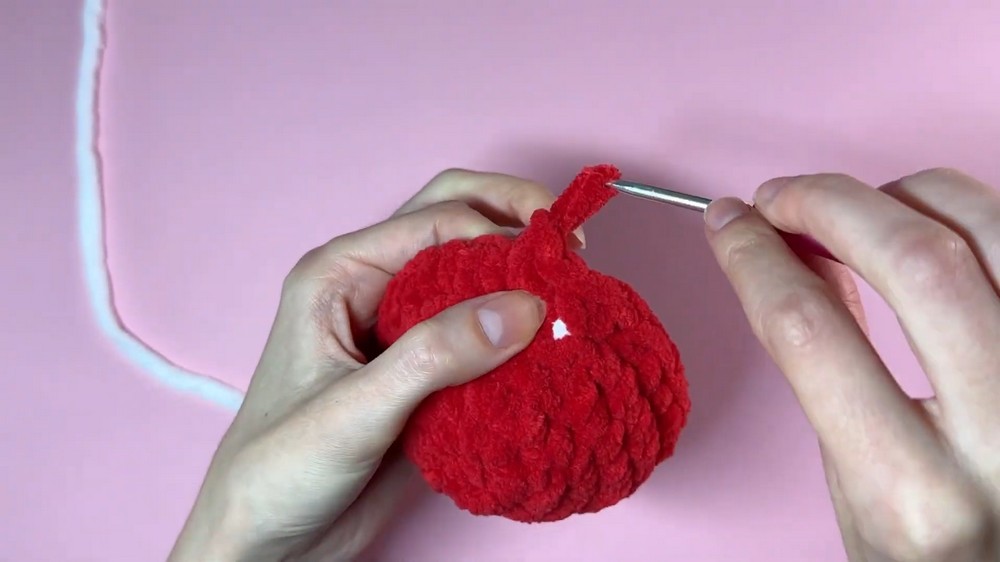
Stem & Details (White Yarn)
R6:
- 24 sc blo (work each sc in the back loop only), join with sl st. (24 sts)
(This forms a ridge for the later ruffle attachment)
R7: (Skirt/Ruffle, Red Yarn)
- Re-attach red yarn to front loops left from R5.
- (3 sc in next st, inc in next st) repeat around to end of round; fasten off red yarn. (At the end, 30 sts for the ruffle)
(This creates a ruffled border on the cap)
R8–R10:
- With white yarn, 24 sc in each round; join with sl st at the end of each. (24 sts per round)
(Continue working stem down from cap)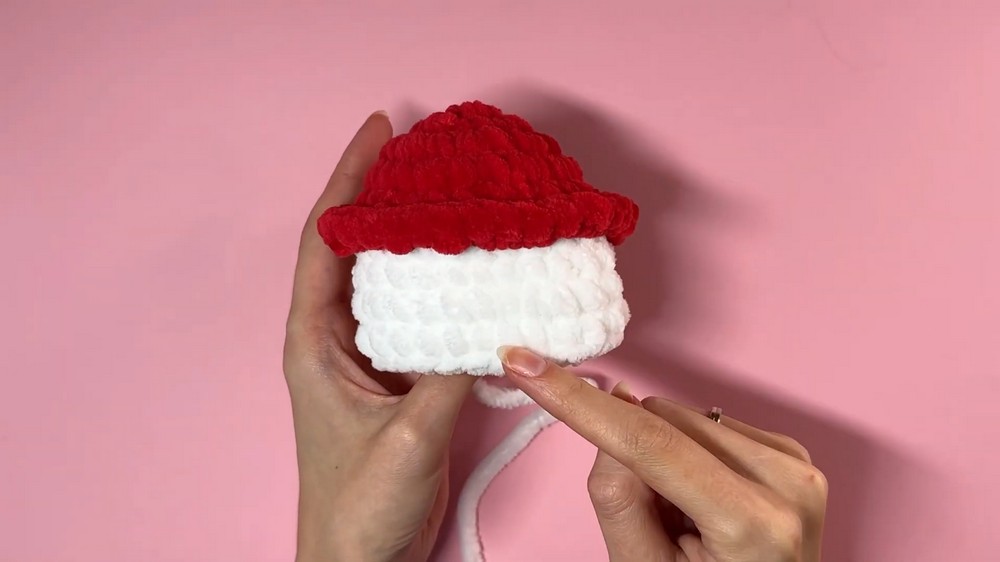
- Add eyes: Between R9 and R10, insert safety eyes (spaced evenly apart).
- Add cheeks: Embroider pink cheeks below the eyes for extra character.
R11:
- (2 sc, dec) x6; join with sl st. (18 sts)
R12:
- (1 sc, dec) x6; join with sl st. (12 sts)
R13:
- 6 dec (sc2tog) around; join with sl st. (6 sts)
- Closing: Add Stuffing and Fasten off, use the yarn tail to thread through the front loops of remaining stitches and pull tight to close the opening. Secure and weave in the end.
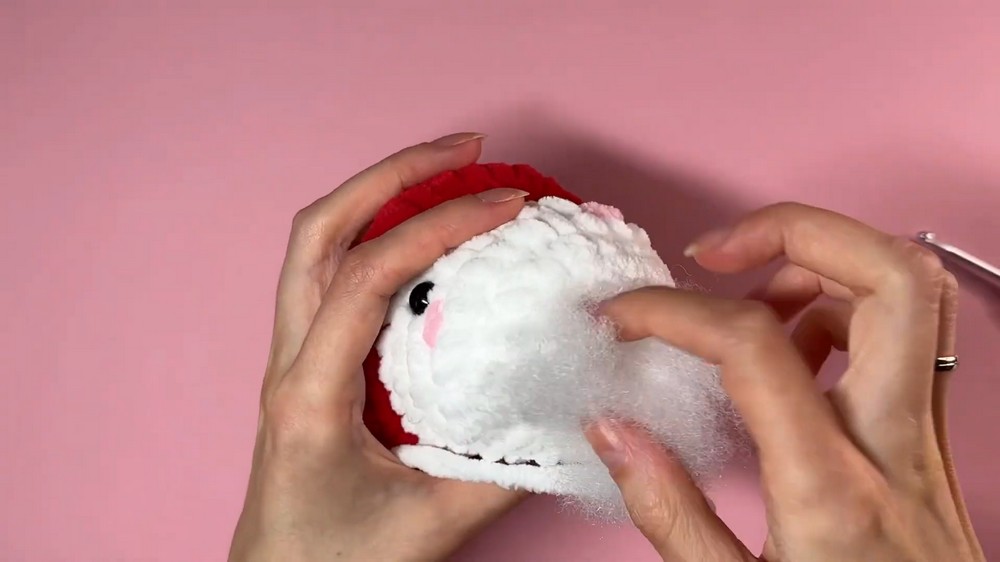
Limbs (Make 4 in White Yarn)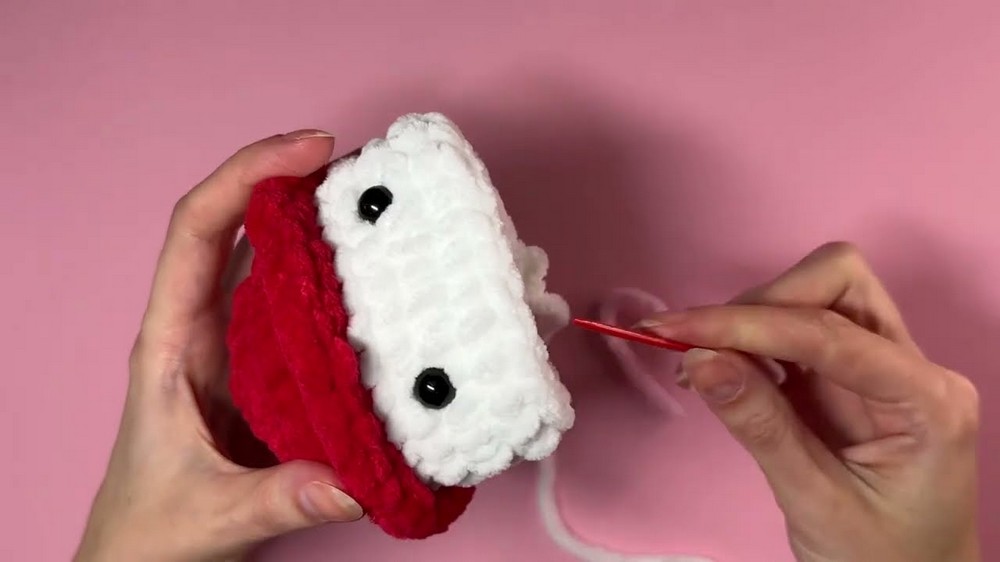
R1:
- With white yarn, make a MR, work 6 sc into ring; close with sl st. (6 sts)
- Fasten off, leave a long tail for sewing.
Assembly & Finished Size
- Sew all four limbs to the stem at “eye level” or where they look balanced, using yarn tails and a tapestry needle.
- Tidy up all yarn ends, pulling them into the project’s center if possible to avoid loose edges.
- Adjust the ruffle and cap as needed to sit naturally.
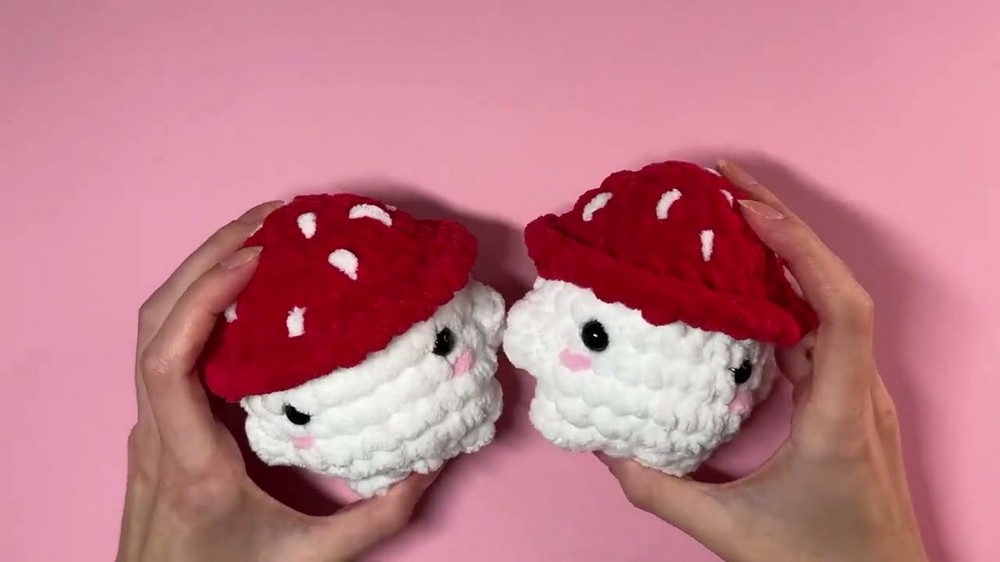
- The final baby mushroom is soft, squeezable, and typically 10–13 cm tall (may vary with materials and stuffing).
Conclusion
The baby mushroom design combines playful whimsy with elegant, plush craftwork—ideal for decor, gifts, or children’s accessories. Its construction is well suited for beginners, offering clear shaping, engaging colorwork, and straightforward finishing. With simple customization, this mushroom can lend charm to any collection or playroom.
