
Freshen your daily look with the Crochet Stylish Bag Free Pattern, a pretty yarn accessory to wear with skirts, jeans, and summer dresses.
Yanet pupo crochet introduces a fashionable accessory for women who like to keep their daily belongings organized while wearing something that suits their personal style. The Crochet Stylish Bag is a useful item that can easily become part of your regular wardrobe. Its yarn finish gives it a different feel from leather or fabric purses, making it an interesting choice for casual and dressed-up outfits.
Free Crochet Stylish Bag Pattern For Summer Outfits
One thing that makes this bag appealing is the way the crochet stitches form a noticeable design across its surface. The bag can have a spacious inside for carrying important items, while its straps help you hold it comfortably. Colors like burgundy, caramel, or dark teal can give it a rich appearance. You can also choose a shade that works well with most of your clothes.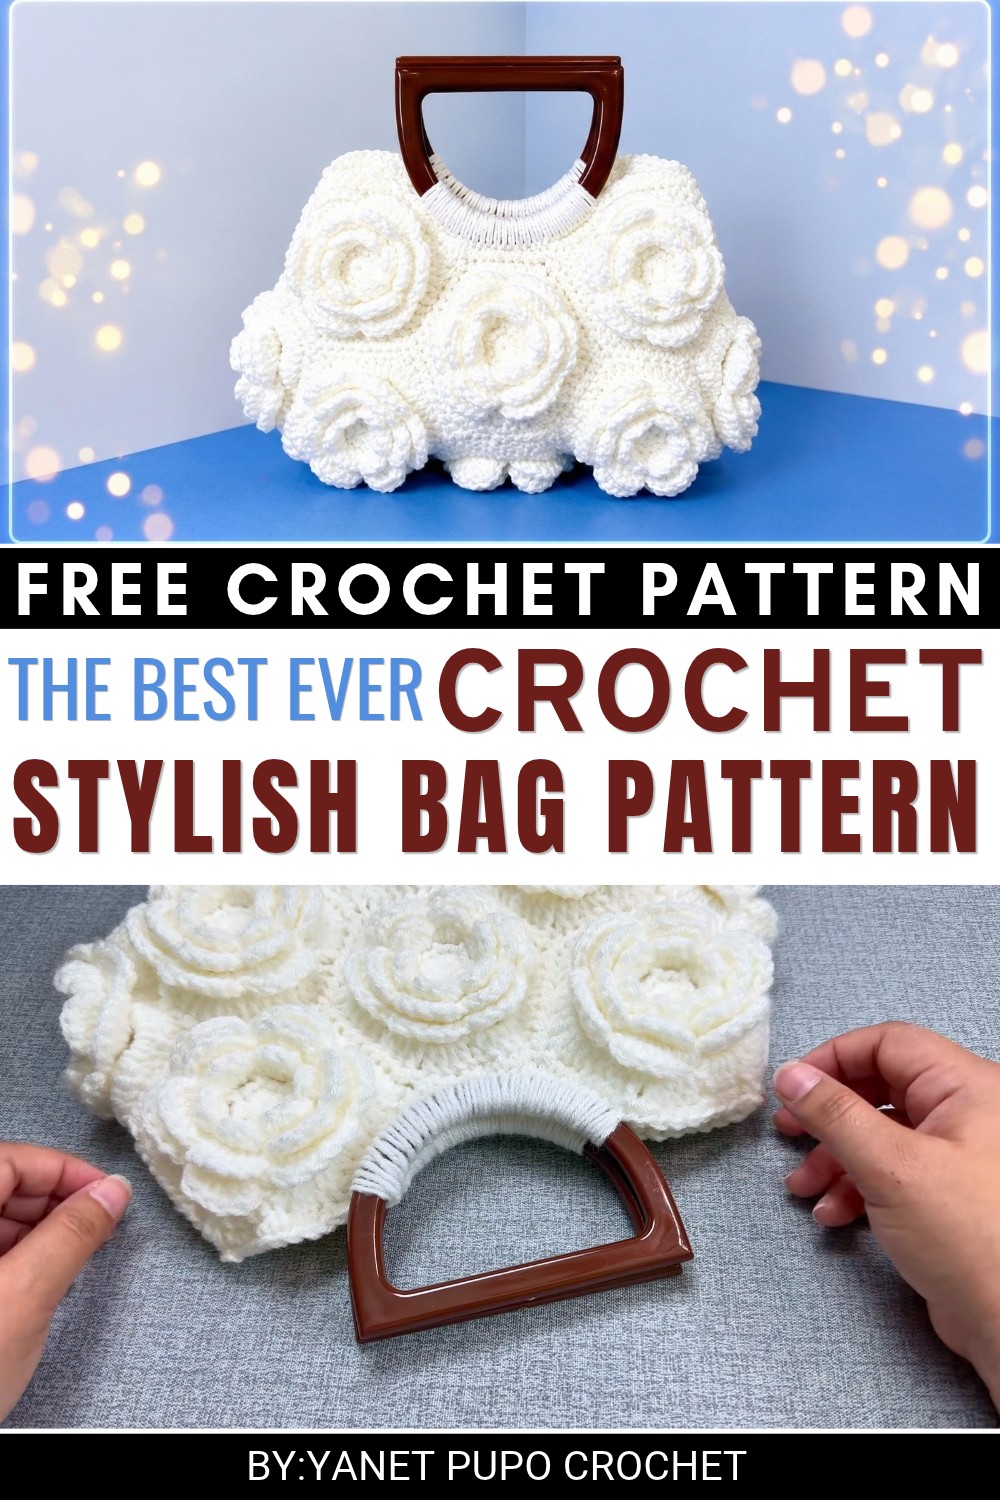 The making process involves working the main section with crochet stitches and carefully finishing the opening. The straps need strong stitching so they can support your belongings. Choosing suitable yarn can help the finished piece stay in good condition with regular use.
You can carry this bag to a family lunch, take it along when buying groceries, or use it for a short trip around town. It can hold your mobile phone, wallet a small notebook, tissues, and other personal things. You can also style it with a matching scarf or comfortable sandals.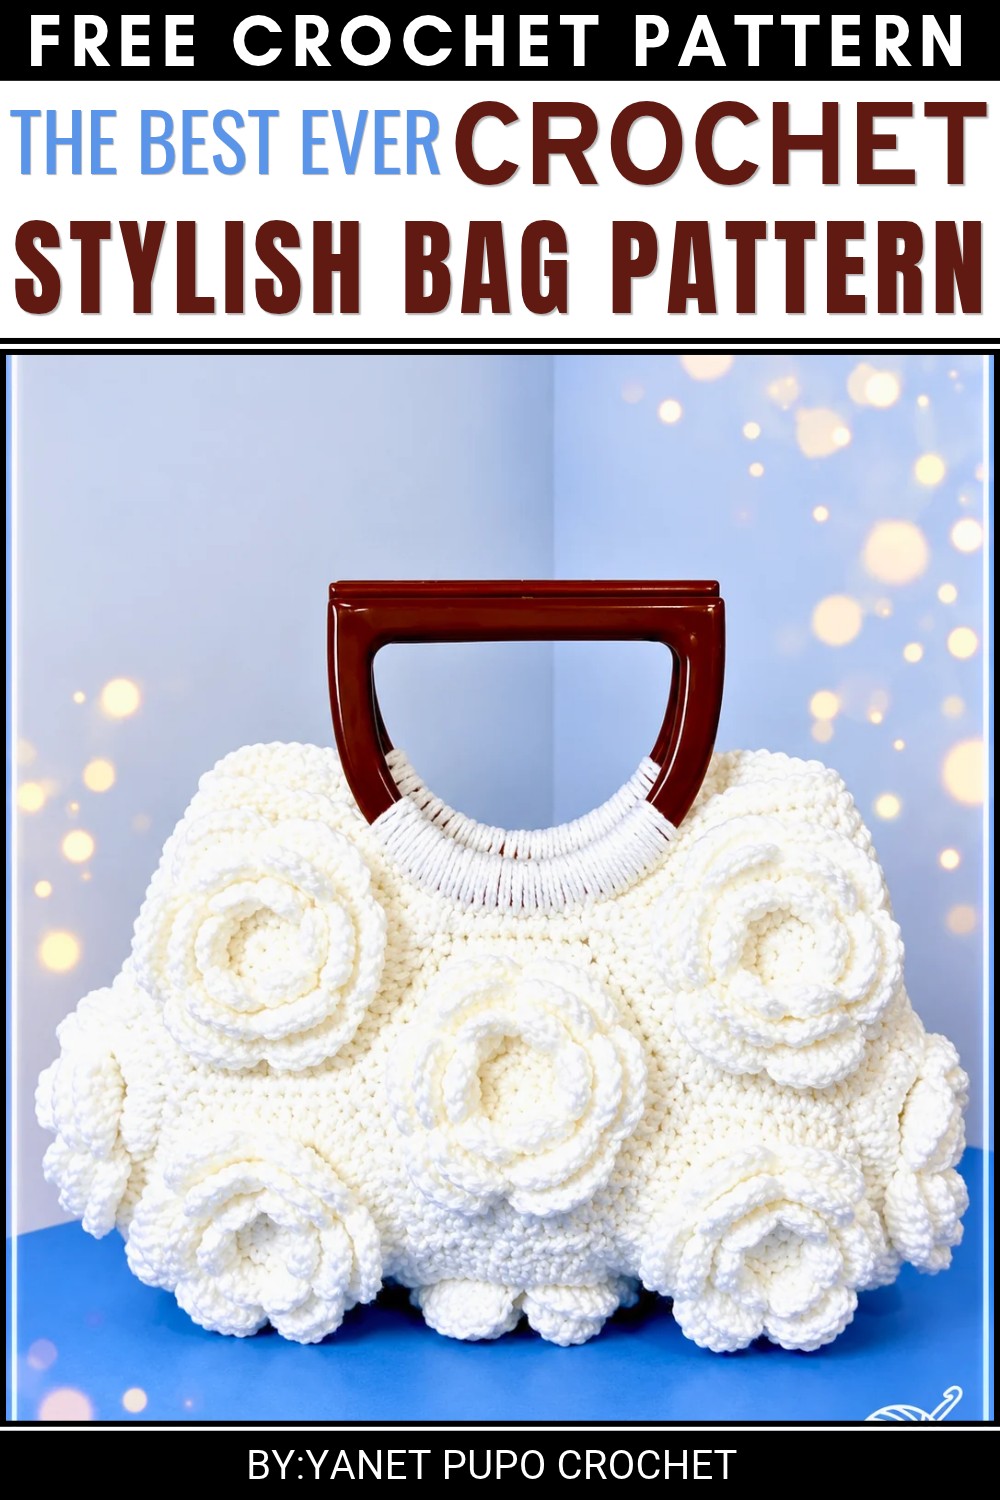 This accessory offers a useful way to keep your belongings together while giving your clothing a more personal finish.
About the Pattern
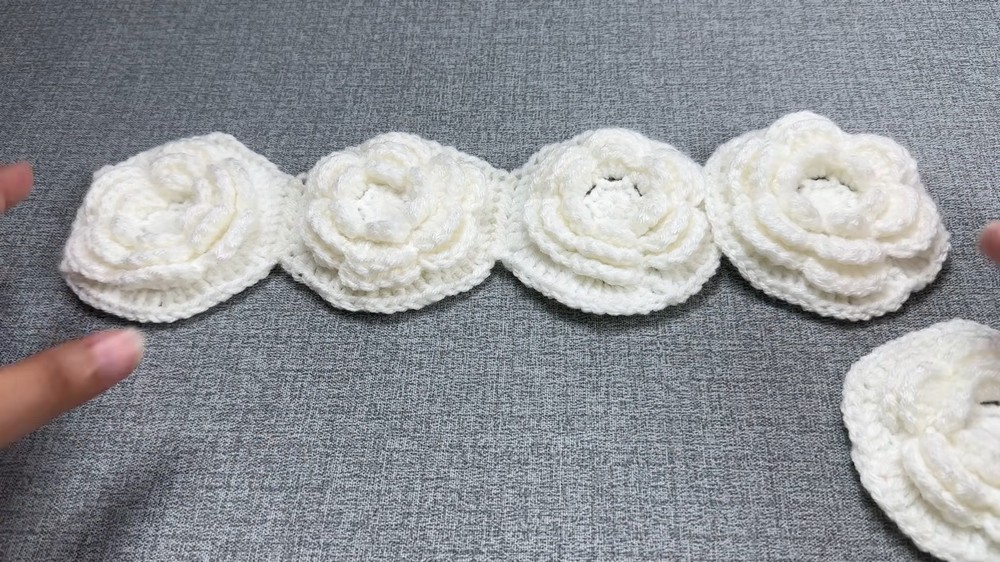
This crochet bag features a modular construction formed by joining thirteen individual hexagons. The design emphasizes both order and creativity, highlighting geometric simplicity while creating a utility piece with visual appeal. The hexagon motif ensures structural integrity, while the assembly method allows for a seamless join and a well-balanced silhouette. Sturdy single crochet borders and hand-stitched handles finish the project, resulting in a reliable and versatile everyday accessory.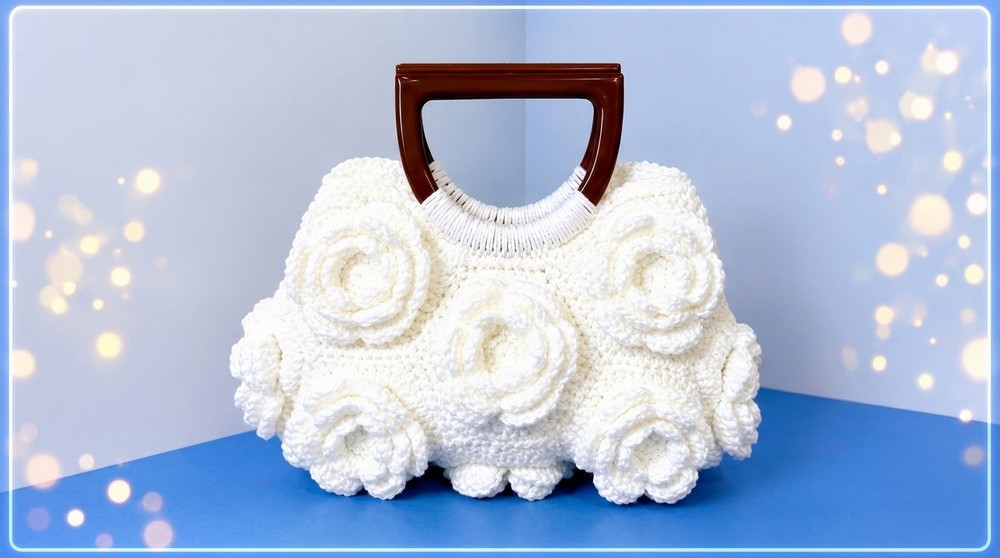
Pattern at a Glance
- Structure: Assembled from 13 crocheted hexagons.
- Layout: Hexagons are methodically arranged in rows before joining.
- Joining: Hand-sewn for strong seams and a consistent finish.
- Border: Single crochet edge adds structure along the bag top.
- Handles: Attached with whip-stitch for durability and a clean look.
Important Notes
- Consistency in hexagon size and stitch tension is crucial for neat assembly and a uniform outcome.
- Use a blunt yarn needle for seaming hexagons, and secure all knots within the seam to avoid exposed yarn tails.
- Placement and alignment matter; lay out all hexagons in the specified order before starting assembly.
- Carefully count stitches from corners when positioning handles for symmetry and strength.
Difficulty Level
Confident Beginner to Intermediate. The project mainly involves basic crochet stitches (single crochet, slip stitch) and hand-sewing, but requires attention to assembly details for best results.
Supplies Needed
- Yarn: Size 4 worsted weight, approximately 230g in color(s) of choice
- Hook: Aluminum crochet hook, 3.75mm
- Yarn needle: For seaming and handle attachment
- Scissors
- Bag handles: Purchased or handmade to match project (optional)
- Measuring tape (for handle alignment)
Size & Measurements
- Finished bag size: ~28–32 cm wide by 20–23 cm tall (may vary with yarn and tension)
- Hexagon motif size: Each hexagon is approximately 8–10 cm across
- Handles: Placement 8 stitches in from the corner of the bag opening
Gauge & Stitch Details
- Hexagon motif: Typical gauge is 14–16 stitches per 10 cm in single crochet; adjust hook size as needed for consistency.
- Border: Single crochet worked neatly along hexagonal edges.
Crochet Abbreviations
- ch: chain
- sc: single crochet
- sl st: slip stitch
- st(s): stitch(es)
- rep: repeat
Special Stitch Guide
- Single Crochet (sc): Insert hook, yarn over, pull up loop, yarn over, pull through both loops.
- Slip Stitch (sl st): Insert hook, yarn over, pull through both loop and current loop on hook.
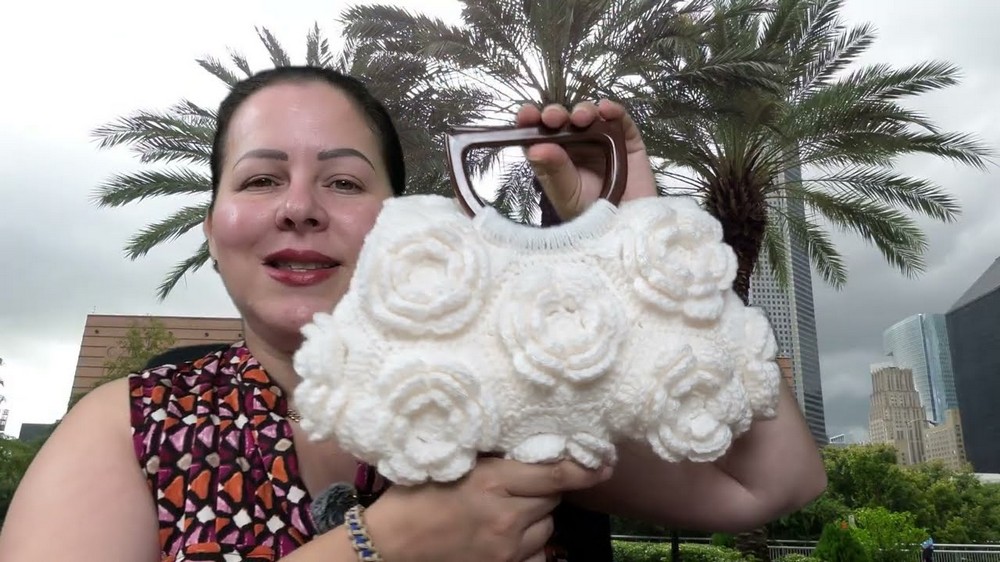
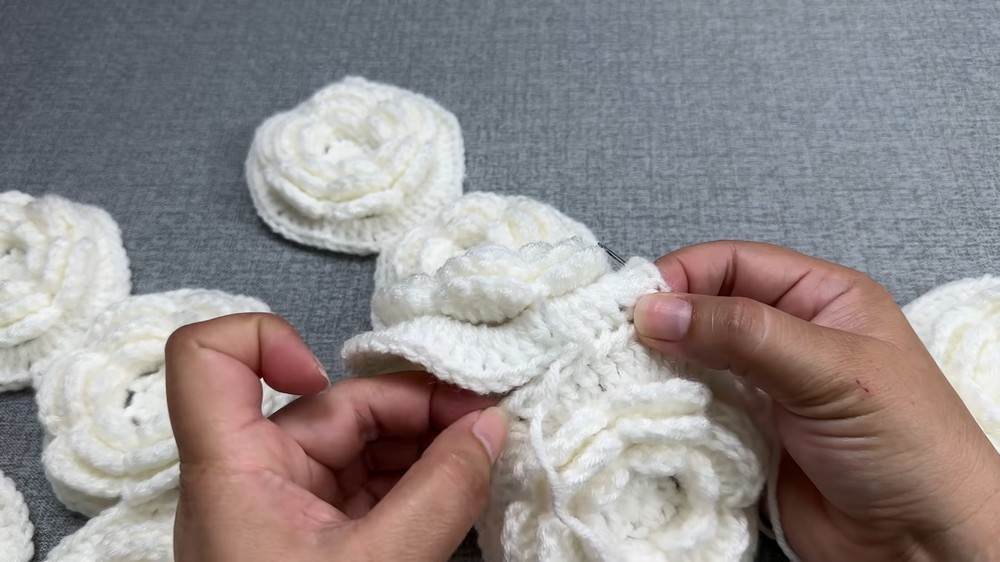
- Hexagon joining stitch: Use yarn needle to pick up chains or stitches on adjoining hexagons, whip-stitching every 4–5 stitches, then pull yarn to close seam snugly.
Complete Crochet Pattern
Hexagon Motif (make 13):
(Standard hexagon—alter or follow preferred motif pattern as needed)
Round 1:
- Start with a magic ring or chain 4, join with a slip stitch.
- Ch 3 (counts as first dc), work 1 dc, ch 1 six times into the ring; join with a sl st. (12 dc, 6 ch-1 spaces)
Round 2:
- Slip to next ch-1 space, (2 dc, ch 2, 2 dc) in ch-1 sp, ch 1 in each ch-1 space around; join. (Creates first round of corners/sides.)
Rounds 3–4:
- Slip to next ch-2 corner, (2 dc, ch 2, 2 dc) in corner, [ch 1, 2 dc in ch-1 sp] to next corner, repeat around, join.
- Repeat for a total of 4 rounds or until desired hexagon size is reached.
- Fasten off and weave in ends for all 13 hexagons.

Assembly Pattern
Layout Arrangement:
Round 1: Layout
- Place 4 hexagons for the top row.
- Position 3 hexagons for the bottom row.
- Lay out 4 more below the bottom row.
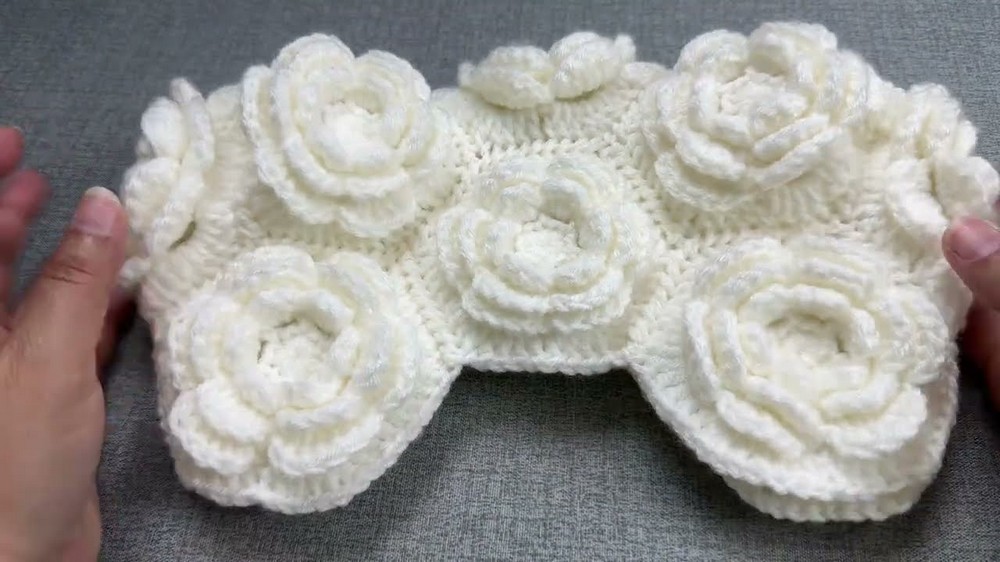
- Place 1 hexagon in the center, joining the middle rows, and 1 at the top center for a layout of 4 + 3 + 4 + 1 + 1.
Round 2: Joining Pieces
- With a yarn needle, align two hexagons, right sides facing.
- Pick up corresponding chain or edge stitches with the yarn needle; whip-stitch together, working 4–5 stitches at a time. Pull slightly to snug the join.
- Continue until all hexagons are joined per the arrangement.
- Make small knots at the start and end of each seam and weave in yarn tails.
Constructing the Bag Shape
Round 3: Main Assembly
- First, sew the groups of 4, 3, and 4 hexagons into strips.
- Attach the remaining center pieces, joining them as per the layout.
- Fold the finished panel in half horizontally, aligning hexagons on each side to create the bag body.
Round 4: Side Seaming
- With bag pieces folded, align the sides and stitch from bottom corner to bag opening along each side, matching edge stitches carefully.
- Continue sewing to close the bag’s sides and any open top edges for a seamless shape.
Border and Finishing
Round 5: Top Border
- Join yarn at the start of the top edge.
- Work one full round of single crochet (sc) evenly along the entire bag opening, making sure to place stitches uniformly across hexagon edges and corners.
- Join round with a slip stitch at the beginning and fasten off.
- Weave in any remaining ends into the border for a neat finish.
Attaching Handles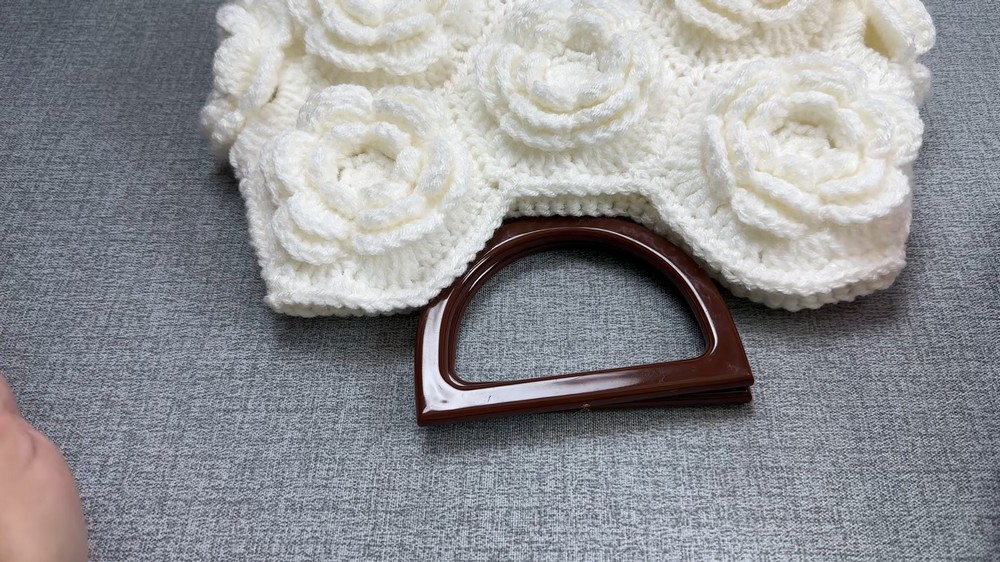
Round 6: Handle Placement
- From each corner along the bag’s opening, count 8 stitches inward.
- Position bag handles here for even spacing.
- Secure handles using the yarn needle, working a whip-stitch along the handle edge, anchoring it to the single crochet border.
- Repeat for the other handle, ensuring position and length match for symmetry and strength.
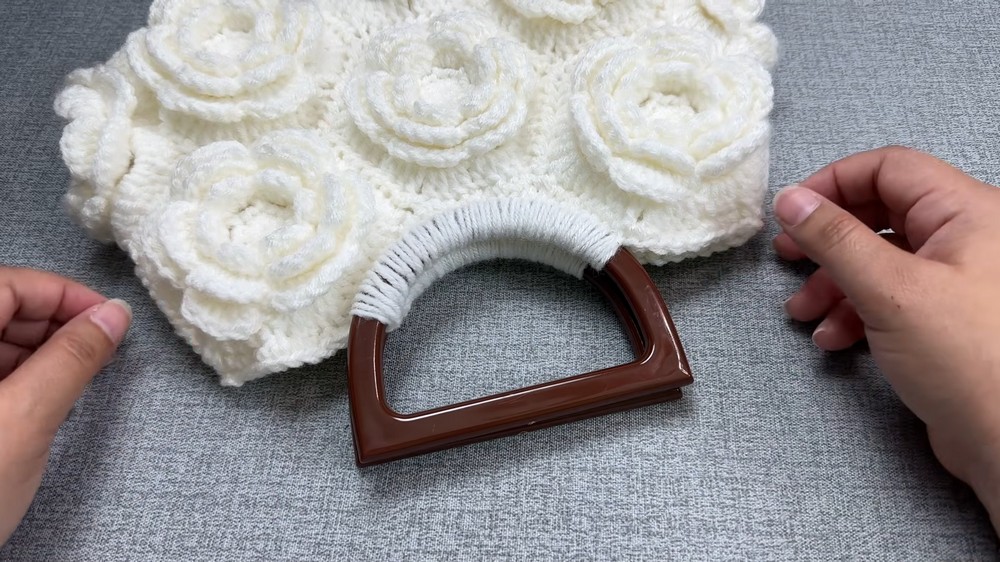
- After attaching both handles, reinforce the joins with additional stitches if needed and weave in tails.
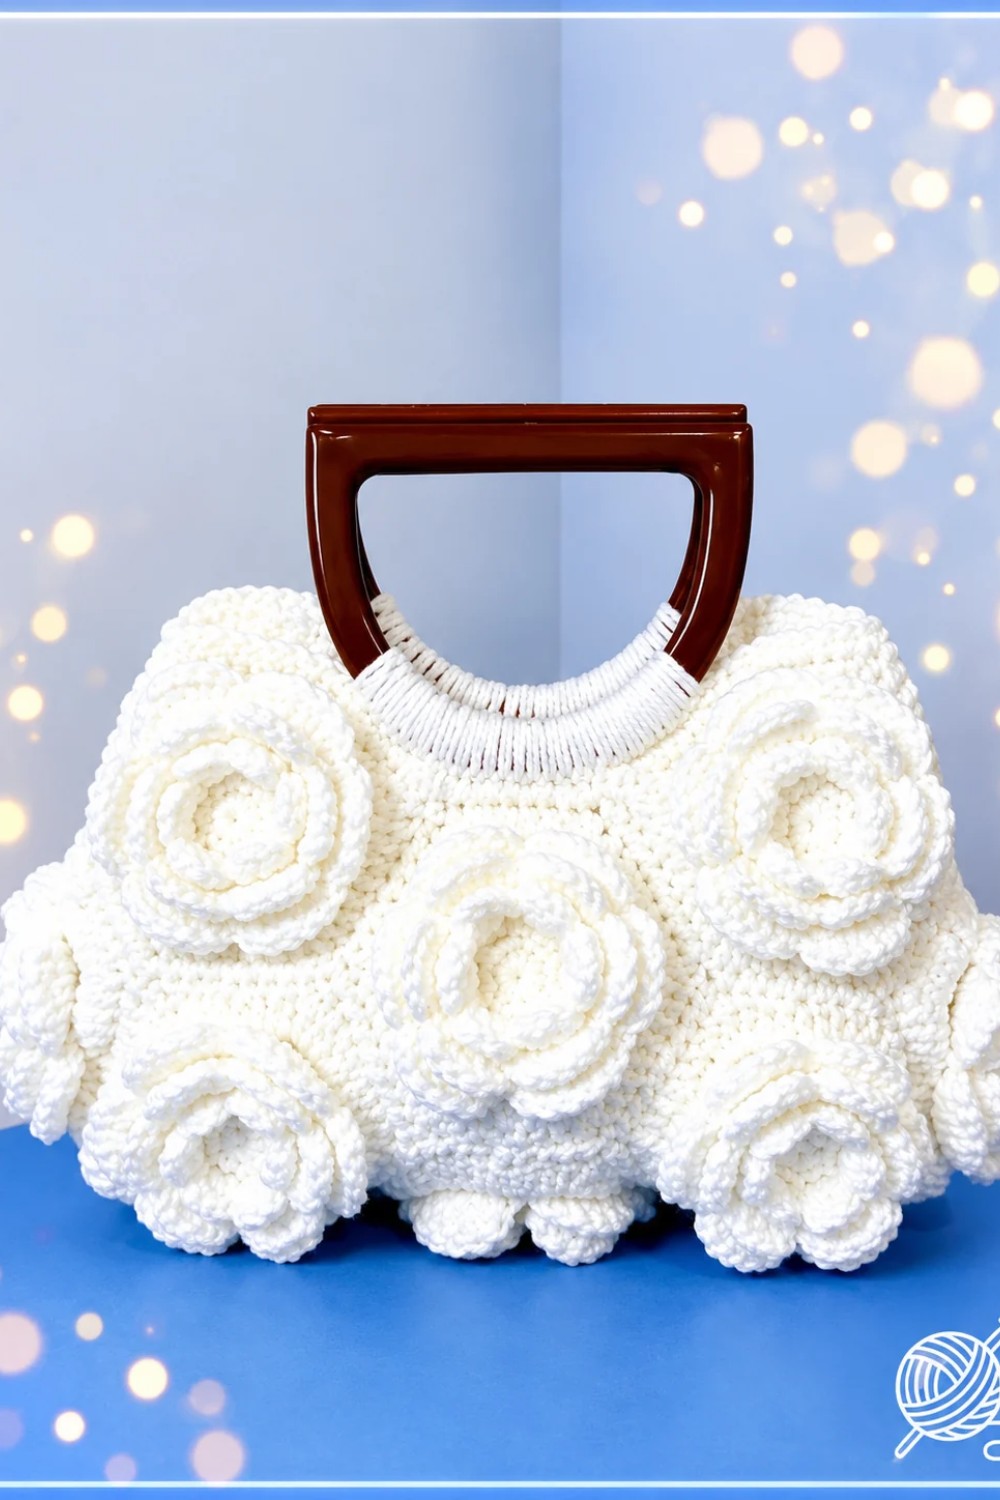
Assembly & Finished Size Conclusion
This crochet bag combines thoughtful layout planning, modular hexagon construction, and hands-on assembly for a geometric and reliable accessory. Strong single crochet borders frame a visually appealing patchwork of hexagons, while whip-stitched handles provide comfort and stability for everyday use. Careful attention to neat seaming and proper handle placement ensures the bag is both stylish and practical, a demonstration of how modular crochet can be used to produce functional, attractive personal items.
