
Hang an autumn decoration on your keys with the Crochet Pumpkin Keychain Free Pattern, a playful little gift for Halloween lovers and fall fans.
The tutorial by Yanet Pupo Crochet provides clear instructions for a charming Crochet Pumpkin Keychain. This small project results in a cute pumpkin that can easily hang on your keys, bags, or backpacks, adding a touch of fall wherever you take it.
Quick Crochet Pumpkin Keychain Free Pattern To Try at Home
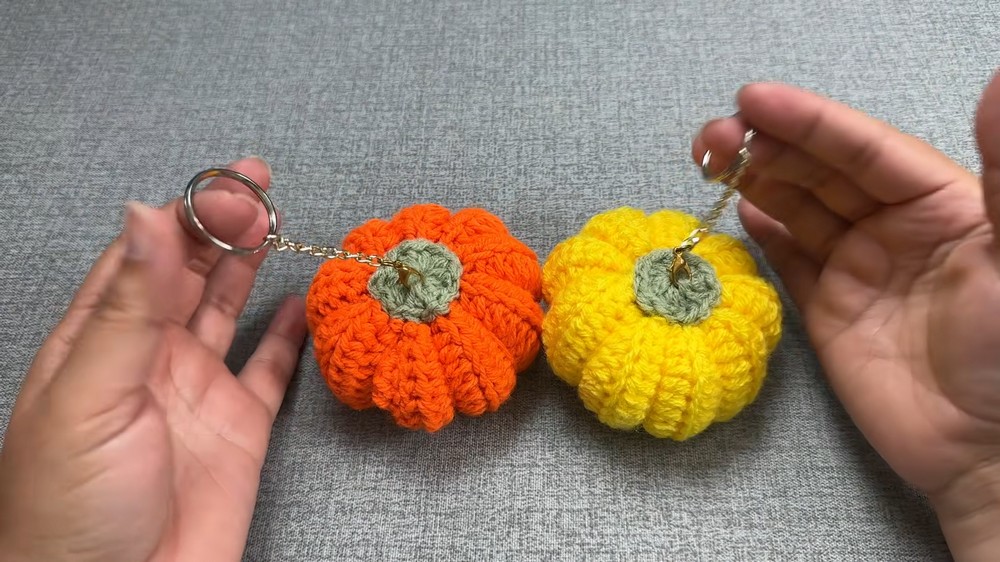
The Crochet Pumpkin Keychain is about 2 to 3 inches across, making it small and light enough to carry every day. It features the classic pumpkin shape with ribbed sections to show the natural grooves and a tiny green stem on top. Sometimes, a small leaf or vine is added for a bit more detail. This keychain works well as a decoration and helps keep keys in one place.
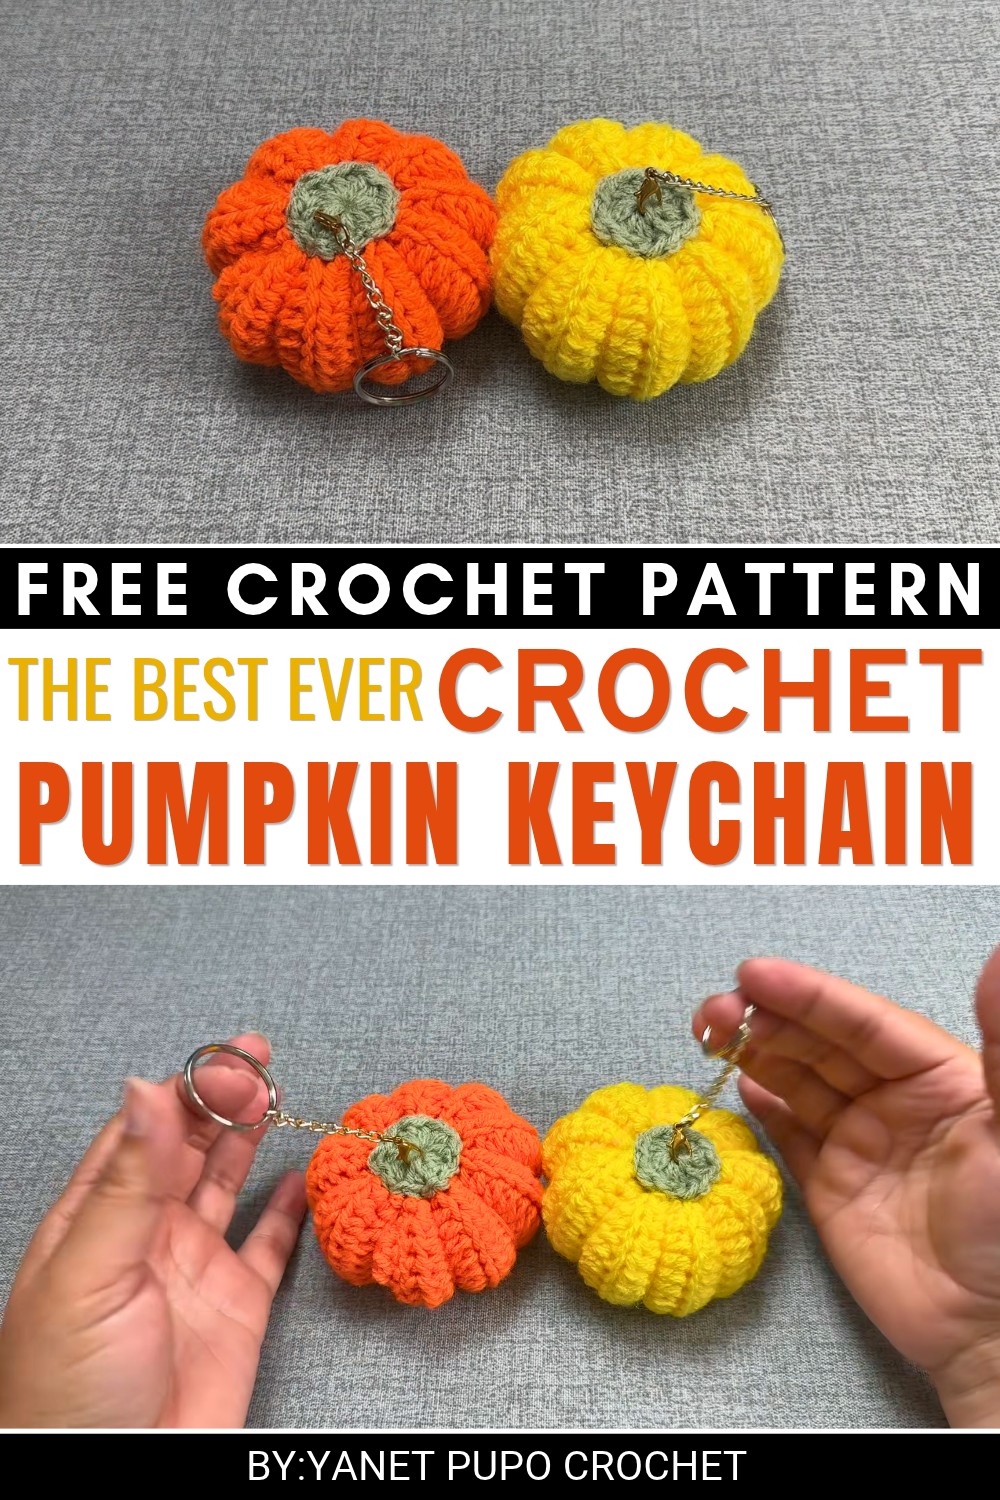 The skill needed for this project fits well with beginners who know basic crochet stitches. It uses single crochet stitches worked in the round. The pumpkin’s rounded shape is formed by careful increasing and decreasing of stitches. After the main body is crocheted, it is stuffed with fiberfill and then wrapped tightly in the middle with yarn to form the pumpkin’s sections. Finally, the green stem and keyring are sewn on firmly.
This project is a good choice because it’s quick, simple, and useful. It gives a chance to practice crocheting in the round and sewing parts together. Plus, it works well as a small gift or seasonal item.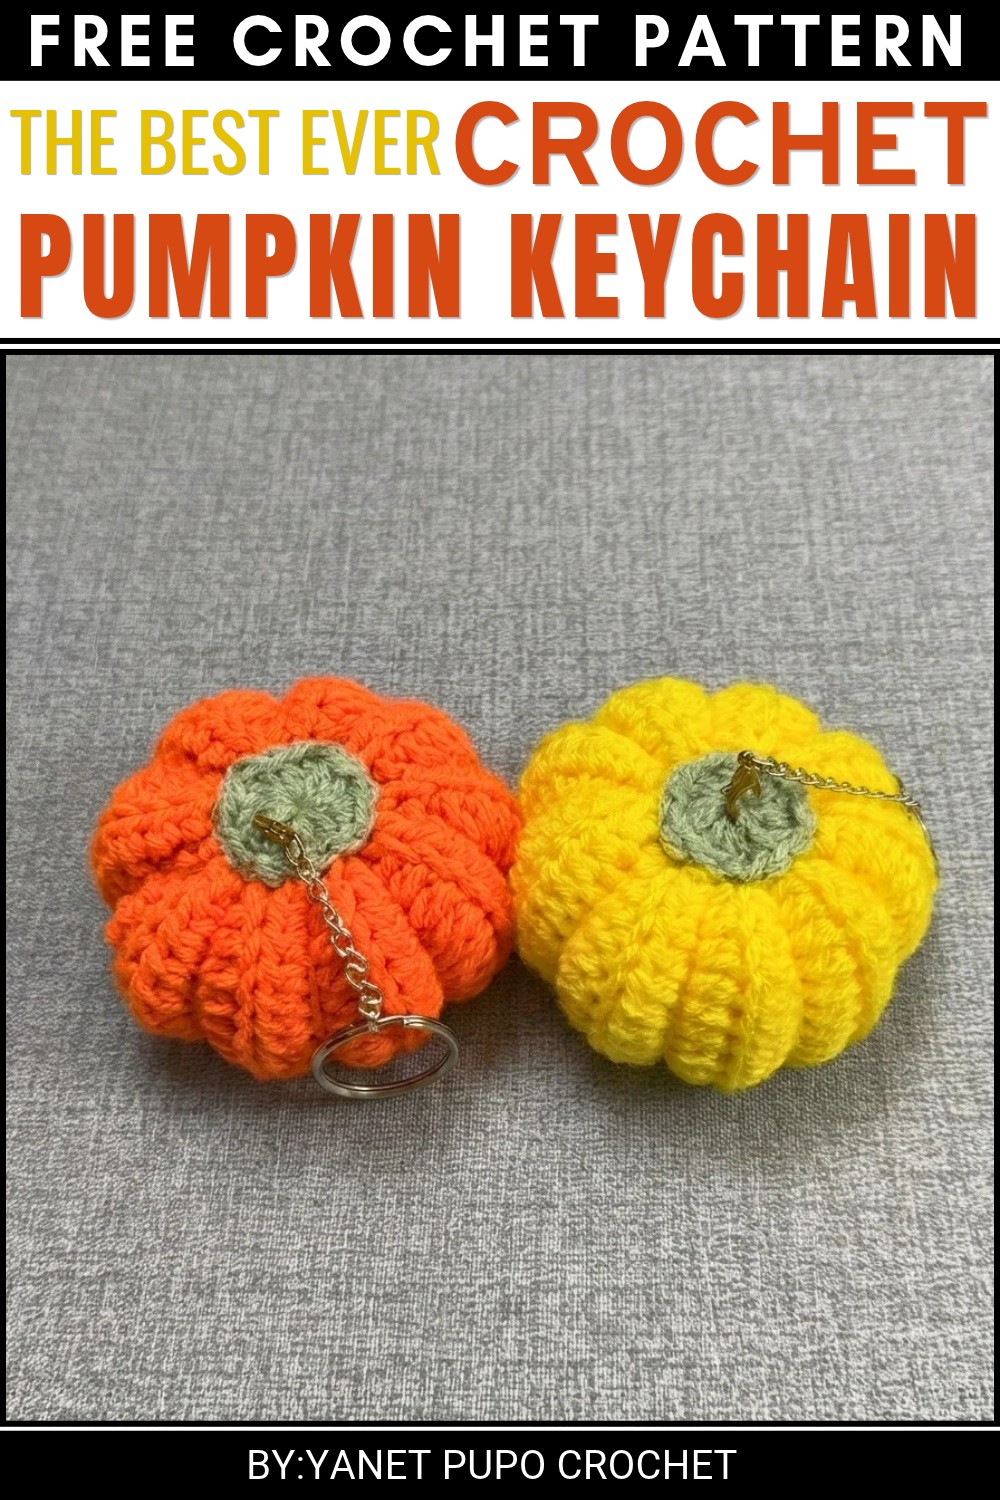 Try this free pattern and carry a little fall charm with you every day!
About the Pattern
The Reversible Pumpkin Keychain is a beginner-friendly, functional accessory crafted with minimal materials and approachable techniques. Designed for versatility, it embodies the spirit of both autumn and cheerful everyday use. Surface ridges are achieved with strategic finishing stitches, and its miniature profile makes it ideal for seasonal gifting, backpack charms, or personal use.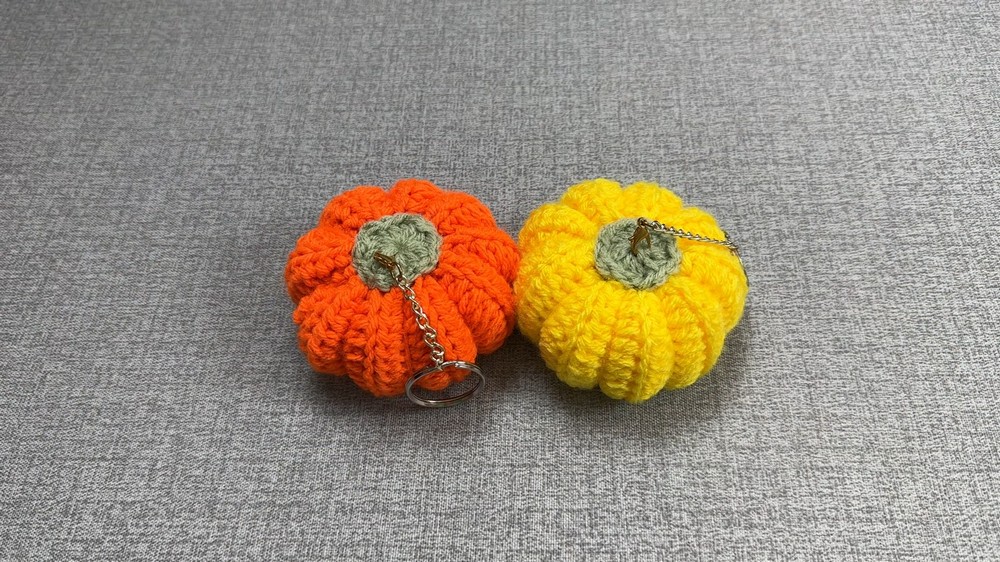
Pattern at a Glance
- Type: Small, textured pumpkin, reversible as a sphere or pumpkin
- Technique: Simple flat-panel crochet, seamed and gathered to form a 3D shape
- Features: Ribbed texture, pull-tight shaping, realistic stem, keychain functionality
- Finish: Plush, but maintains enough structure for repeated use
Important Notes
- This pattern is written in US crochet terms.
- All body rows are worked in half double crochet (HDC) back loop only to create the distinctive ribbed texture.
- For best results, maintain a snug and consistent stitch tension.
- Use a blunt yarn needle for simple gathering and finishing.
- The pumpkin base is made from a rectangle and seamed into a sphere, then shaped with simple surface wrapping.
- Fiberfill or cotton is suitable for stuffing—do not overstuff to maintain the pumpkin’s sculptable form.
- Always secure ends firmly for durability, especially as the keychain may receive regular handling.
Difficulty Level
Easy/Beginner – Suitable for crafters comfortable with chains, basic stitches, and simple seaming.
Supplies Needed
- Worsted weight yarn (No. 4): Orange for body, brown or green for stem (small amount)
- Crochet hook: Size 3.75 mm (US F)
- Yarn needle: For seaming and finishing
- Polyester fiberfill or cotton stuffing
- Scissors
- Keychain ring: 1 piece, split ring style preferred
Size & Measurements
- Finished size: Approx. 2 inches (5 cm) in diameter (pumpkin body), stem adds slight height
- Keychain ring: Standard small size, easily fits through the stem
Gauge & Stitch Details
- Gauge: Not critical; work tightly so stuffing does not show between stitches
- Stitches provide natural stretch
- Stitch focus: Half double crochet (HDC) in back loop only (BLO) for ribbing
Crochet Abbreviations
- CH: Chain
- HDC: Half Double Crochet
- BLO: Back Loop Only
- MR: Magic Ring
- FO: Fasten Off
- ST(S): Stitch(es)
- SL ST: Slip Stitch
Special Stitch Guide
- HDC (Half Double Crochet): Yarn over, insert hook into target stitch, yarn over, pull through (3 loops on hook), yarn over and pull through all 3 loops.
- BLO (Back Loop Only): Insert hook under only the back loop of stitch (furthest from you).
- Magic Ring (MR): Wrap yarn to make a loop, insert hook, pull up a loop, work stitches into the ring, tighten after finishing.
- Seaming: Use yarn needle to whipstitch matching sides or edges together.
- Gathering: Pass needle through ends in an in-and-out (running) stitch, then pull to cinch tightly closed.
Complete Crochet Pattern
Body Base
- Foundation:
- Make a slip knot and CH 18.
- Rows 1–18:
- Row 1: Starting in 2nd chain from hook, HDC in BLO across the row (17 HDC). CH 1, turn.
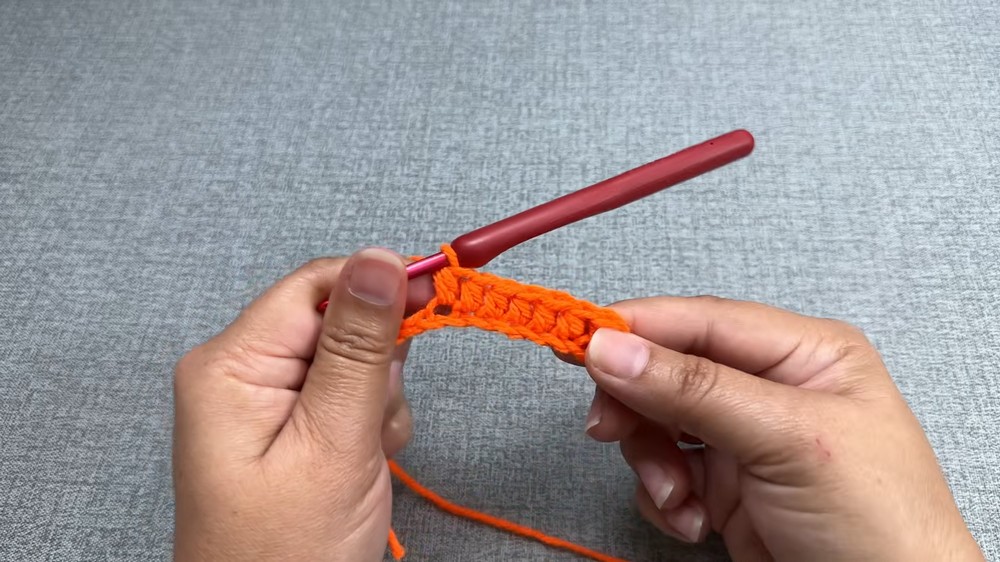
- Rows 2–18: HDC in BLO in each stitch across (17 HDC per row). CH 1, turn at the end of each row.
- Repeat until you have 18 rows completed. Leave a long tail for seaming.
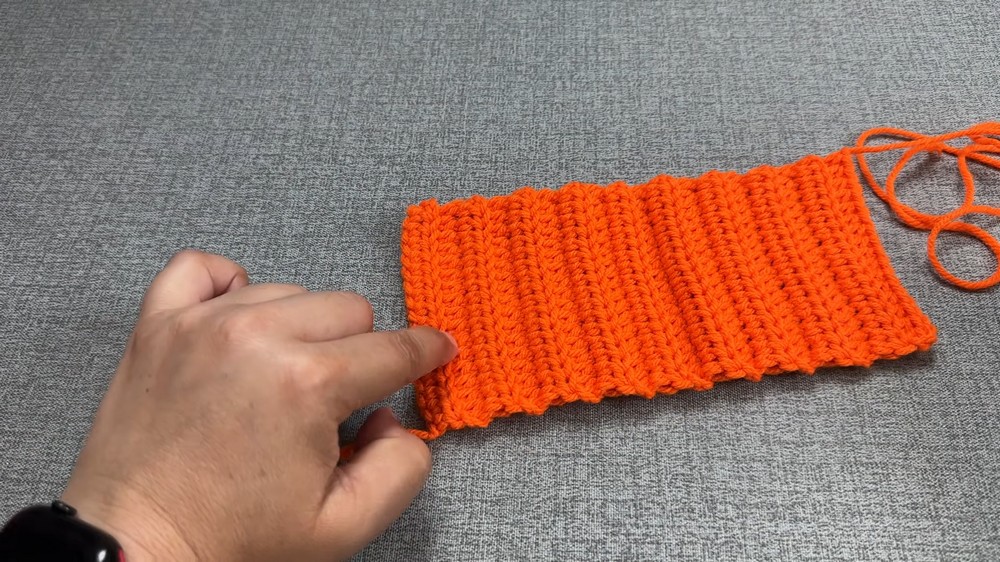
- Row 1: Starting in 2nd chain from hook, HDC in BLO across the row (17 HDC). CH 1, turn.
Seaming and Closing the Sphere
- Fold the rectangle so short ends align and ribs run vertically.
- Using the tail and a yarn needle (or hook), join short sides together with whipstitch or slip stitches, forming a tube.
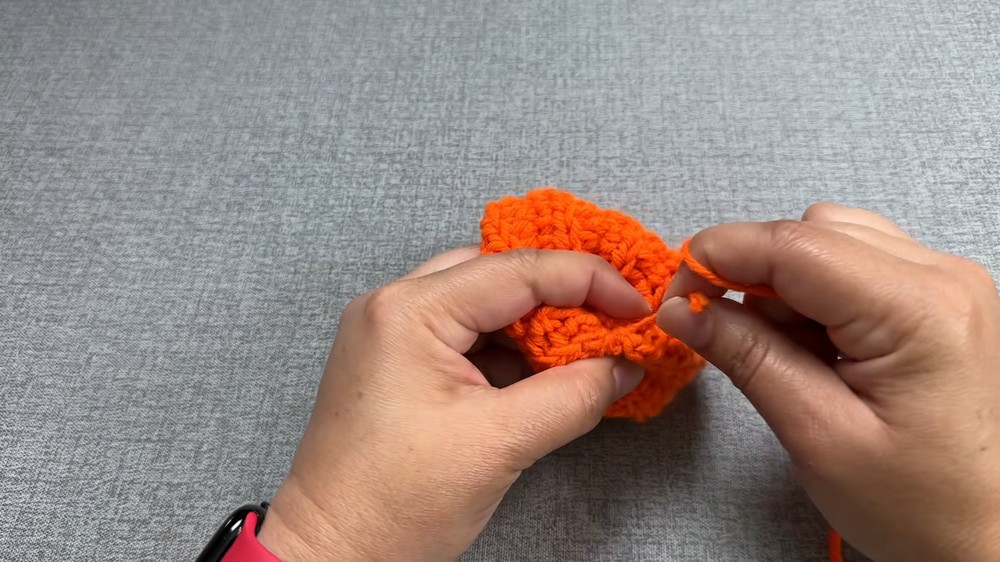
- With a new, long strand of yarn, weave in and out (running stitch) along one raw edge (top opening).
- Pull tail to gather and cinch the top edge closed.
- FO and secure; do not trim yarn if using the same color to shape pumpkin later.
Stuffing and Shaping
- Stuff the tube through the open bottom using fiberfill or cotton, forming a soft but plump ball.
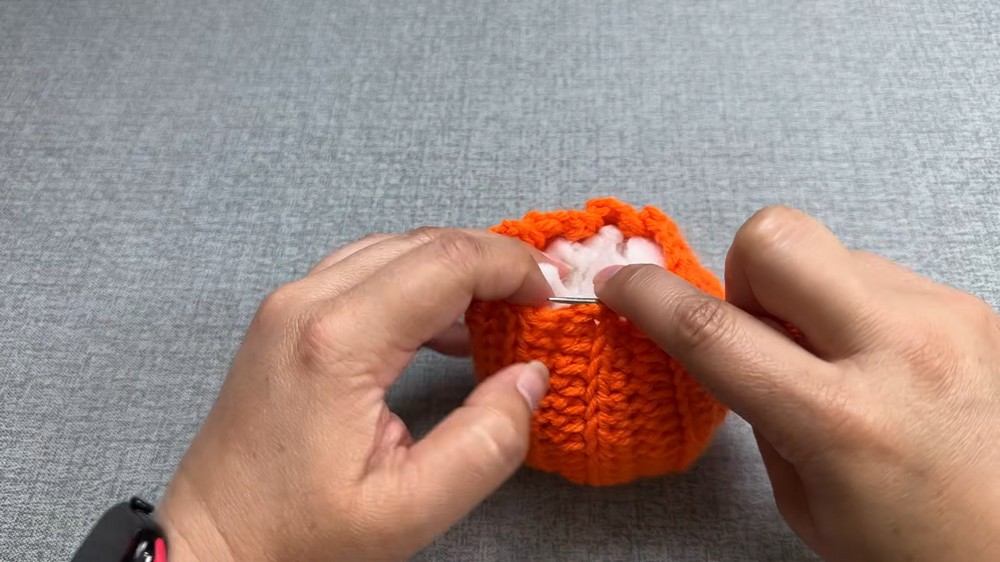
- Weave yarn in and out along the bottom raw edge (same as top).
- Pull closed tightly. Secure but do not trim yarn.
- To create pumpkin ridges/segments:
- Thread tail onto a yarn needle.
- Insert needle through center of pumpkin from bottom to top, exiting the gathered point.
- Wrap yarn along outside, re-insert needle at original bottom point. Pull gently to “pinch” in the sides, forming a rib.
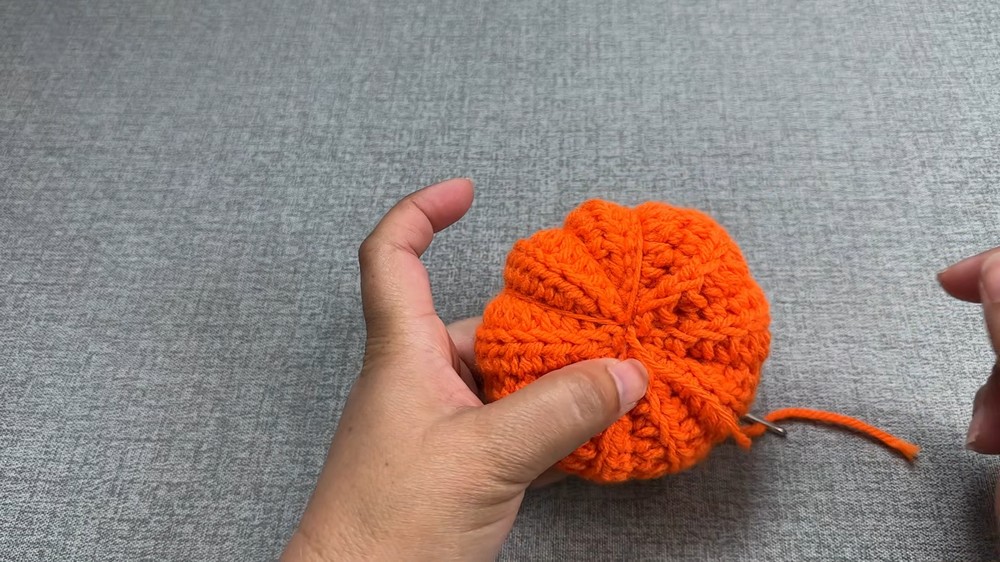
- Repeat 4–6 times evenly spaced around the pumpkin, cinching each segment as you pass.
- Secure yarn end at the bottom with a knot, hide tail inside.
Stem
- With brown or green yarn:
- Create a magic ring (MR).
- Work 12 HDC into MR.
- Pull MR tight to close.
- FO, leaving a tail.
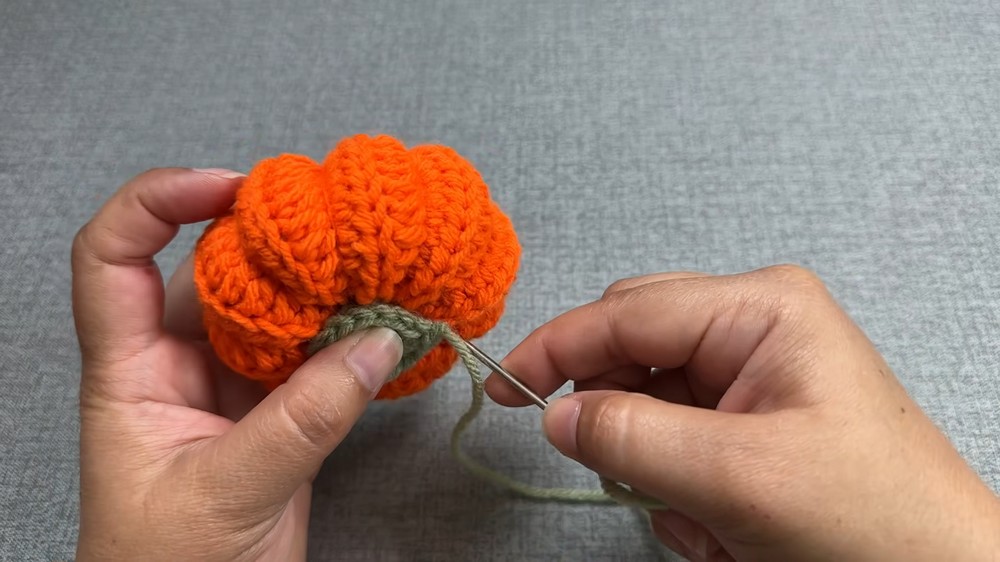
- Position stem piece on top center of pumpkin and sew securely in place using the tail and yarn needle.
Finishing Touches
- Using stem tail or a new secure thread, attach a keychain ring by threading through the top of the stem and looping ring before knotting and weaving in tail.
- Make sure ring is secured through all stem layers for stability.
Assembly & Finished Size
The finished keychain is approximately 2 inches (5 cm) wide. Its sculpted, ribbed segments and sturdy stem ensure seasonal character and usability. Attach the keychain ring firmly for a durable accessory. The reversible construction means you can slightly push the body inside out for a fresh look or reshape segments at any time. All ends should be woven inside and trimmed to keep the surface soft and neat. The pumpkin’s ridges stand out due to the back-loop ribbed texture and reinforced segment stitches, capturing a lifelike mini-gourd effect.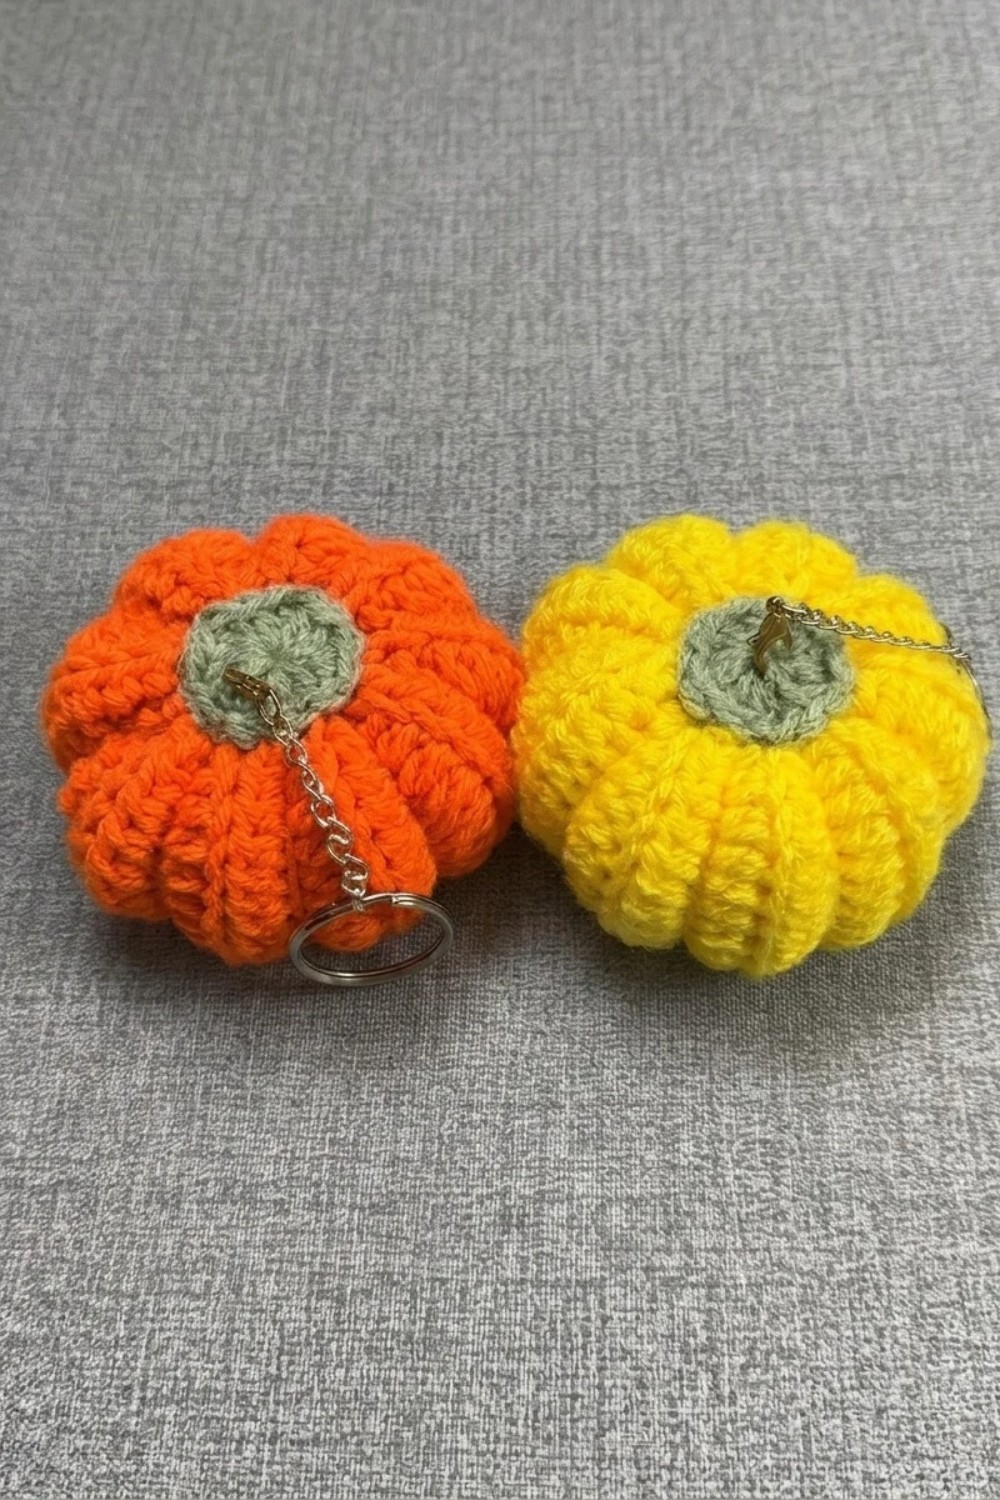
Conclusion
This pattern’s approachable construction provides both functional charm and creative reward. Using a flat, ribbed panel for the base keeps the project beginner-friendly, while simple gathering, stuffing, and surface ridging produce a sturdy, festive pumpkin. The detailed stem and keychain attachment make this a versatile, fun accessory, ready for attaching to keys, bags, or gifts. Suitable for any crafter seeking a small seasonal project, this keychain offers instant character and everyday utility.
