
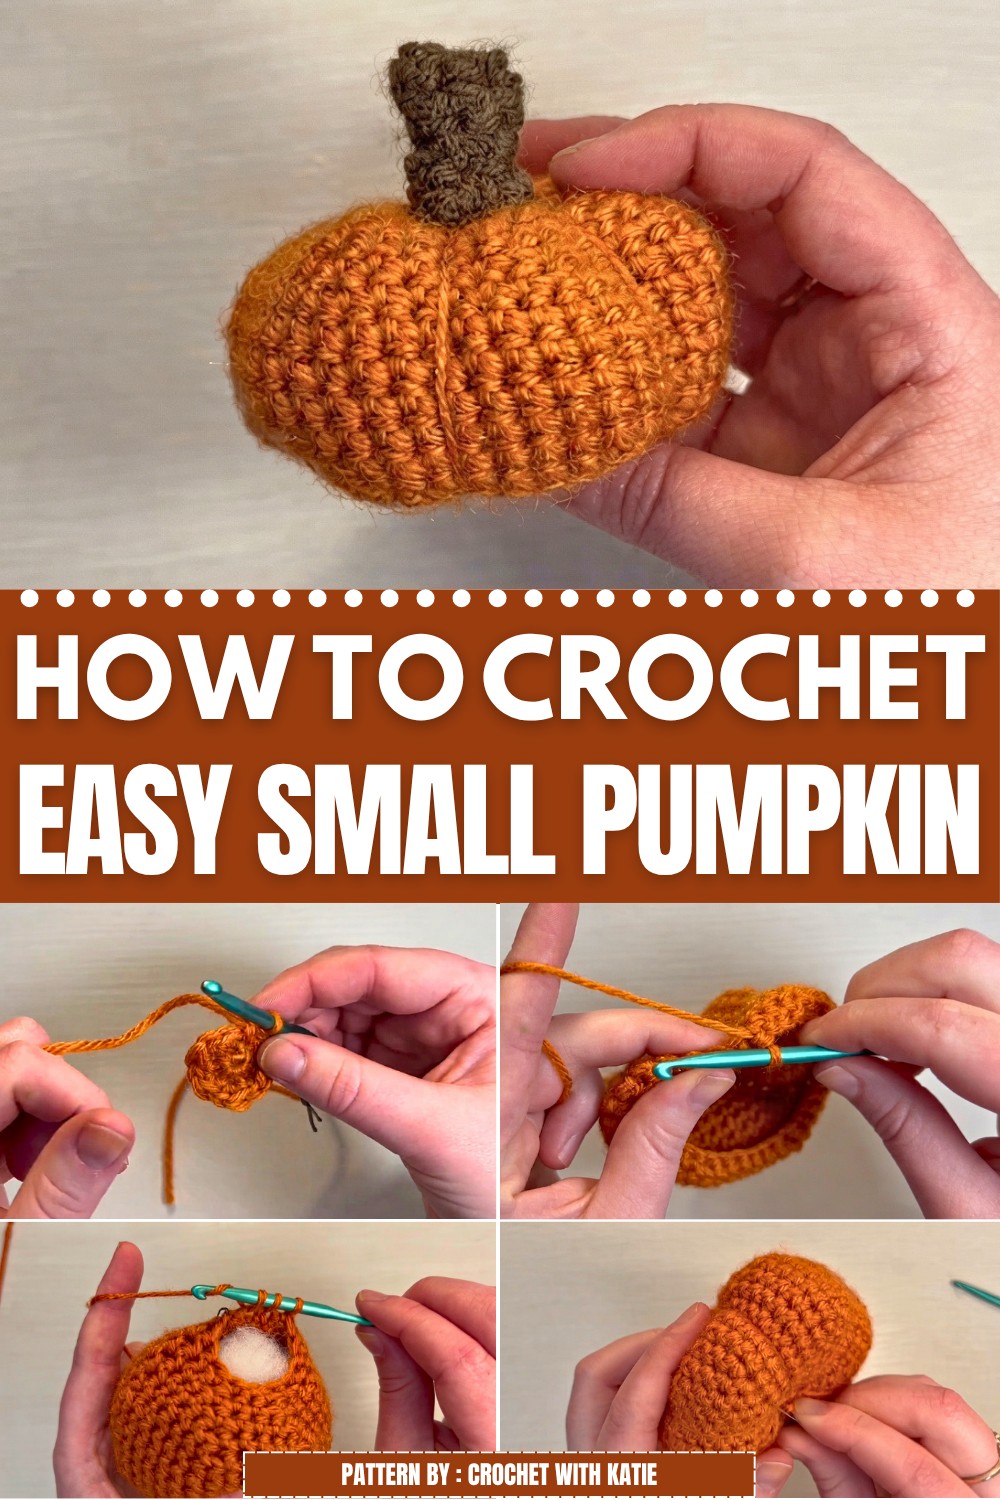
You can use this pumpkin in many ways. It’s a sweet decoration for fall holidays like Halloween and Thanksgiving. Plus, making several of them can turn into lovely gifts or cute accessories for bags and keychains. The lightweight and compact design make it easy to put anywhere you want a splash of seasonal charm.
Whether you are new to crochet or have some experience, the Free Crochet Small Pumpkin Pattern is easy to follow and enjoyable to make. If you want a friendly project that brings warmth and color to your home or to share with friends, this pumpkin is a perfect pick.
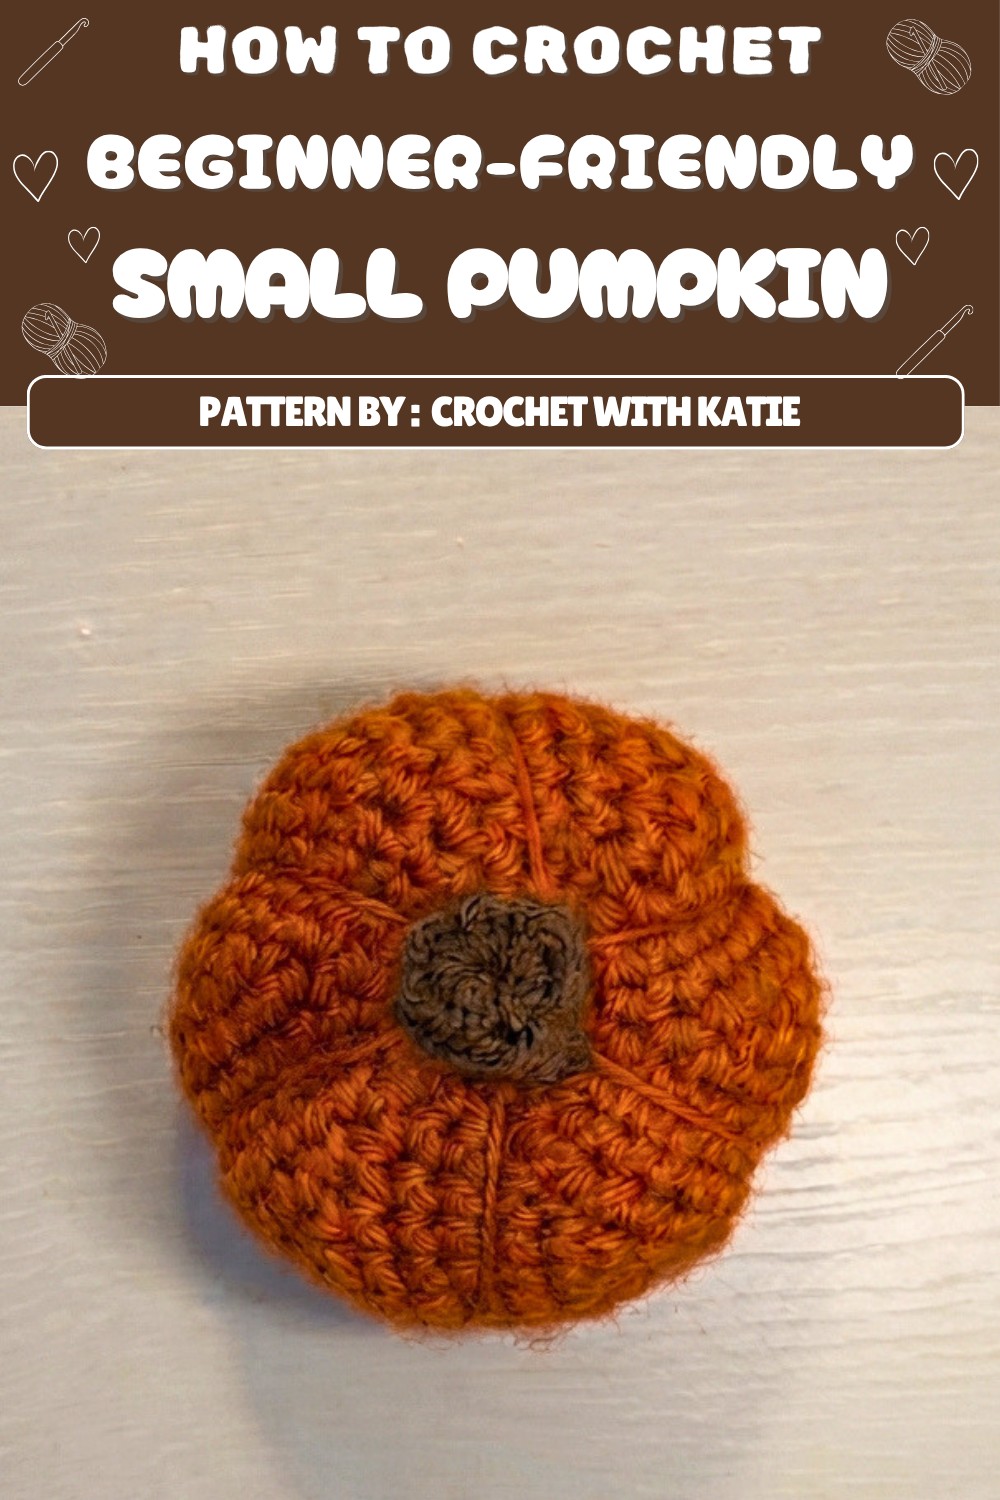
Crochet Pumpkin Pattern: Step-by-Step Detailed Guide
Celebrate the charm of autumn and cozy fall decor by crafting your own adorable crochet pumpkin. This pattern will walk you through creating a small, plump pumpkin with six carved segments and a cute stem. Perfect for autumn decoration, gifting, or adding a handmade touch to your home, this pumpkin is beginner-friendly and enjoyable to make.
Quick Overview of the Pattern
- Main Components: Pumpkin body and pumpkin stem
- Technique: Worked in the round using single crochet (sc), increases and decreases, shaping by segmenting
- Finished Size: Small, about 10–12 cm in diameter depending on yarn and tension
- Materials: Medium weight yarn in orange and brown, 4.5 mm crochet hook, fiber fill, tapestry needle
Notes
- Pattern is worked continuously in rounds; stitch counts are provided to help maintain accuracy.
- Use a stitch marker to mark the start of each round for easier counting.
- The shaping technique uses a long yarn tail threaded through the center of the pumpkin to create segmented pumpkins, giving it a realistic look.
- The stem is worked separately and sewn securely onto the body.
- Gauge may affect the size; adjusting hook size can slightly increase or decrease the pumpkin’s size.
- Fiber fill stuffing helps the pumpkin keep a nice round shape.
Skill Level
- Beginner to Intermediate
The pattern incorporates basic stitches such as single crochet, increases (2 sc in one stitch), and decreases (sc 2 together). Some experience with shaping and sewing crochet pieces together is helpful but not essential.
Materials
- Medium weight (worsted or aran) yarn in:
- Orange (for pumpkin body)
- Brown (for pumpkin stem)
- Crochet hook size 4.5 mm (G/7)
- Fiberfill stuffing
- Stitch marker
- Tapestry needle
- Scissors
Measurements / Sizing (Approximate)
| Part | Diameter / Length |
|---|---|
| Pumpkin Body | 10-12 cm (4-4.5 inches) |
| Pumpkin Stem | 3-4 cm (1.25-1.5 inches) |
Note: Size may vary depending on yarn and tension.
Gauge
- Gauge is not highly critical but consistent tension ensures a neat finish.
- Typically, 14 sc and 16 rows = 10 cm in single crochet stitch with 4.5 mm hook.
Stitch Abbreviations
| Abbreviation | Stitch Name |
|---|---|
| ch | Chain |
| sc | Single Crochet |
| inc | Increase (2 sc in 1 stitch) |
| dec | Decrease (single crochet 2 stitches together) |
| slst | Slip Stitch |
Special Stitch / Technique
- Magic Circle: A loop used at the start of working in the round to tighten and close the hole in the center.
- Decrease (sc2tog): Insert hook into next stitch, yarn over and pull through, insert hook into next stitch, yarn over and pull through, yarn over and pull through all loops on hook.
- Shaping Segments: Using a long yarn tail threaded from the top through the bottom of the pumpkin in six evenly spaced places pulls the pumpkin into six defined bulging segments.
The Crochet Pattern
Pumpkin Body Pattern (Using Orange Yarn)
Round 1: Begin with Magic Circle and Center Circle
- Create a magic circle.
- Work 6 single crochet (sc) stitches into the magic circle.
- Close the circle by pulling the tail tight; this forms the pumpkin’s base.
Round 2: Increase Every Stitch
- Work 2 single crochet (sc) into each stitch around.
- Total stitches this round: 12 sc.
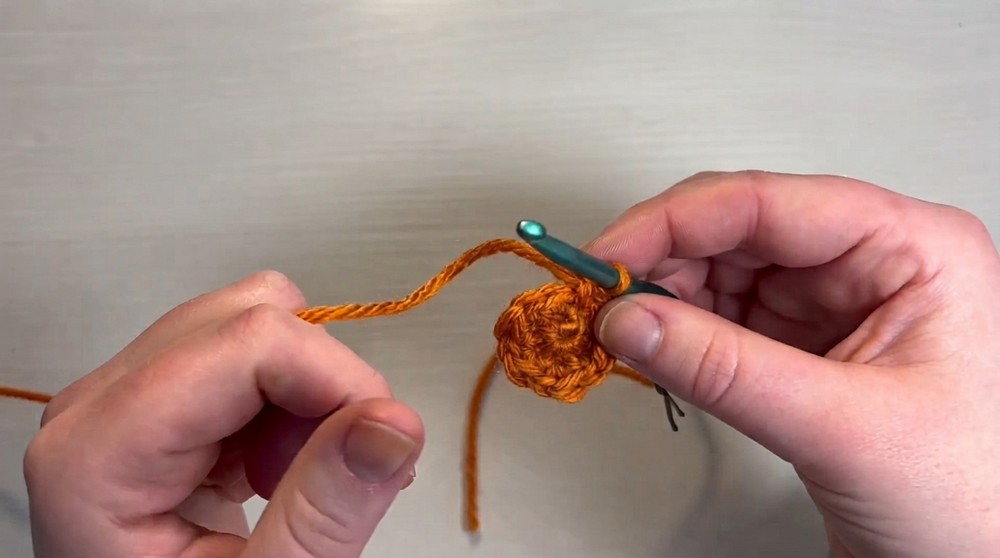
Round 3: [1 sc, 1 increase] Repeat
- Work 1 sc, then increase (2 sc in next stitch).
- Repeat this sequence around the round.
- Total stitches: 18 sc.
Round 4: [2 sc, 1 increase] Repeat
- Work 2 single crochet, then increase.
- Repeat around the round.
- Total stitches: 24 sc.
Round 5: [3 sc, 1 increase] Repeat
- Work 3 sc, then increase.
- Repeat around.
- Total stitches: 30 sc.
Round 6: [4 sc, 1 increase] Repeat
- Work 4 sc, then increase.
- Repeat around.
- Total stitches: 36 sc.
Round 7: [5 sc, 1 increase] Repeat
- Work 5 sc, then increase.
- Repeat around.
- Total stitches: 42 sc.
Rounds 8-12: Maintain Size
- Work 1 sc in every stitch for 5 rounds.
- Total stitches remain 42 sc each round.
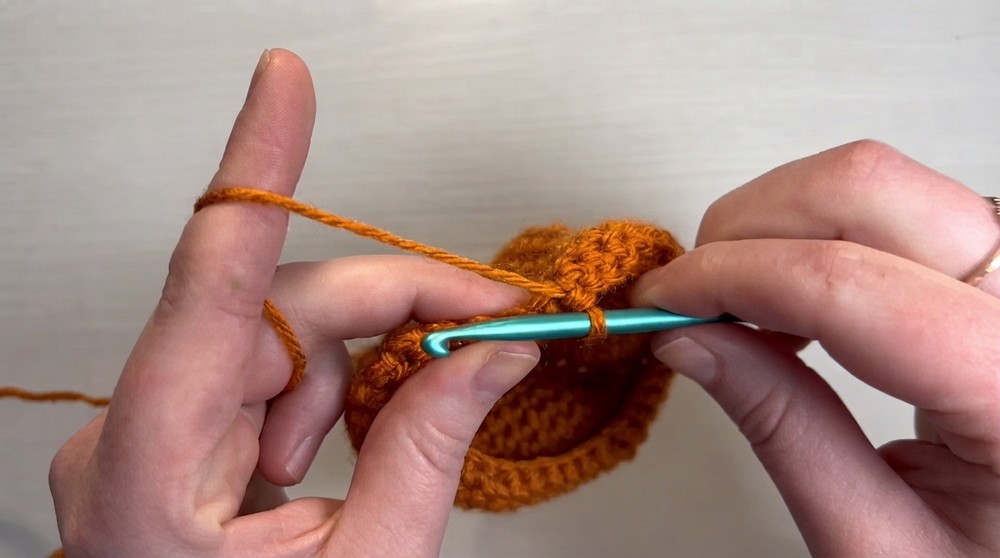
Round 13: [5 sc, 1 decrease] Repeat
- Work 5 sc, then decrease (sc2tog).
- Repeat around.
- Total stitches: 36 sc.
Round 14: [4 sc, 1 decrease] Repeat
- Work 4 sc, then decrease.
- Repeat around.
- Total stitches: 30 sc.
Round 15: [3 sc, 1 decrease] Repeat
- Work 3 sc, then decrease.
- Repeat around.
- Total stitches: 24 sc.
Round 16: [2 sc, 1 decrease] Repeat
- Work 2 sc, then decrease.
- Repeat around.
- Total stitches: 18 sc.
Round 17: [1 sc, 1 decrease] Repeat
- Work 1 sc, then decrease.
- Repeat around.
- Total stitches: 12 sc.
Round 18: Final Decrease to Close
- Work decrease in every stitch around until the hole is almost closed.
- Stuff the pumpkin firmly with fiberfill before fully closing.
- Pull the yarn tail tightly to close the pumpkin body and weave in the end.
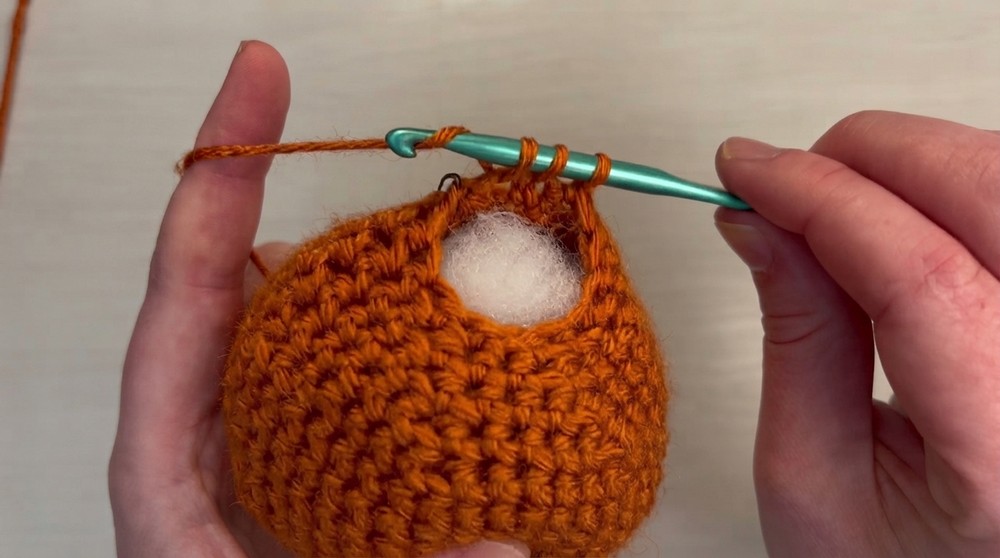
Shaping the Pumpkin
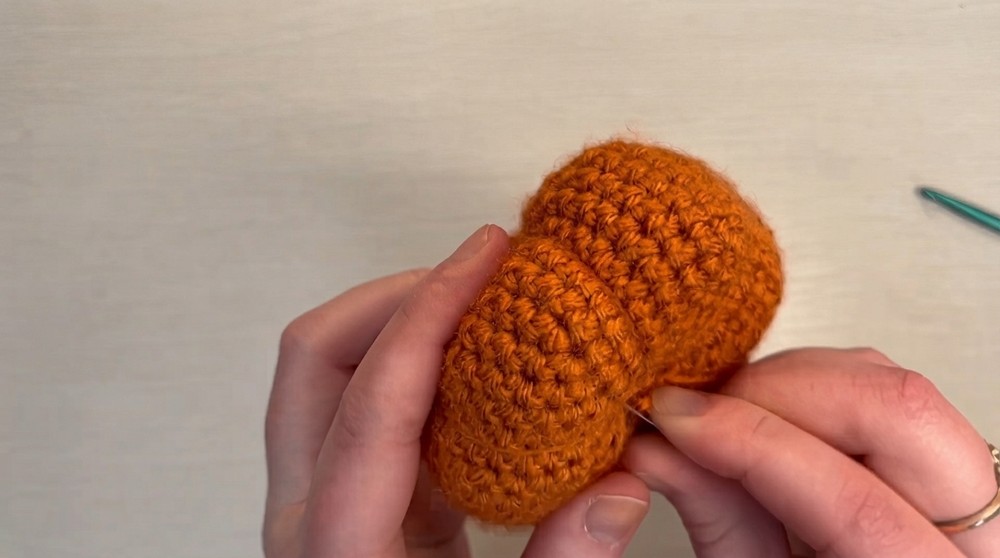
- Using the long tail of your orange yarn left from closing, thread a yarn needle.
- Insert the needle down through the center top of the pumpkin and come out the bottom center.
- Pull gently to create a narrow center and define the pumpkin’s shape.
- Repeat this process, dividing the pumpkin into 6 segments, by threading through the pumpkin body evenly spaced around the round.
- Tie securely and weave ends to maintain the six-section pumpkin look.
Pumpkin Stem Pattern (Using Brown Yarn)
Round 1: Start the Stem
- Create a magic circle.
- Work 6 single crochet (sc) into the magic circle.
- Close tightly by pulling the tail.
Rounds 2 & 3: Build Cylinder
- Work 6 sc in each round for 2 rounds to build the length of the stem.
Round 4: Increase in Front Loops Only
- Working in front loops only (FL), work 1 sc, then 1 increase (2 sc in next stitch) around.
- This will form 9 sc total and will widen the stem slightly at the top.
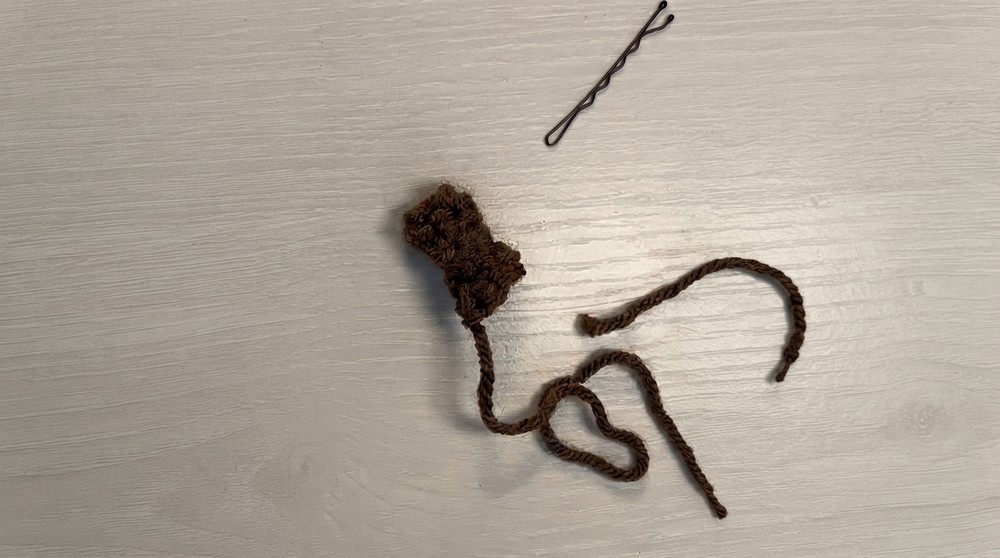
Finishing the Stem
- Join with slip stitch (slst), fasten off leaving a long tail.
- Use the tail to sew the stem securely on top center of the pumpkin.
- Weave in all ends neatly.
Assembly & Finished Size
- Stuff the pumpkin body firmly with fiberfill before closing completely to give it a plump, round shape.
- Shape the pumpkin by pulling yarn through the sections as described to create the characteristic pumpkin segments.
- Attach the stem centered on top of the pumpkin with sturdy stitching.
- The finished pumpkin measures roughly 10-12 cm (4-4.5 inches) in diameter.
- The stem length is about 3-4 cm (1.25-1.5 inches) tall.
Conclusion
This crochet pumpkin pattern offers an enjoyable project that results in a delightful harvest decoration. Combining simple techniques — magic circle, single crochet, increases and decreases — with a clever shaping method creates an impressive 3D pumpkin full of character and texture.
Perfect for beginners ready to explore shaping and stuffed amigurumi or a quick seasonal craft for seasoned crocheters, the pumpkin adds warmth and autumnal spirit to any home. Customize yarn colors or sizes to make unique versions.

Quick Crochet Giraffe Free Pattern With A Long Neck - Yours Patterns
Wednesday 14th of October 2026
[…] soft and adorable giraffe is a wonderful creation for children to play with or a lovely cozy decoration. If you’re looking for a fun and friendly crochet project that builds your skills and results […]